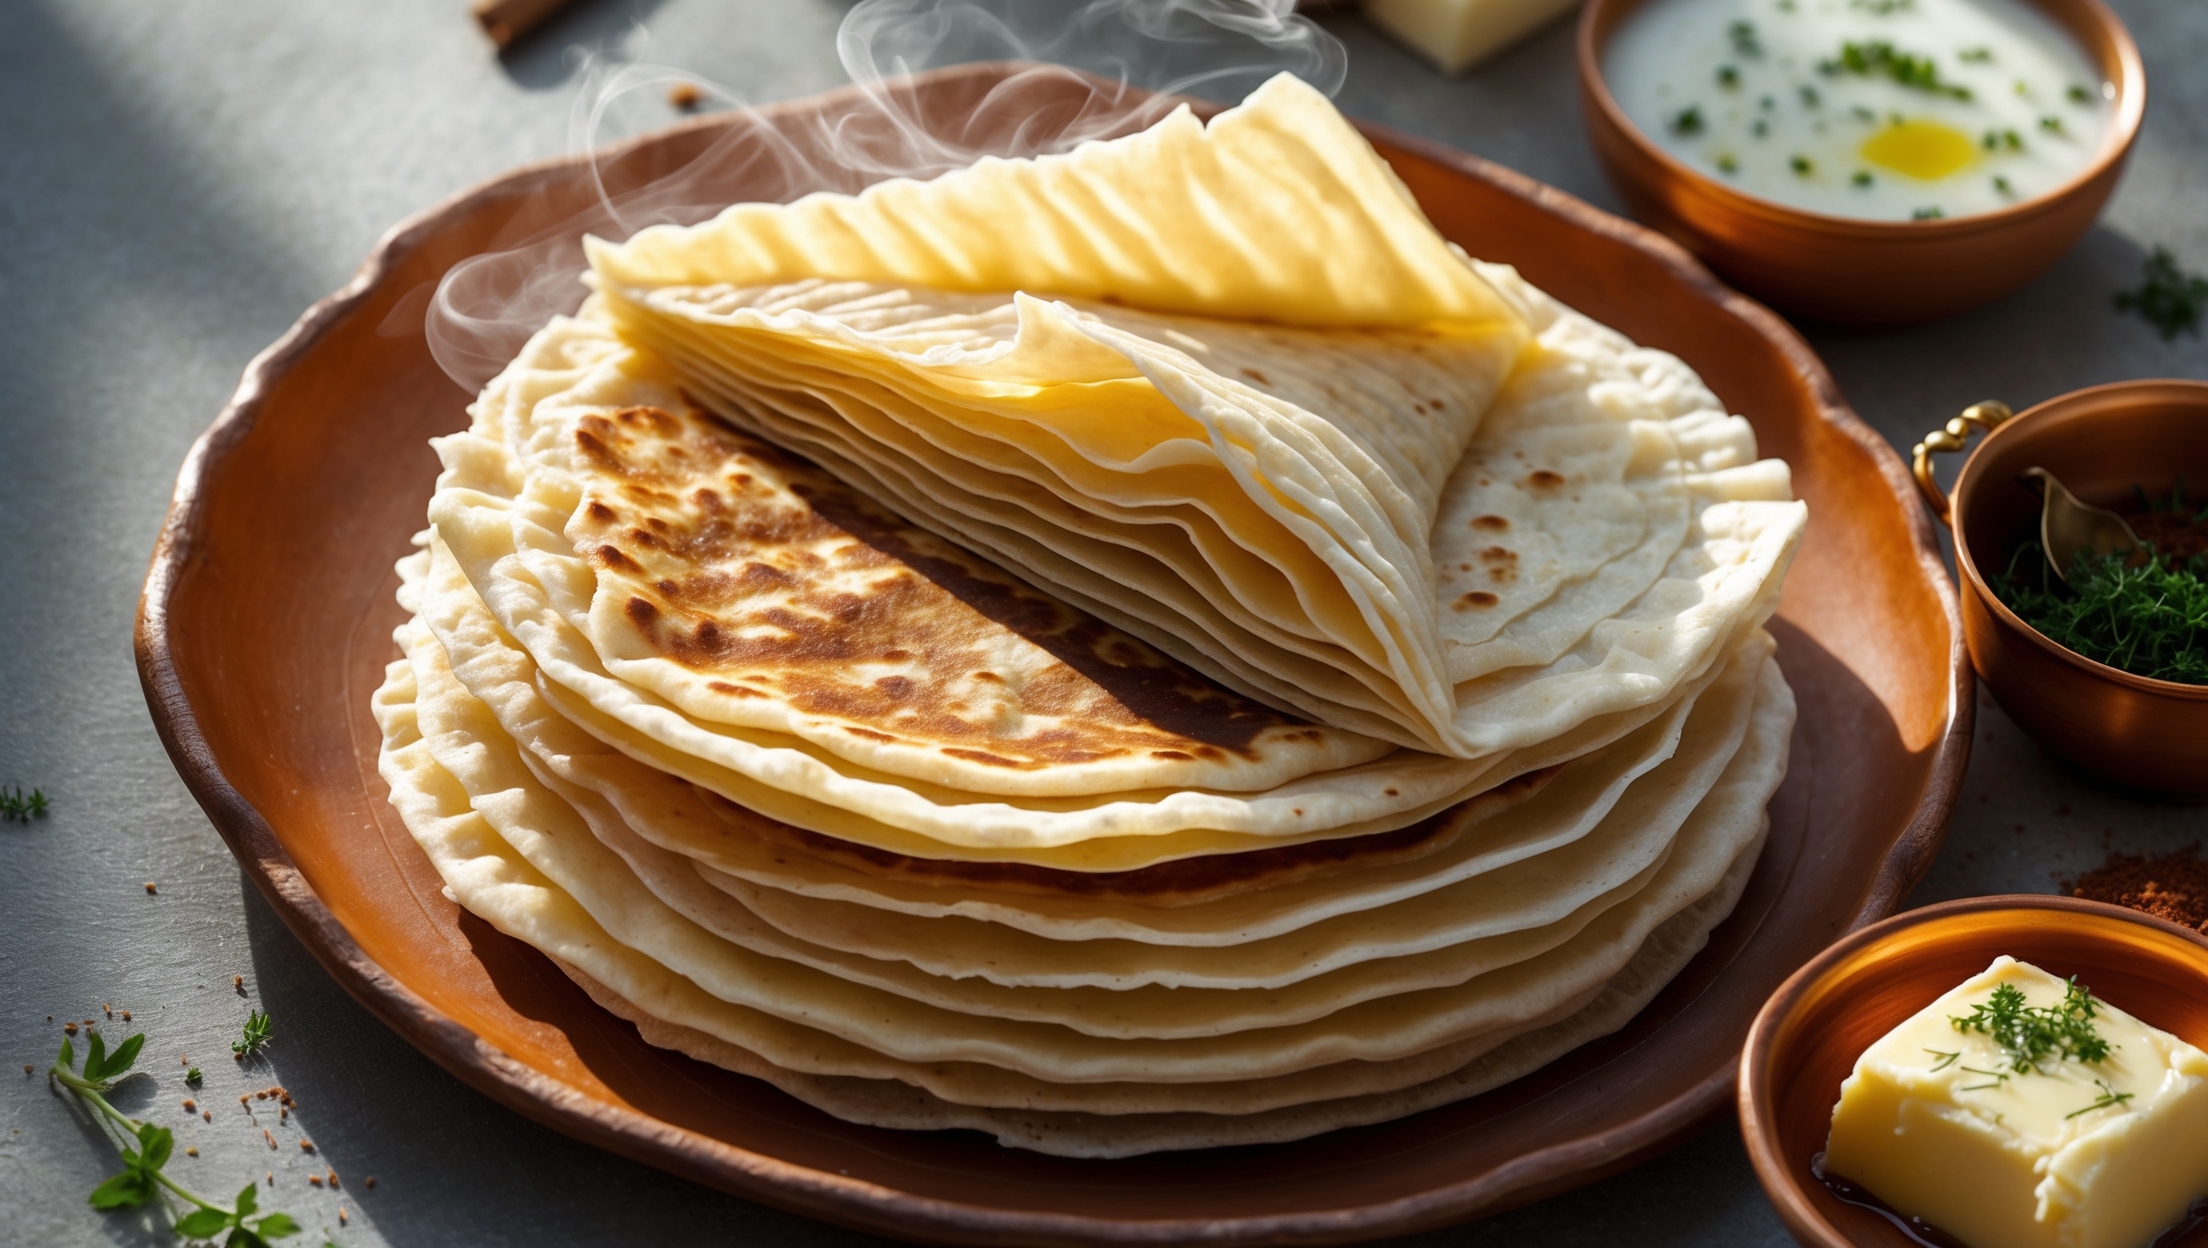
Rumali Roti (Indian Thin Flatbread) Recipe
Ingredients
Equipment
Directions
FAQs
Find answers to your most pressing questions about this delicious recipe right here.
Traditional Rumali Roti requires plain flour (maida), whole wheat flour (atta), salt, lukewarm water, and a small amount of oil. The combination of both flours creates the perfect balance of softness and structure needed for this ultra-thin flatbread.
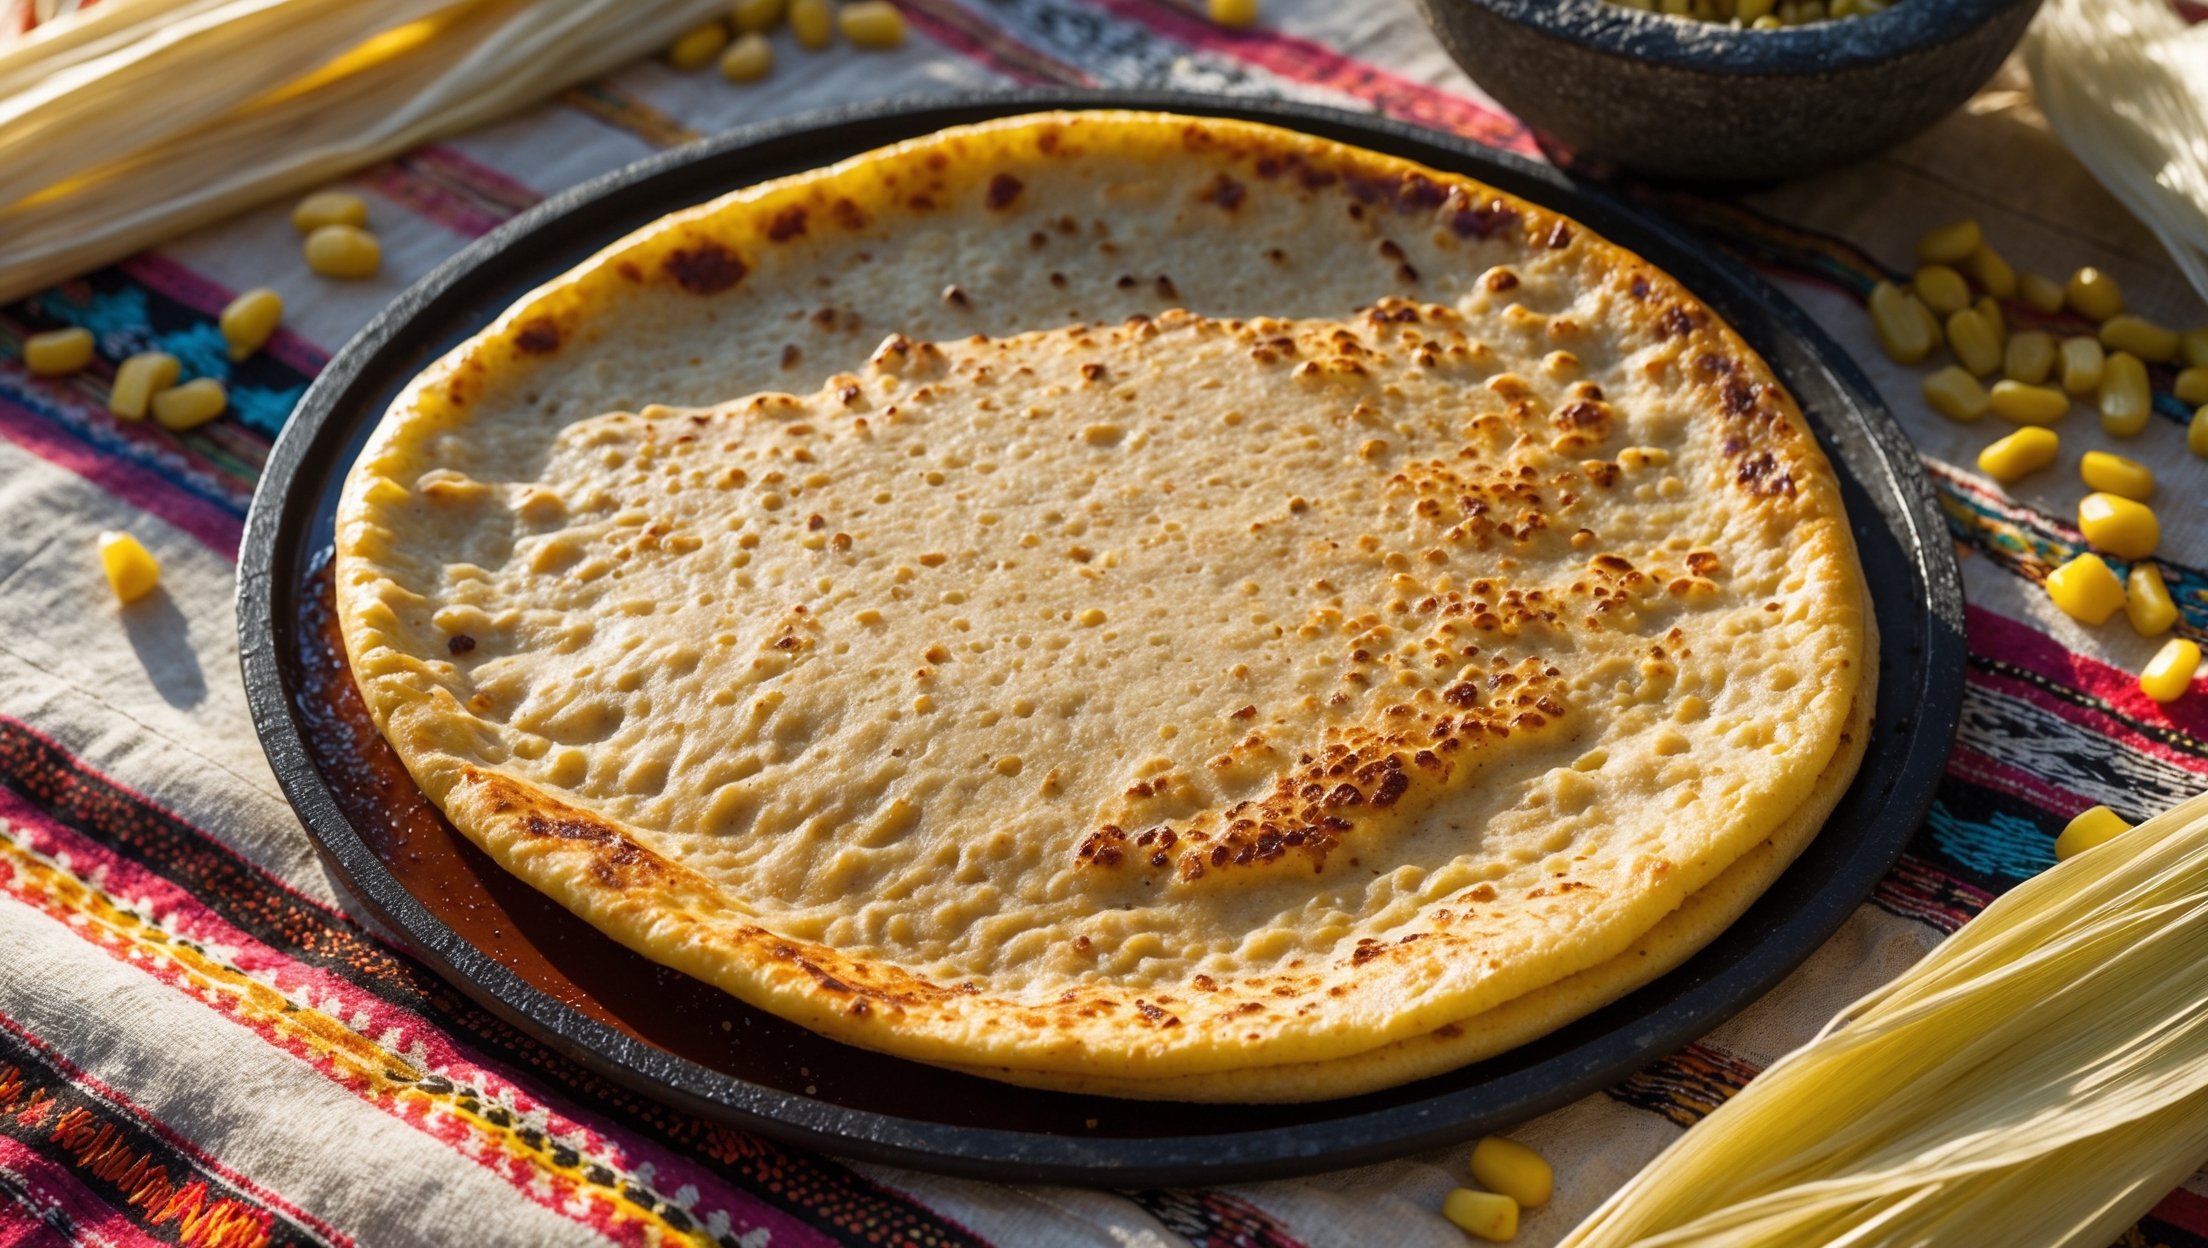
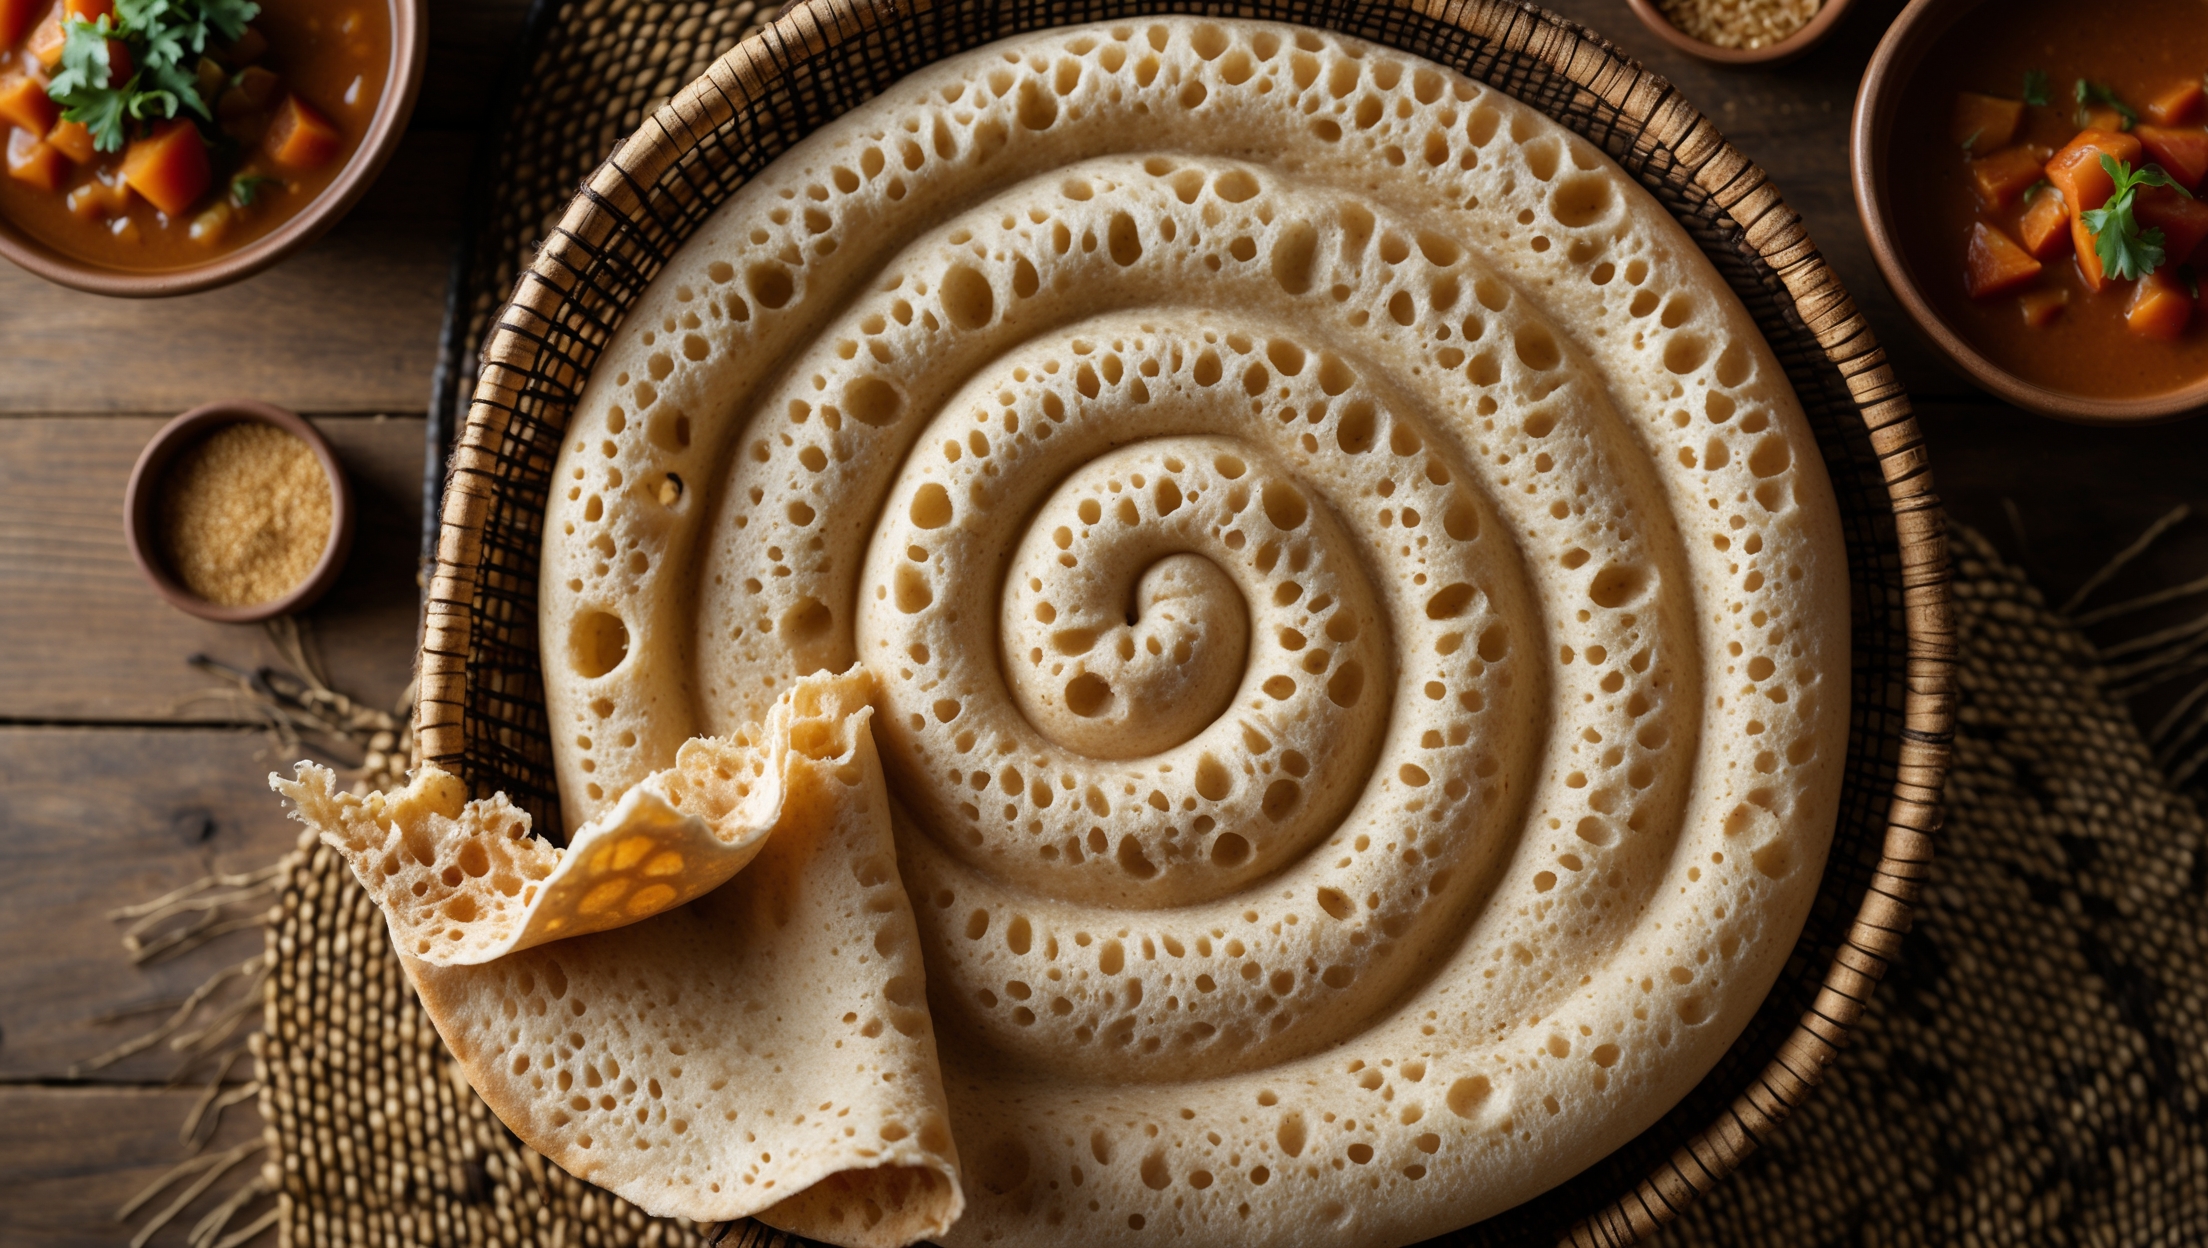
Learn how to cook Rumali Roti by first making a soft, well-kneaded dough that rests for at least 20 minutes. The key technique is stretching the dough paper-thin using your knuckles, then cooking it quickly (30-40 seconds) on a very hot tava or griddle. For authenticity, the second side should be cooked on an inverted wok for proper charring.
If your dough tears when stretching, you likely haven't kneaded it long enough (aim for 8-10 minutes) or allowed sufficient resting time. The gluten development is crucial for elasticity. Also ensure your dough has the right hydration—it should feel tacky but not sticky. More practice with the stretching technique helps too.
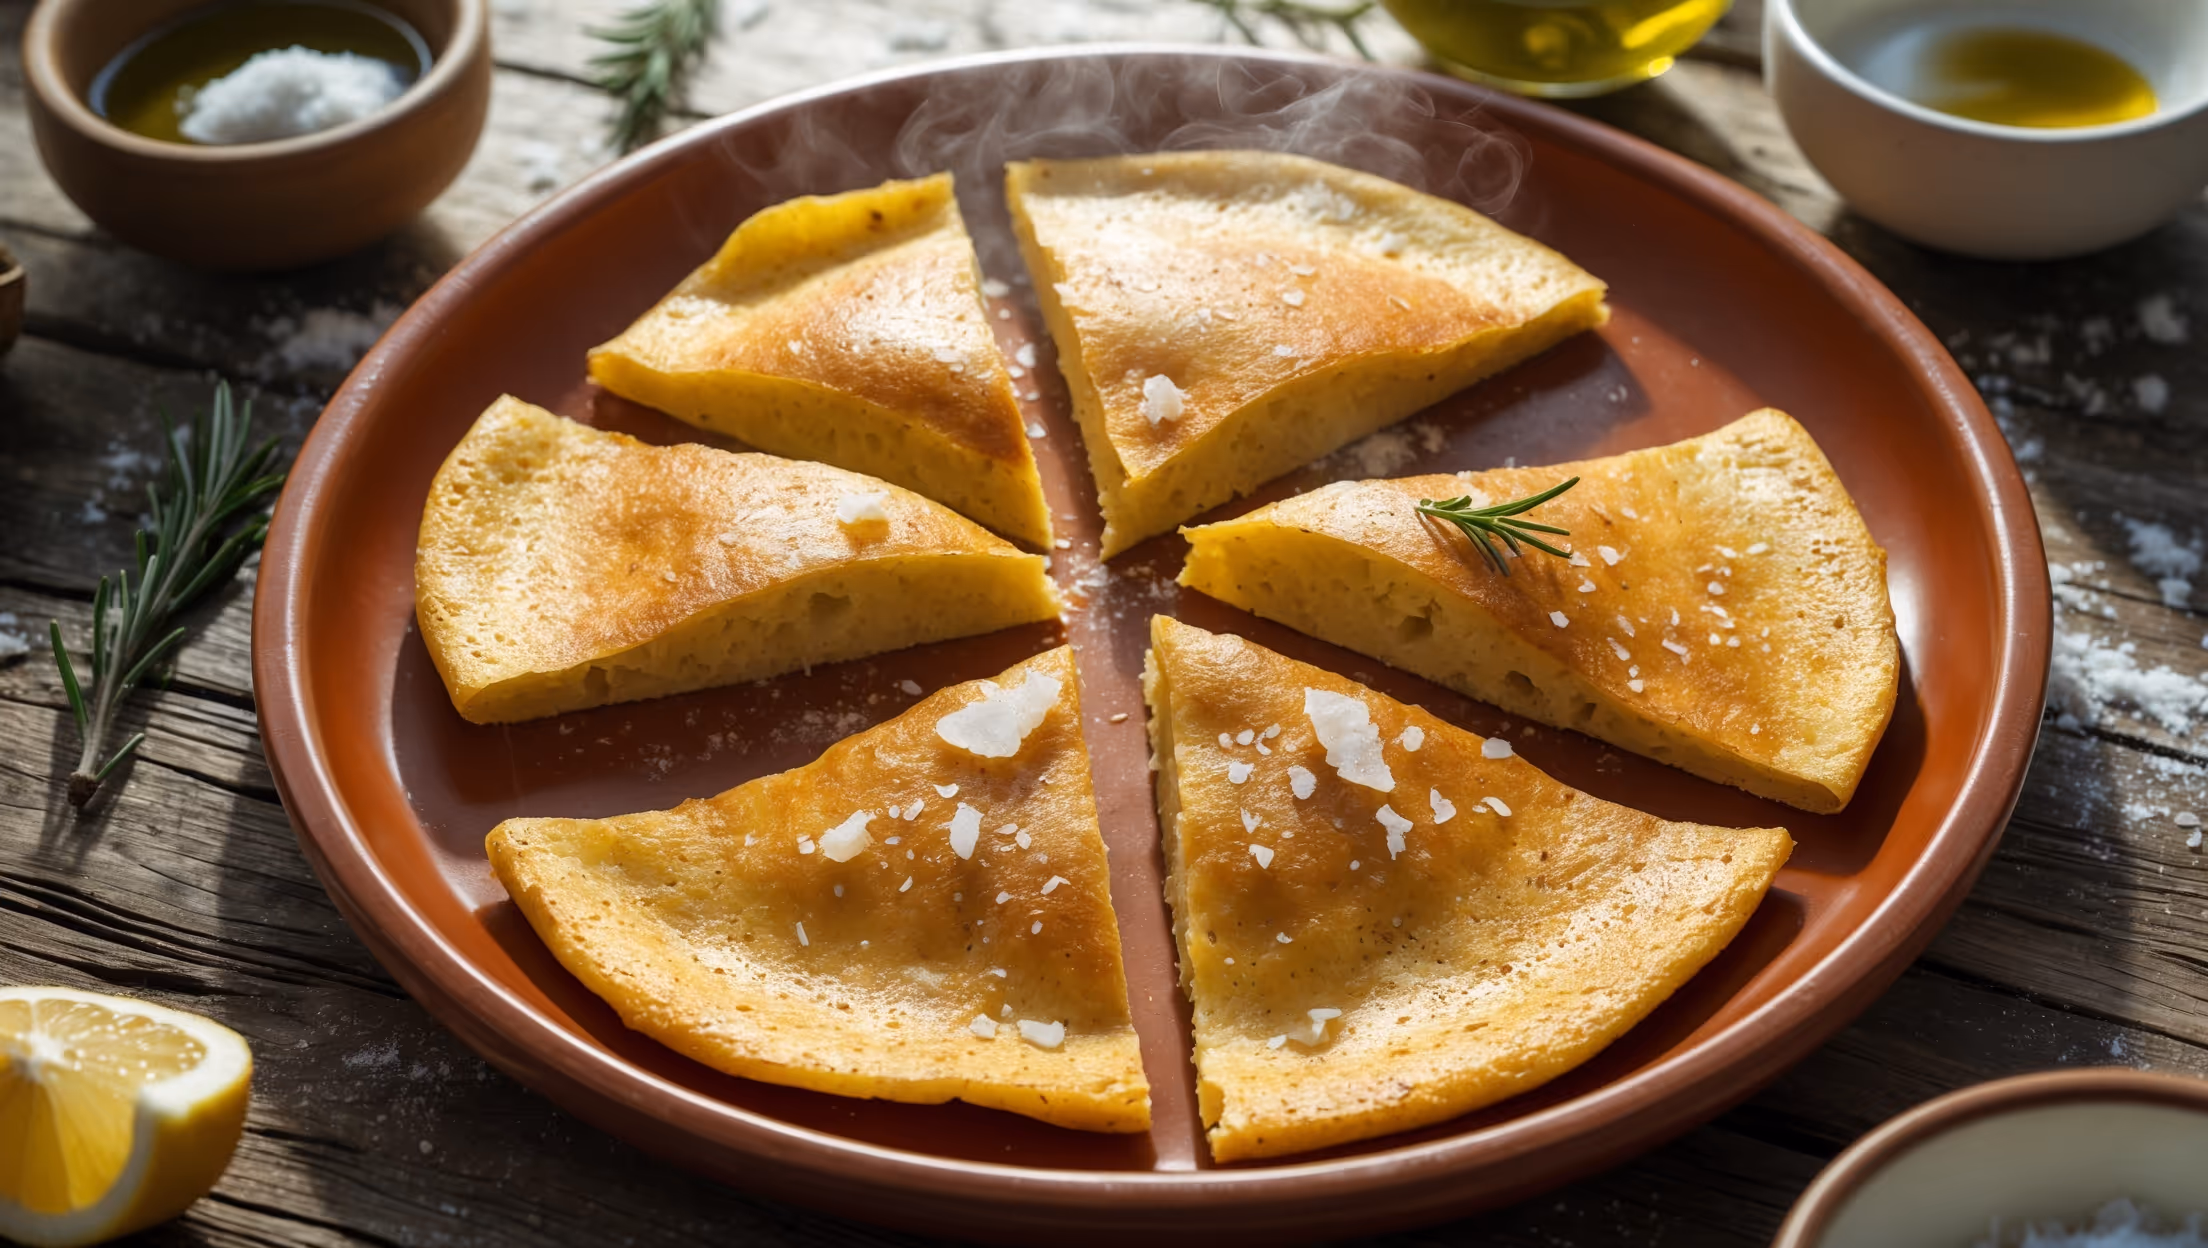
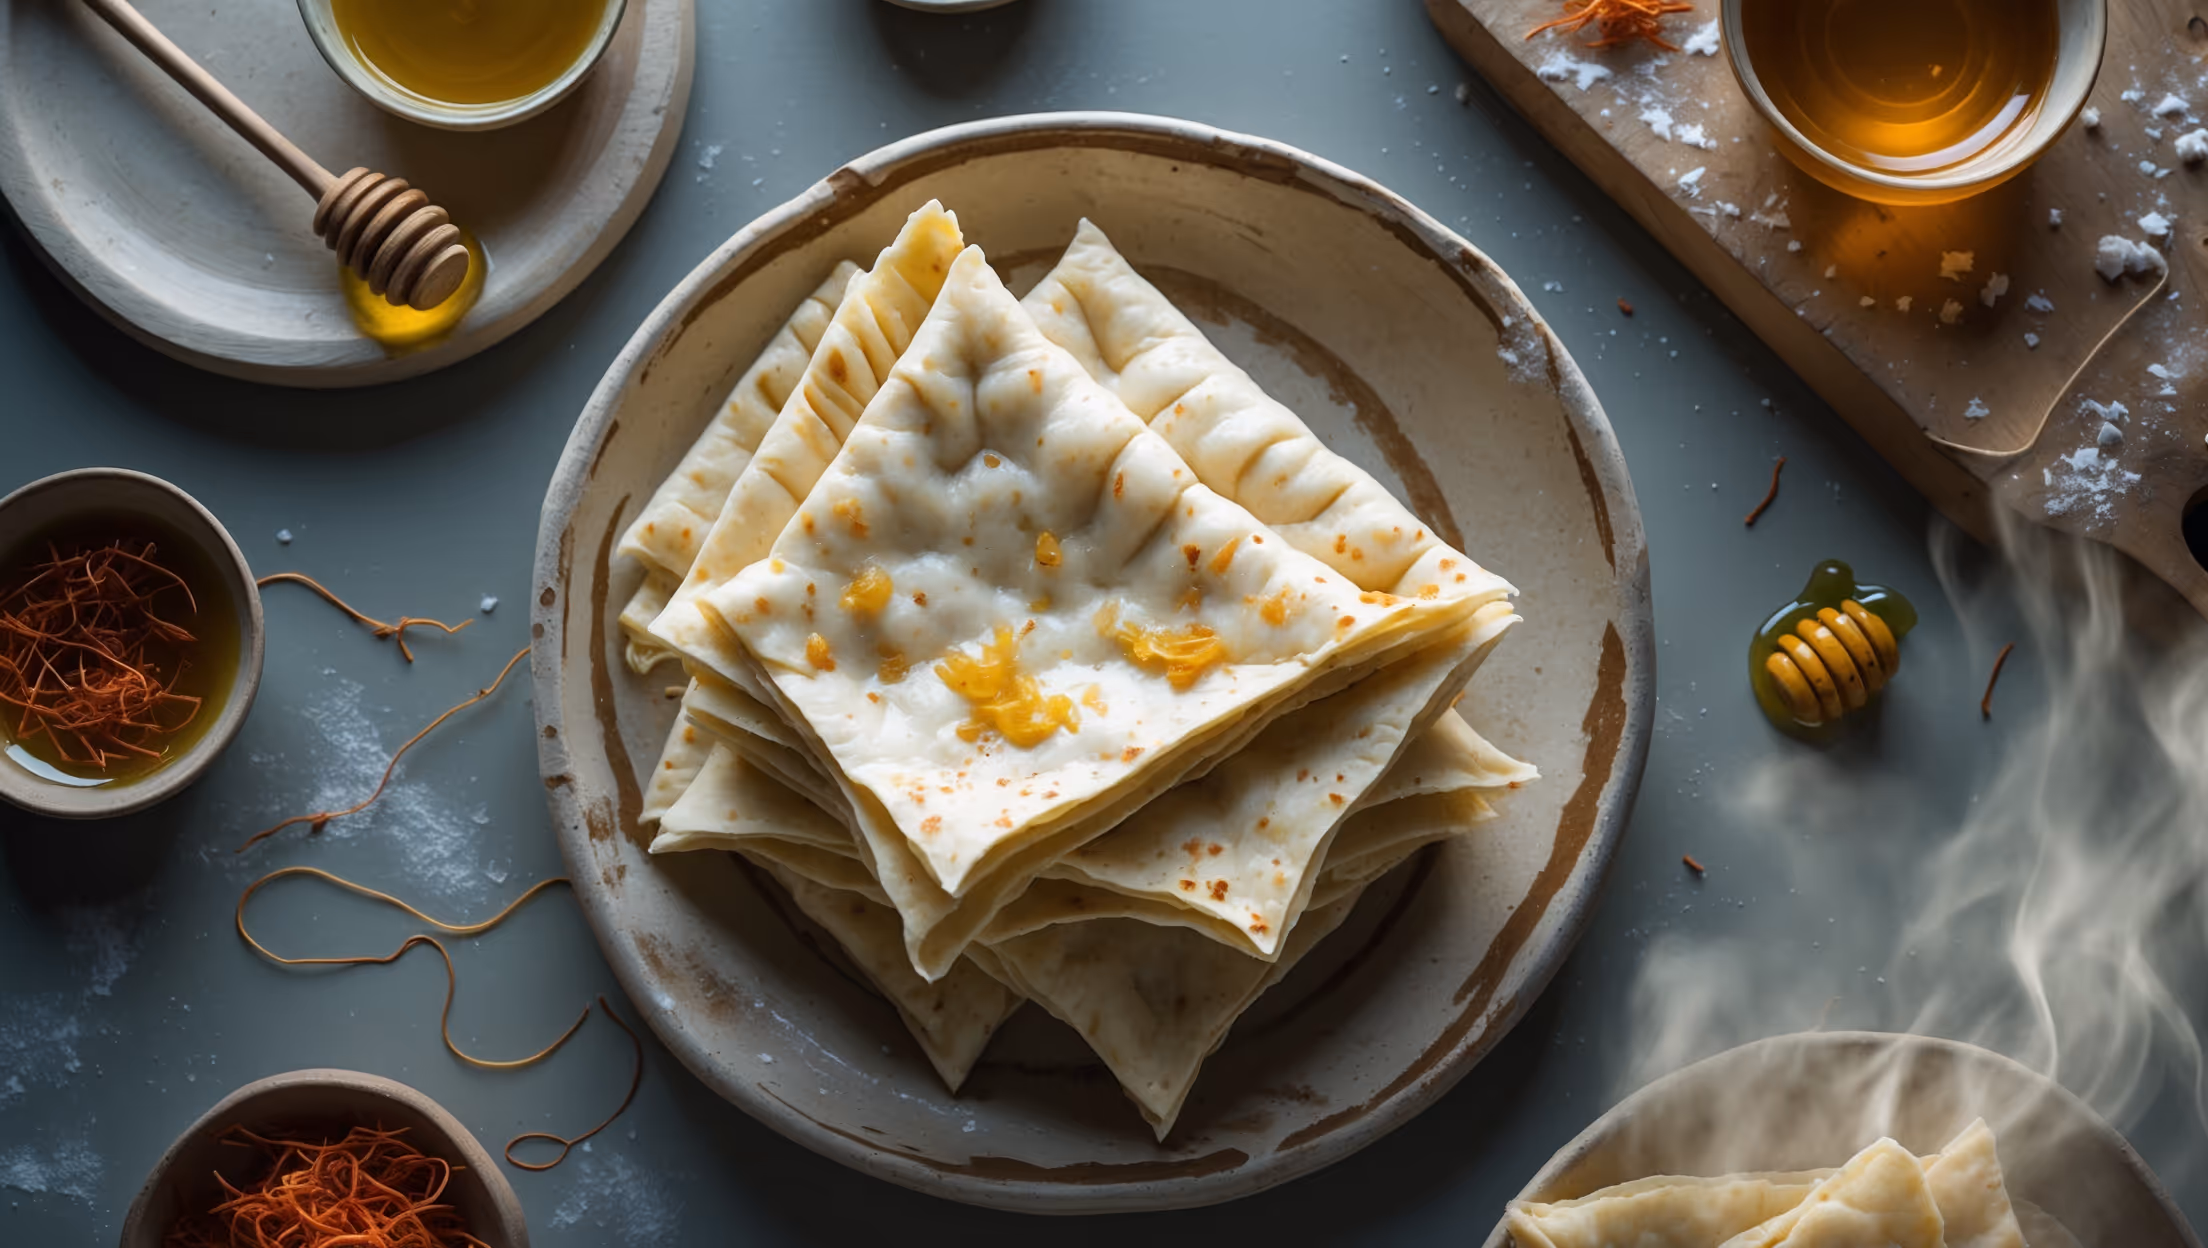
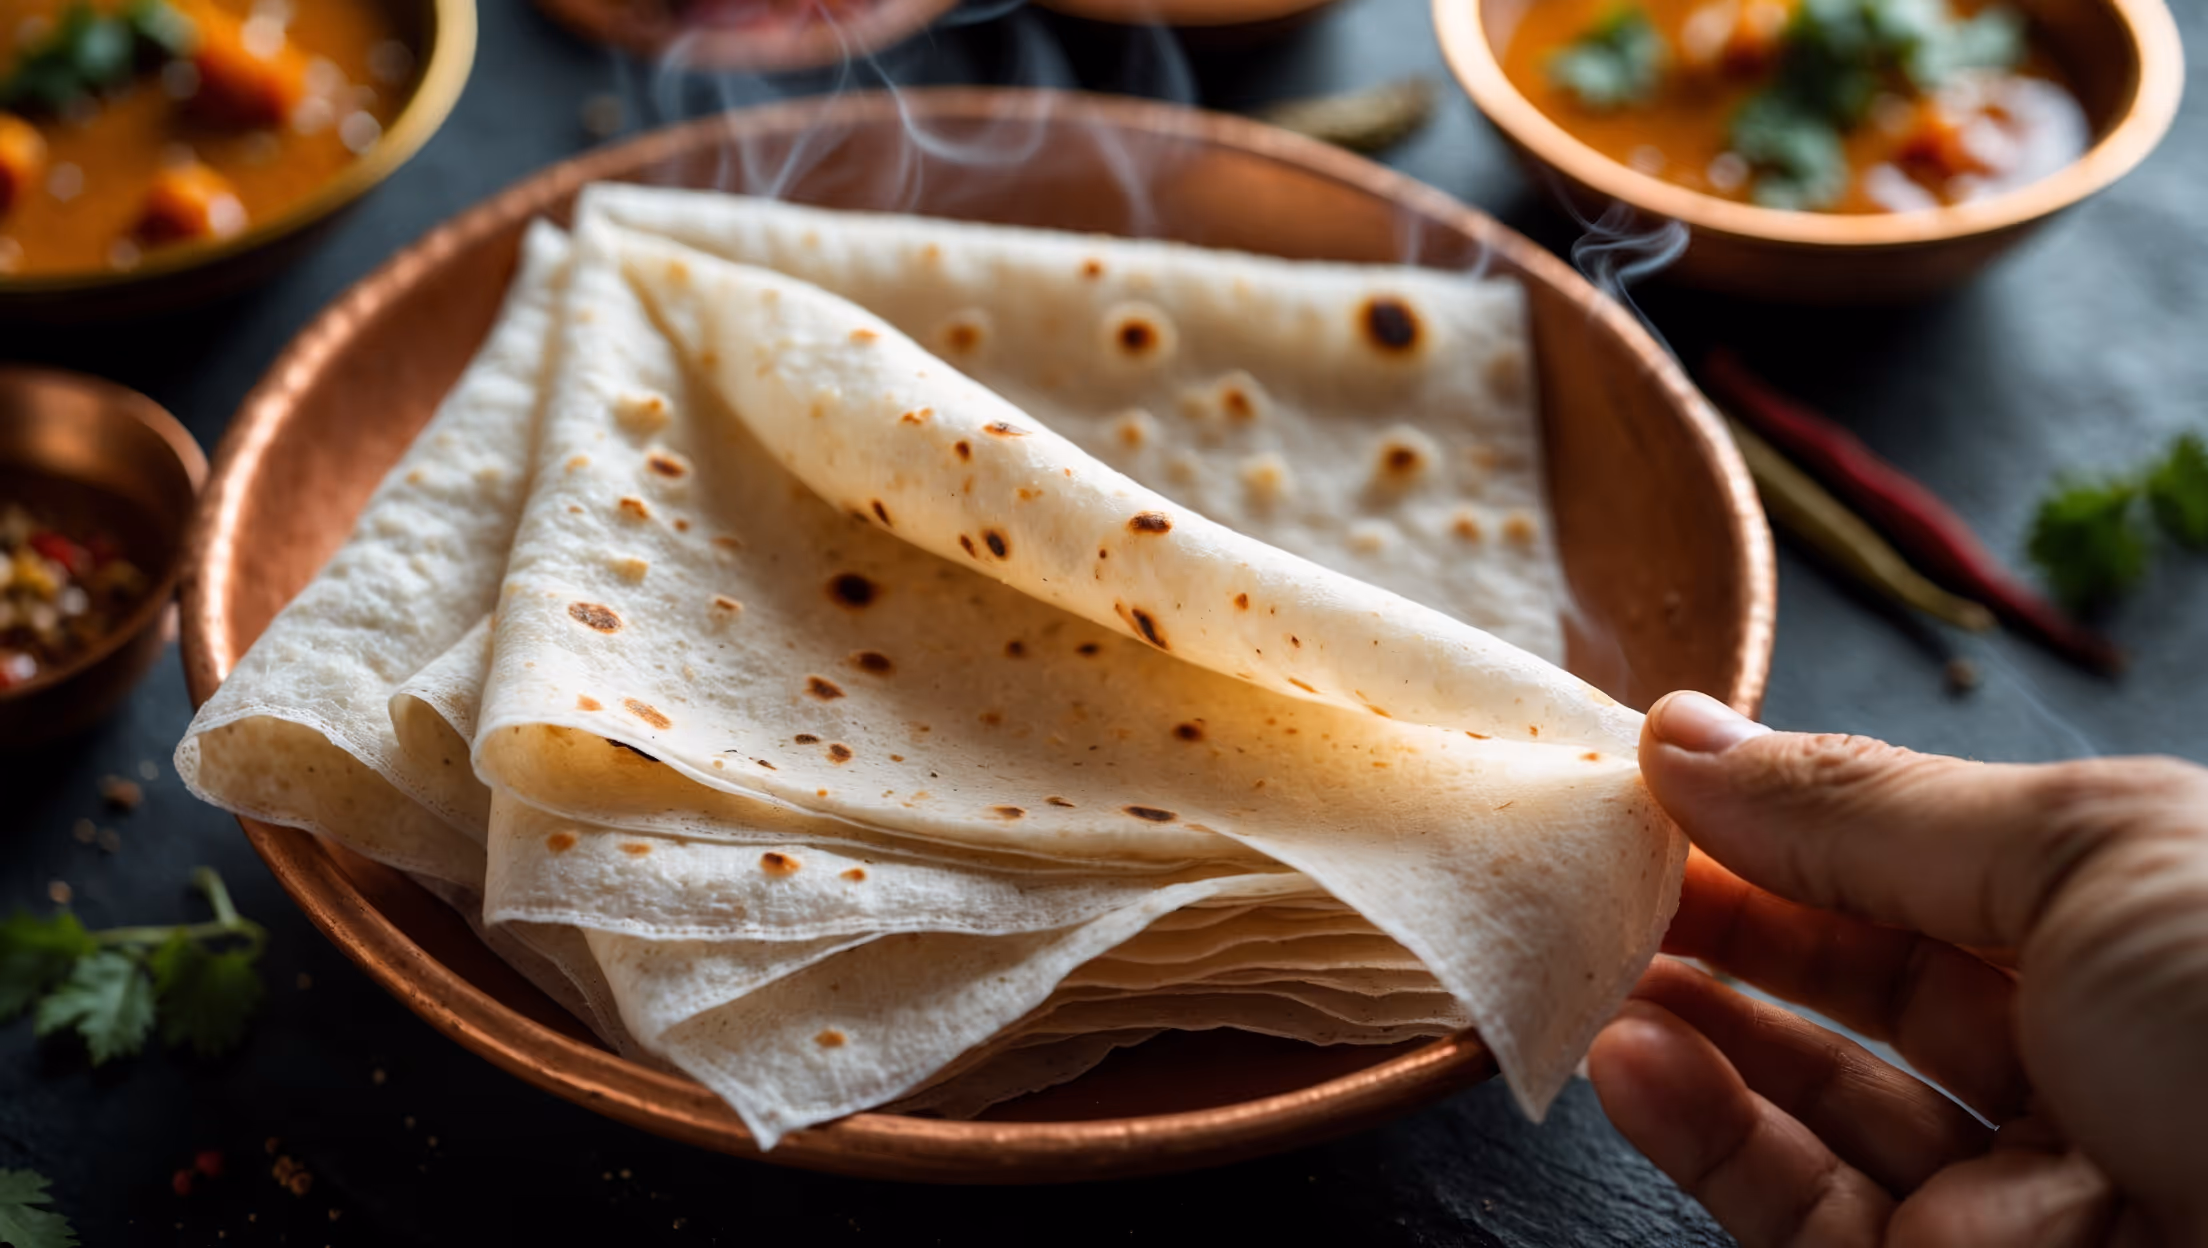
Serve these delicate flatbreads immediately while warm, folded in their characteristic handkerchief shape. They pair beautifully with north Indian gravies like butter chicken, dal makhani, or any dish with rich sauce that can be scooped up. The bread's thinness allows the curry flavours to shine.
Yes! While the traditional method uses an inverted wok (ulta tawa) for the second side, you can use the same flat griddle for both sides. You'll miss some of the characteristic charring and puffing, but with practice, you can still achieve excellent results by ensuring your cooking surface is very hot.
Flatbreads
Try following recommended recipes