Rosemary Focaccia Recipe
Ingredients
Equipment
Directions
FAQs
Find answers to your most pressing questions about this delicious recipe right here.
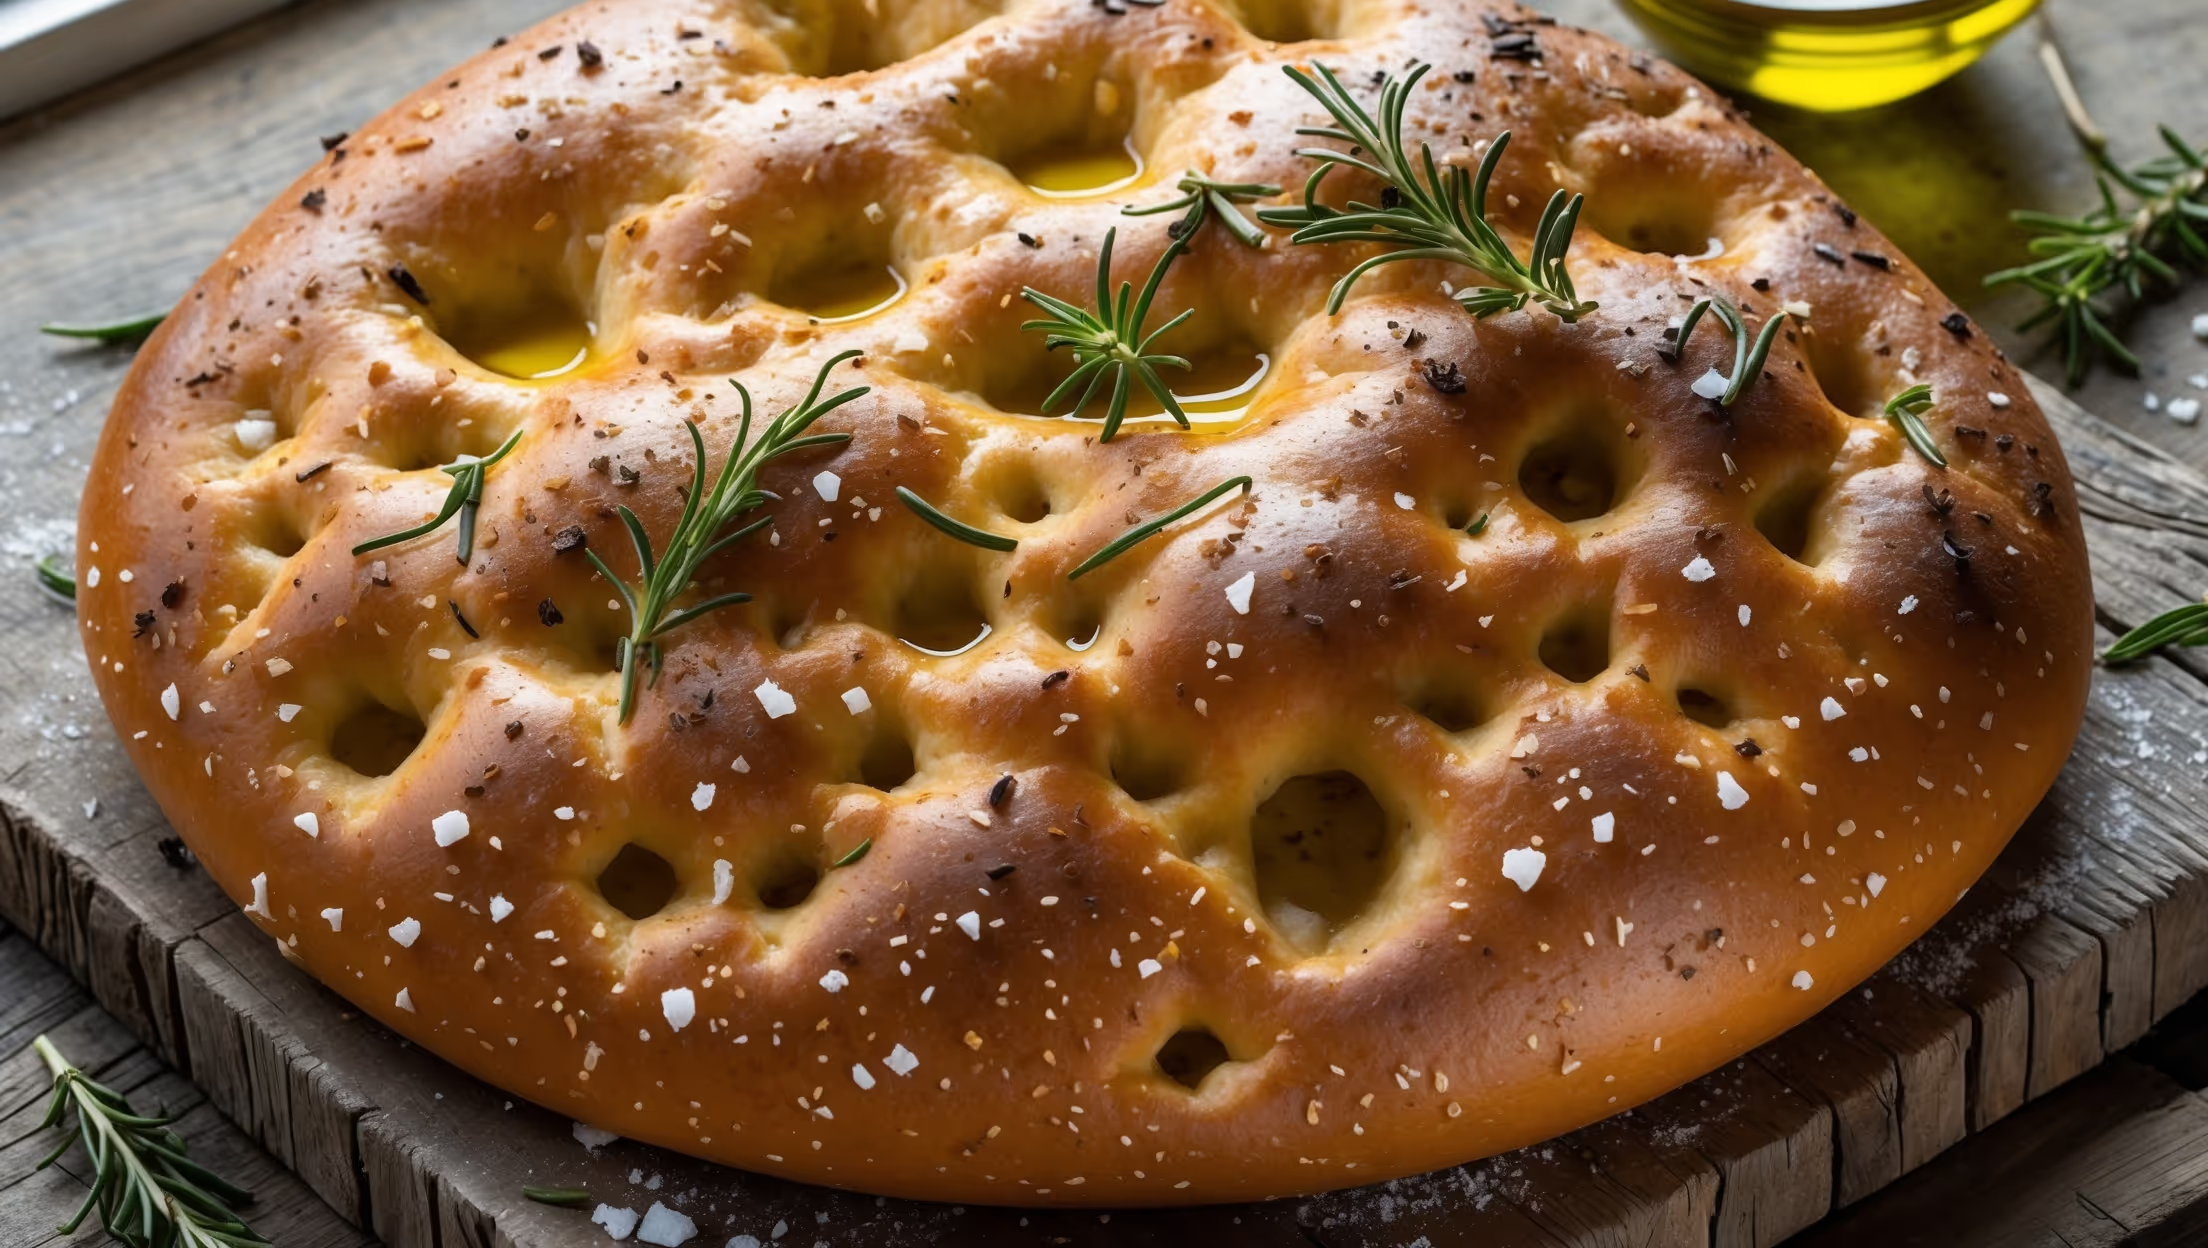
Traditional rosemary focaccia requires strong bread flour, instant dried yeast, fine sea salt, lukewarm water, extra virgin olive oil, fresh rosemary sprigs, and flaky sea salt for finishing. These simple ingredients create the perfect balance of crispy exterior and chewy interior.
Learn how to cook Rosemary Focaccia Recipe by combining flour and salt, adding yeast-infused lukewarm water and olive oil, kneading until elastic, then allowing two rises. Press the dough into an oiled tray, create signature dimples, add rosemary and sea salt, then bake at 220°C for 20-25 minutes until golden and hollow-sounding when tapped.
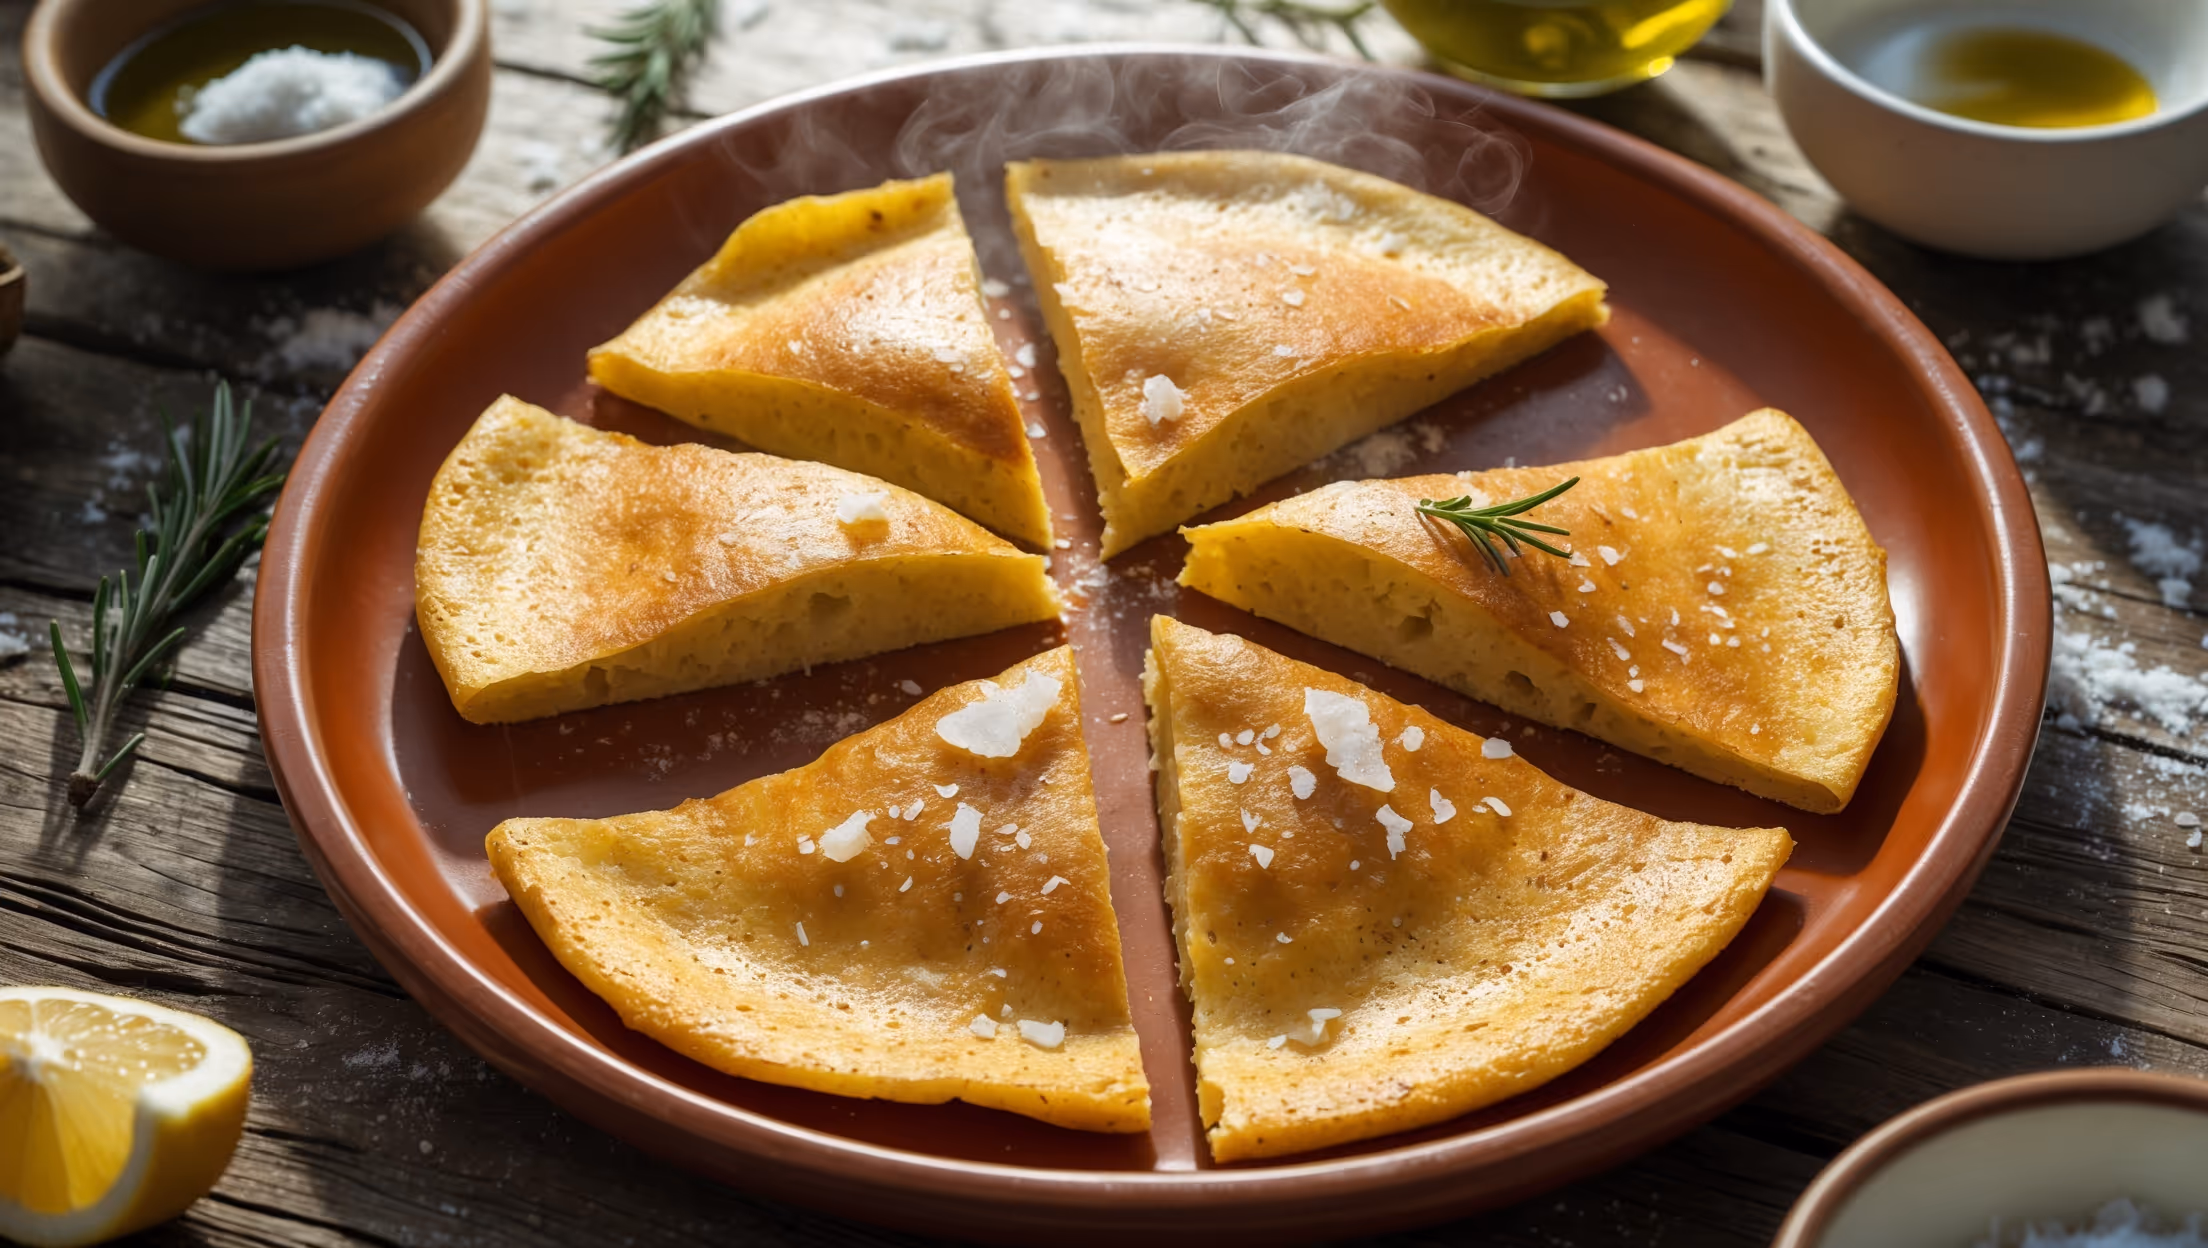
Dimpling serves multiple purposes: it prevents the dough from rising too much in the oven, creates the bread's characteristic rustic appearance, and most importantly, creates pockets that trap olive oil, resulting in flavourful wells that enhance both taste and texture.
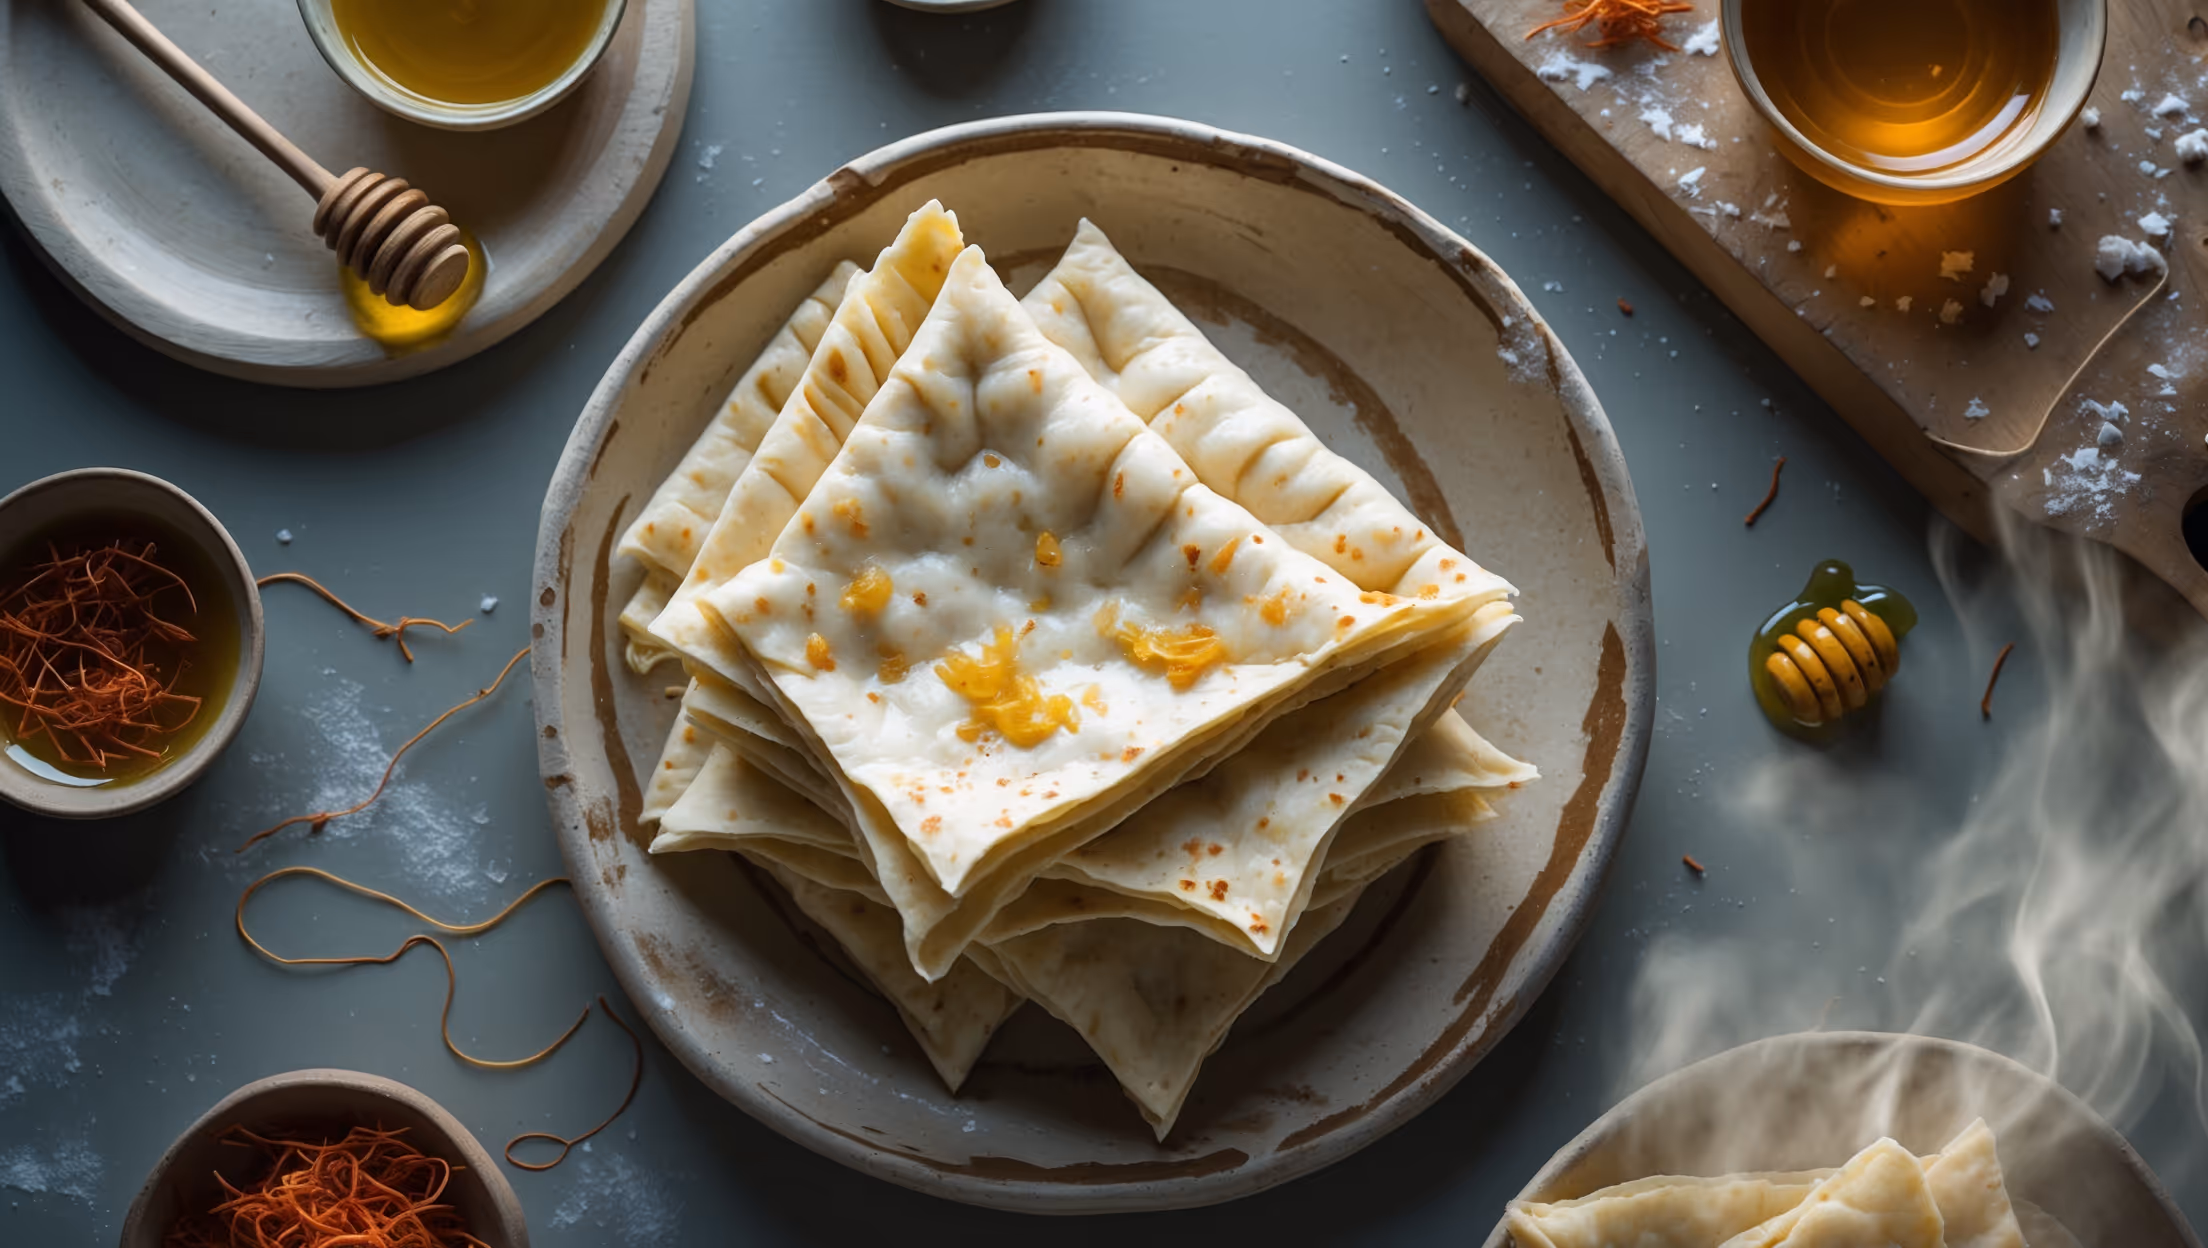
Absolutely! While rosemary is traditional, focaccia is wonderfully versatile. Try cherry tomatoes, olives, caramelised onions, sun-dried tomatoes, thinly sliced potatoes, or other herbs like thyme and oregano. You can even make a sweet version with grapes and honey.
The key is proper hydration (this recipe uses high water-to-flour ratio), thorough kneading to develop gluten, allowing sufficient rising time, gentle handling to preserve air bubbles, and creating dimples rather than flattening the dough completely before baking.
Flatbreads
Try following recommended recipes