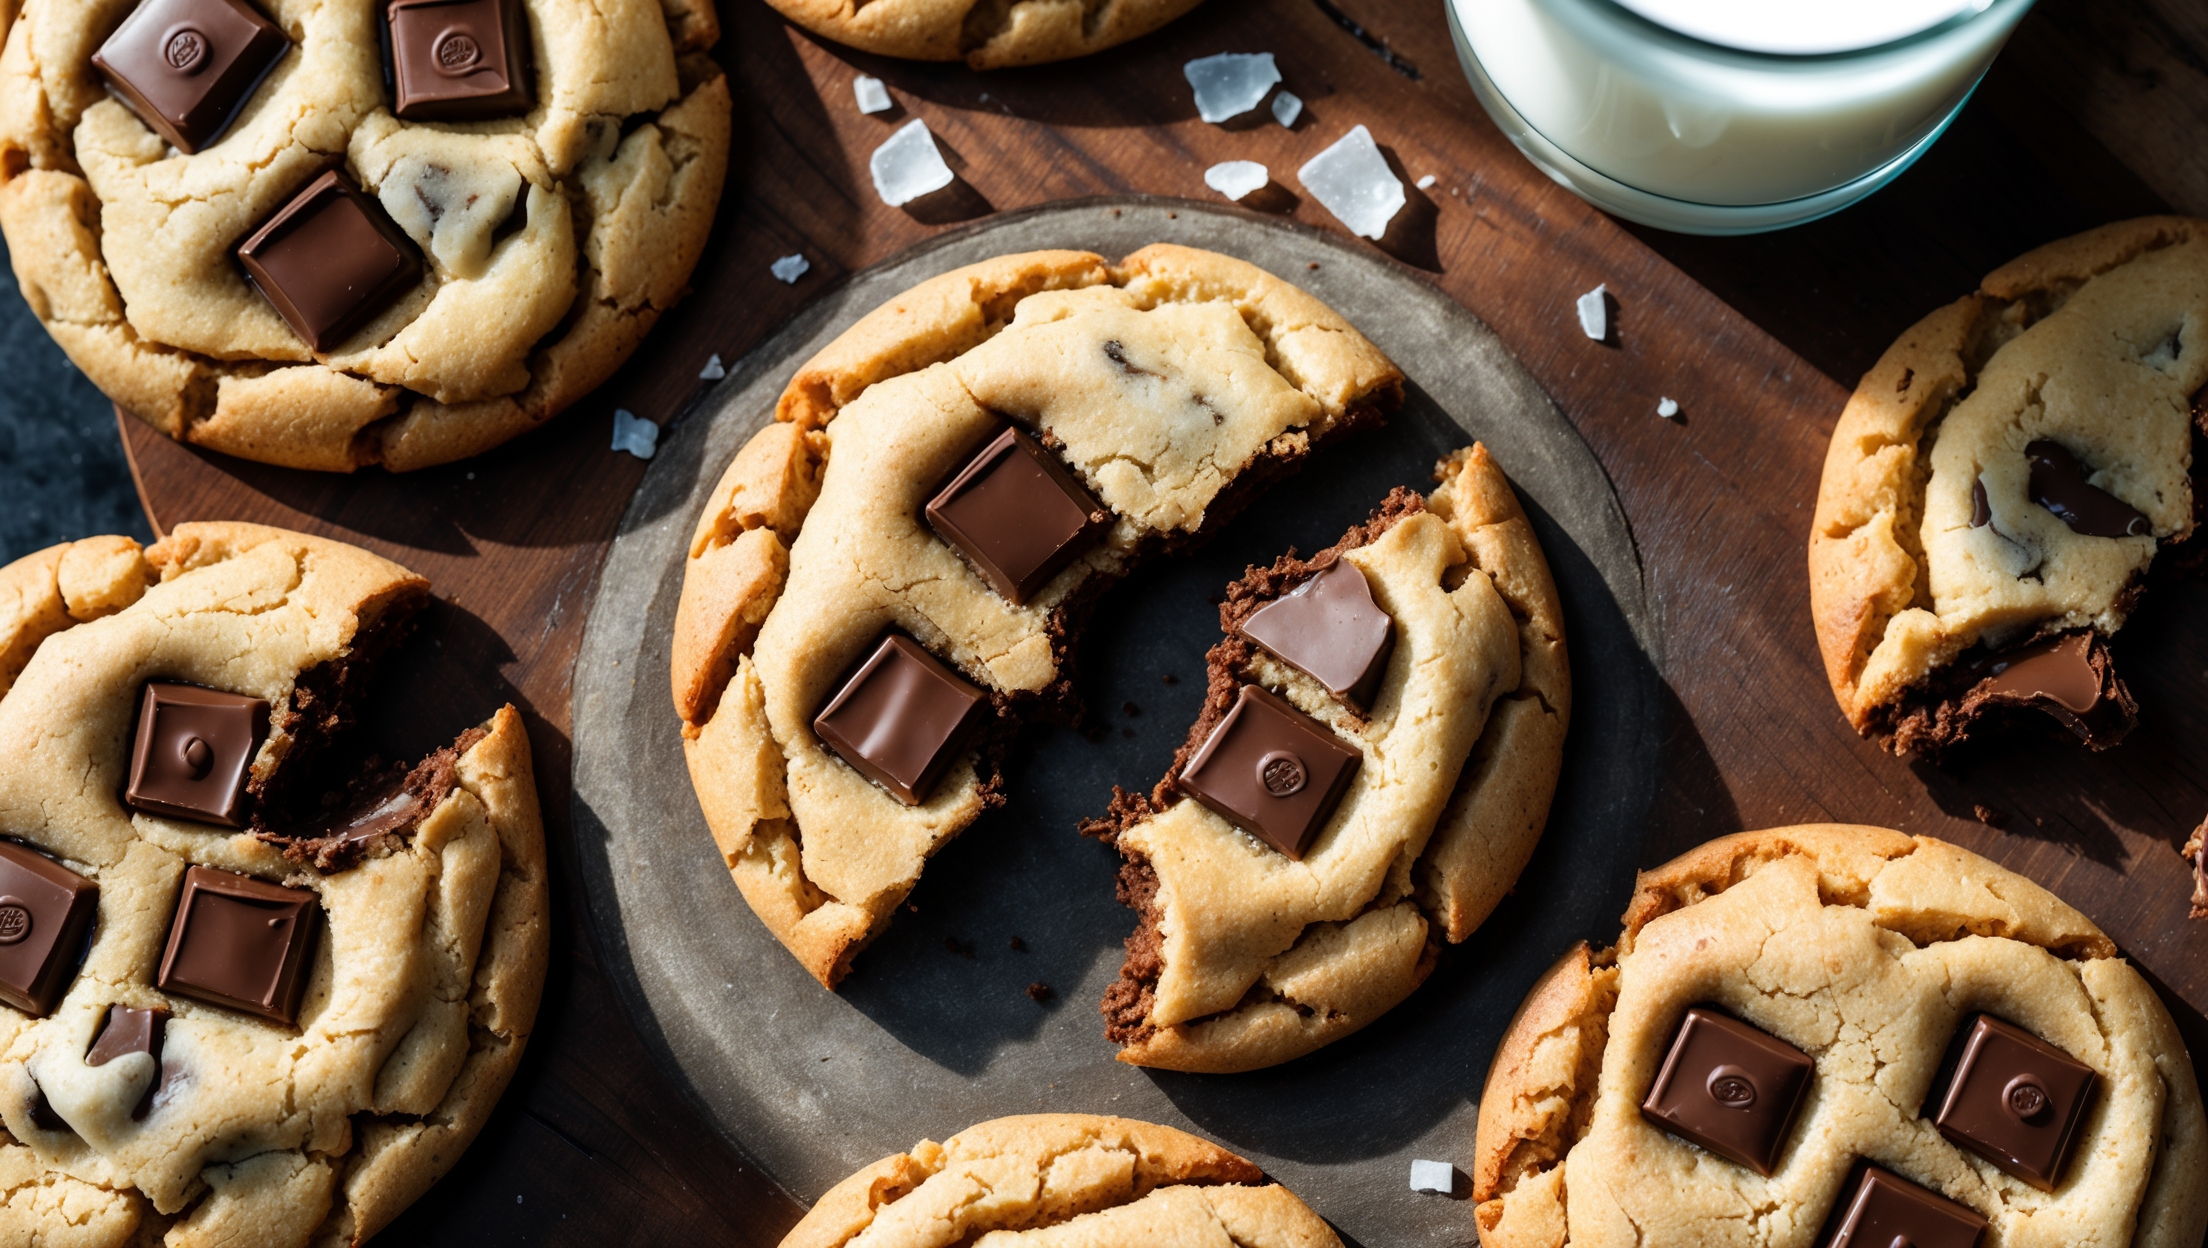
Directions
<ol class="no-list-style"><li class="MethodStepper"><h4 class="step-title">Step 1</h4>Preheat your oven to 175°C (350°F) and line two baking sheets with parchment paper or silicone baking mats. This preparation ensures your cookies will bake evenly and won't stick to the pans.</li><li class="MethodStepper"><h4 class="step-title">Step 2</h4>In a large mixing bowl, cream together the softened butter, peanut butter, granulated sugar, and brown sugar for about 3-4 minutes until light and fluffy. This extended creaming process incorporates air into the fat and sugar mixture, creating a lighter cookie texture with more volume.</li><li class="MethodStepper"><h4 class="step-title">Step 3</h4>Add the eggs one at a time, beating well after each addition until fully incorporated. Scrape down the sides of the bowl as needed. Then mix in the vanilla extract until combined. The eggs provide structure and moisture to your cookies.</li><li class="MethodStepper"><h4 class="step-title">Step 4</h4>In a separate bowl, whisk together the flour, baking soda, and salt to ensure even distribution of the leavening agent. Gradually add this dry mixture to the wet ingredients on low speed, mixing just until no flour streaks remain. Overmixing at this stage can develop too much gluten, resulting in tough cookies.</li><li class="MethodStepper"><h4 class="step-title">Step 5</h4>Gently fold in the chocolate chips with a rubber spatula until evenly distributed throughout the dough. The warmth from the dough will slightly soften the chocolate, making it easier to incorporate without breaking the chips.</li><li class="MethodStepper"><h4 class="step-title">Step 6</h4>Place the extra granulated sugar in a small bowl. Using a cookie scoop or tablespoon, portion the dough into balls about 40g each. Roll each ball in the granulated sugar to coat, then place on the prepared baking sheets, spacing them about 5cm apart to allow for spreading.</li><li class="MethodStepper"><h4 class="step-title">Step 7</h4>Gently press each cookie dough ball with the tines of a fork in a crisscross pattern, flattening them slightly. This traditional peanut butter cookie technique not only creates a decorative top but also helps the cookies bake more evenly.</li><li class="MethodStepper"><h4 class="step-title">Step 8</h4>Bake in the preheated oven for 10-12 minutes, or until the edges are set and lightly golden but the centers still look slightly underdone. This is the secret to chewy cookies – they'll continue cooking on the hot baking sheet after removal from the oven.</li><li class="MethodStepper"><h4 class="step-title">Step 9</h4>Allow the cookies to cool on the baking sheets for 5 minutes before transferring to a wire rack to cool completely. The cookies will firm up as they cool, achieving that perfect balance of crisp edges and chewy centers.</li><li class="MethodStepper"><h4 class="step-title">Step 10</h4>Store cooled cookies in an airtight container at room temperature for up to 5 days, or freeze for up to 3 months. To revive day-old cookies, warm them in the microwave for 10-15 seconds for that fresh-baked taste and melty chocolate chips.</li></ol>