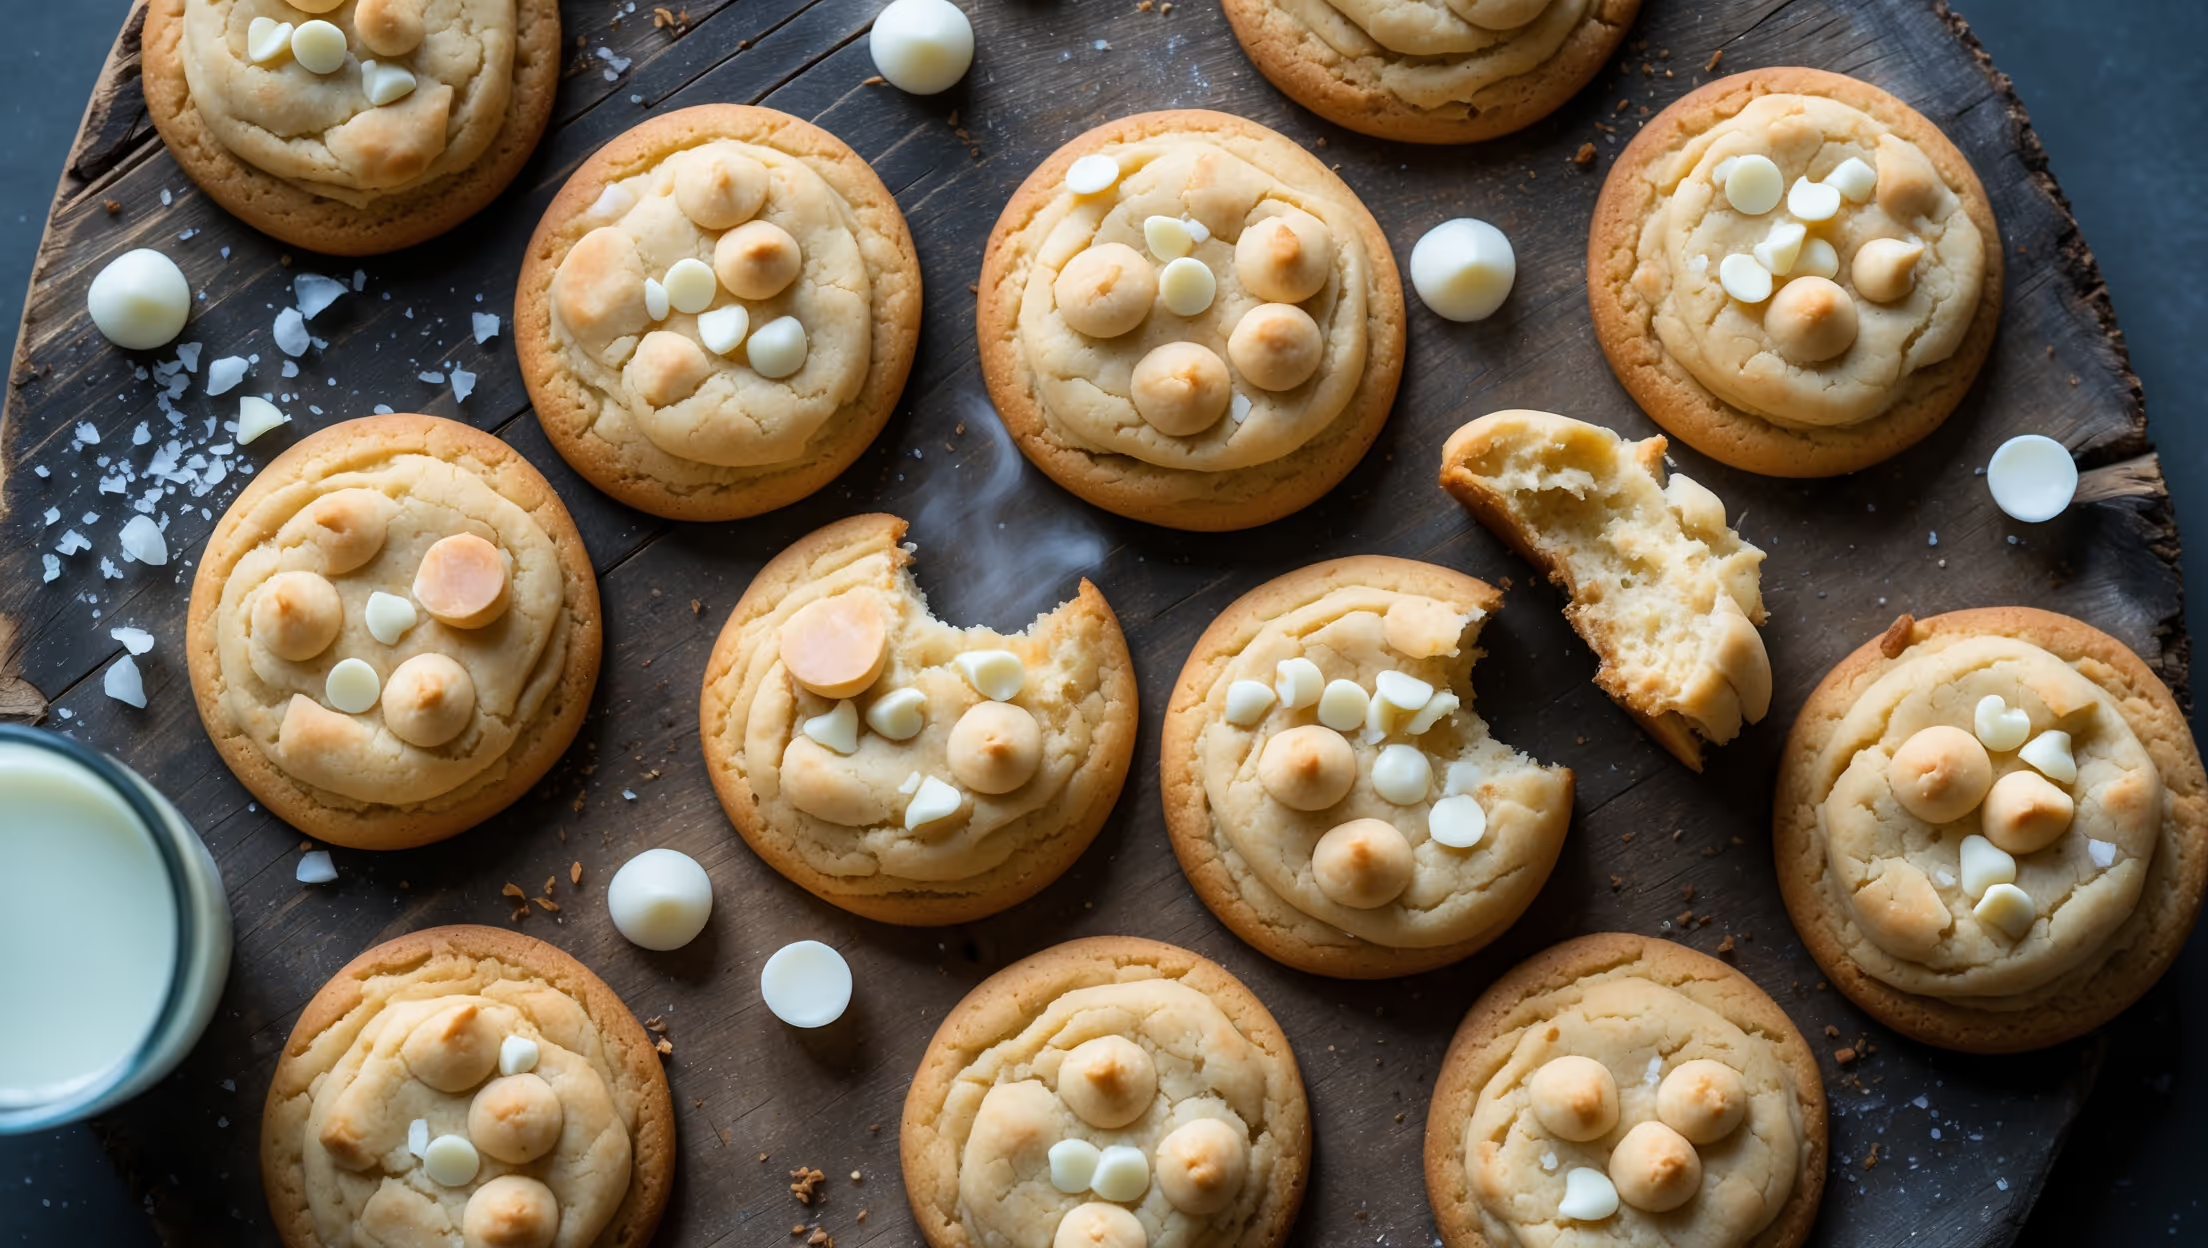
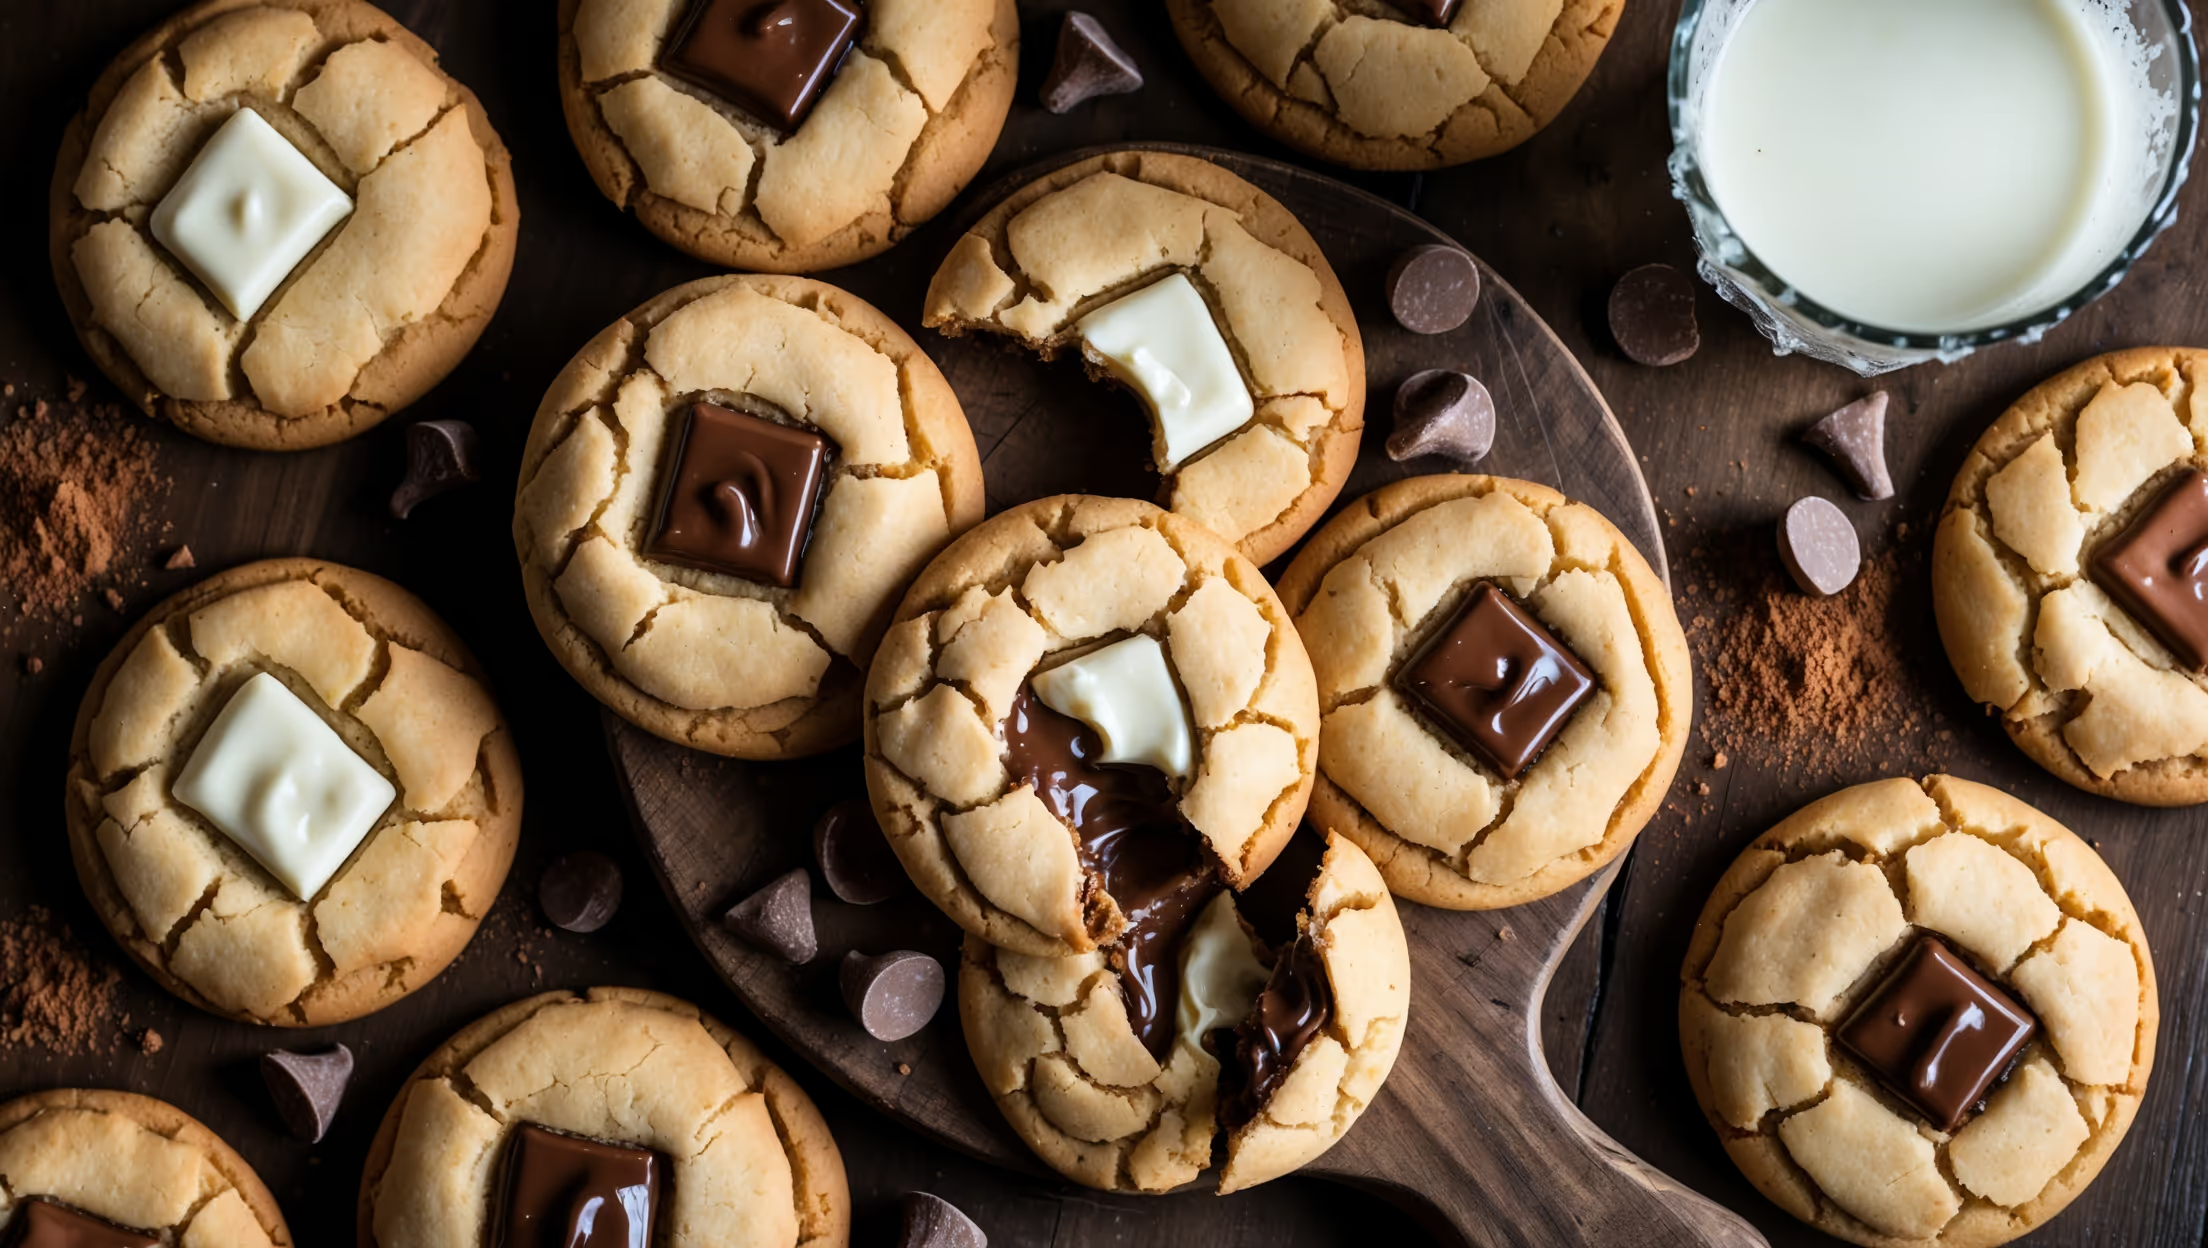
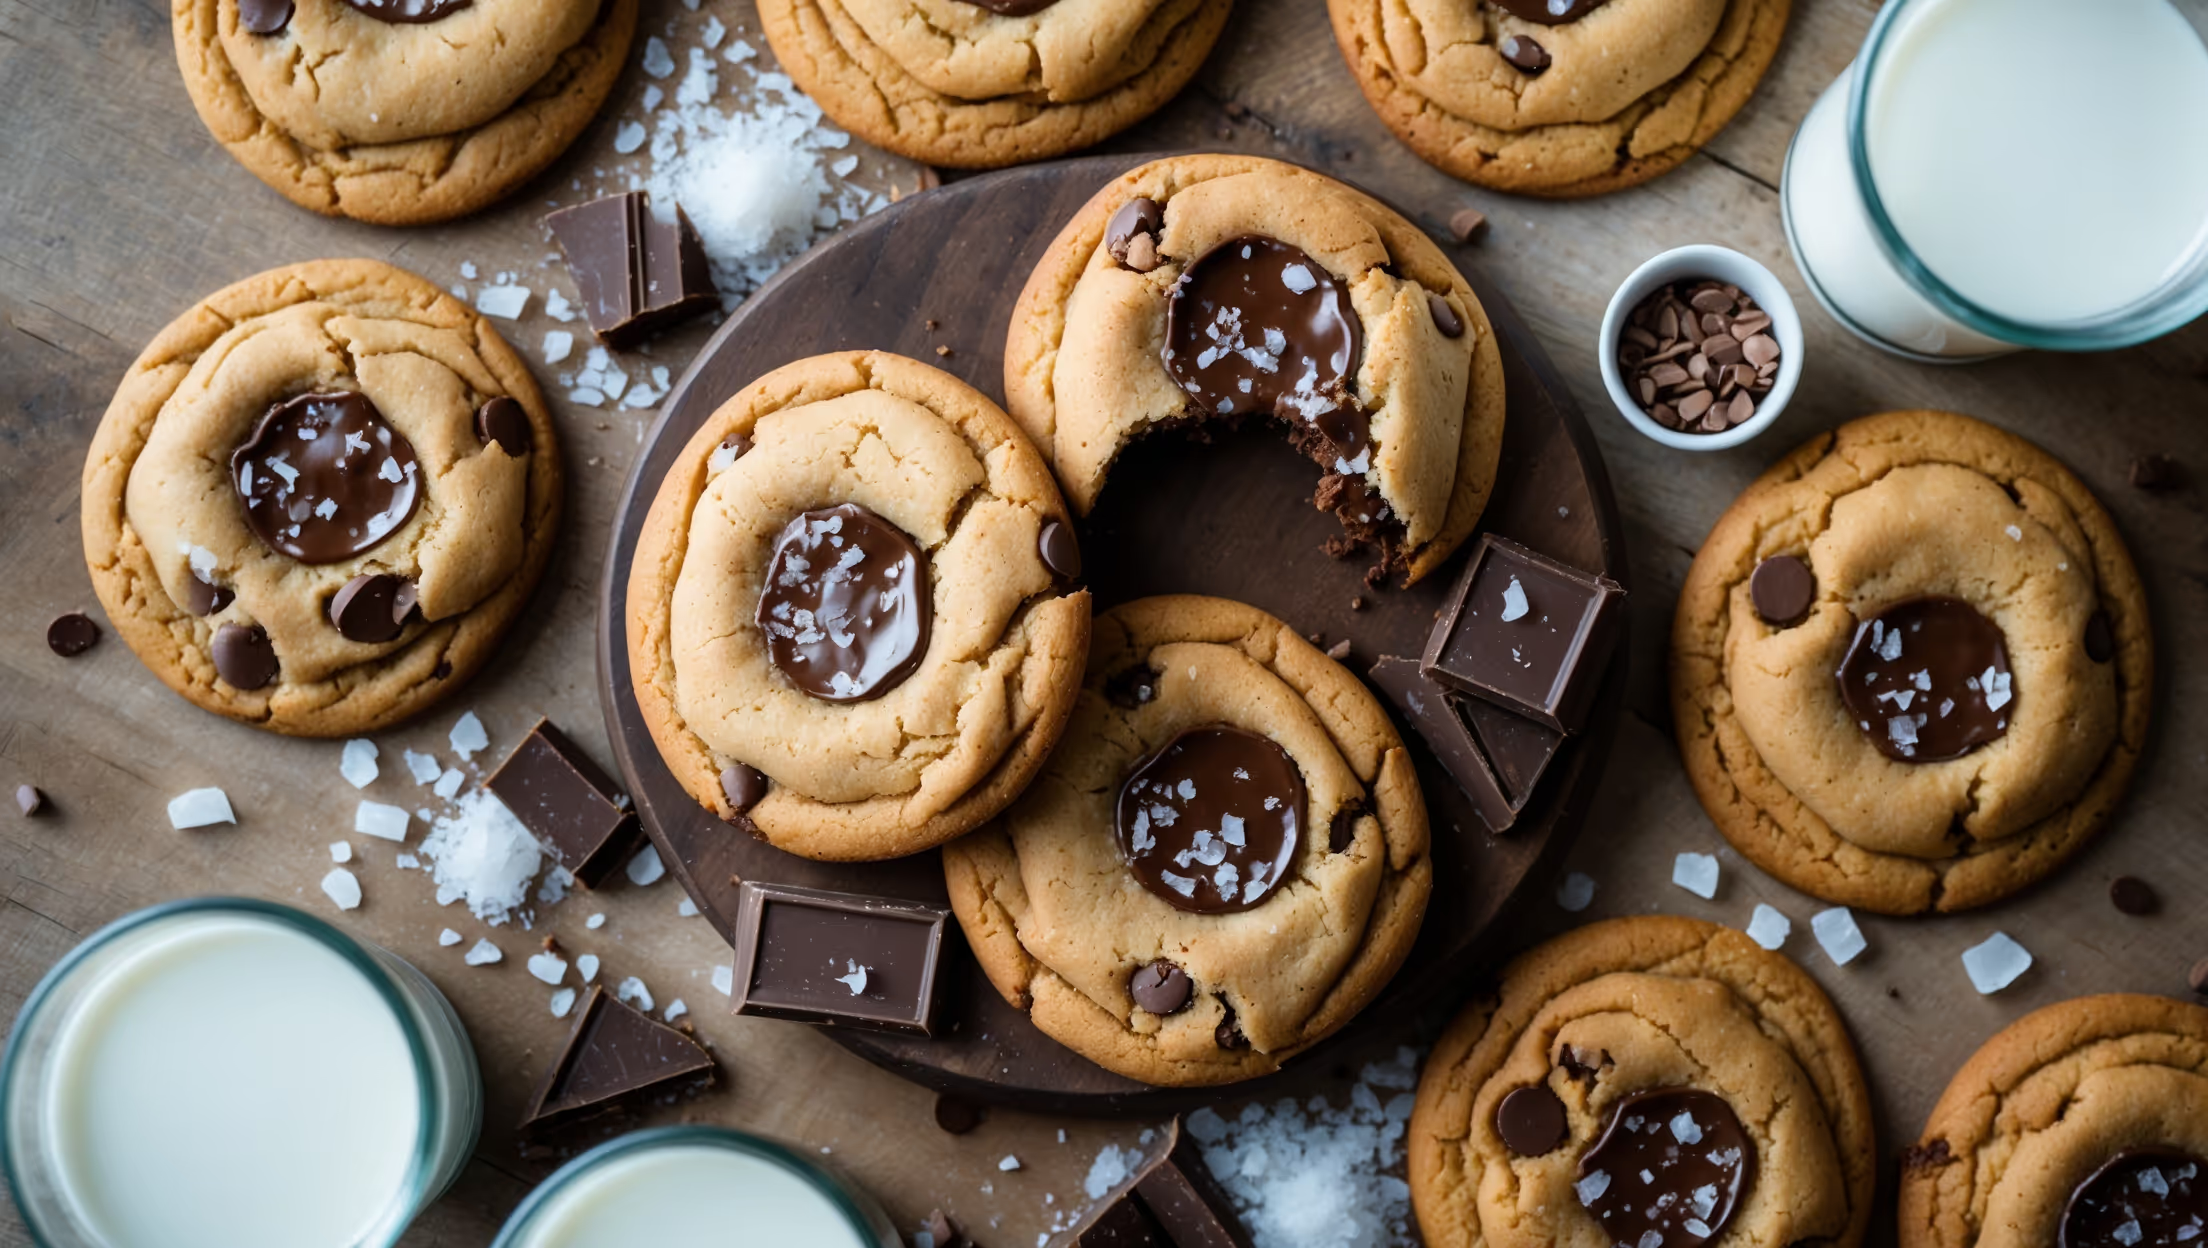
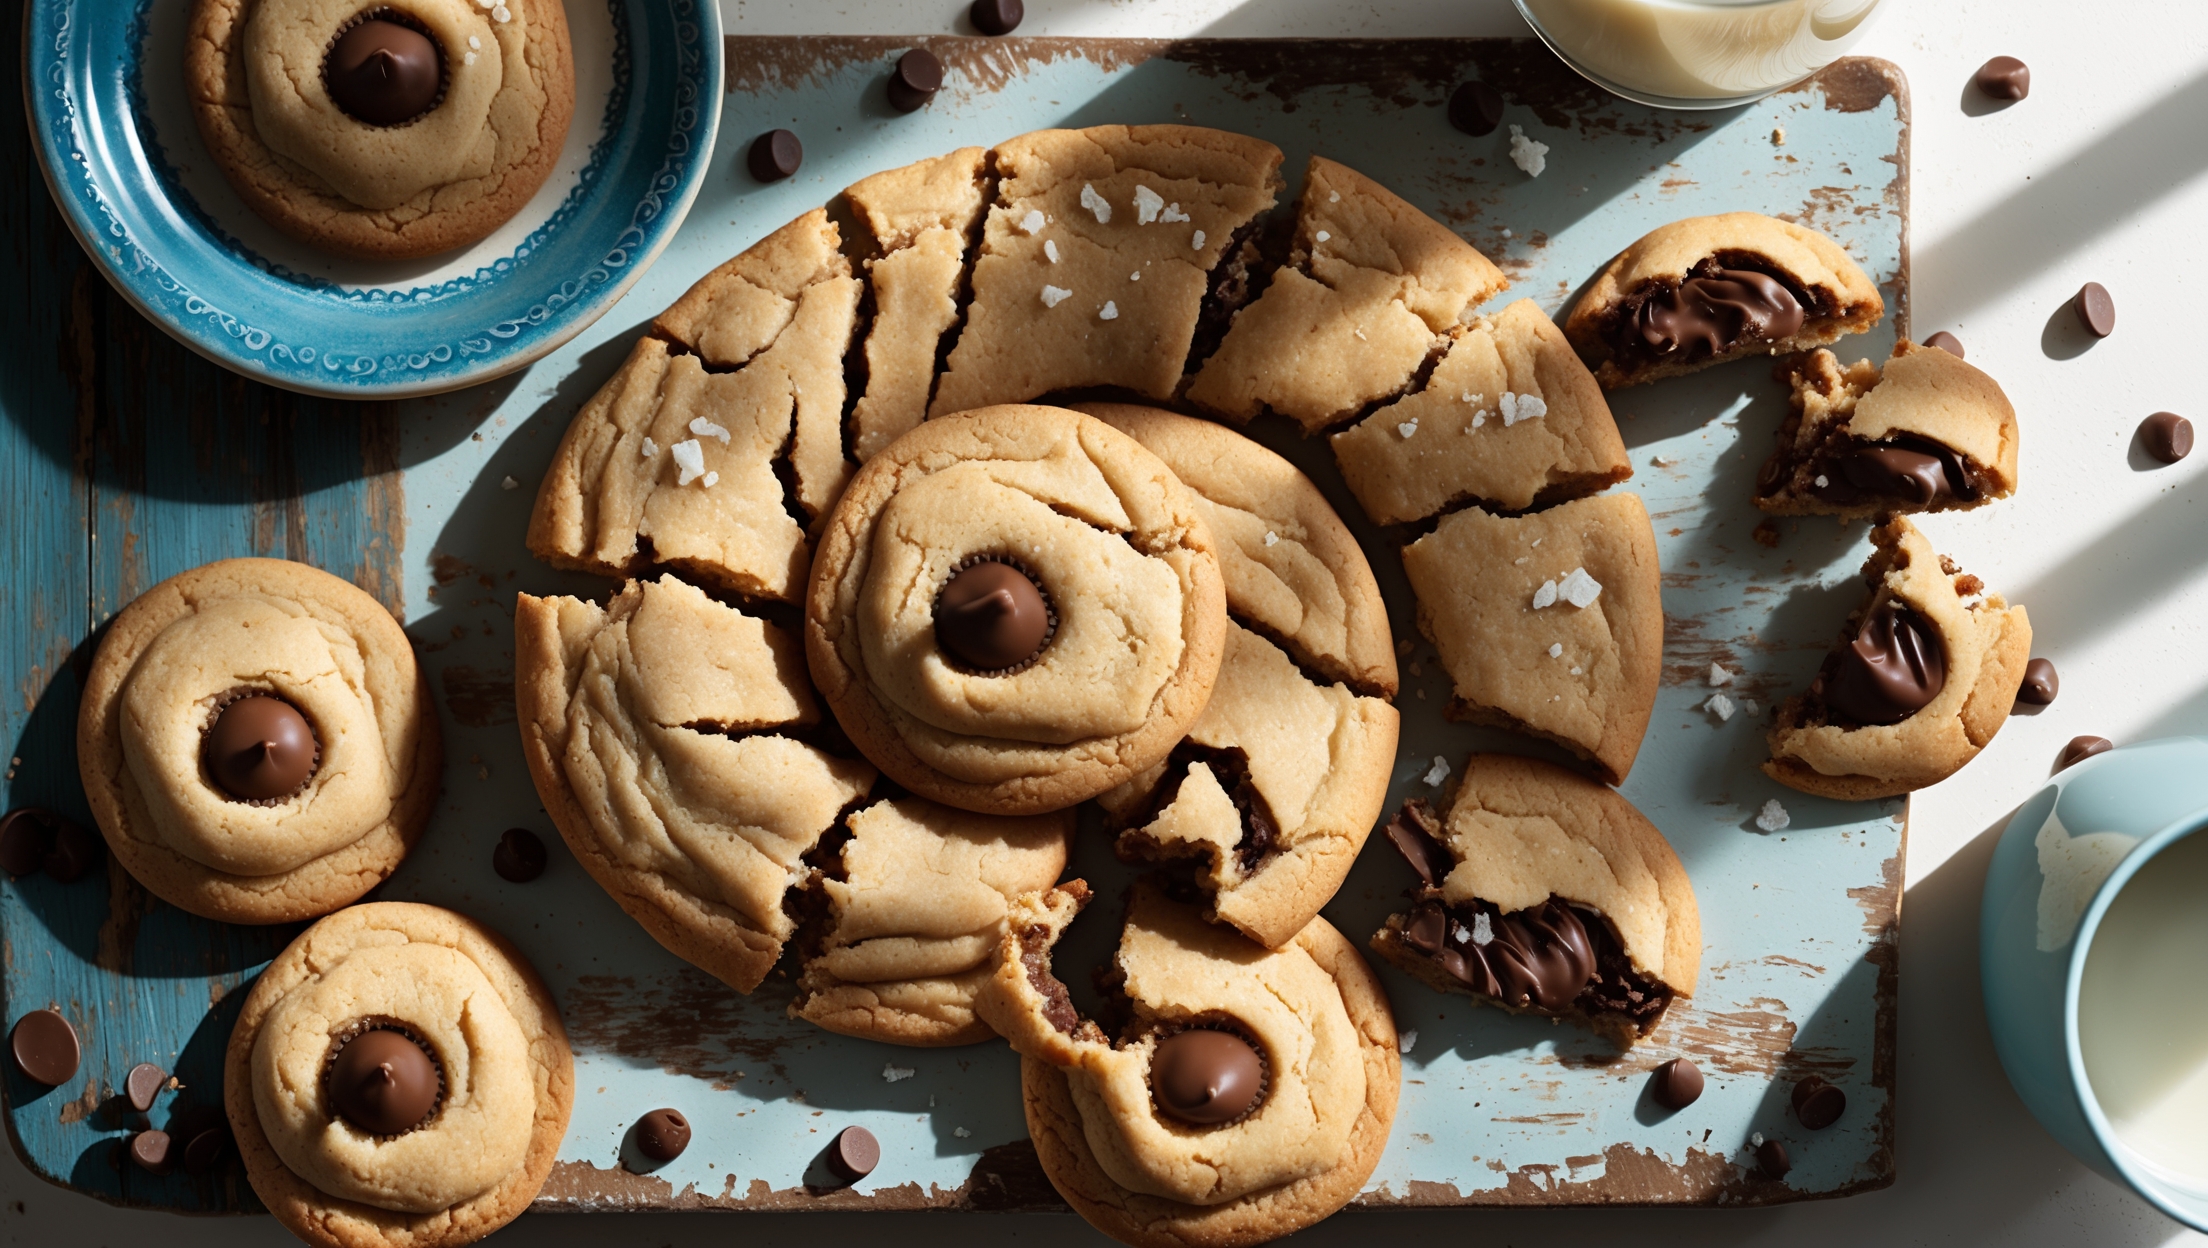
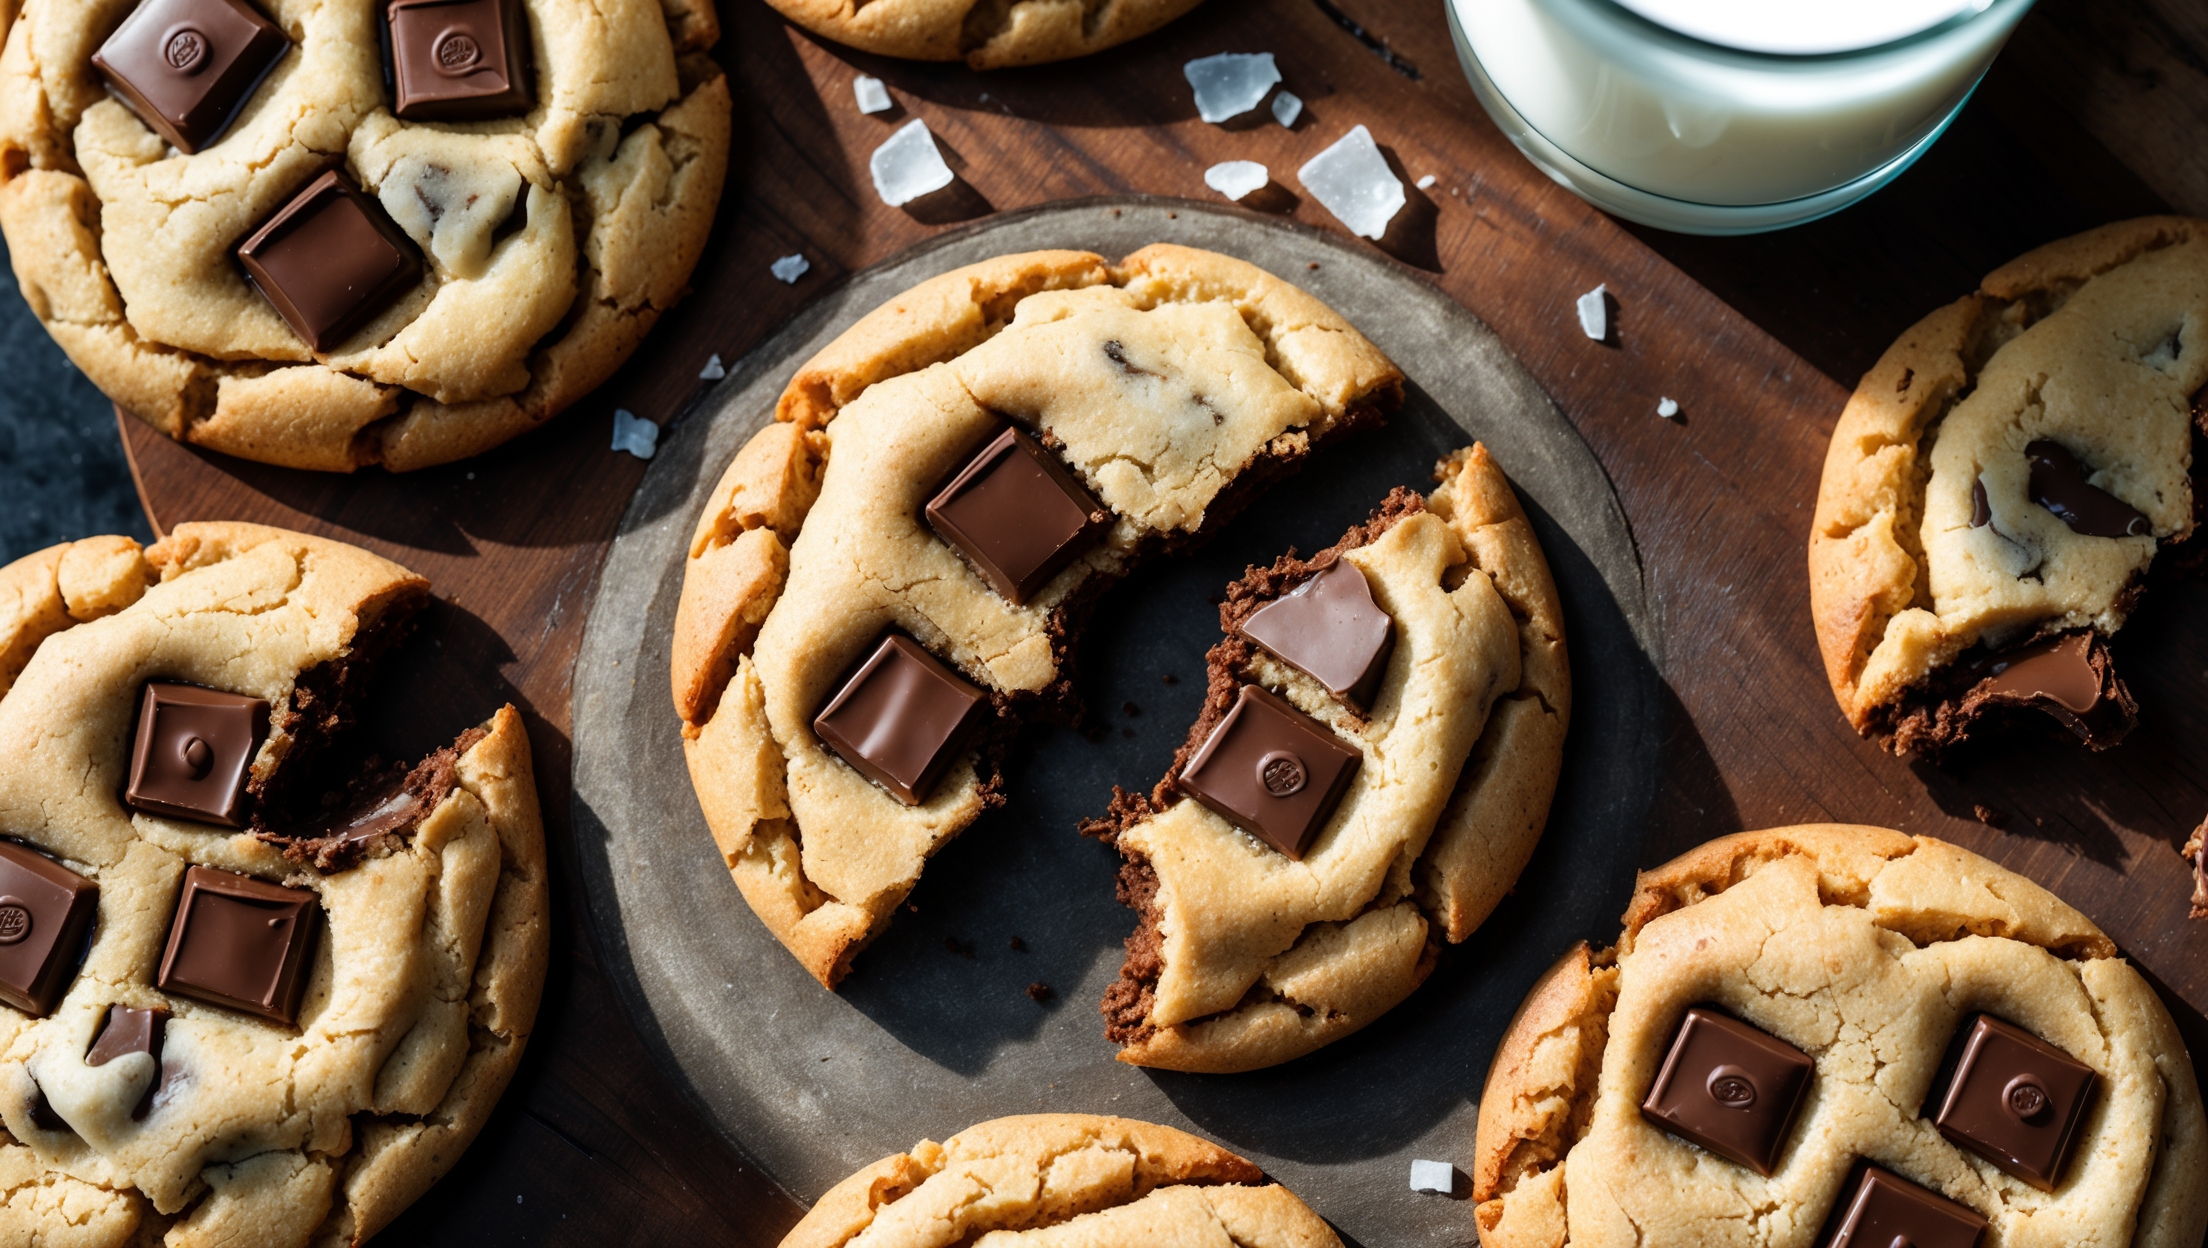
Directions
<ol class="no-list-style"> <li class="MethodStepper"> <h4 class="step-title">Step 1</h4> Preheat your oven to 180°C and line two baking sheets with parchment paper. Allow the butter to soften at room temperature until it gives slightly when pressed but isn't melting (about 30-45 minutes). Proper butter consistency is crucial for the perfect cookie texture. </li> <li class="MethodStepper"> <h4 class="step-title">Step 2</h4> In a large bowl or stand mixer, cream together the softened butter, light brown sugar, and granulated sugar for 3-4 minutes until light and fluffy. This extended mixing incorporates air into the dough, creating a lighter texture and helps dissolve the sugar crystals for a smoother cookie. </li> <li class="MethodStepper"> <h4 class="step-title">Step 3</h4> Add the eggs one at a time, beating well after each addition. Mix in the vanilla extract, orange extract, and orange zest until fully incorporated. The oils in the orange zest will release during mixing, infusing the dough with bright citrus flavor. </li> <li class="MethodStepper"> <h4 class="step-title">Step 4</h4> In a separate bowl, whisk together the flour, baking soda, and salt. Gradually add this dry mixture to the wet ingredients, mixing on low speed just until combined. Overmixing at this stage will develop too much gluten, resulting in tough cookies. </li> <li class="MethodStepper"> <h4 class="step-title">Step 5</h4> Fold in the chocolate chips and candied orange peel (if using) with a spatula until evenly distributed throughout the dough. The warmth from the mixing will slightly soften the chocolate, creating those lovely melty pockets when baked. </li> <li class="MethodStepper"> <h4 class="step-title">Step 6</h4> For the best flavor development, cover the dough and chill in the refrigerator for at least 30 minutes (or up to 24 hours). This resting period allows the flour to fully hydrate and the flavors to meld together, while the chilled dough helps prevent excessive spreading during baking. </li> <li class="MethodStepper"> <h4 class="step-title">Step 7</h4> Using a cookie scoop or spoon, portion the dough into balls about 2 tablespoons in size, placing them at least 5cm apart on the prepared baking sheets. For bakery-style cookies with a perfect texture contrast, slightly flatten the tops while leaving them thick in the center. </li> <li class="MethodStepper"> <h4 class="step-title">Step 8</h4> Bake for 11-13 minutes or until the edges are set and lightly golden while the centers still look slightly underdone. The cookies will continue to cook as they cool, so removing them at this point ensures they remain chewy. If baking multiple batches, allow the baking sheets to cool completely between batches. </li> <li class="MethodStepper"> <h4 class="step-title">Step 9</h4> If desired, sprinkle a small amount of flaky sea salt over the cookies immediately after removing from the oven. The salt enhances both the chocolate and orange flavors through contrast. Allow the cookies to cool on the baking sheets for 5 minutes before transferring to a wire rack to cool completely. </li> <li class="MethodStepper"> <h4 class="step-title">Step 10</h4> Store completely cooled cookies in an airtight container at room temperature for up to 5 days. To refresh them, warm briefly in a 150°C oven for 3-4 minutes. For longer storage, freeze the baked cookies for up to 3 months, or freeze portions of raw dough to bake fresh cookies whenever the craving strikes. </li> </ol>