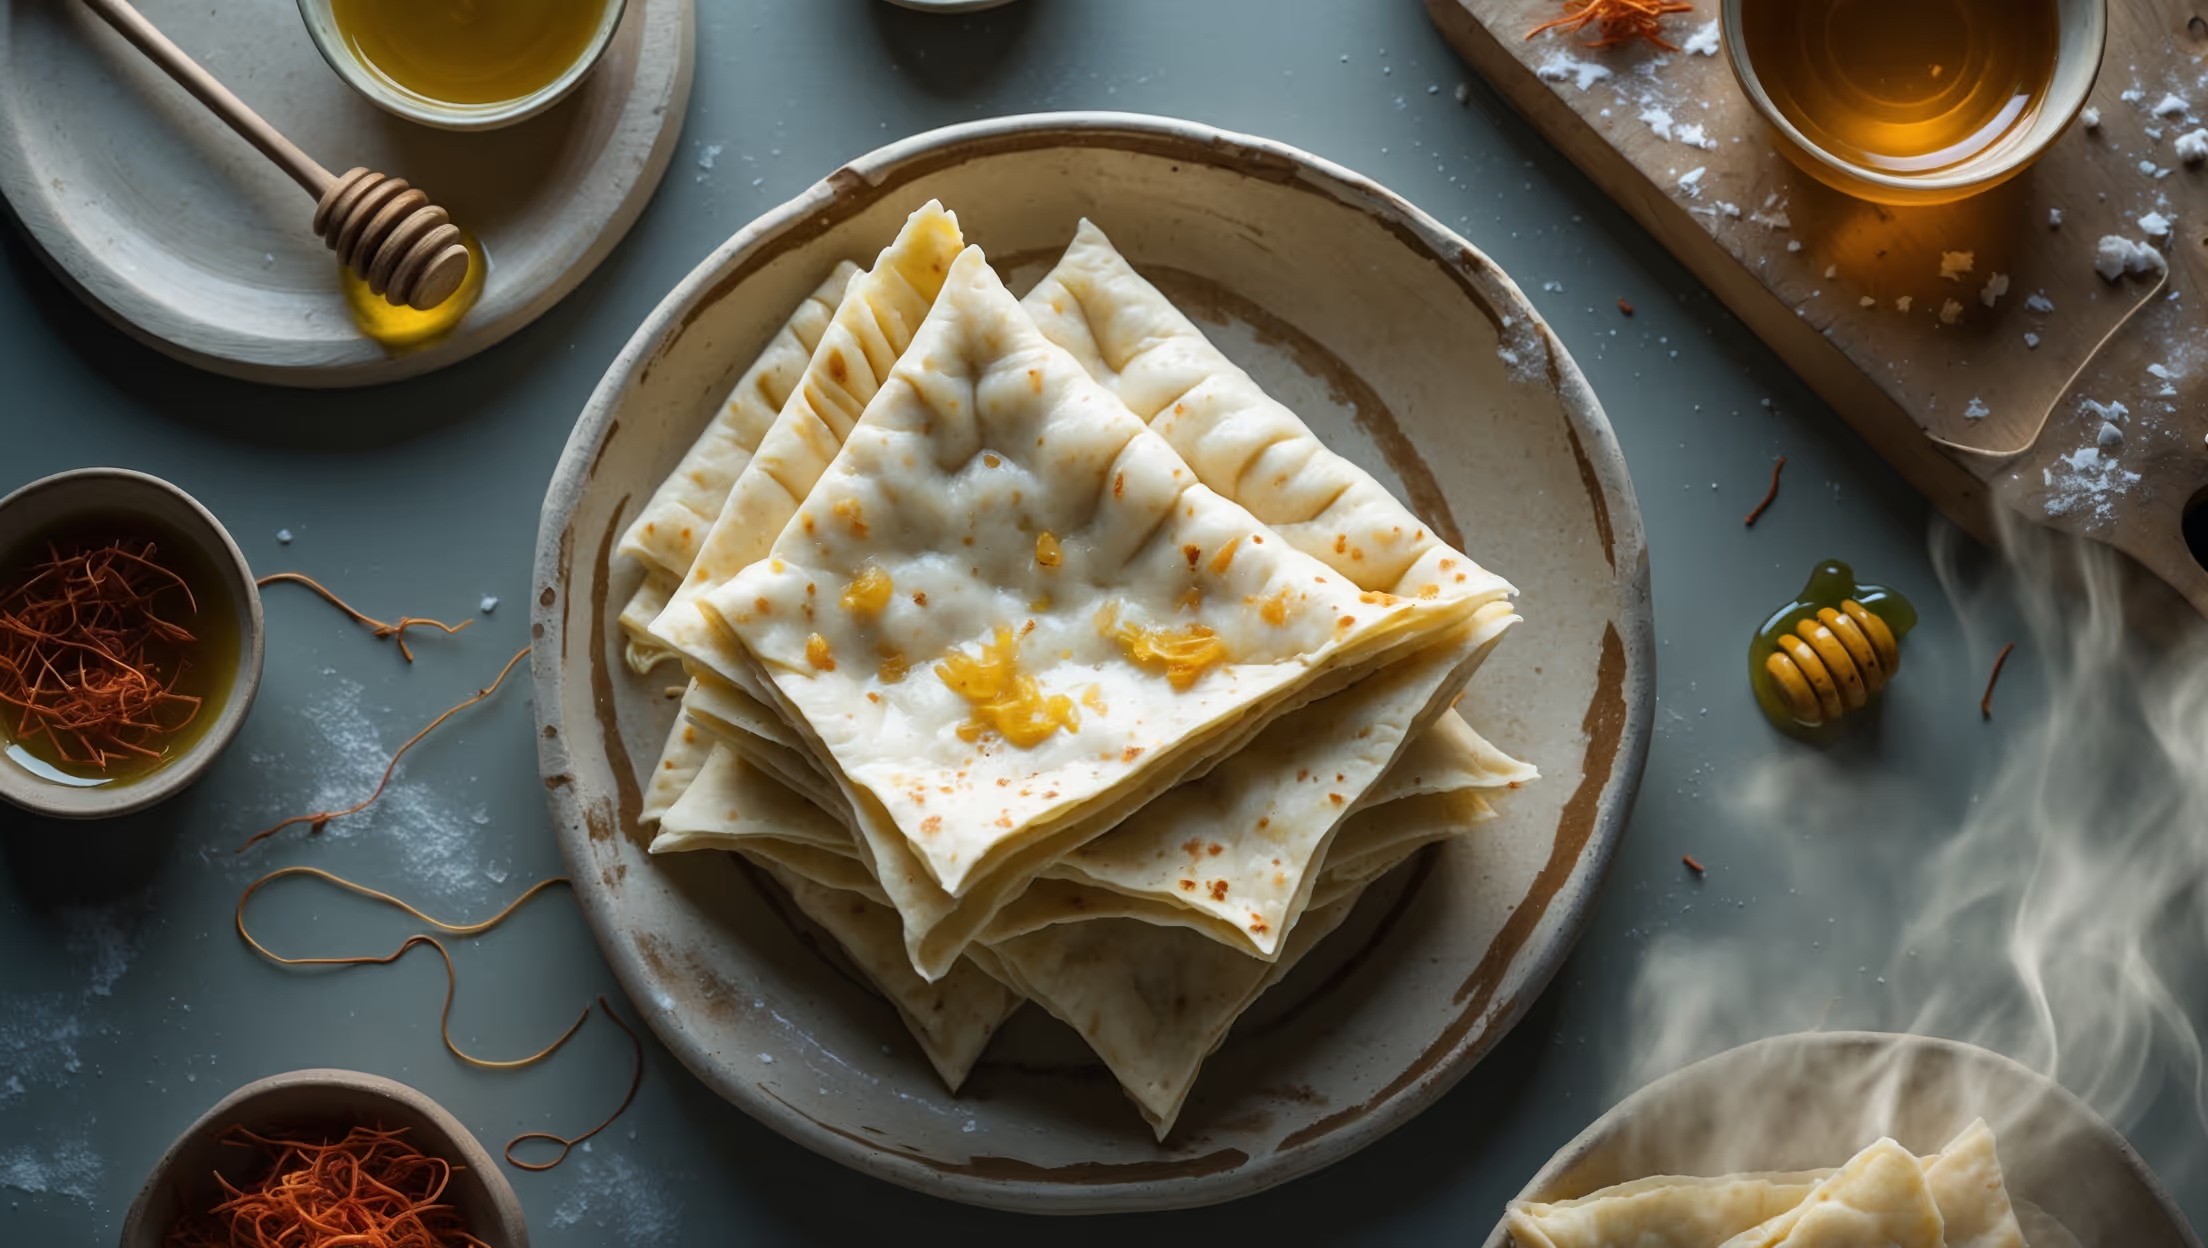
Directions
<ol class="no-list-style"><li class="MethodStepper"><h4 class="step-title">Step 1</h4>In a large mixing bowl, combine the flour, salt, sugar, and instant dry yeast. Make a well in the center and gradually add about 300ml of warm water, mixing with your hand until you have a soft, slightly sticky dough. The dough should be softer than regular bread dough, as this will help create tender layers.</li><li class="MethodStepper"><h4 class="step-title">Step 2</h4>Turn the dough onto a lightly floured surface and knead for 8-10 minutes until smooth and elastic. The gluten development at this stage is crucial for creating flatbreads that are both tender and have structural integrity. The dough should feel soft and springy when poked.</li><li class="MethodStepper"><h4 class="step-title">Step 3</h4>Divide the dough into 6 equal pieces (about 120-130g each) and shape into smooth balls. Place them on a lightly oiled tray, cover with a damp cloth, and rest for 30 minutes. This initial rest allows the gluten to relax and makes the dough easier to stretch without springing back.</li><li class="MethodStepper"><h4 class="step-title">Step 4</h4>Mix the vegetable oil and semolina in a small bowl to create a paste-like mixture. This magic combination creates the separation between layers that gives Mlaoui its characteristic flakiness and prevents the dough from sticking to itself during folding.</li><li class="MethodStepper"><h4 class="step-title">Step 5</h4>On a work surface lightly dusted with semolina, take one ball of dough and flatten it with your palm. Using your fingers and knuckles rather than a rolling pin, gently stretch the dough outward from the center into a very thin circle, about 30-35cm in diameter. Work gradually and patiently to avoid tearing the dough. You should be able to almost see through the dough in places.</li><li class="MethodStepper"><h4 class="step-title">Step 6</h4>Drizzle or brush 1-2 tablespoons of the oil-semolina mixture evenly over the entire stretched dough surface. The thin layer should glisten but not pool. This is the key to creating those beautiful layers.</li><li class="MethodStepper"><h4 class="step-title">Step 7</h4>Now for the folding technique: Fold the bottom third of the circle up toward the center, then fold the top third down over it, creating a rectangle. Next, fold the right third inward and then the left third over that, creating a small square packet. This folding method creates multiple layers that will separate during cooking.</li><li class="MethodStepper"><h4 class="step-title">Step 8</h4>Let the folded dough rest for 5 minutes, then gently roll it out into a circle about 20cm in diameter, being careful not to press too hard and merge the layers. If the dough resists, let it rest another minute before continuing.</li><li class="MethodStepper"><h4 class="step-title">Step 9</h4>Heat a non-stick frying pan or cast iron skillet over medium heat. When hot, carefully transfer the rolled-out dough to the dry pan (no additional oil needed). Cook for 2-3 minutes until golden brown spots appear on the bottom. Flip and cook the other side for another 2-3 minutes until both sides are golden with brown spots and the bread has puffed slightly.</li><li class="MethodStepper"><h4 class="step-title">Step 10</h4>Remove from the pan and immediately wrap the hot Mlaoui in a clean kitchen towel to keep it soft and prevent it from drying out. Repeat the process with the remaining balls of dough.</li><li class="MethodStepper"><h4 class="step-title">Step 11</h4>Serve the Mlaoui warm, ideally within an hour of cooking for the best texture and flavor. They can be reheated briefly in a pan or oven if needed. Traditional Moroccan accompaniments include honey, soft cheese, or savory dishes like tagines. The bread can be torn apart to reveal its beautiful spiral layers.</li></ol>