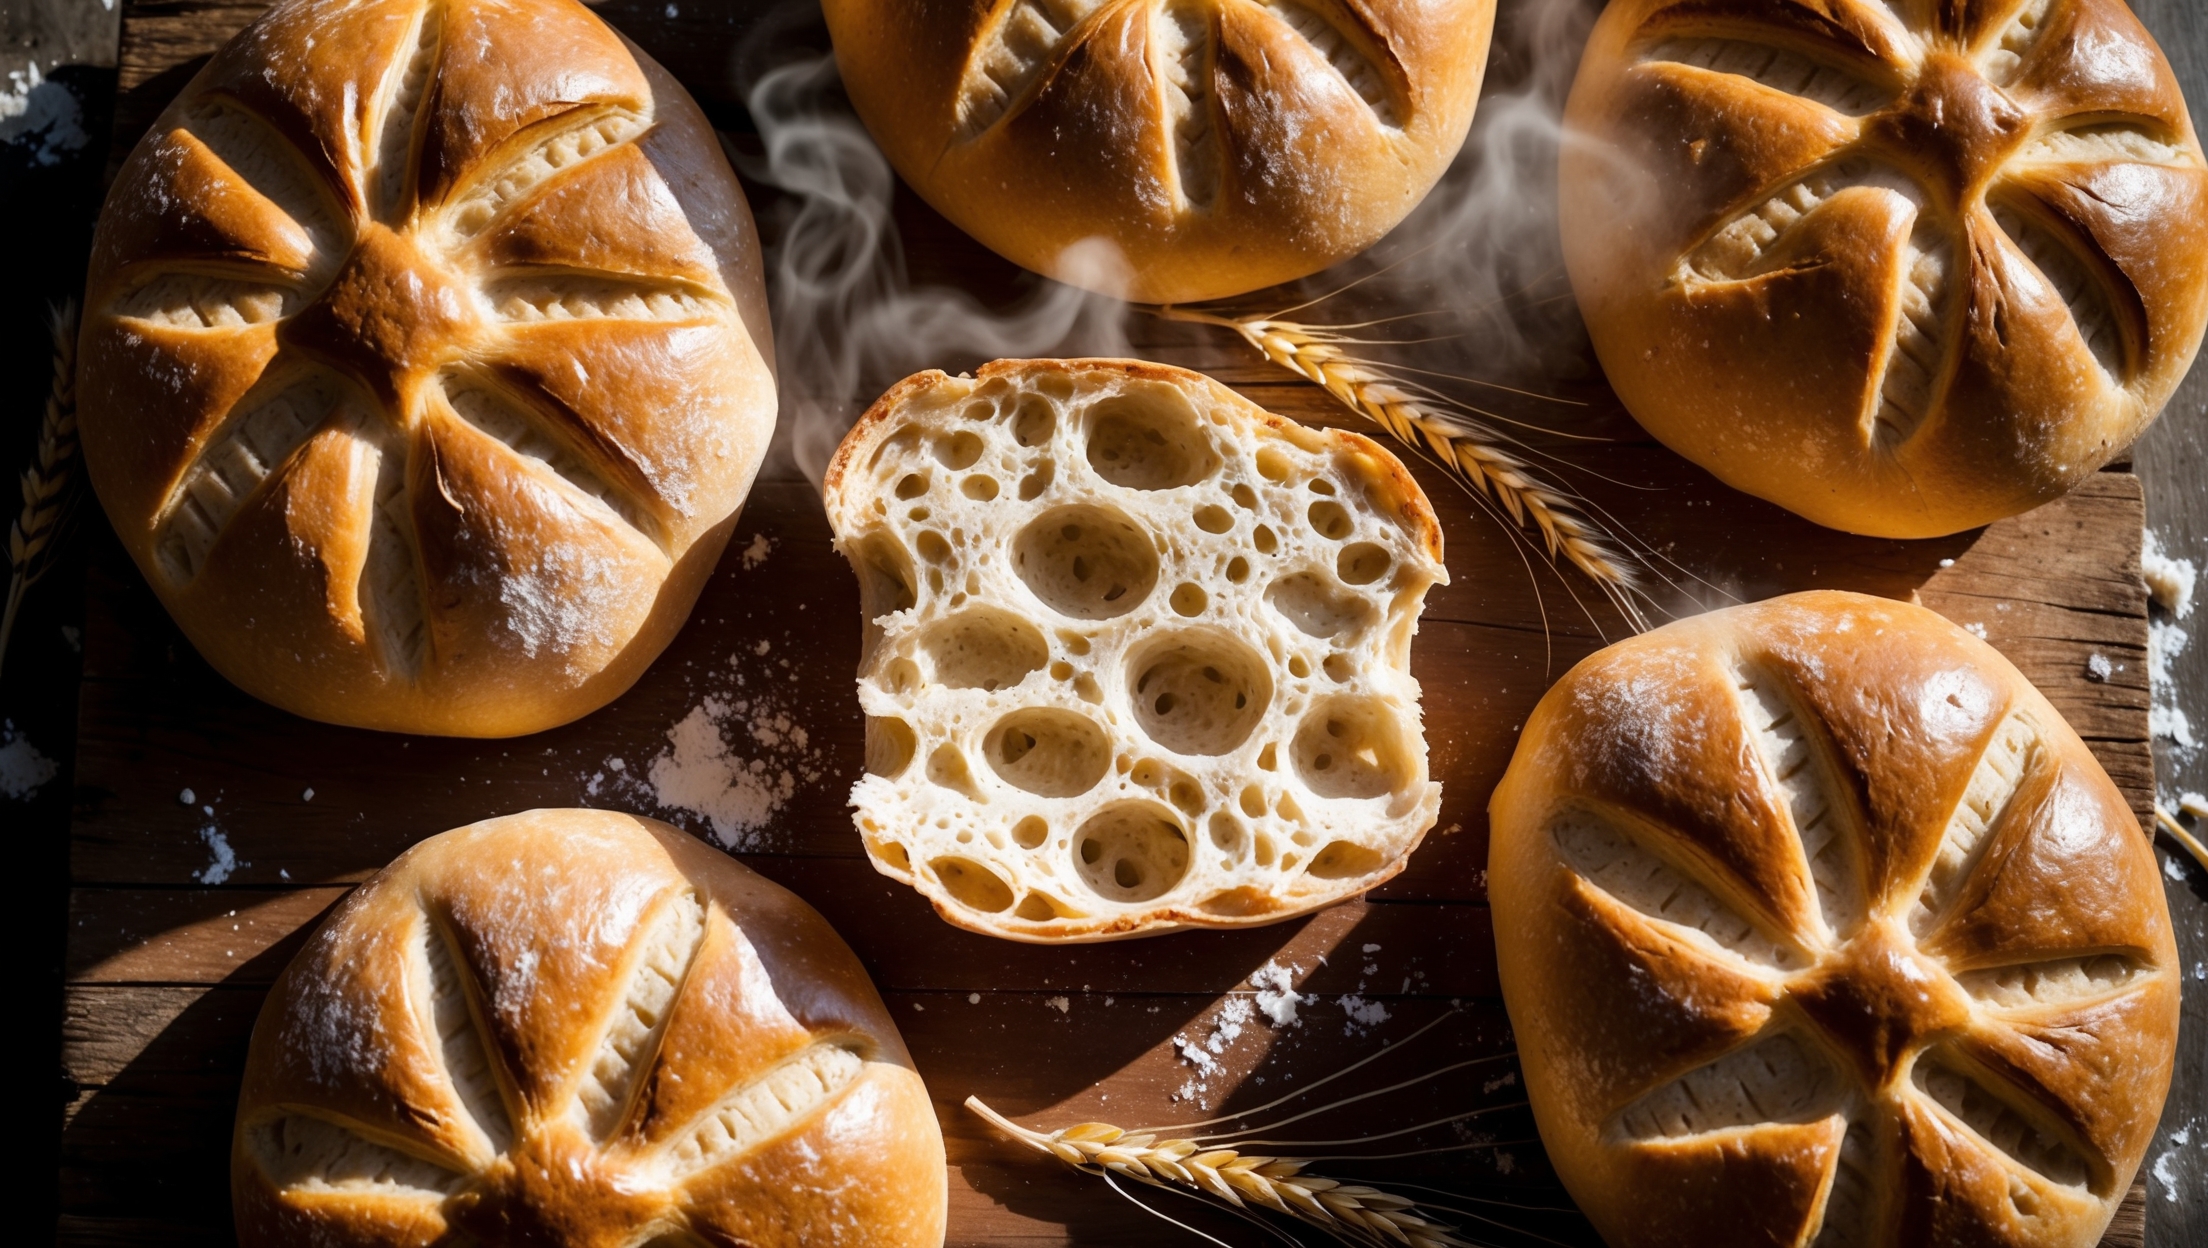
Matnakash (Armenian Bread) Recipe
Ingredients
Equipment
Directions
FAQs
Find answers to your most pressing questions about this delicious recipe right here.
Traditional Matnakash requires strong bread flour, warm water, instant dried yeast, salt, sugar, vegetable oil, and an egg for the wash. Optional sesame seeds can be sprinkled on top for extra flavour and texture before baking.
Learn how to cook Matnakash (Armenian Bread) by activating yeast in warm water with sugar, mixing with flour and salt, kneading until elastic, then shaping into ovals. Create the distinctive diamond pattern with your fingertips, proof until puffy, brush with egg wash, and bake at 220°C until golden brown and hollow-sounding when tapped.
The diamond pattern isn't just decorative—it's functional. These deep indentations help the bread expand properly during baking while maintaining its traditional appearance. They also create texture variations, with the ridges becoming crispier while the indentations remain soft and chewy.
For a perfect chewy texture, use high-protein bread flour, knead thoroughly to develop gluten, allow proper proofing time, create steam in the oven during baking, and resist the temptation to slice the bread before it's completely cooled to prevent moisture loss.
Serve Matnakash slightly warm with meals to mop up sauces and stews, or use as a base for open-faced sandwiches. It's traditionally torn rather than sliced, and pairs beautifully with cheese, olives, or labneh for a simple breakfast or accompaniment to Middle Eastern and Caucasian dishes.
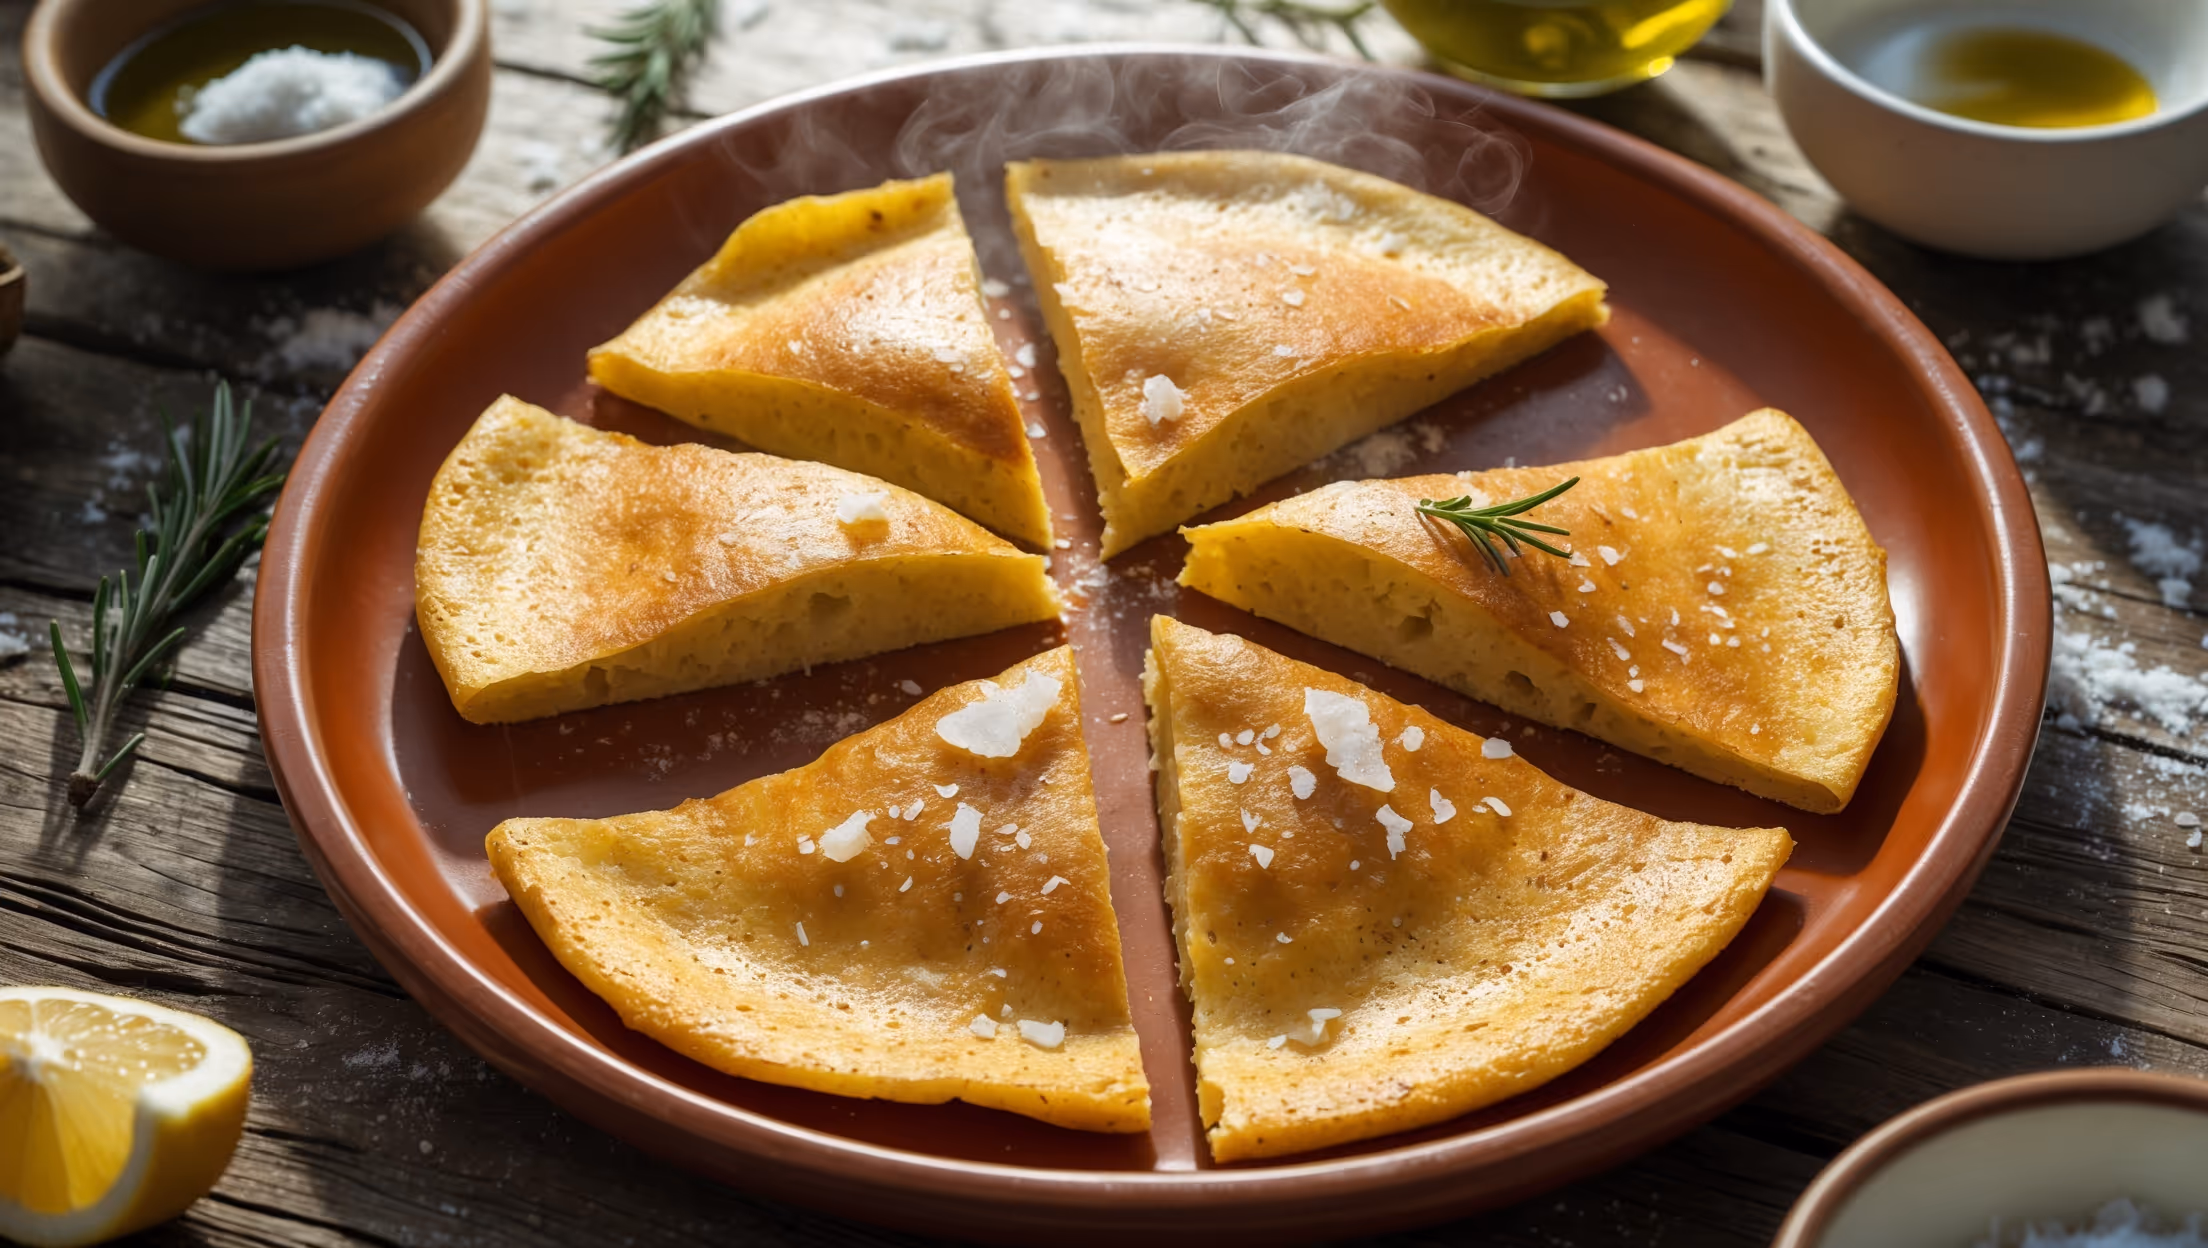
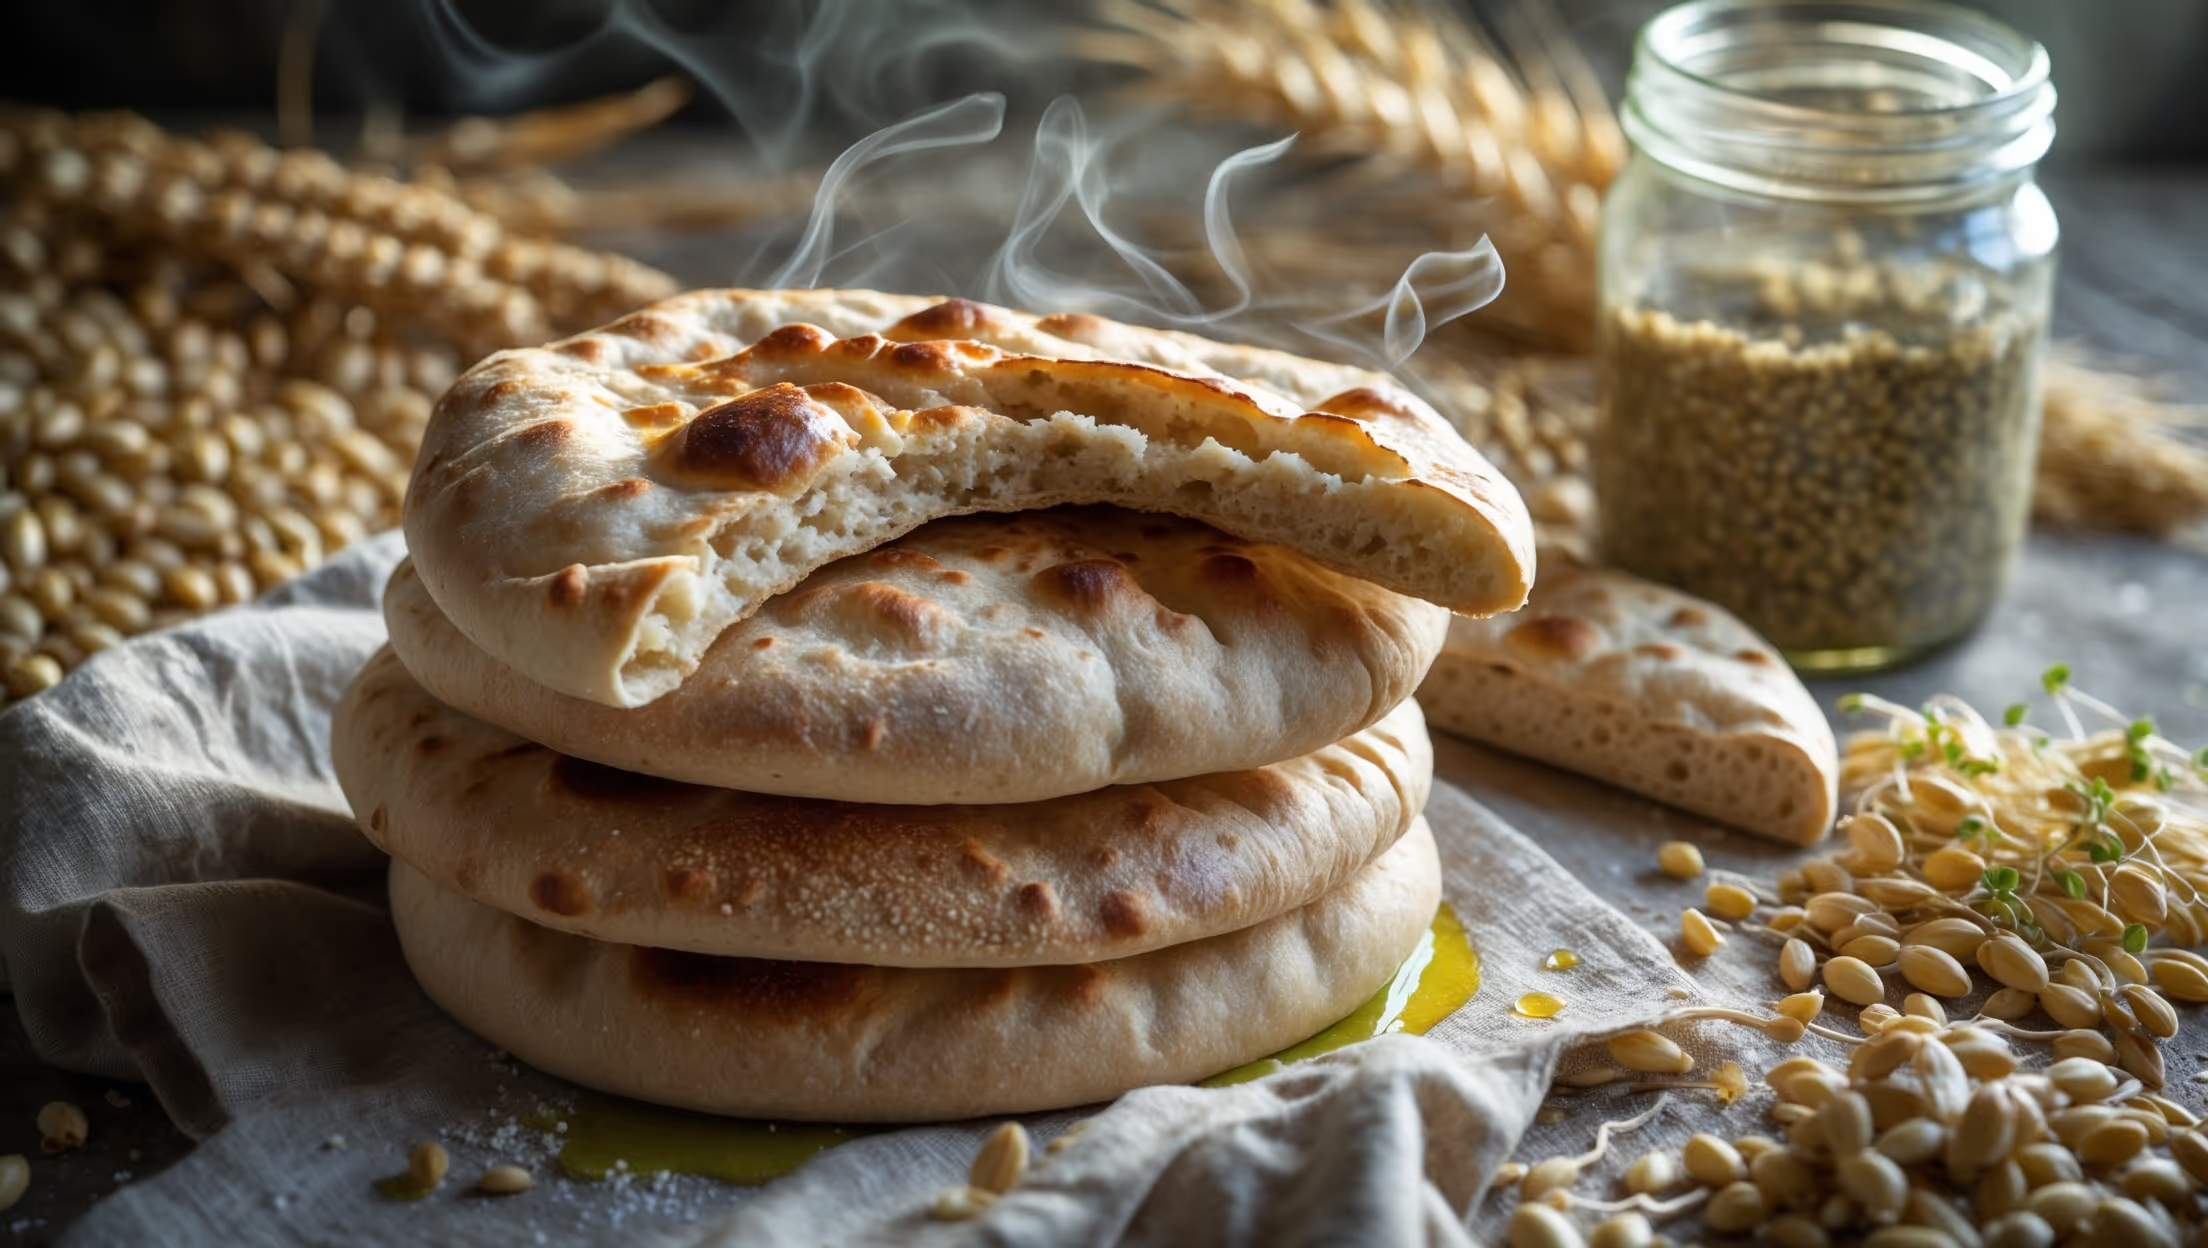
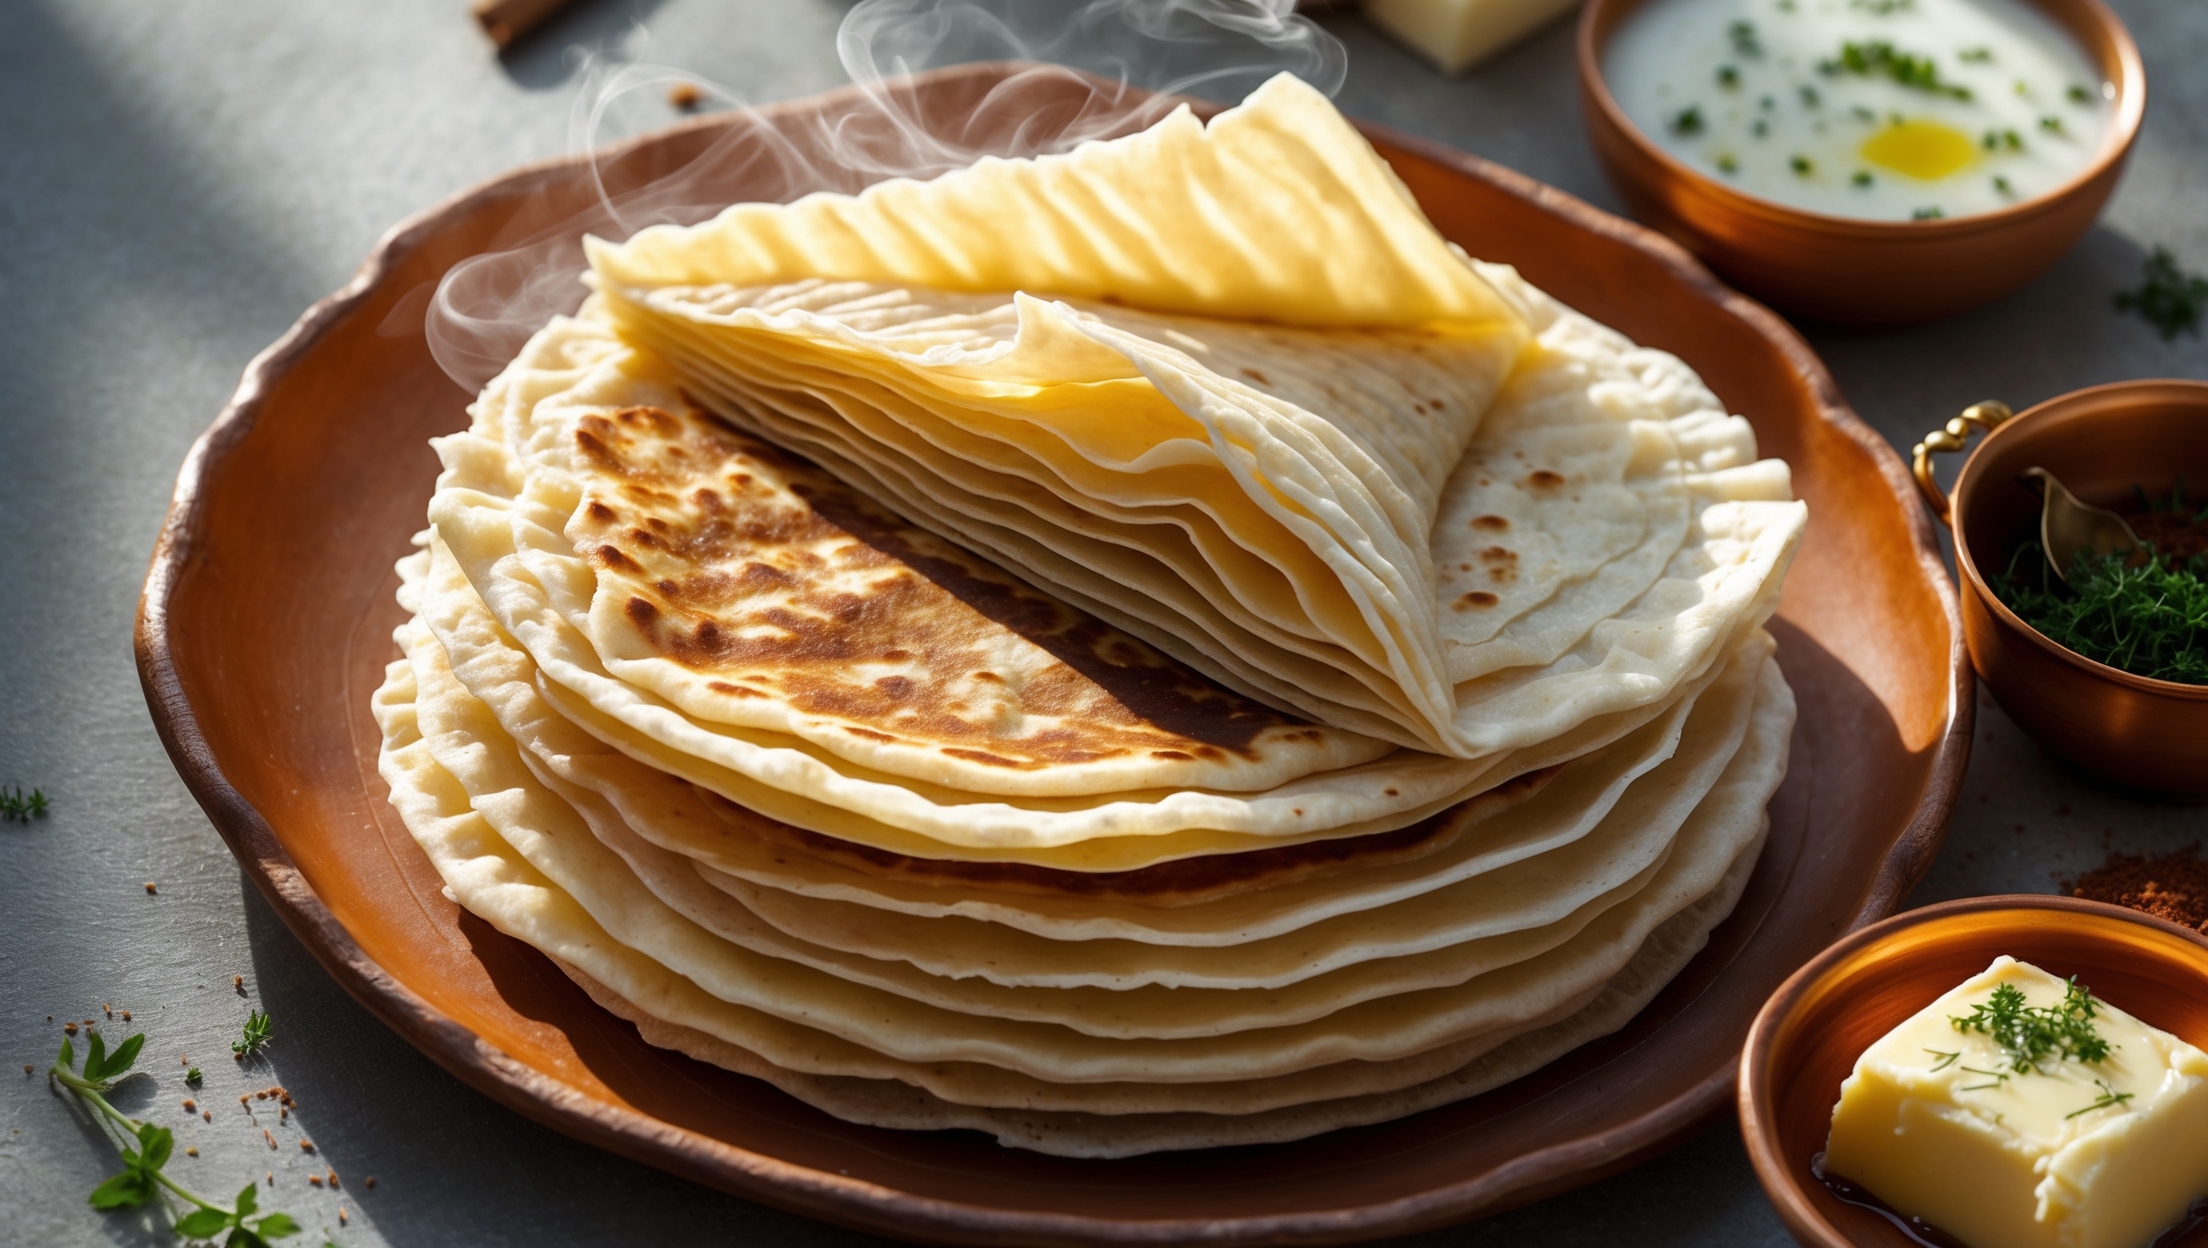
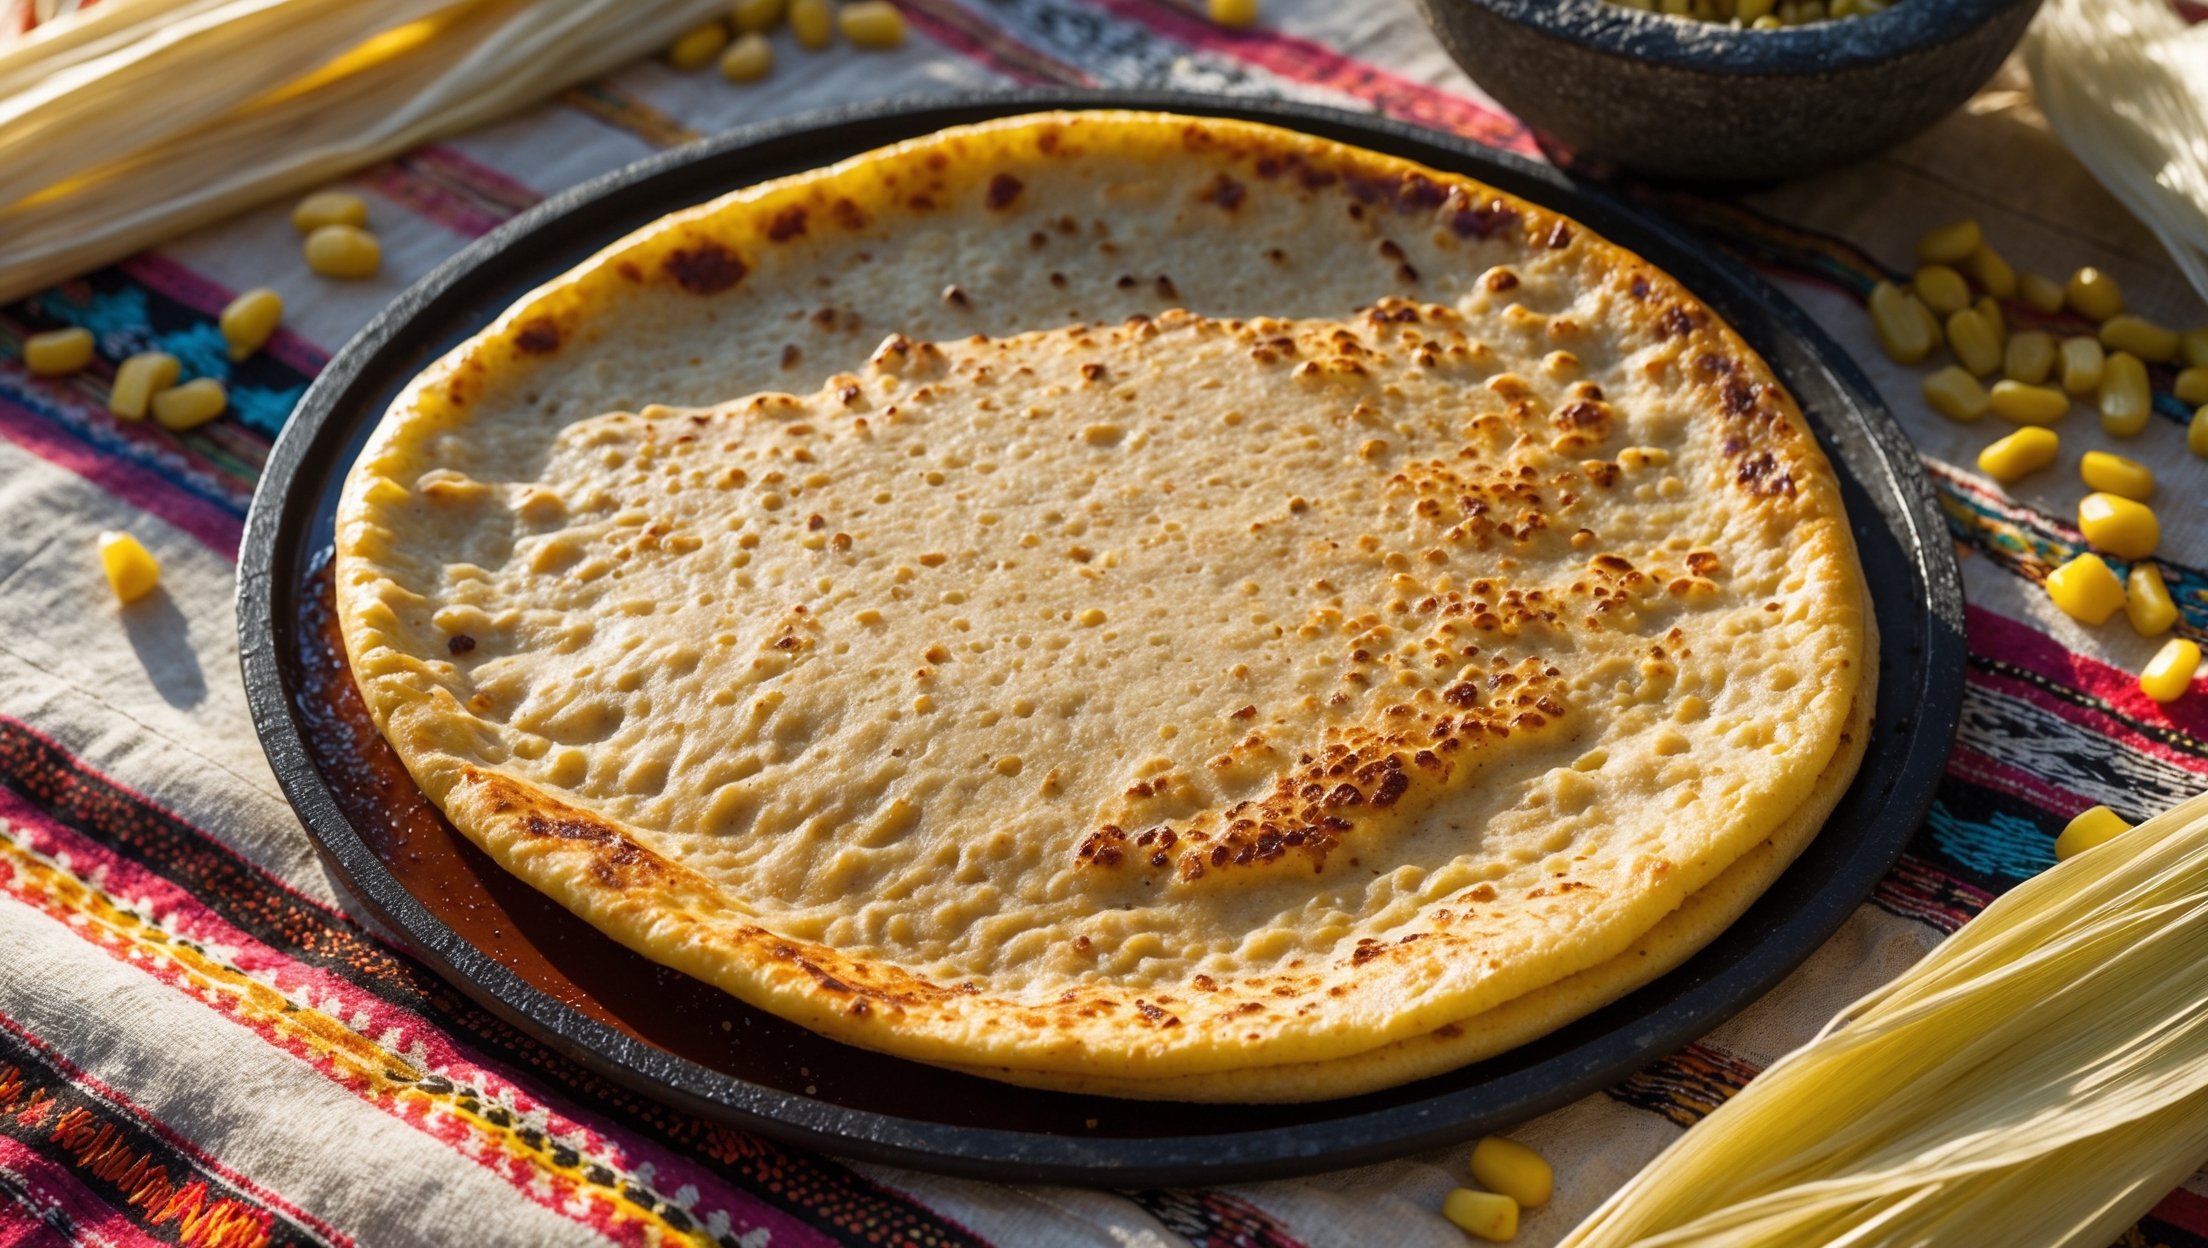
Flatbreads
Try following recommended recipes