Laminated Chocolate Chip Cookie Dough with Caramelized Layers Recipe

Ingredients
Equipment
Directions
FAQs
Find answers to your most pressing questions about this delicious recipe right here.
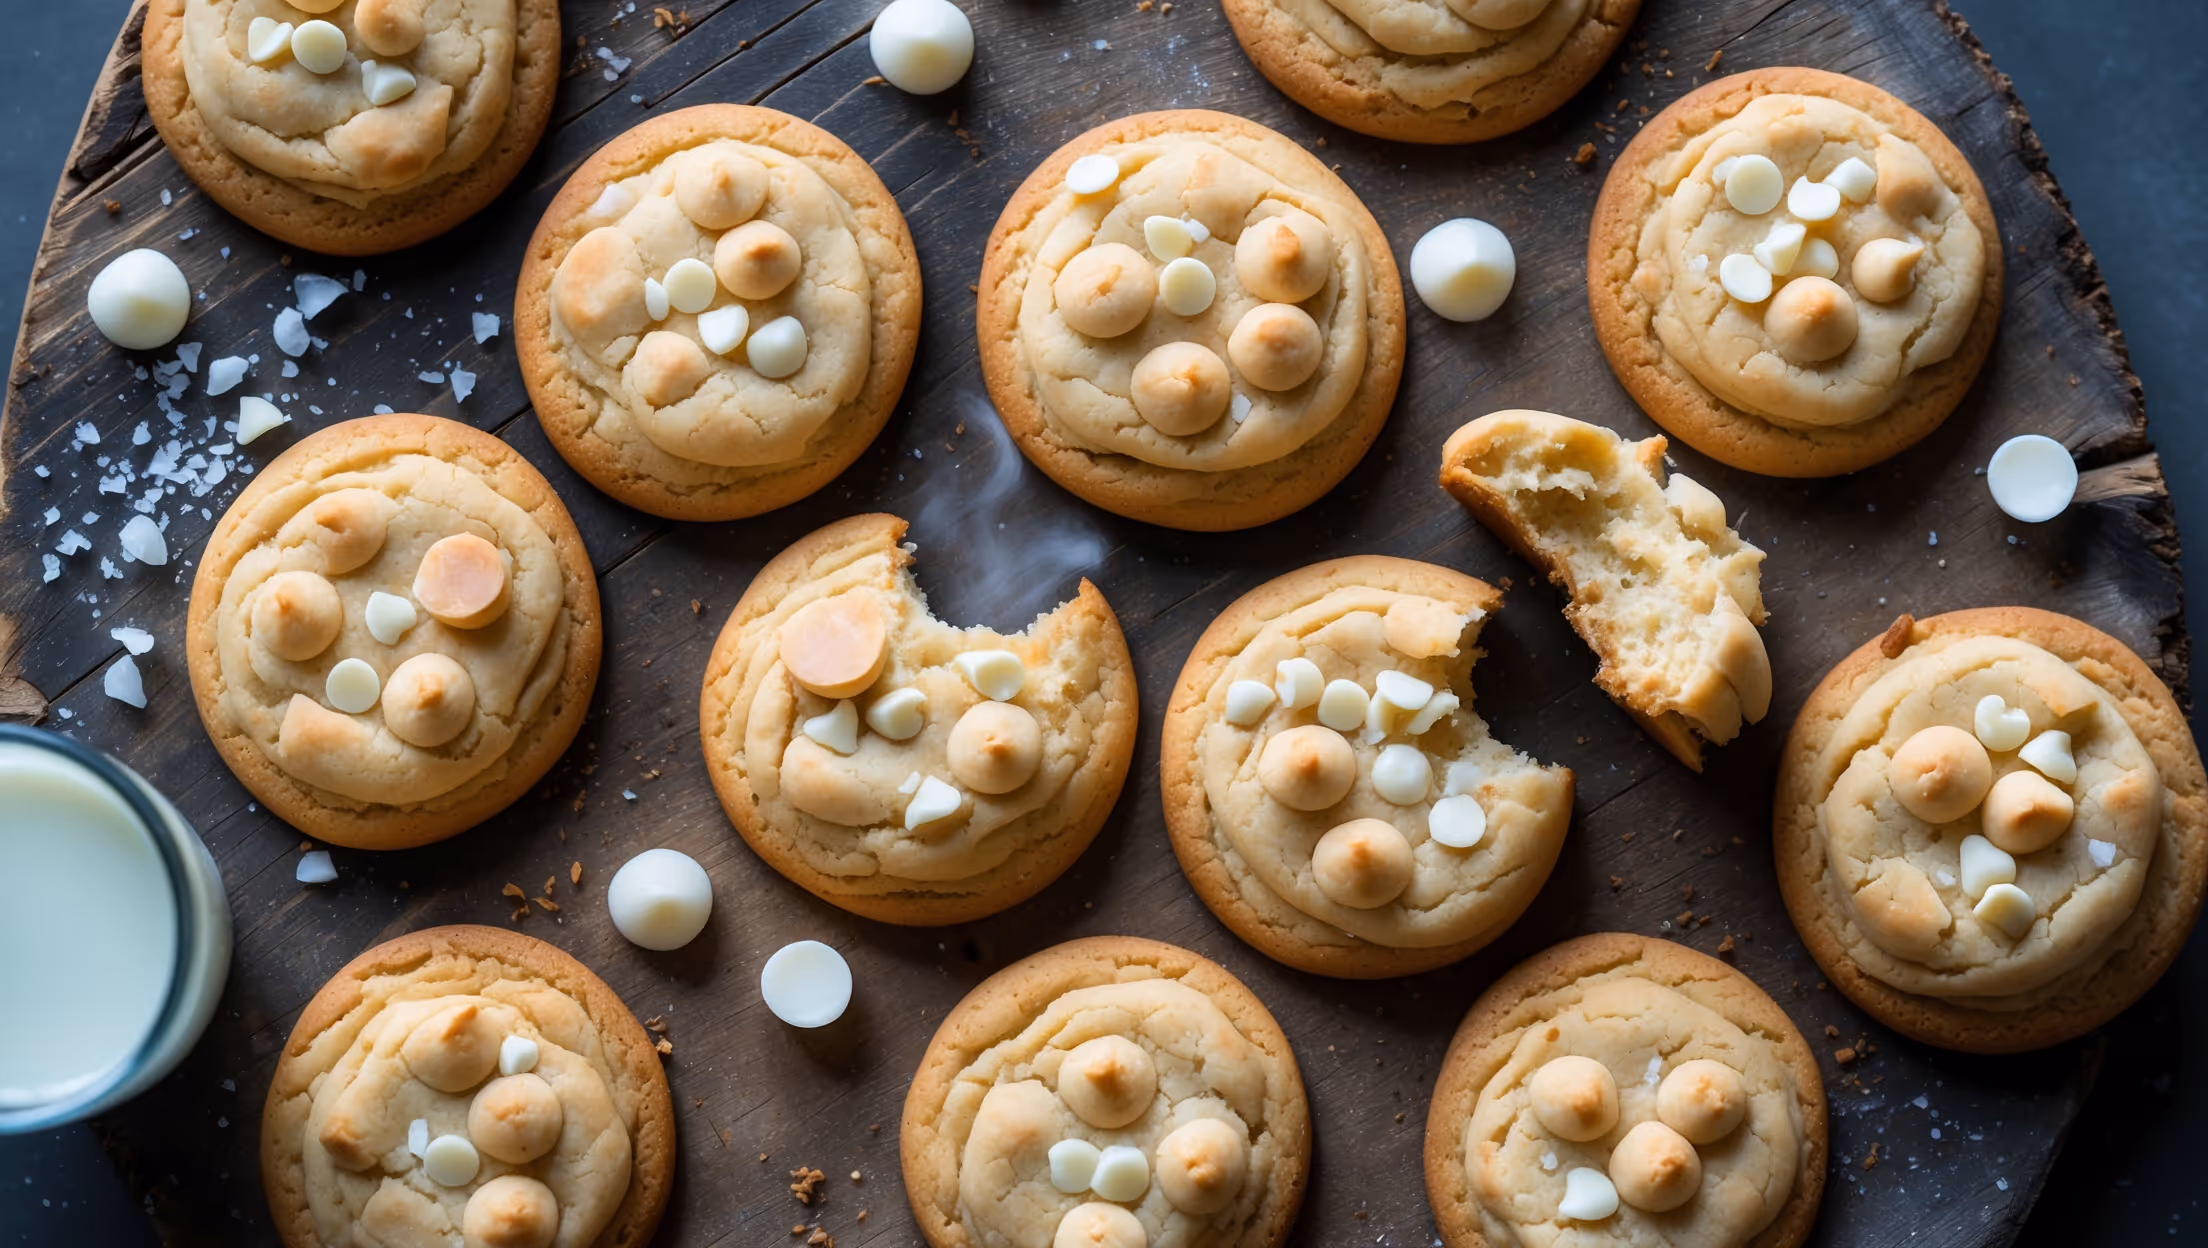
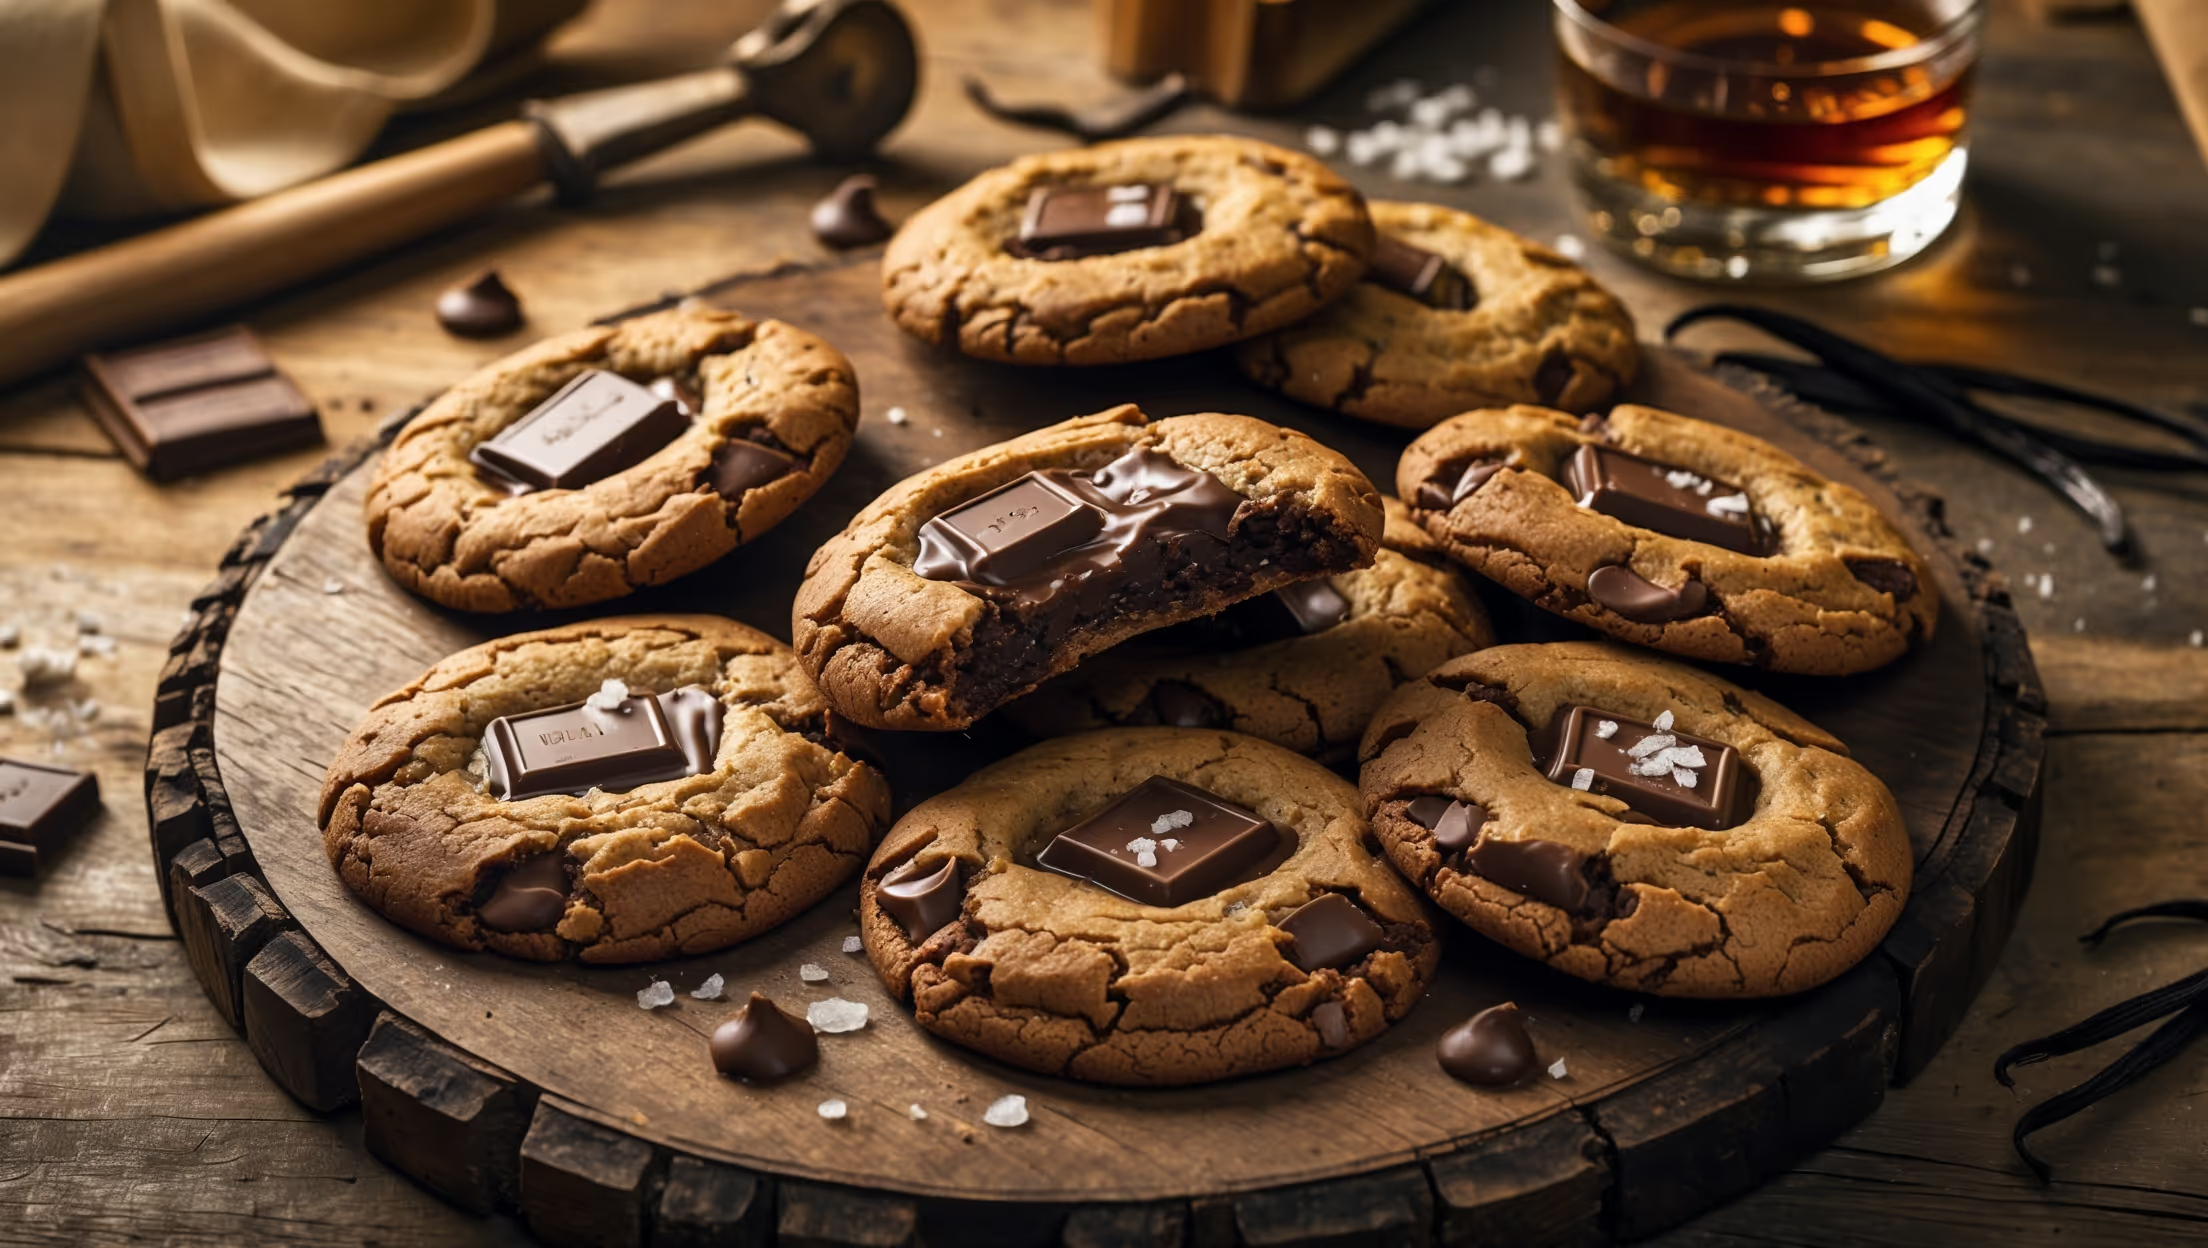
The key ingredients include all-purpose flour, baking soda, salt, cold unsalted butter, light brown sugar, granulated sugar, eggs, vanilla extract, high-quality dark chocolate chunks, and flaky sea salt for the perfect finishing touch.
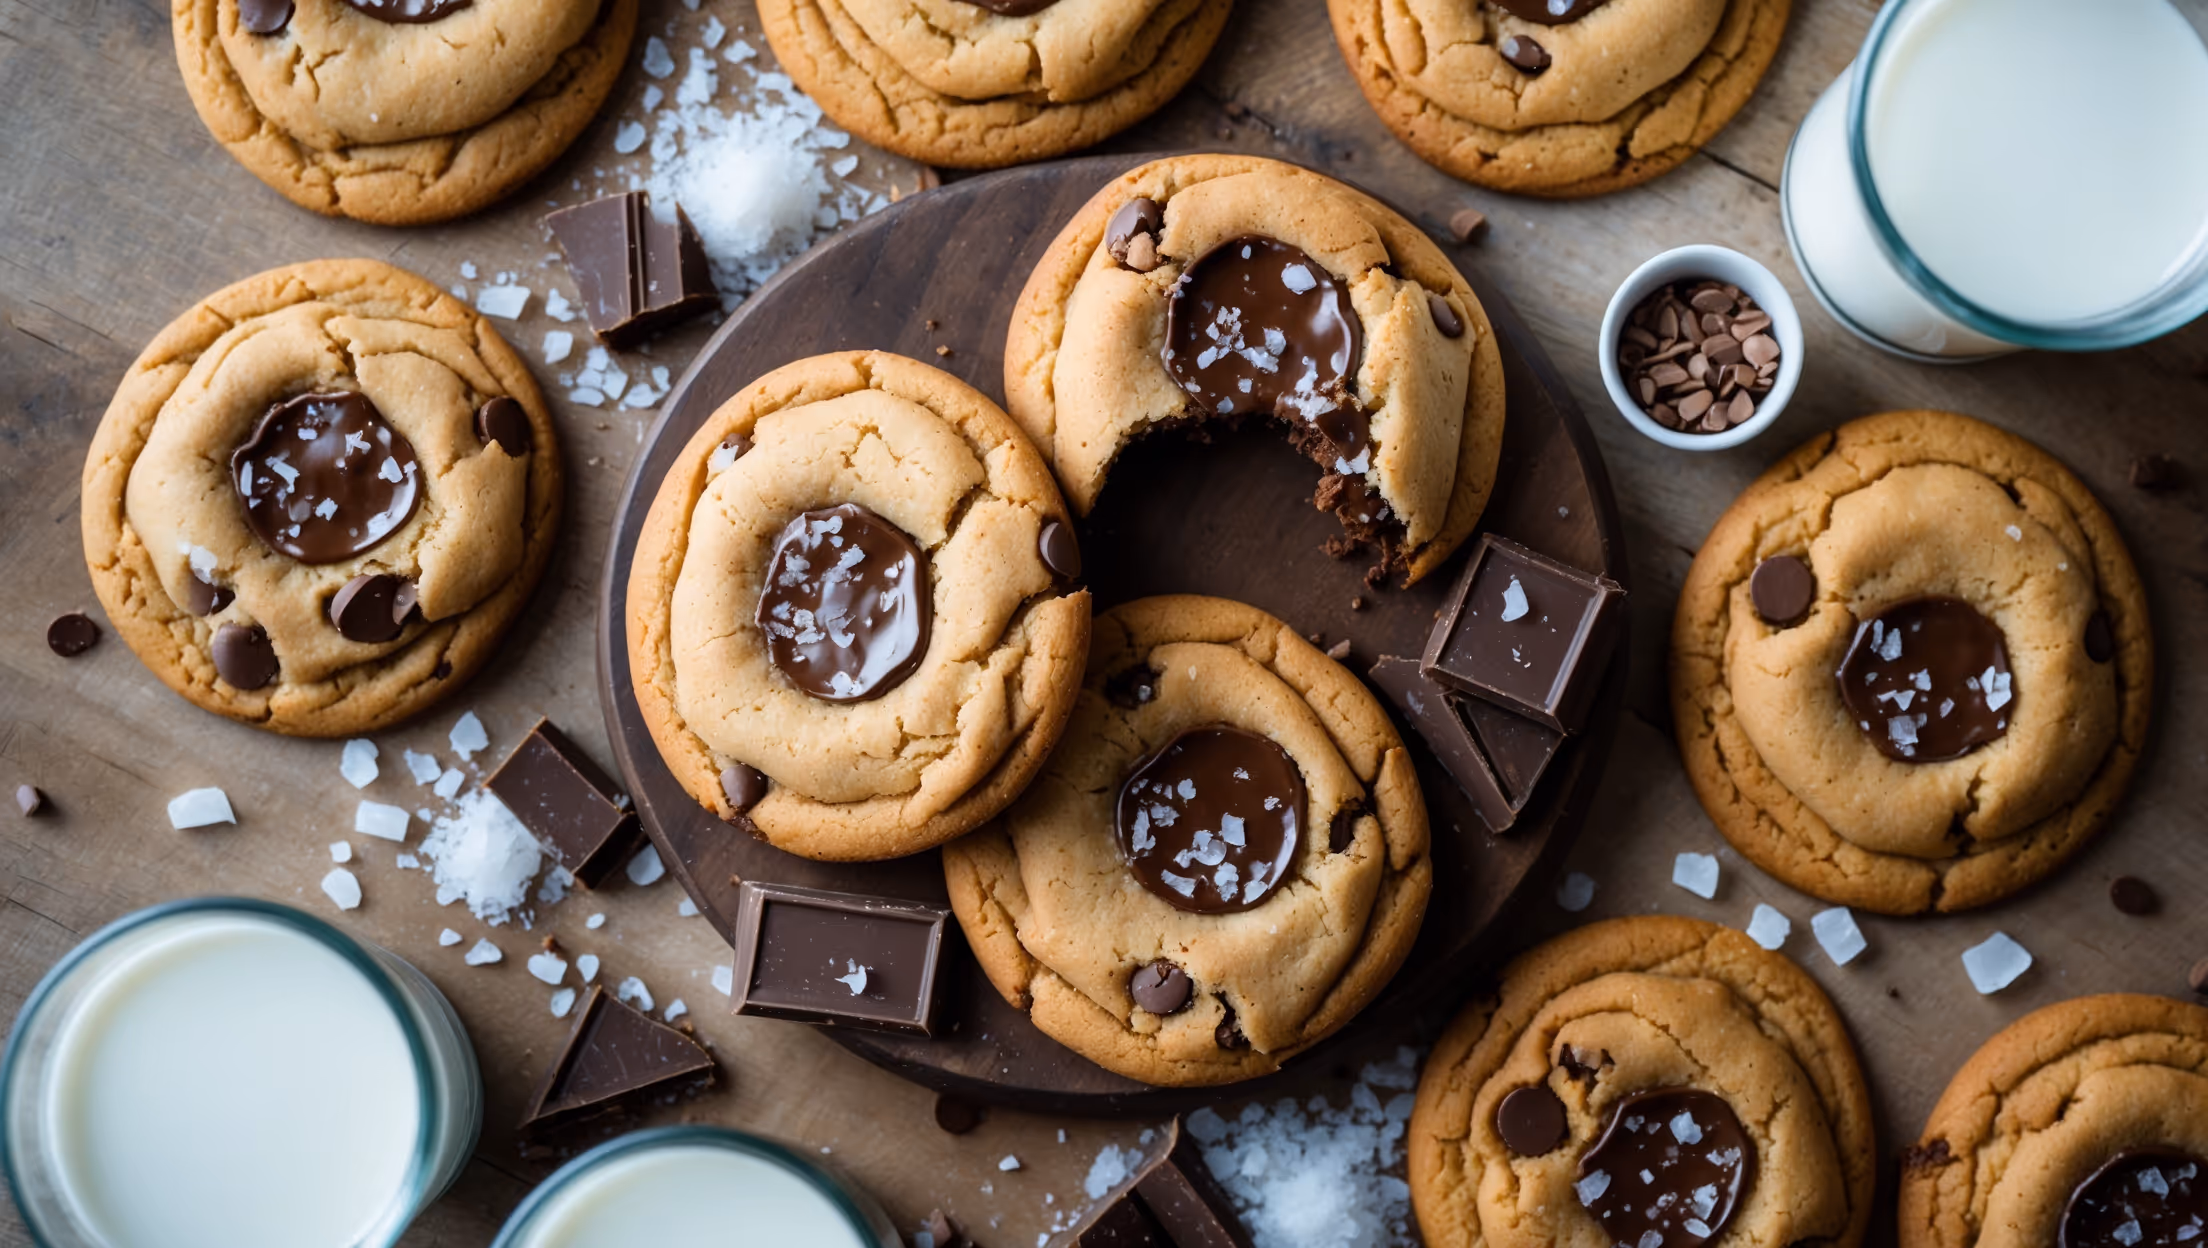
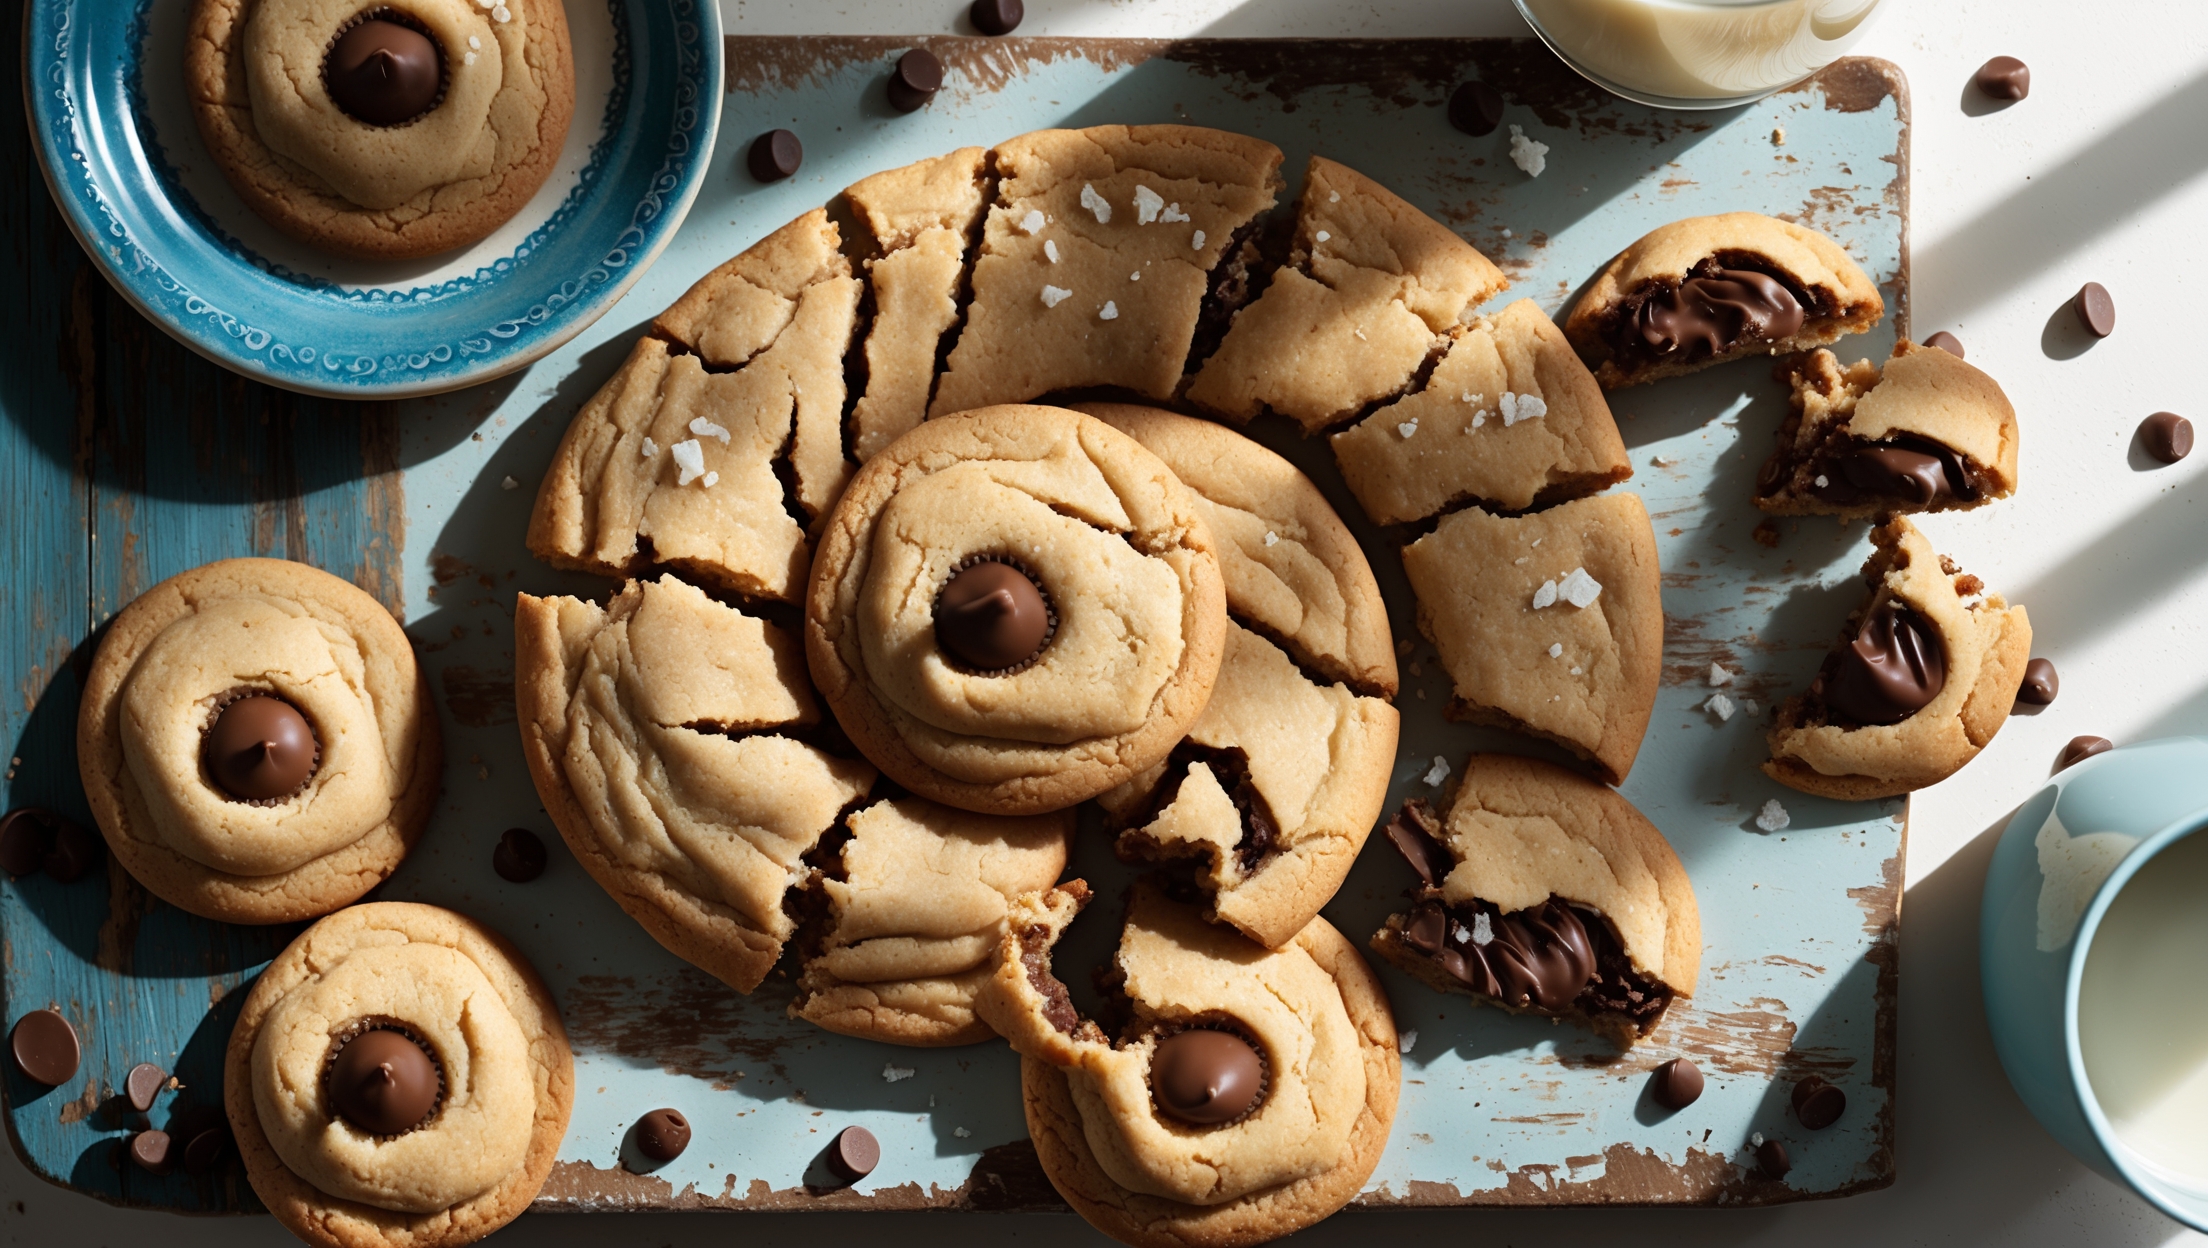
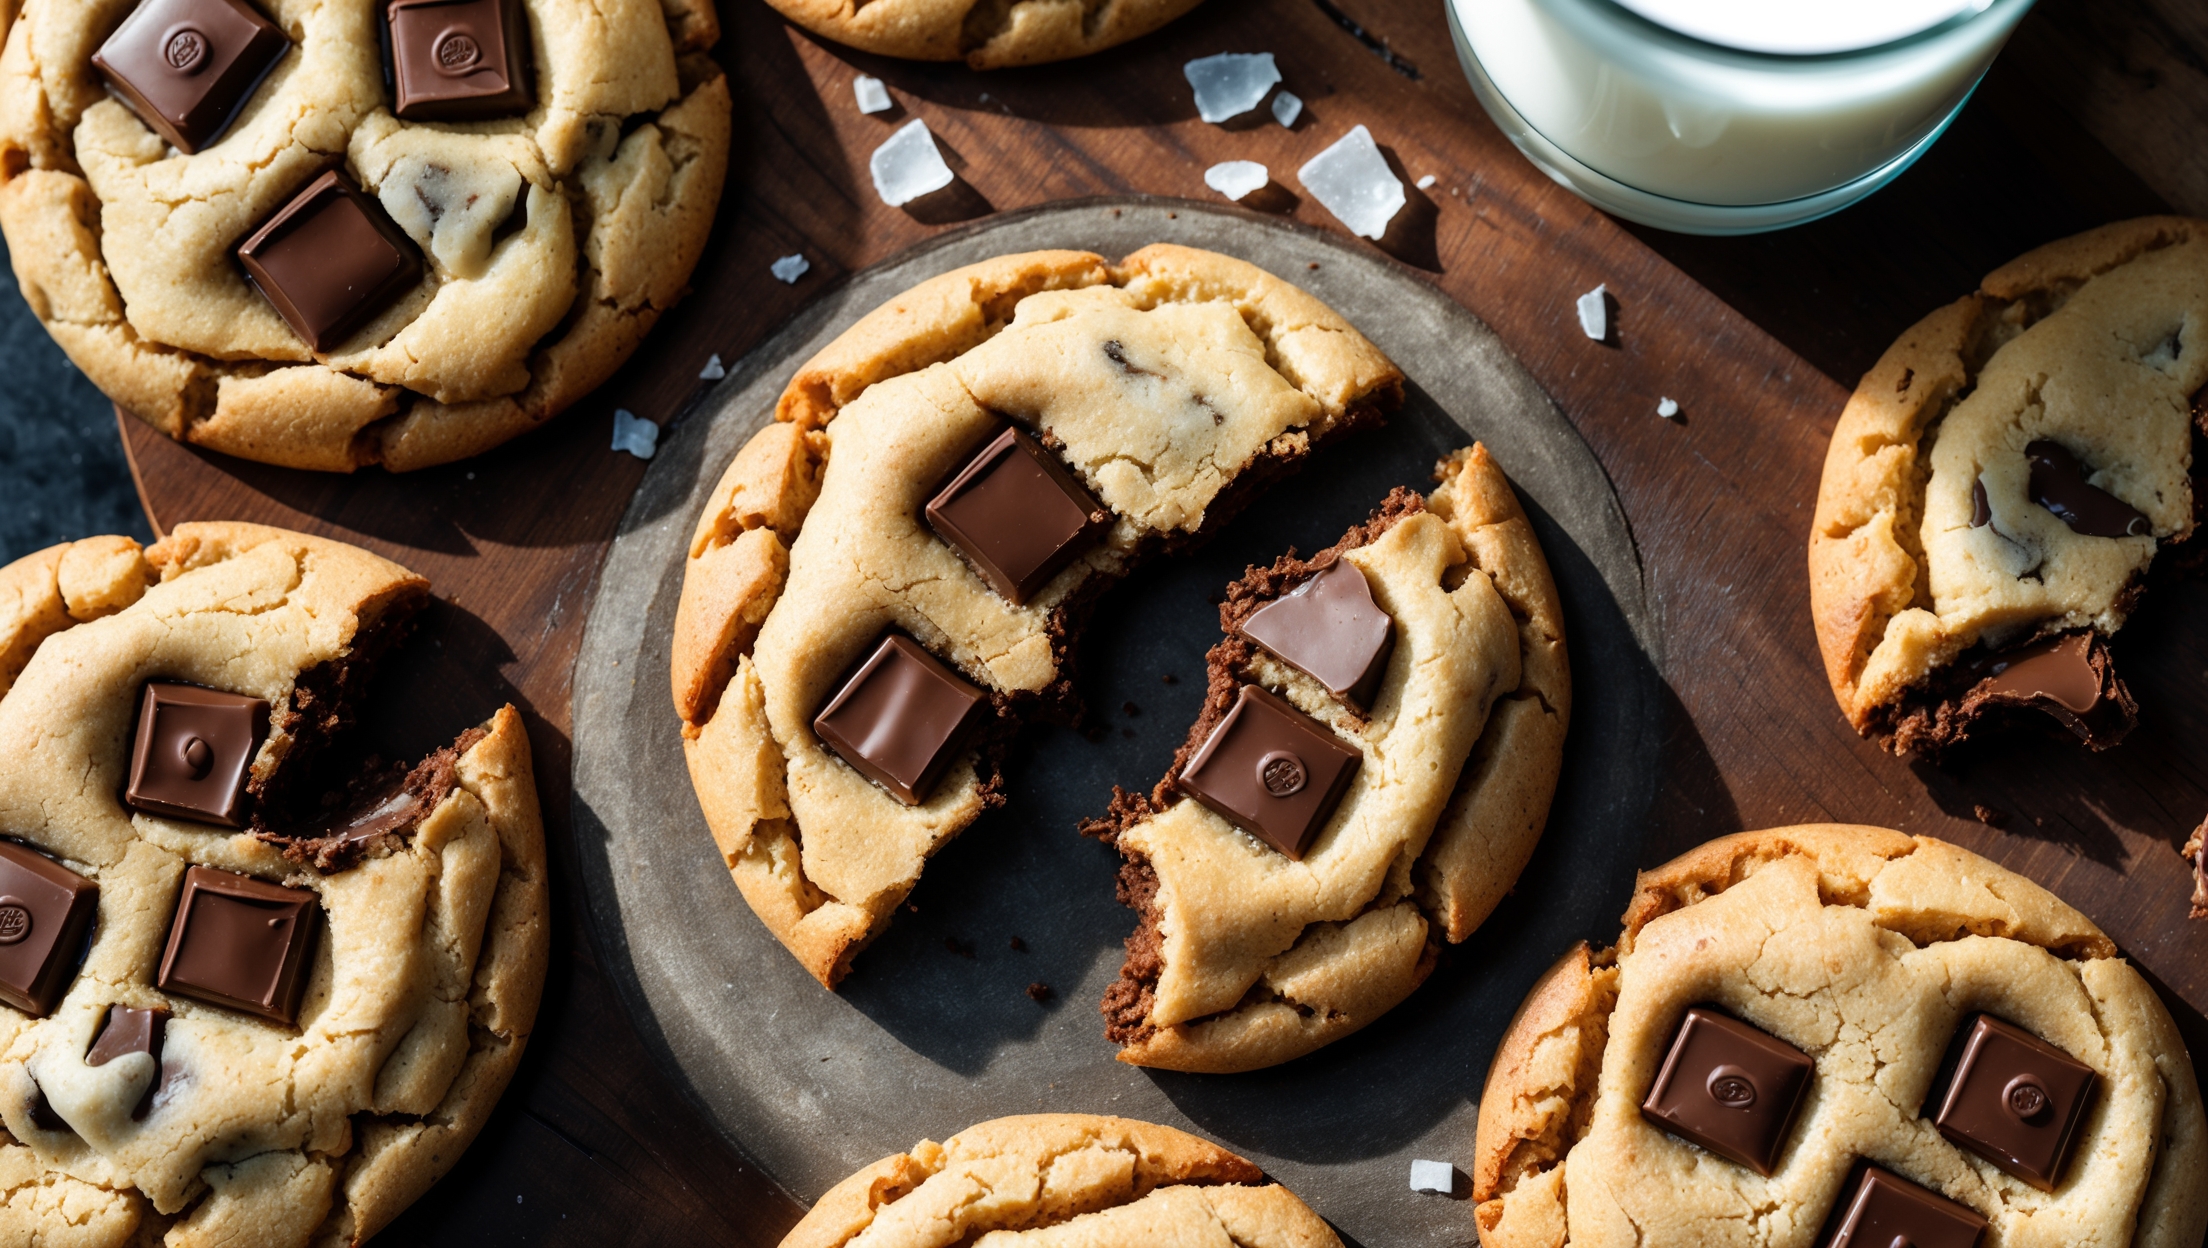
Learn how to cook Laminated Chocolate Chip Cookie Dough with Caramelized Layers by creating a basic cookie dough, then using a special folding technique similar to pastry-making. Cold butter is layered and folded into the dough multiple times, creating distinct layers that caramelize in the oven at 190°C for 11-13 minutes until golden-brown on the edges with gooey centers.
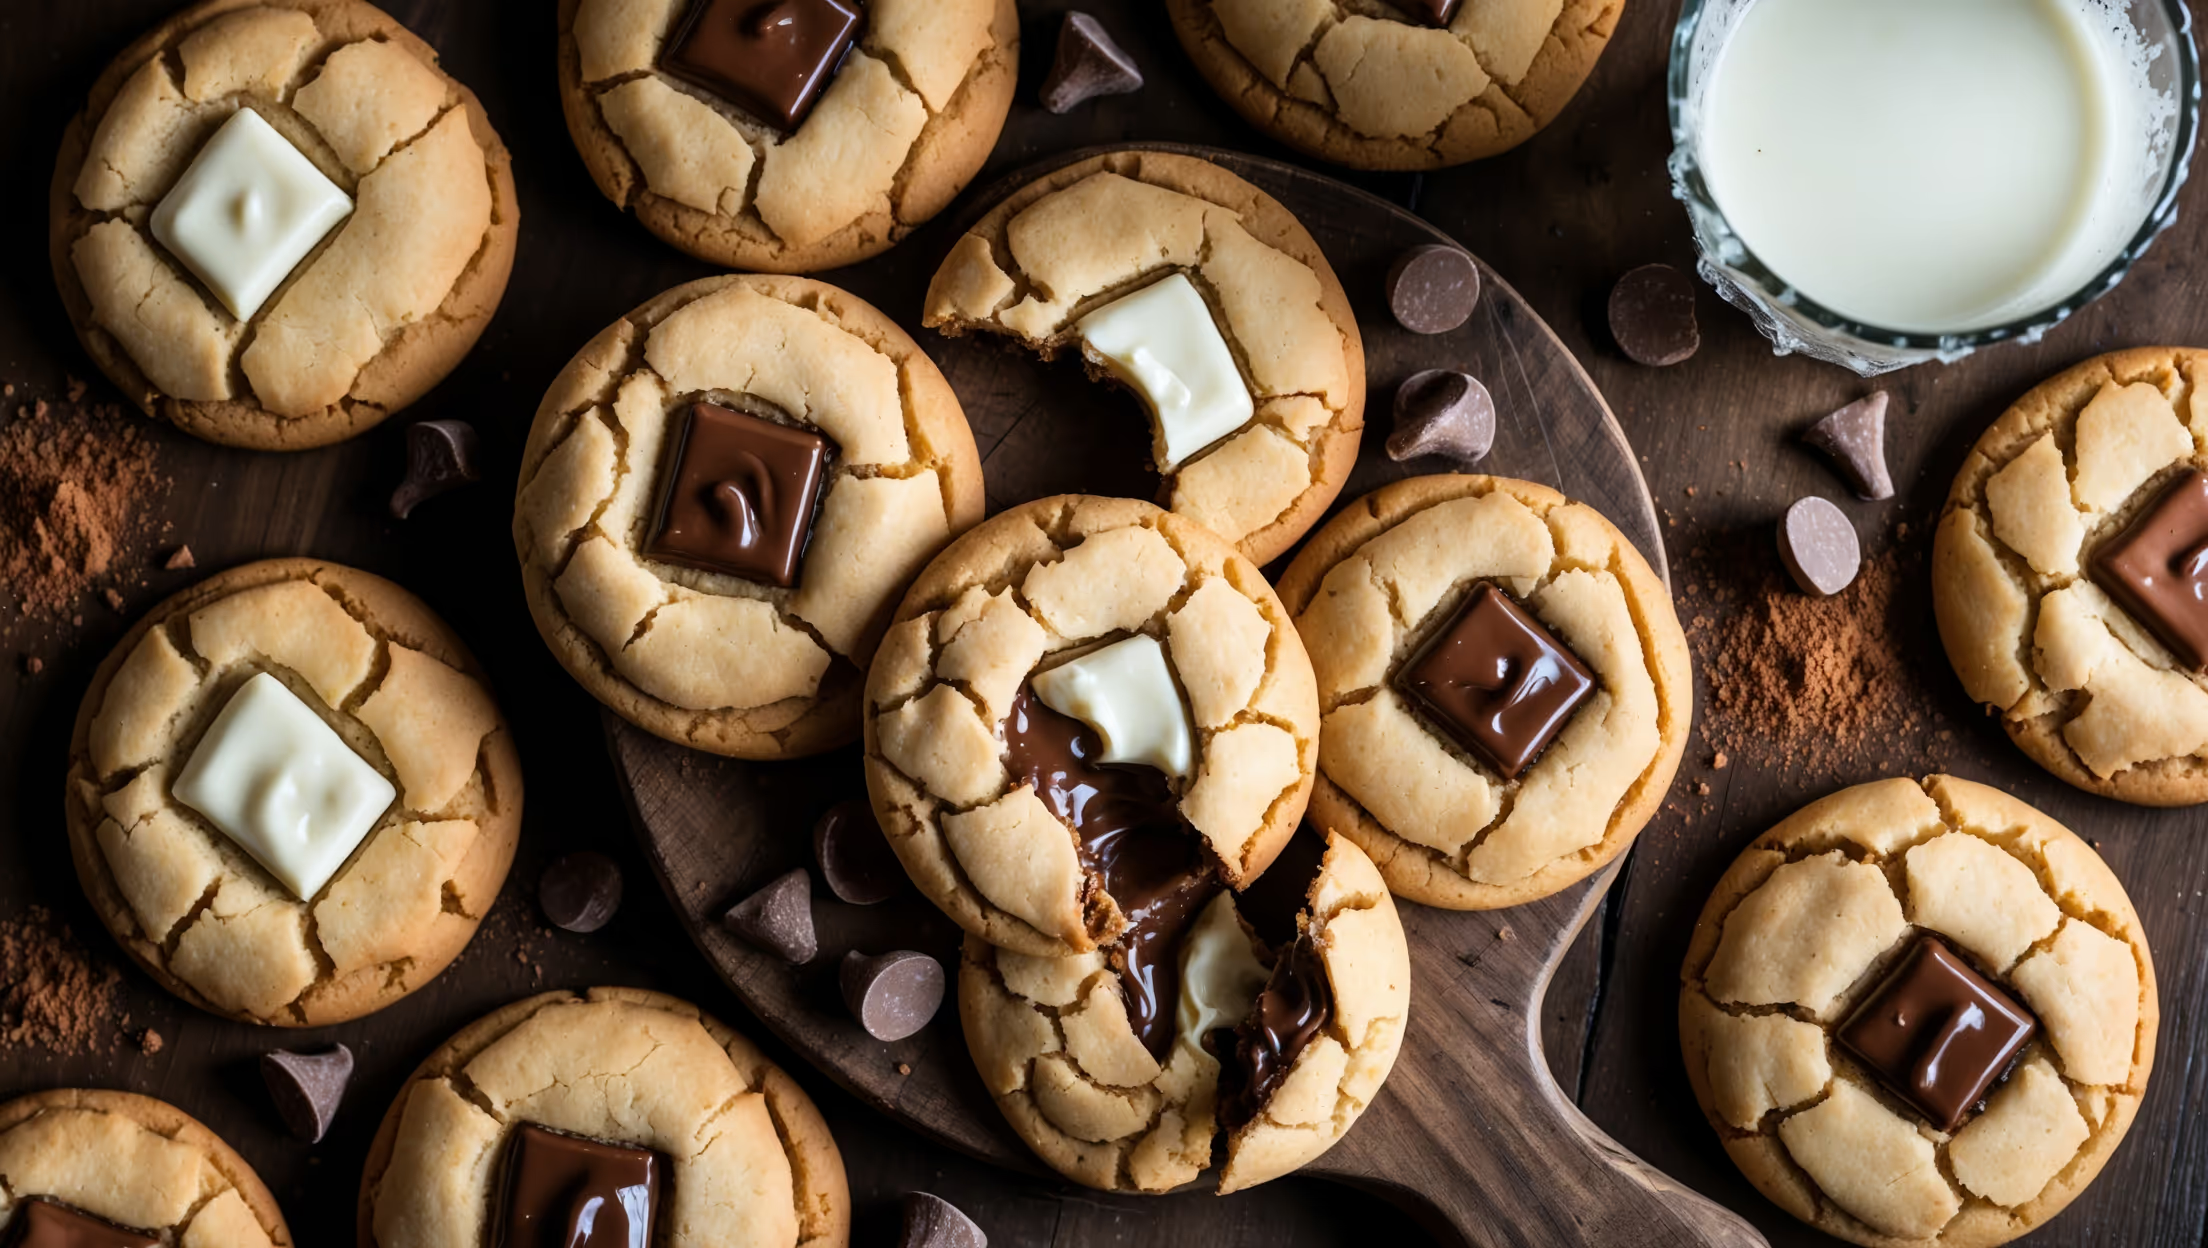
Cold butter is crucial because it remains solid during the folding process, creating distinct layers within the dough. When baked, these butter pockets create steam that separates the dough into flaky layers while simultaneously caramelising to create crisp, buttery edges.
Regular cookies have a uniform texture throughout, while laminated cookies feature distinct layers similar to pastries. Laminated cookies offer more textural contrast with crispy, caramelised edges and a tender, gooey centre. The folding technique also creates pockets of melted chocolate throughout.
Yes! After completing the lamination process, you can freeze the shaped dough squares for up to 3 months. Wrap them individually in cling film, then store in a freezer bag. When ready to bake, add 1-2 minutes to the baking time with no need to thaw.
Chocolate Chip Cookies
Try following recommended recipes