Directions
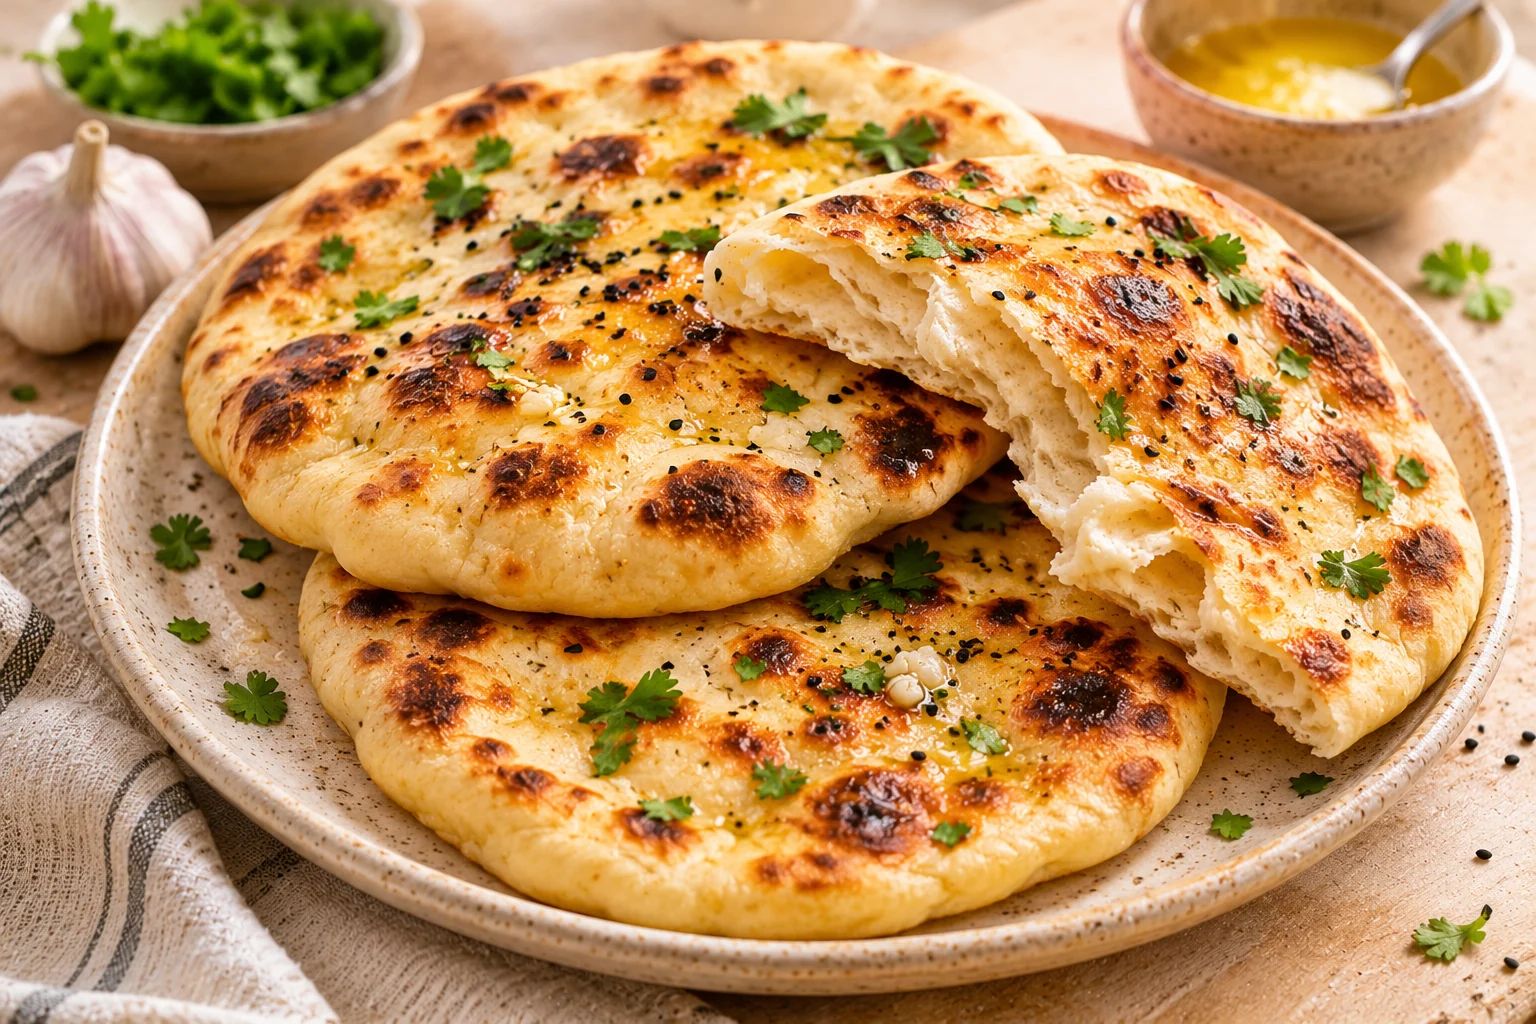
<ol class="no-list-style"><li class="MethodStepper"><h4 class="step-title">Step 1</h4>In a large mixing bowl, combine the flour, baking powder, baking soda, sugar, and salt. Whisk thoroughly to ensure even distribution of the leavening agents, which will help create those beautiful air pockets in your kulcha.</li><li class="MethodStepper"><h4 class="step-title">Step 2</h4>Make a well in the center of the dry ingredients and add the yogurt, lukewarm milk, and oil. The slightly warm milk activates the leavening agents while yogurt provides the signature tangy flavor and helps develop gluten for the perfect texture.</li><li class="MethodStepper"><h4 class="step-title">Step 3</h4>Mix everything together using a wooden spoon until the dough starts to come together, then transfer to a lightly floured surface. Knead the dough for about 8-10 minutes until it becomes smooth and elastic. The dough should be soft but not sticky – if it feels too wet, add a little more flour; if too dry, add a teaspoon of milk at a time.</li><li class="MethodStepper"><h4 class="step-title">Step 4</h4>Place the dough in a lightly oiled bowl, cover with a damp cloth or plastic wrap, and let it rest in a warm place for at least 2 hours, or until doubled in size. This slow fermentation develops flavor and creates the signature soft texture of kulcha.</li><li class="MethodStepper"><h4 class="step-title">Step 5</h4>After the dough has risen, punch it down gently to release air bubbles and transfer to a lightly floured surface. Divide the dough into 8 equal portions and shape each into a smooth ball. Cover with a cloth and let rest for 15 minutes to relax the gluten, making the dough easier to roll.</li><li class="MethodStepper"><h4 class="step-title">Step 6</h4>Mix the nigella seeds, chopped coriander, and minced garlic (if using) in a small bowl. Take one dough ball, press it flat with your fingers, sprinkle with some of the seed mixture, then fold the dough over and seal the edges. This creates pockets of flavor within the kulcha.</li><li class="MethodStepper"><h4 class="step-title">Step 7</h4>Roll each stuffed dough ball into an oval or round shape about 20cm (8 inches) in diameter and about 5mm thick. Don't worry if it's not perfectly shaped – rustic edges add to the authentic appeal! If the dough springs back while rolling, let it rest for a few more minutes.</li><li class="MethodStepper"><h4 class="step-title">Step 8</h4>Heat a cast iron skillet or tawa over medium-high heat until very hot. Lightly brush one side of the rolled kulcha with water (this helps it stick to the pan for better bubbling) and place it wet-side down on the hot pan.</li><li class="MethodStepper"><h4 class="step-title">Step 9</h4>Cover with a lid and cook for about 1 minute until bubbles form on the surface and the bottom develops golden-brown spots. The covered cooking creates steam that helps the kulcha puff up beautifully.</li><li class="MethodStepper"><h4 class="step-title">Step 10</h4>Flip the kulcha and cook the other side for another minute until golden spots appear. For an authentic charred effect, you can hold the kulcha with tongs directly over an open flame for a few seconds until it blisters slightly.</li><li class="MethodStepper"><h4 class="step-title">Step 11</h4>Remove from heat and brush generously with melted ghee or butter. Stack the kulchas on a plate and cover with a clean kitchen towel to keep them warm and soft while you cook the remaining dough. Serve immediately while still warm for the best taste and texture.</li></ol>