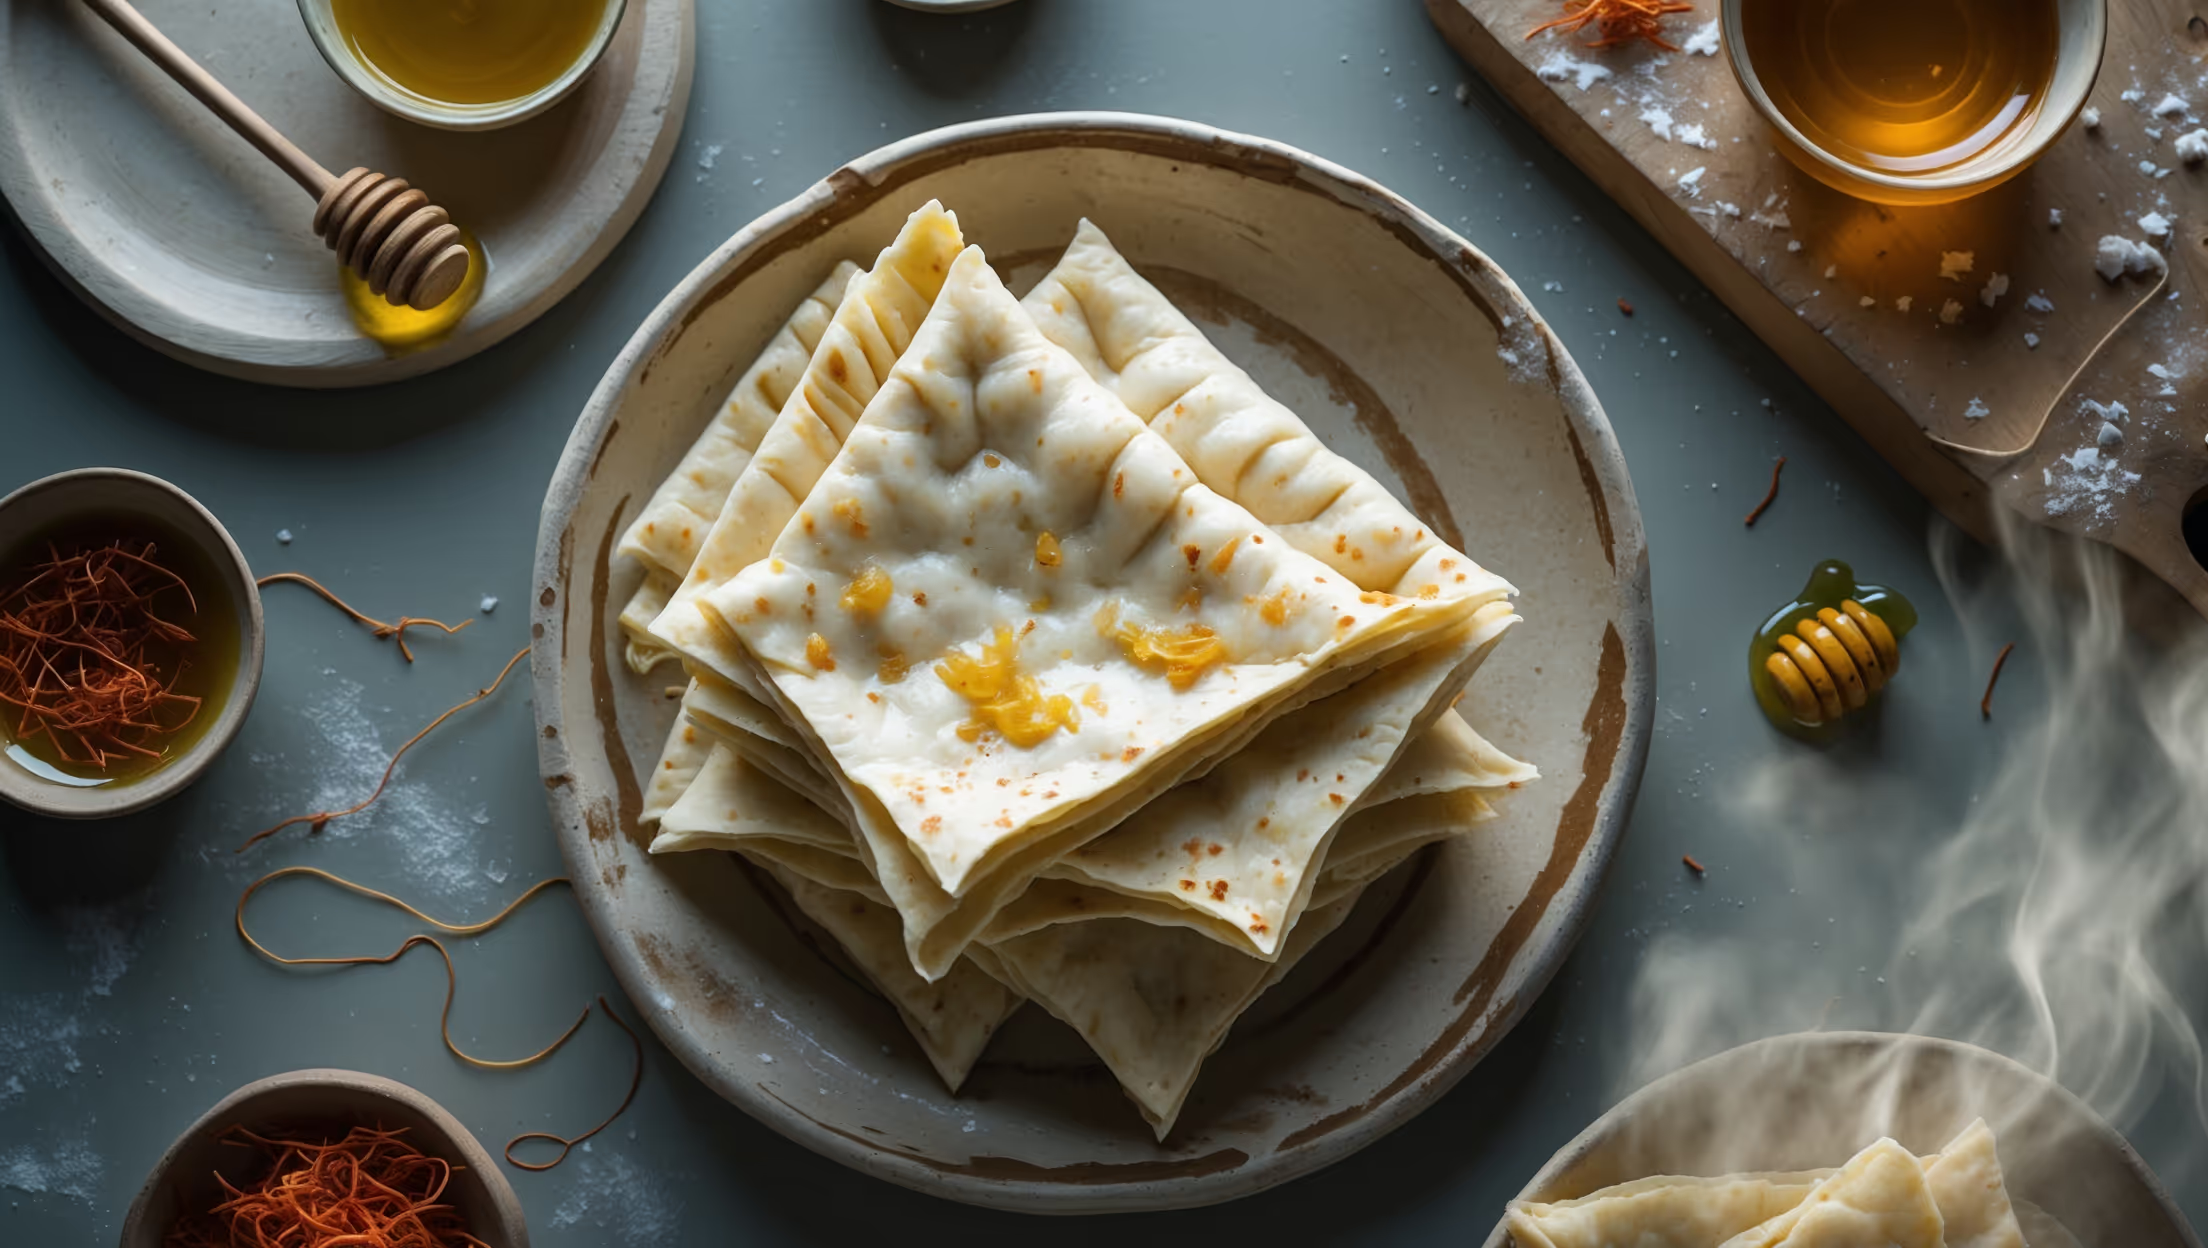
Directions
<ol class="no-list-style"><li class="MethodStepper"><h4 class="step-title">Step 1</h4>Begin by activating the yeast. In a small bowl, combine 120ml warm water (about 38°C/100°F - just warm to the touch, not hot) with 1 teaspoon sugar and 7g active dry yeast. Stir gently and let it sit for 10 minutes until frothy and bubbly. This activation process ensures your dough will rise properly - if the mixture doesn't foam up, your yeast might be inactive and should be replaced.</li><li class="MethodStepper"><h4 class="step-title">Step 2</h4>In a large mixing bowl, combine 375g all-purpose flour, 1 teaspoon salt, and 1 teaspoon baking powder. The baking powder works alongside the yeast to create an extra light texture in the finished kulcha. Mix thoroughly to ensure even distribution of the leavening agents.</li><li class="MethodStepper"><h4 class="step-title">Step 3</h4>Make a well in the center of your dry ingredients and add the activated yeast mixture, 120ml yogurt, and 2 tablespoons ghee. The yogurt provides tanginess and contributes to the dough's softness, while the fat from the ghee will yield a tender crumb. If using optional add-ins like chopped coriander, nigella seeds, or minced garlic, incorporate them now.</li><li class="MethodStepper"><h4 class="step-title">Step 4</h4>Mix everything together with a wooden spoon until it forms a shaggy dough, then transfer to a lightly floured surface. Knead the dough for about 8-10 minutes until smooth and elastic. The dough should spring back when poked gently with your finger. Proper kneading develops the gluten structure needed for the characteristic chew of kulcha.</li><li class="MethodStepper"><h4 class="step-title">Step 5</h4>Place the dough in a lightly oiled bowl, cover with a damp cloth or plastic wrap, and let it rise in a warm place for about 2 hours, or until doubled in size. The slow fermentation develops flavor and improves the bread's texture. If your kitchen is cool, consider placing the bowl in a turned-off oven with just the light on for gentle warmth.</li><li class="MethodStepper"><h4 class="step-title">Step 6</h4>Once the dough has doubled, punch it down gently to release excess air. Divide the dough into 8 equal portions (about 80-85g each) and shape into smooth balls. Cover with a kitchen towel and let them rest for 15 minutes. This brief rest relaxes the gluten and makes the dough easier to roll out.</li><li class="MethodStepper"><h4 class="step-title">Step 7</h4>Heat a cast iron skillet or tawa over medium-high heat until very hot. While the pan is heating, take one dough ball and roll it out to an oval or round shape about 20cm (8 inches) in diameter and 5mm (1/4 inch) thick. Don't roll too thin or you'll lose the signature pillowy texture.</li><li class="MethodStepper"><h4 class="step-title">Step 8</h4>Place the rolled kulcha on the hot skillet and cook for about 1-2 minutes until bubbles start to form on the surface. When the bottom side has developed some golden-brown spots, flip it over and cook the other side for another minute. The high heat creates the characteristic blistered appearance.</li><li class="MethodStepper"><h4 class="step-title">Step 9</h4>If you want the traditional tandoor-like charred spots, use tongs to hold the kulcha directly over an open flame for a few seconds (if you have a gas stove), turning quickly to char spots on the surface. This step is optional but adds authentic flavor and appearance.</li><li class="MethodStepper"><h4 class="step-title">Step 10</h4>As each kulcha is finished, brush generously with melted ghee or butter and stack them in a cloth-lined basket or plate covered with a tea towel to keep warm. The cloth absorbs excess moisture while keeping the bread warm and soft. Serve immediately for the best texture and flavor. Enjoy your homemade kulchas with your favorite curry, dal, or simply with butter!</li></ol>