Homemade Roti Recipe
Ingredients
Equipment
Directions
FAQs
Find answers to your most pressing questions about this delicious recipe right here.
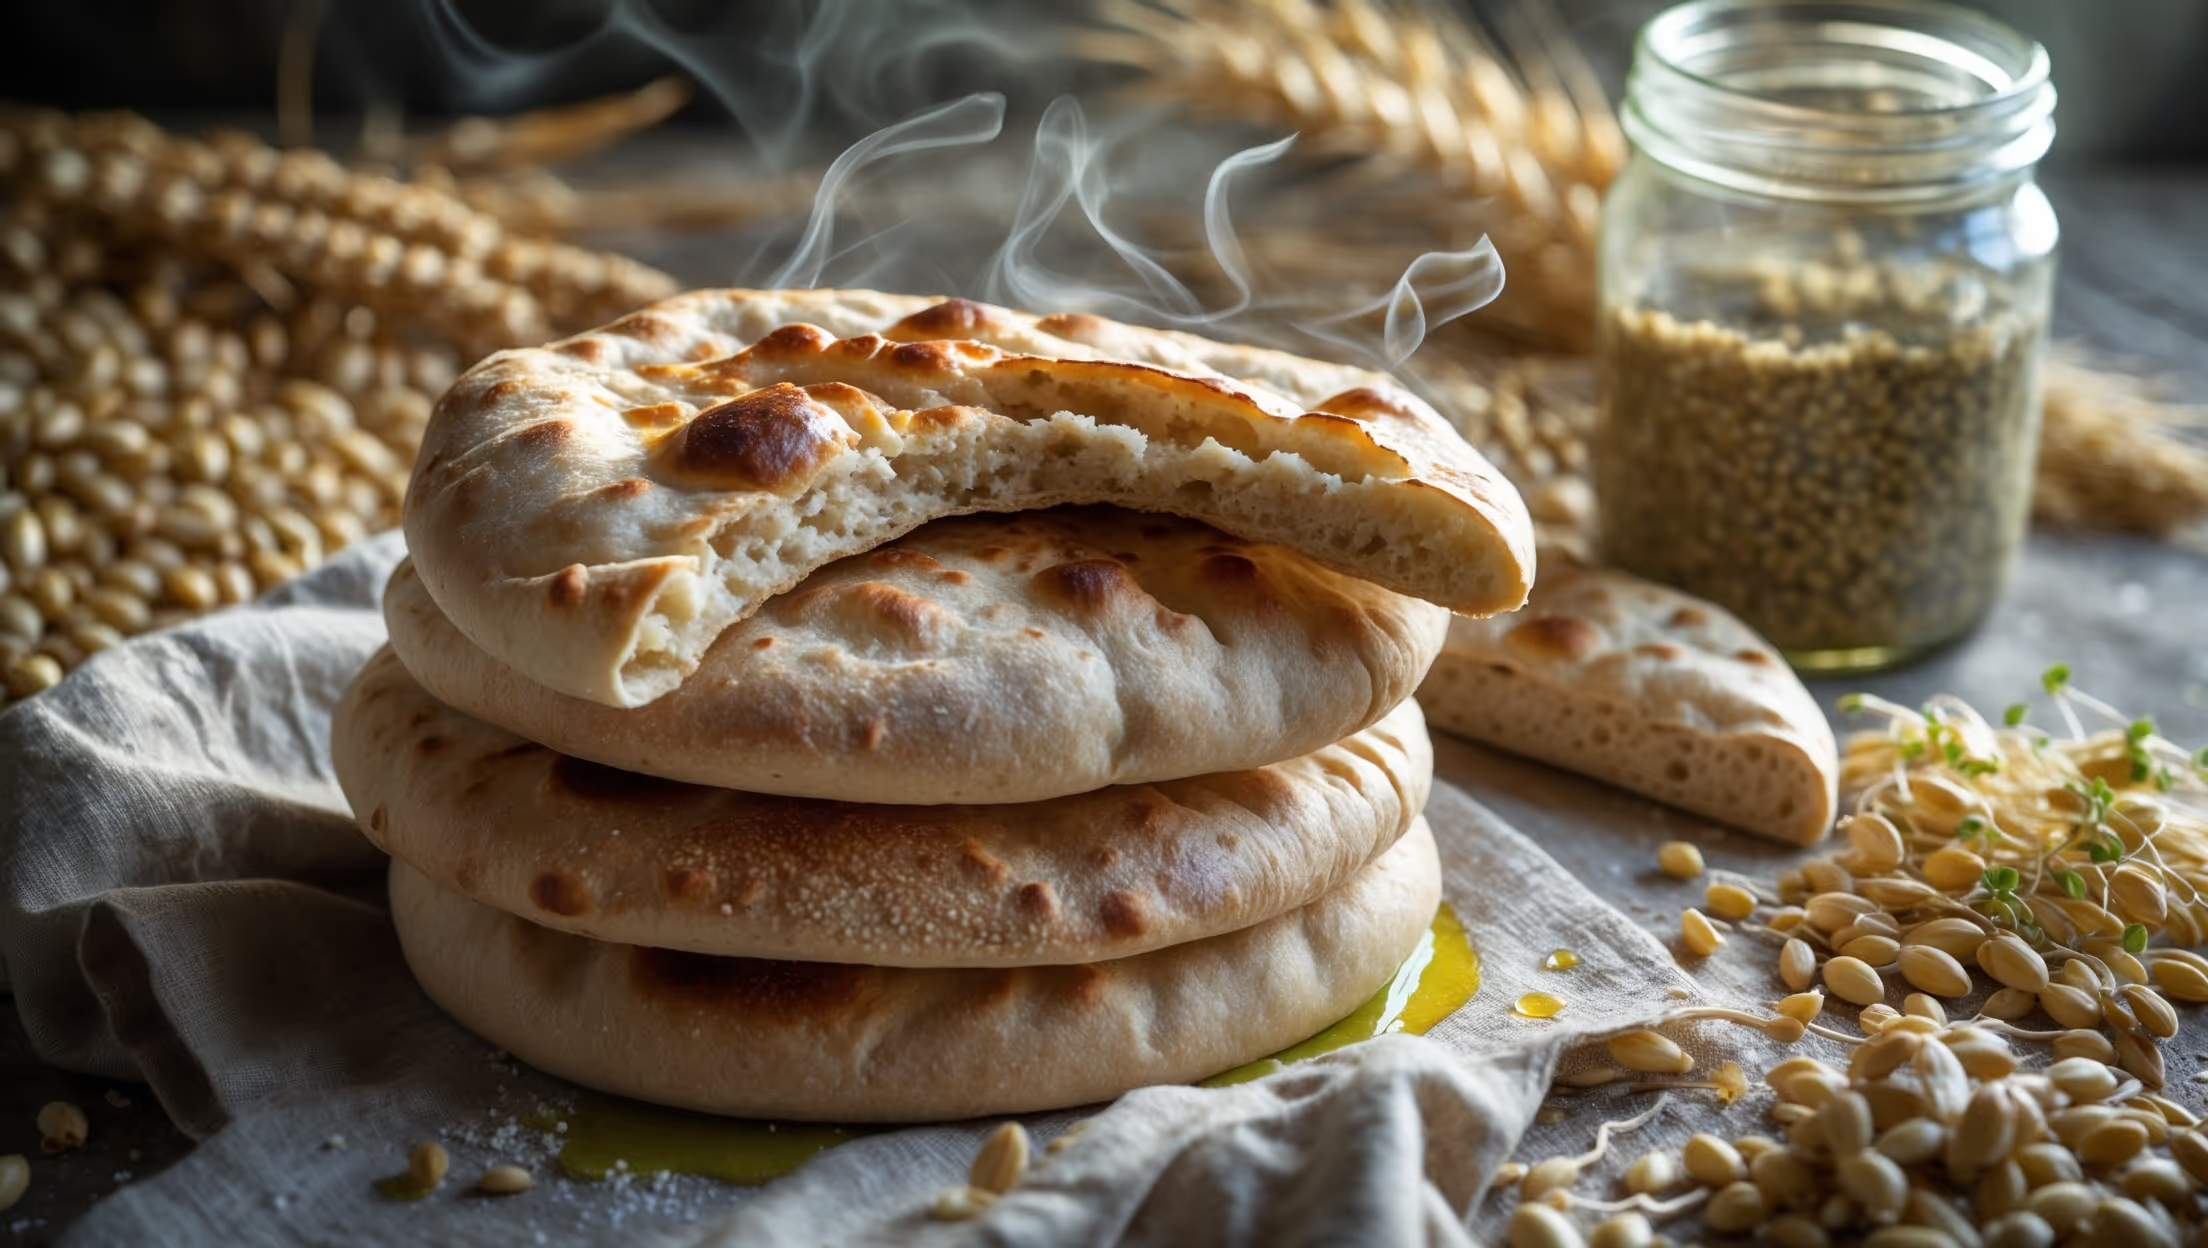
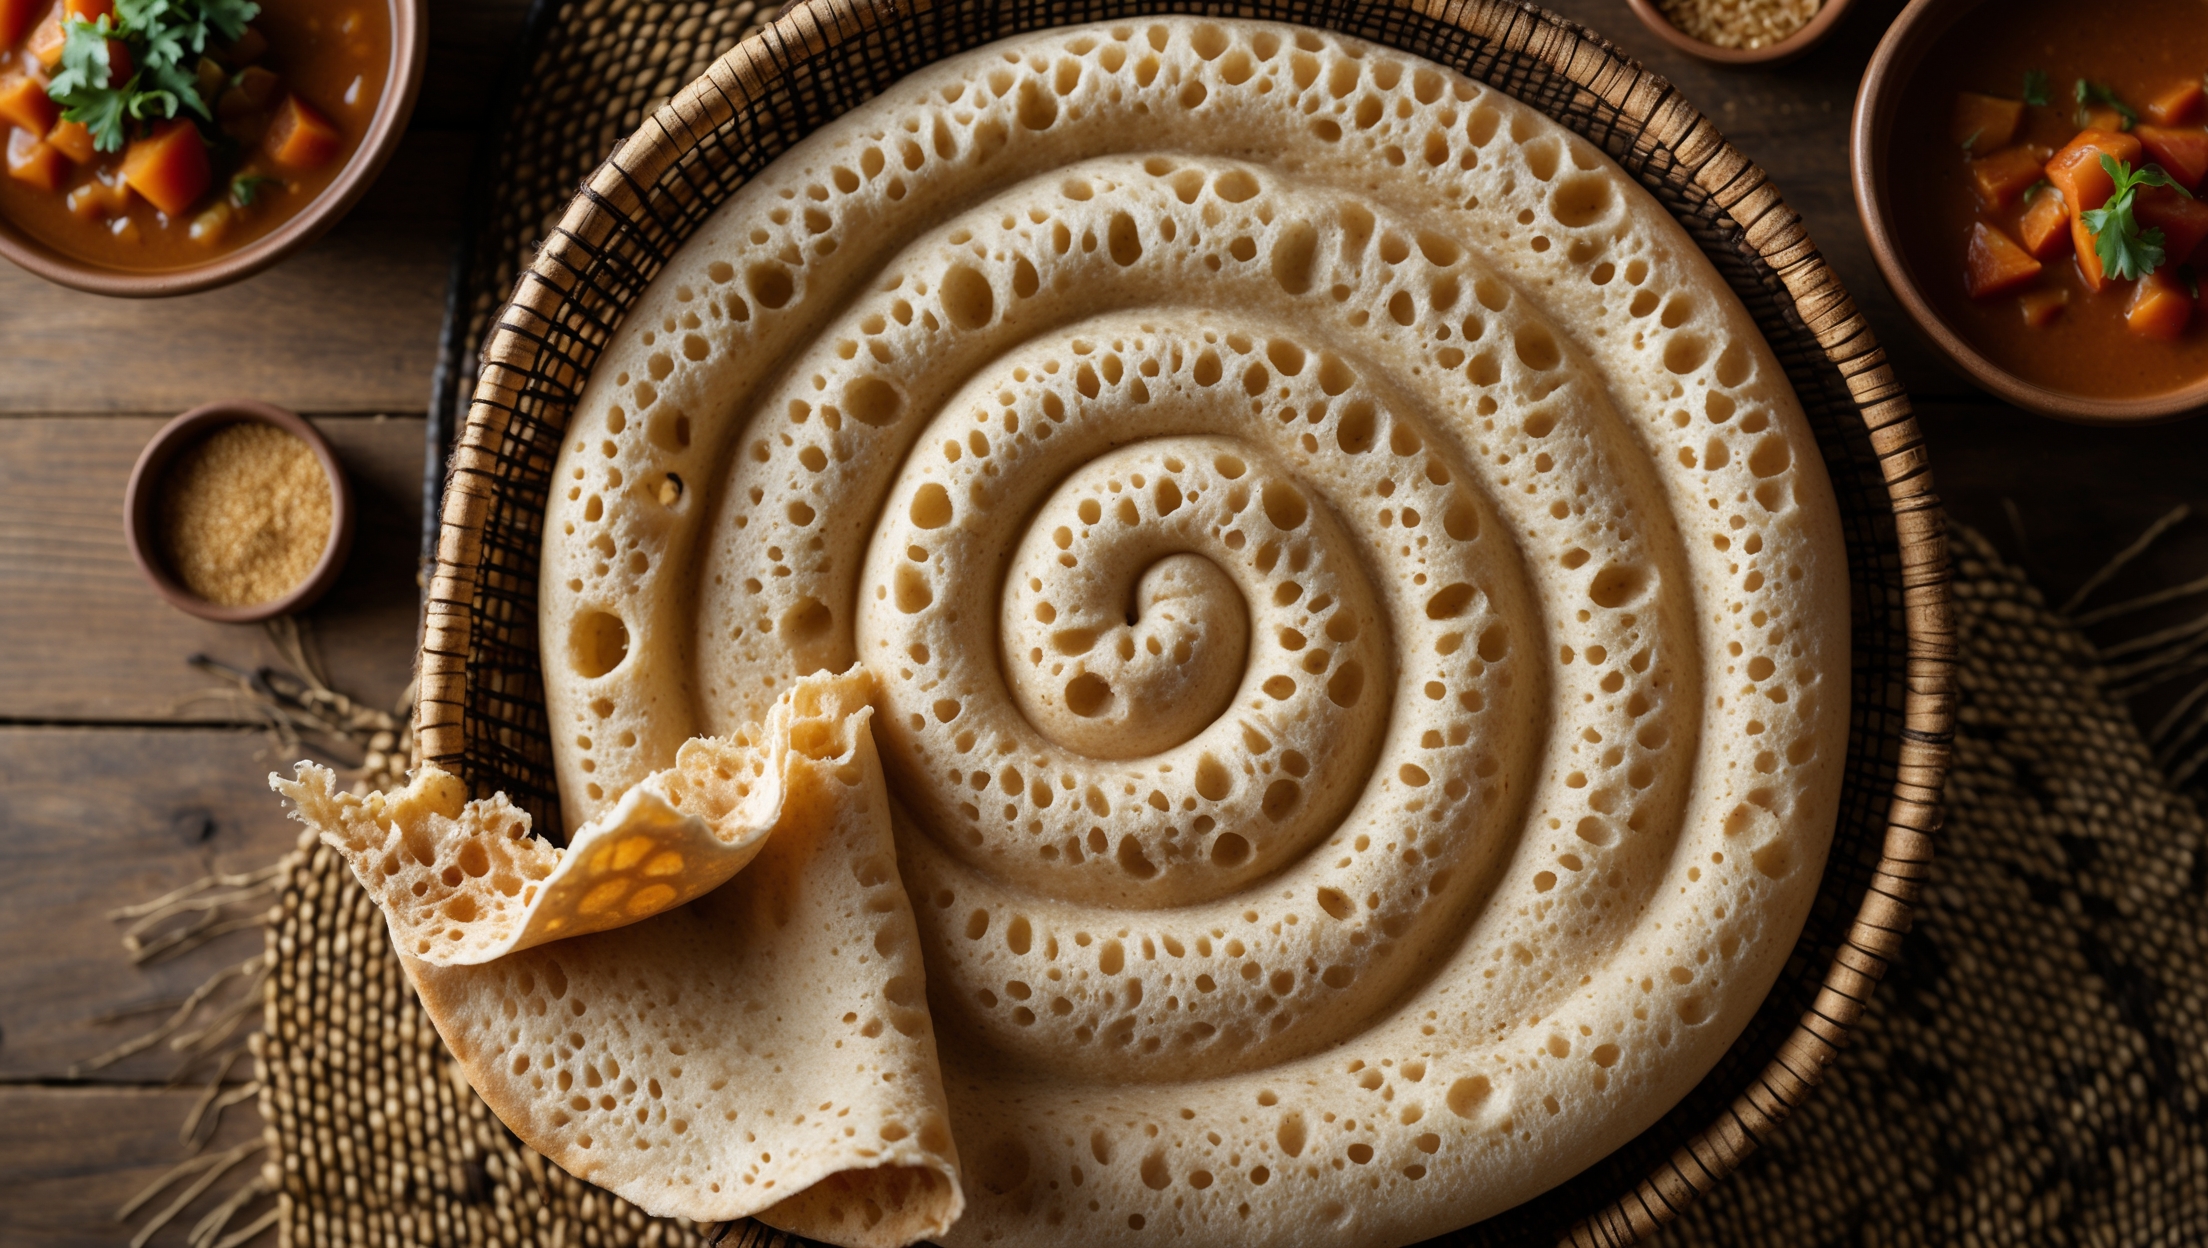
Traditional roti requires just 4 key ingredients: whole wheat flour (atta), salt, ghee or oil, and warm water. The simplicity of ingredients belies the skill involved in creating perfectly puffed, tender flatbreads that complement any South Asian meal.
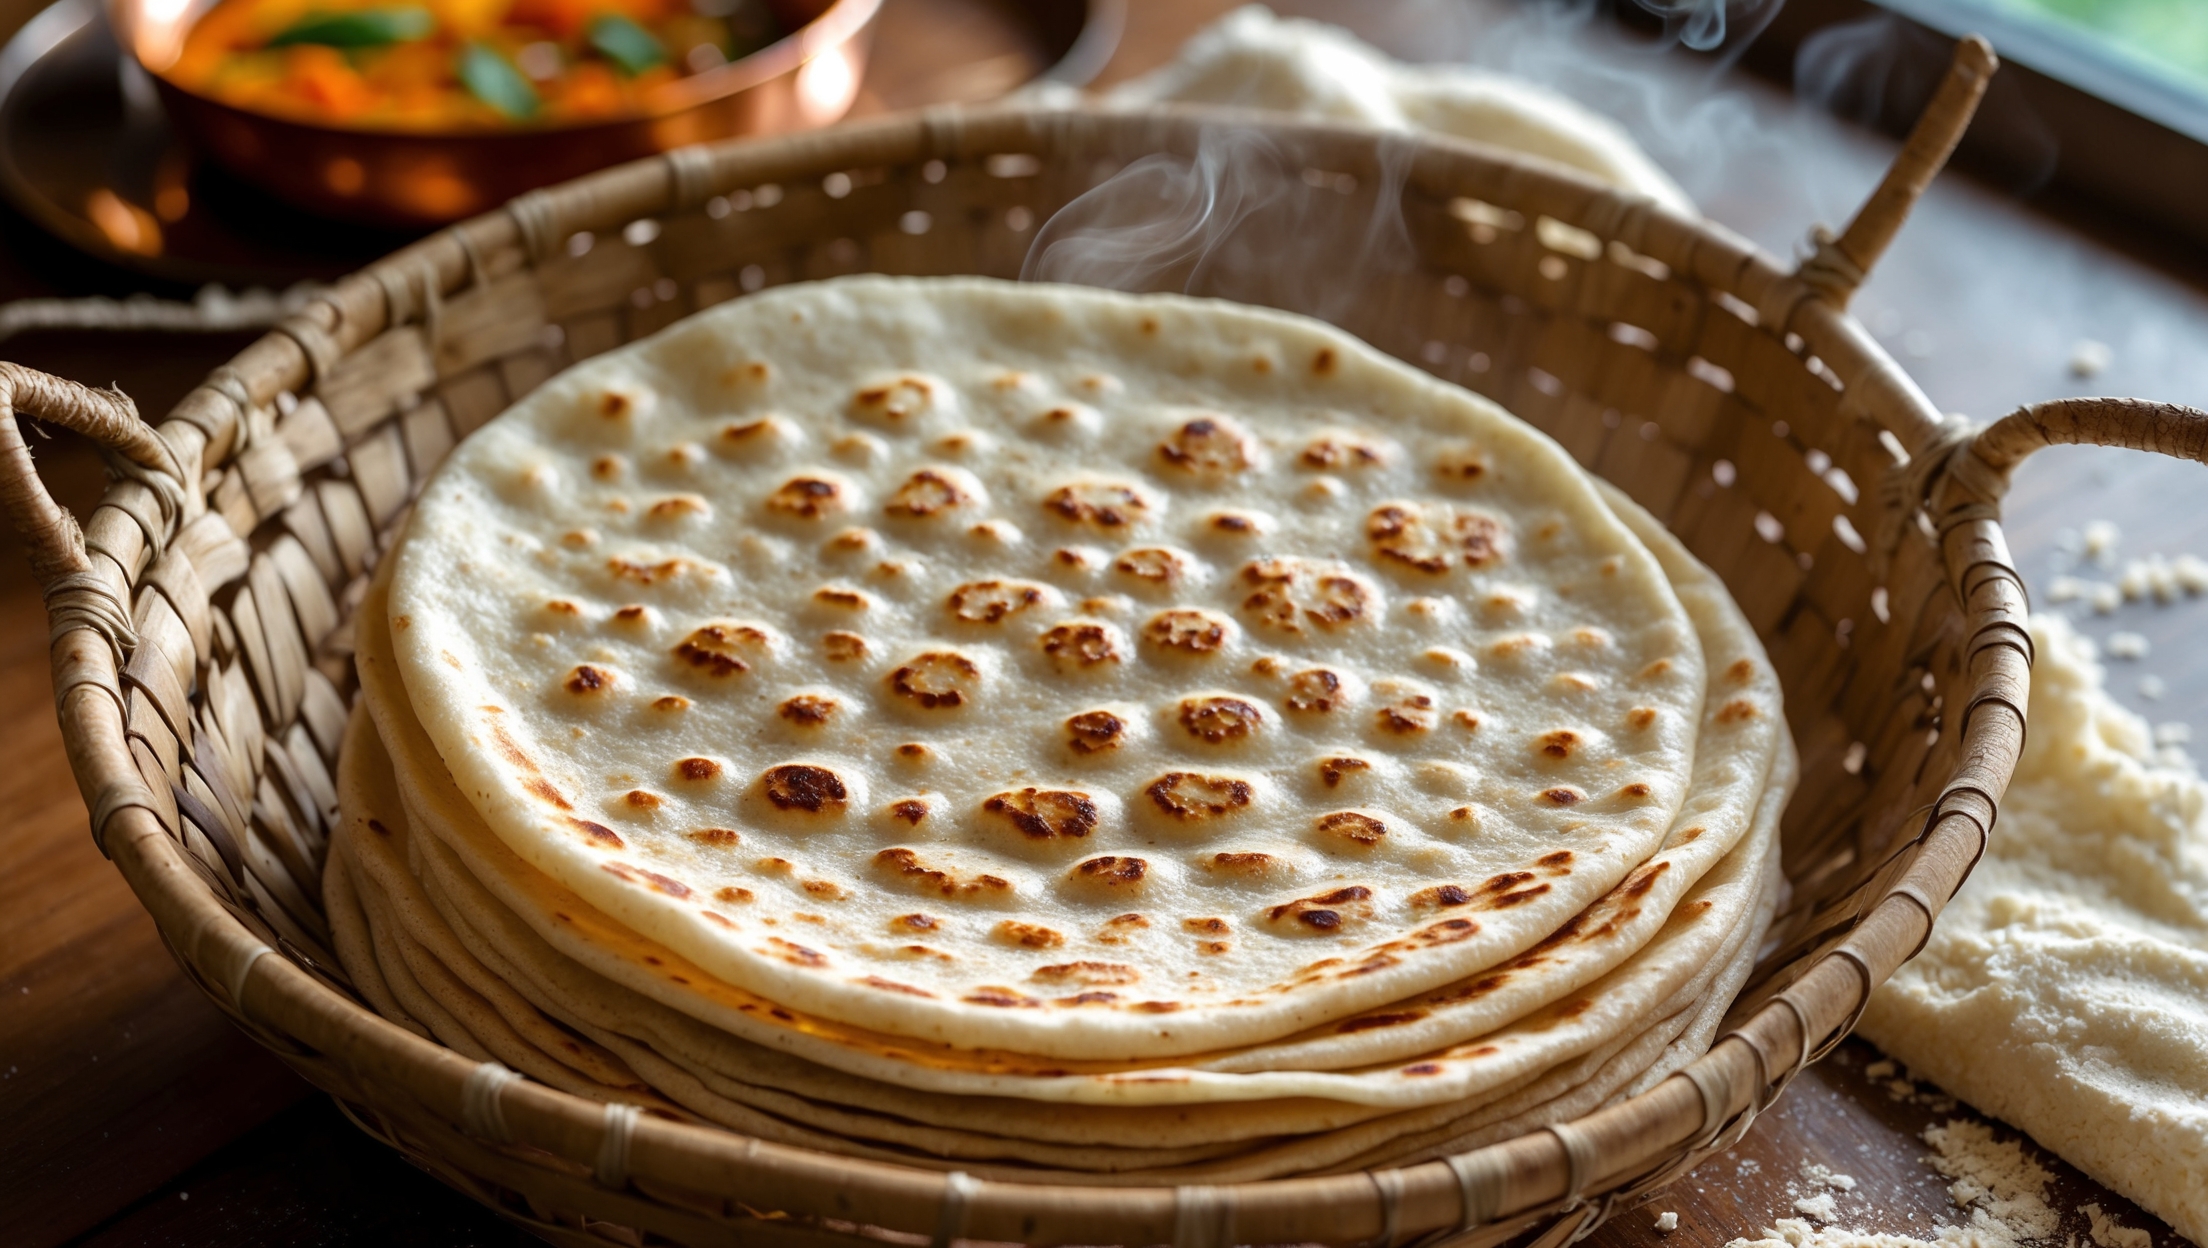
Learn how to cook Homemade Roti Recipe by first making a smooth dough with whole wheat flour, salt, ghee and warm water. After resting the dough, divide into portions, roll into thin circles, and cook on a hot tawa or skillet. The key technique is cooking each side briefly before placing directly over flame or pressing firmly with a cloth to achieve that signature puff.
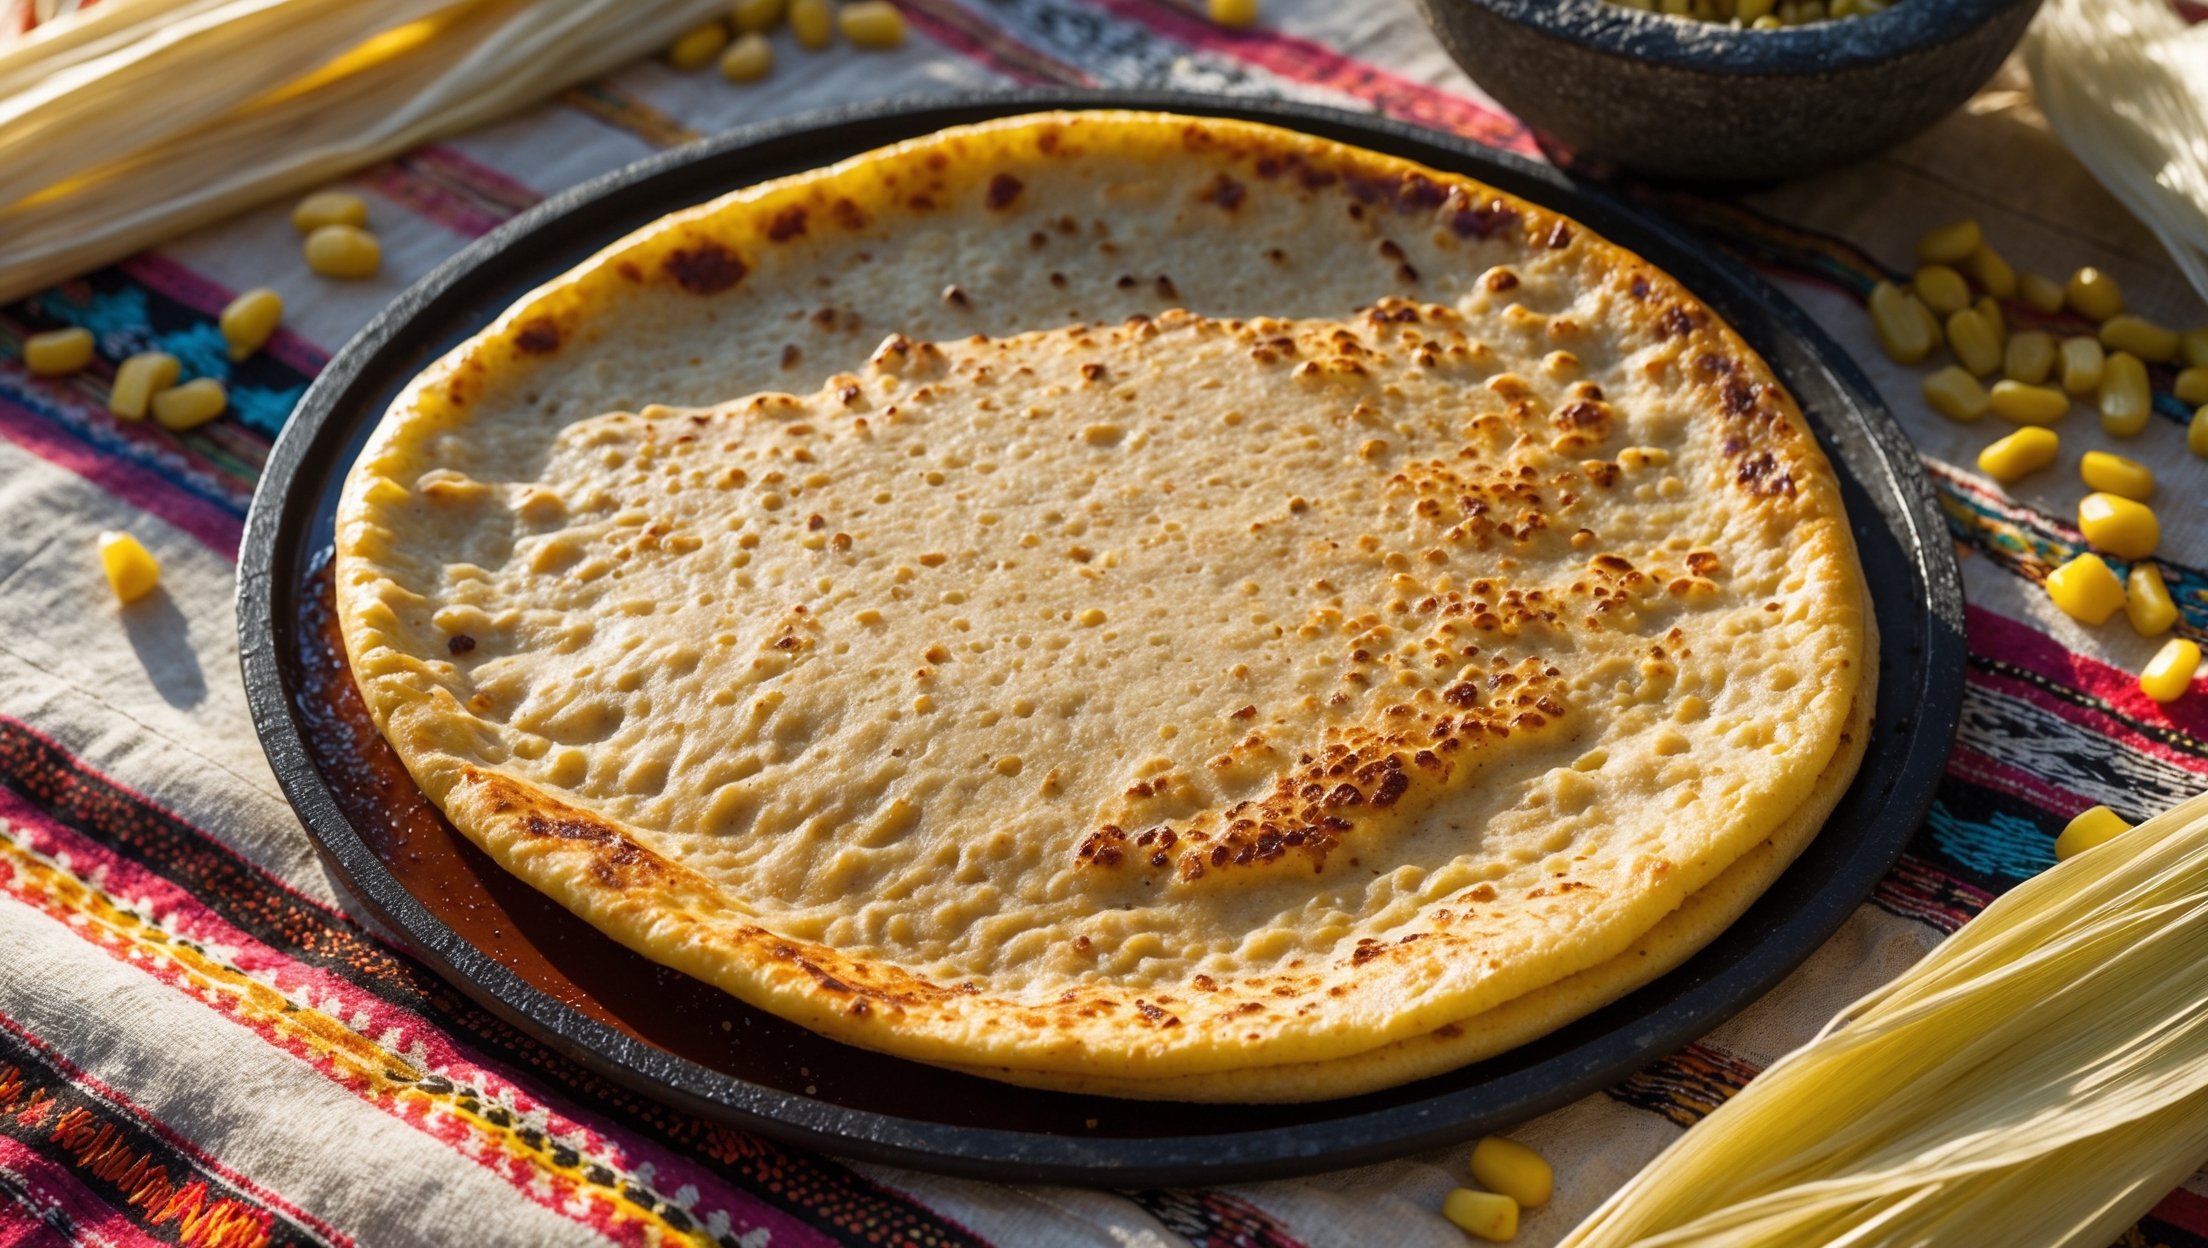
Failed puffing is usually caused by inconsistent thickness when rolling, insufficient kneading, or improper heat. Ensure you knead the dough for 8-10 minutes, roll to even thickness, and cook on a properly hot surface. Also, resting the dough is crucial as it allows the gluten to relax.
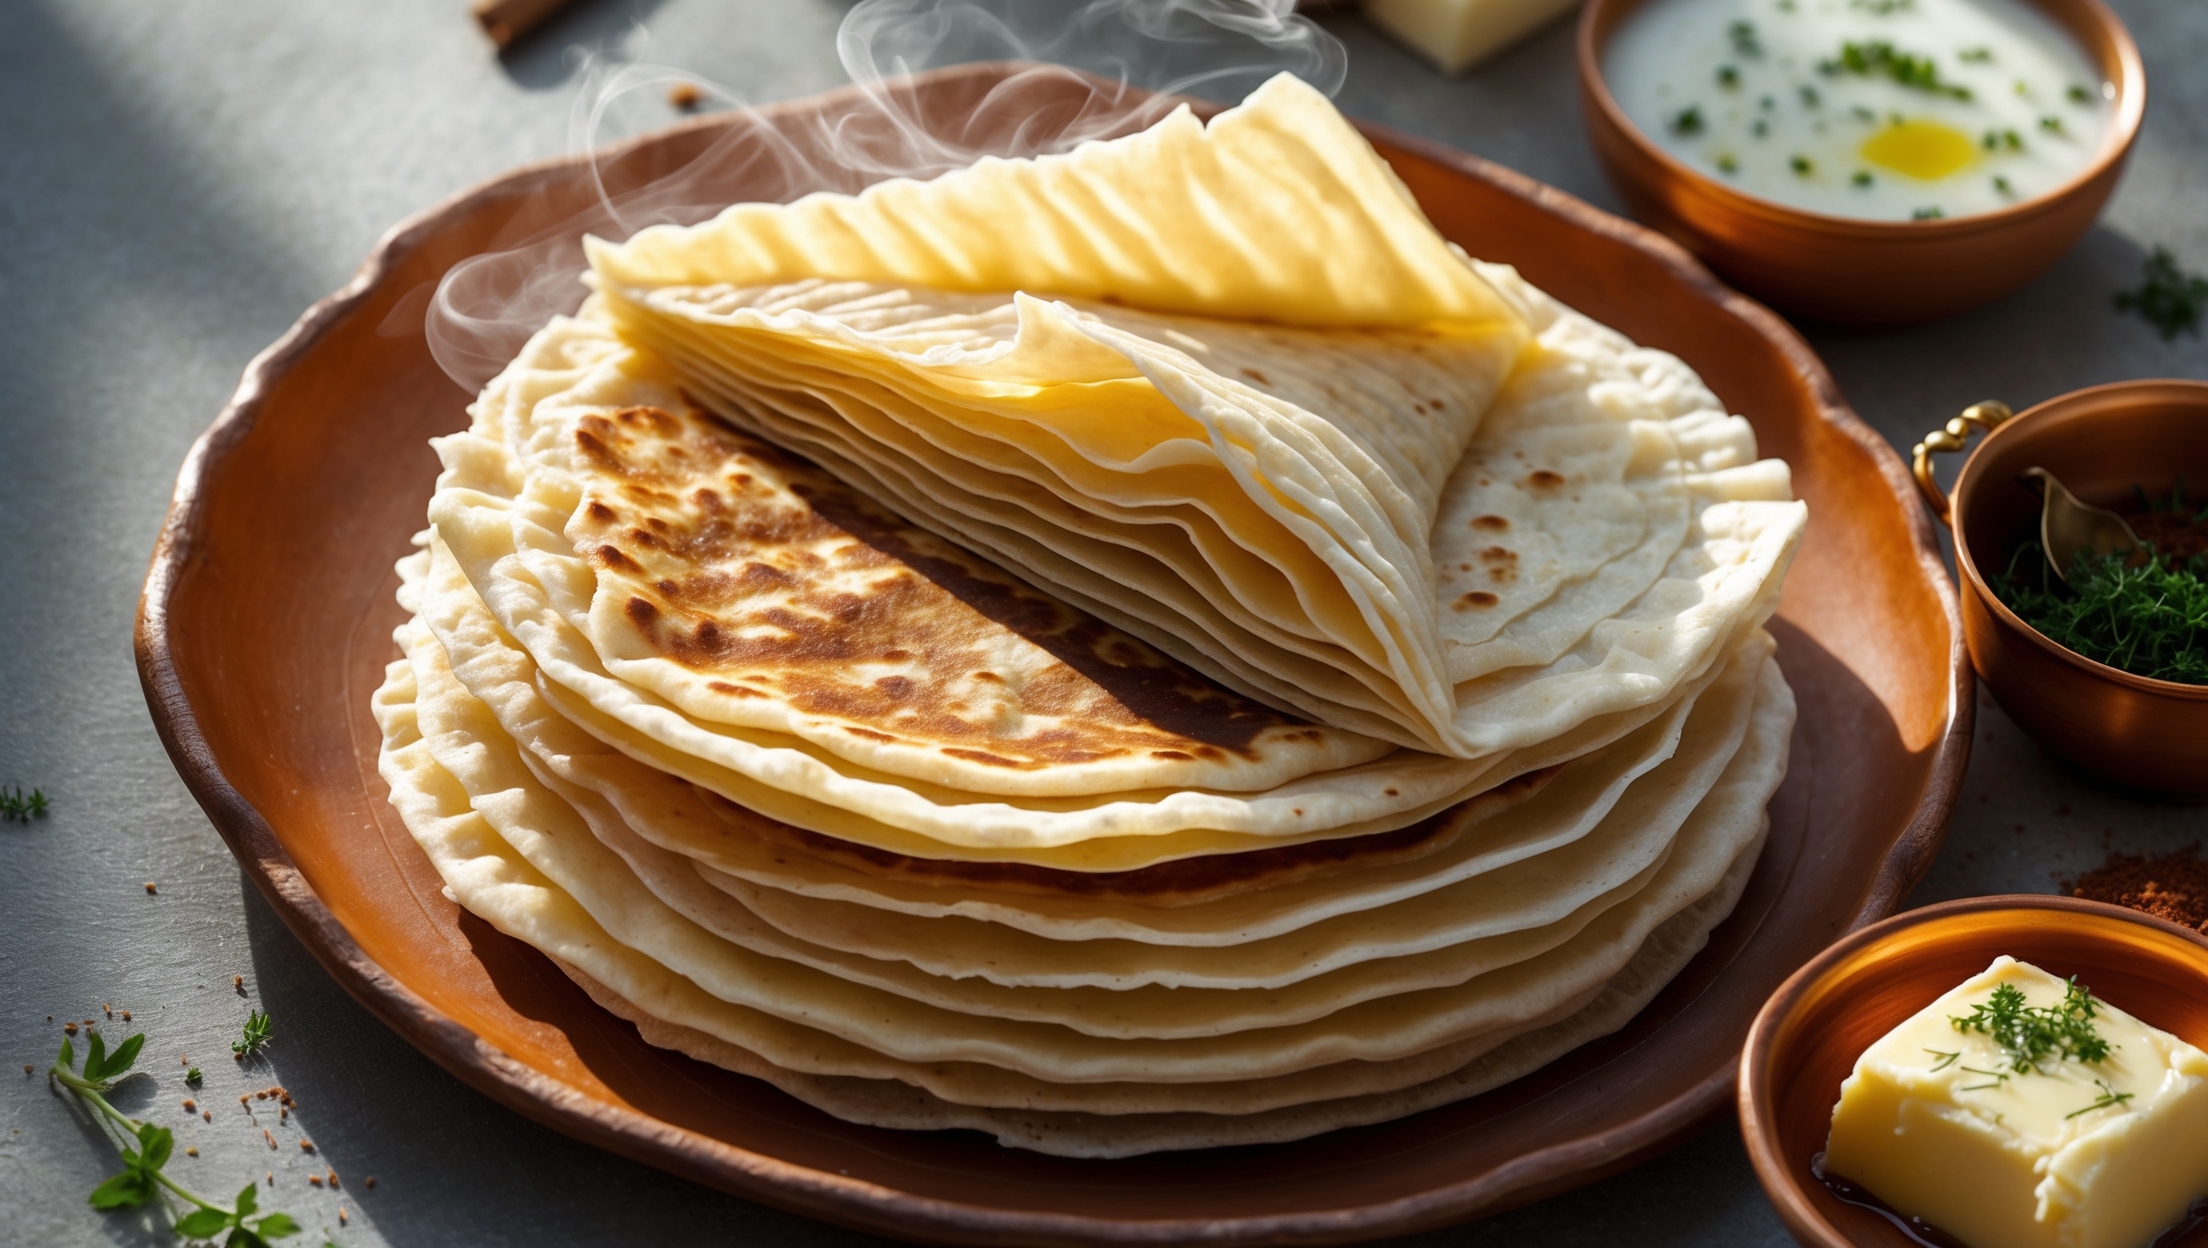
Roti and chapati are essentially the same unleavened flatbread made from whole wheat flour. Naan is distinctly different as it's a leavened bread made with refined flour, yoghurt, and sometimes eggs, requiring an oven or tandoor for cooking rather than a flat pan or tawa.
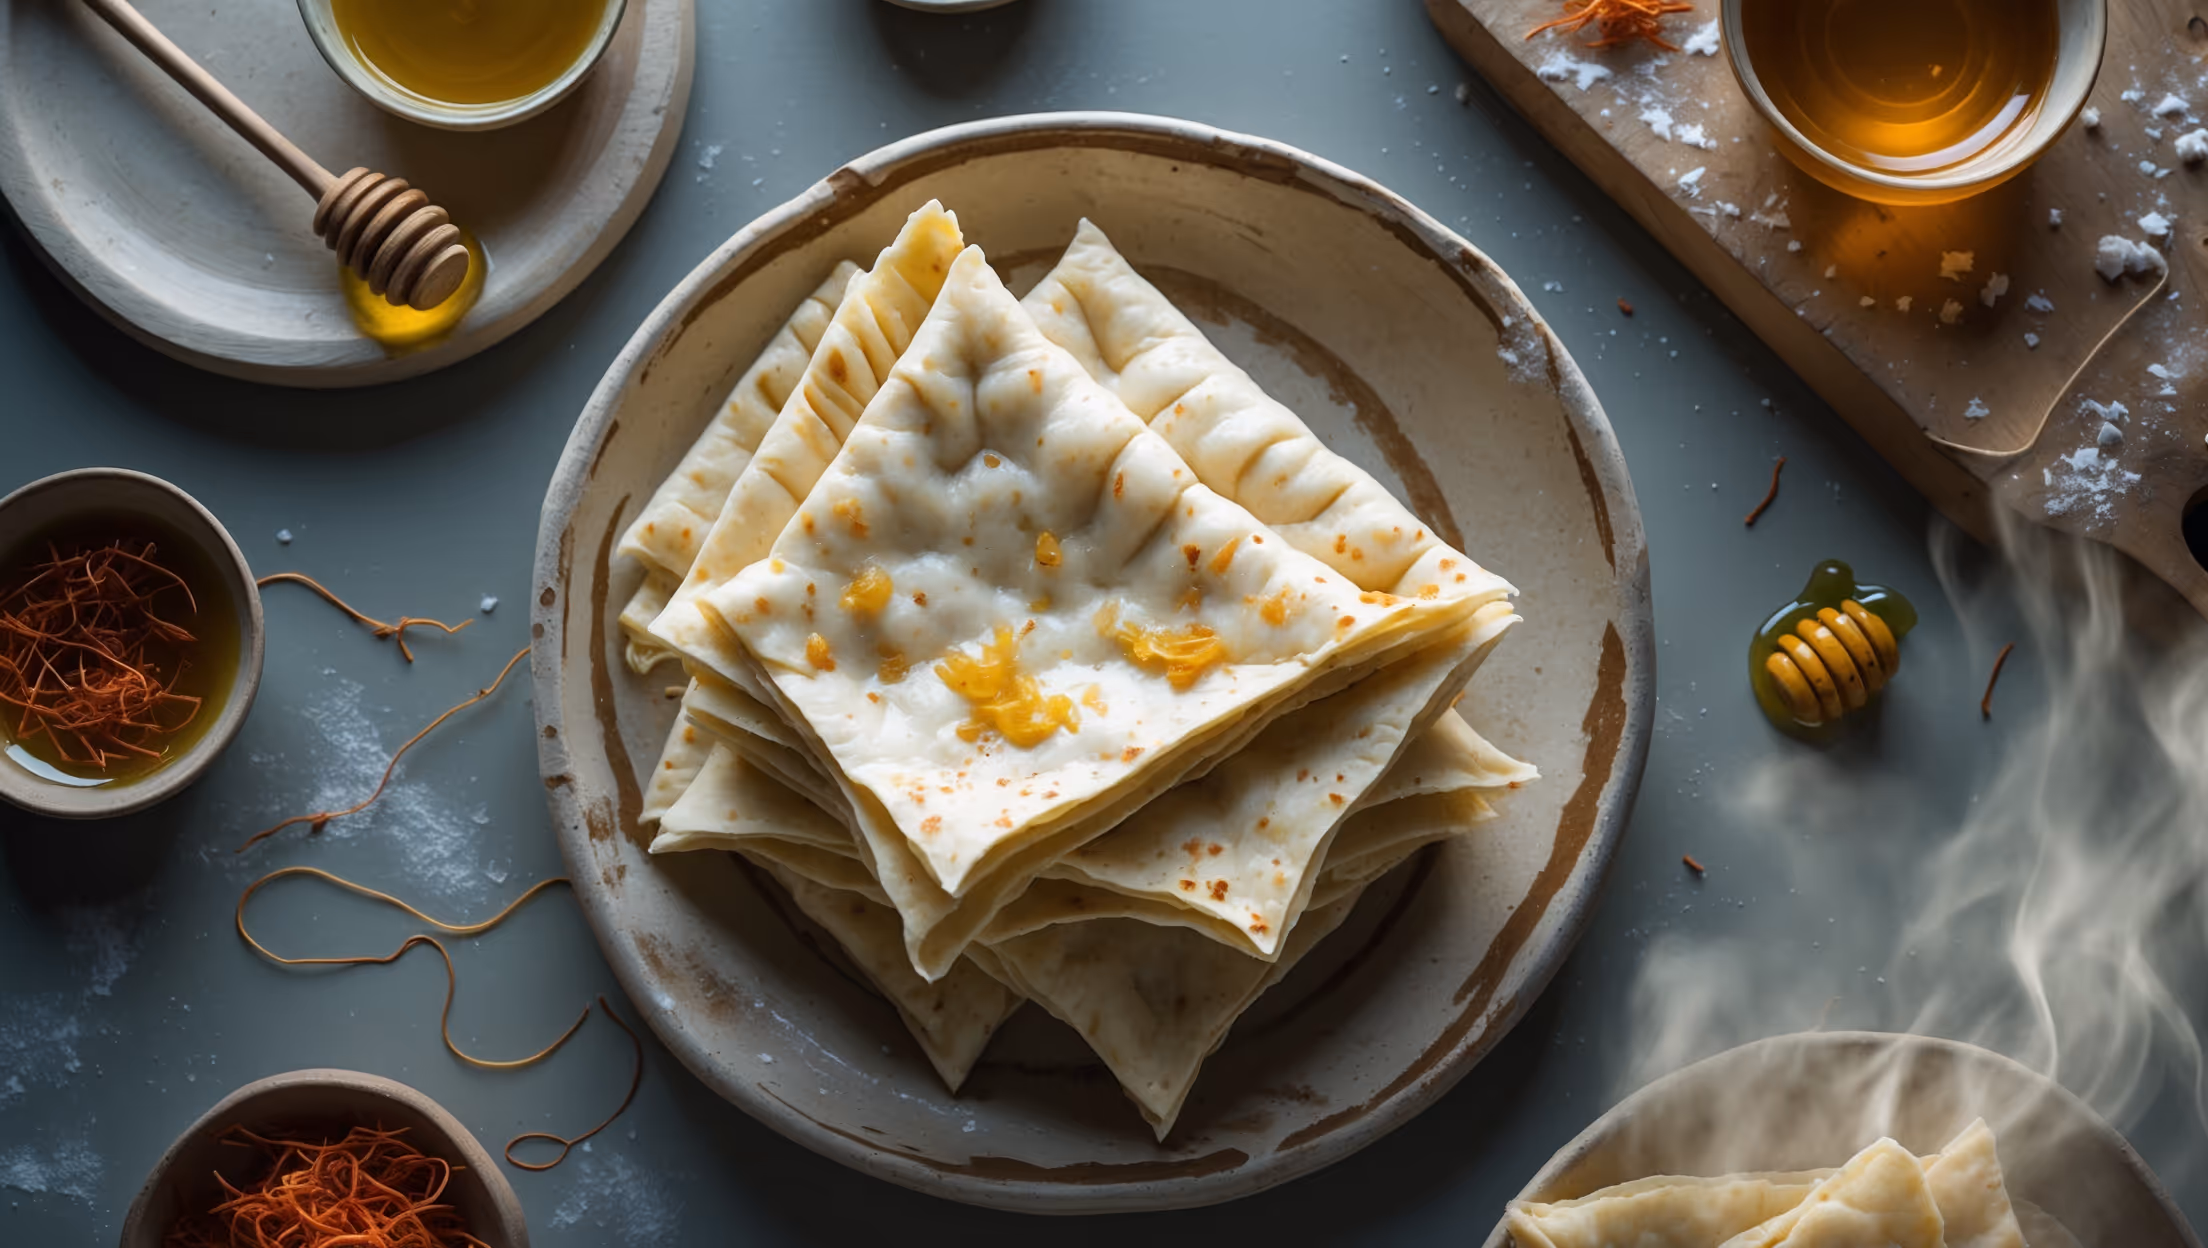
Yes, you can prepare rotis in advance. Once cooled, store them in an airtight container lined with paper towels for up to 2 days at room temperature or freeze for up to a month. To reheat, lightly sprinkle with water and warm on a skillet or in the microwave under a damp paper towel.
Flatbreads
Try following recommended recipes