Directions
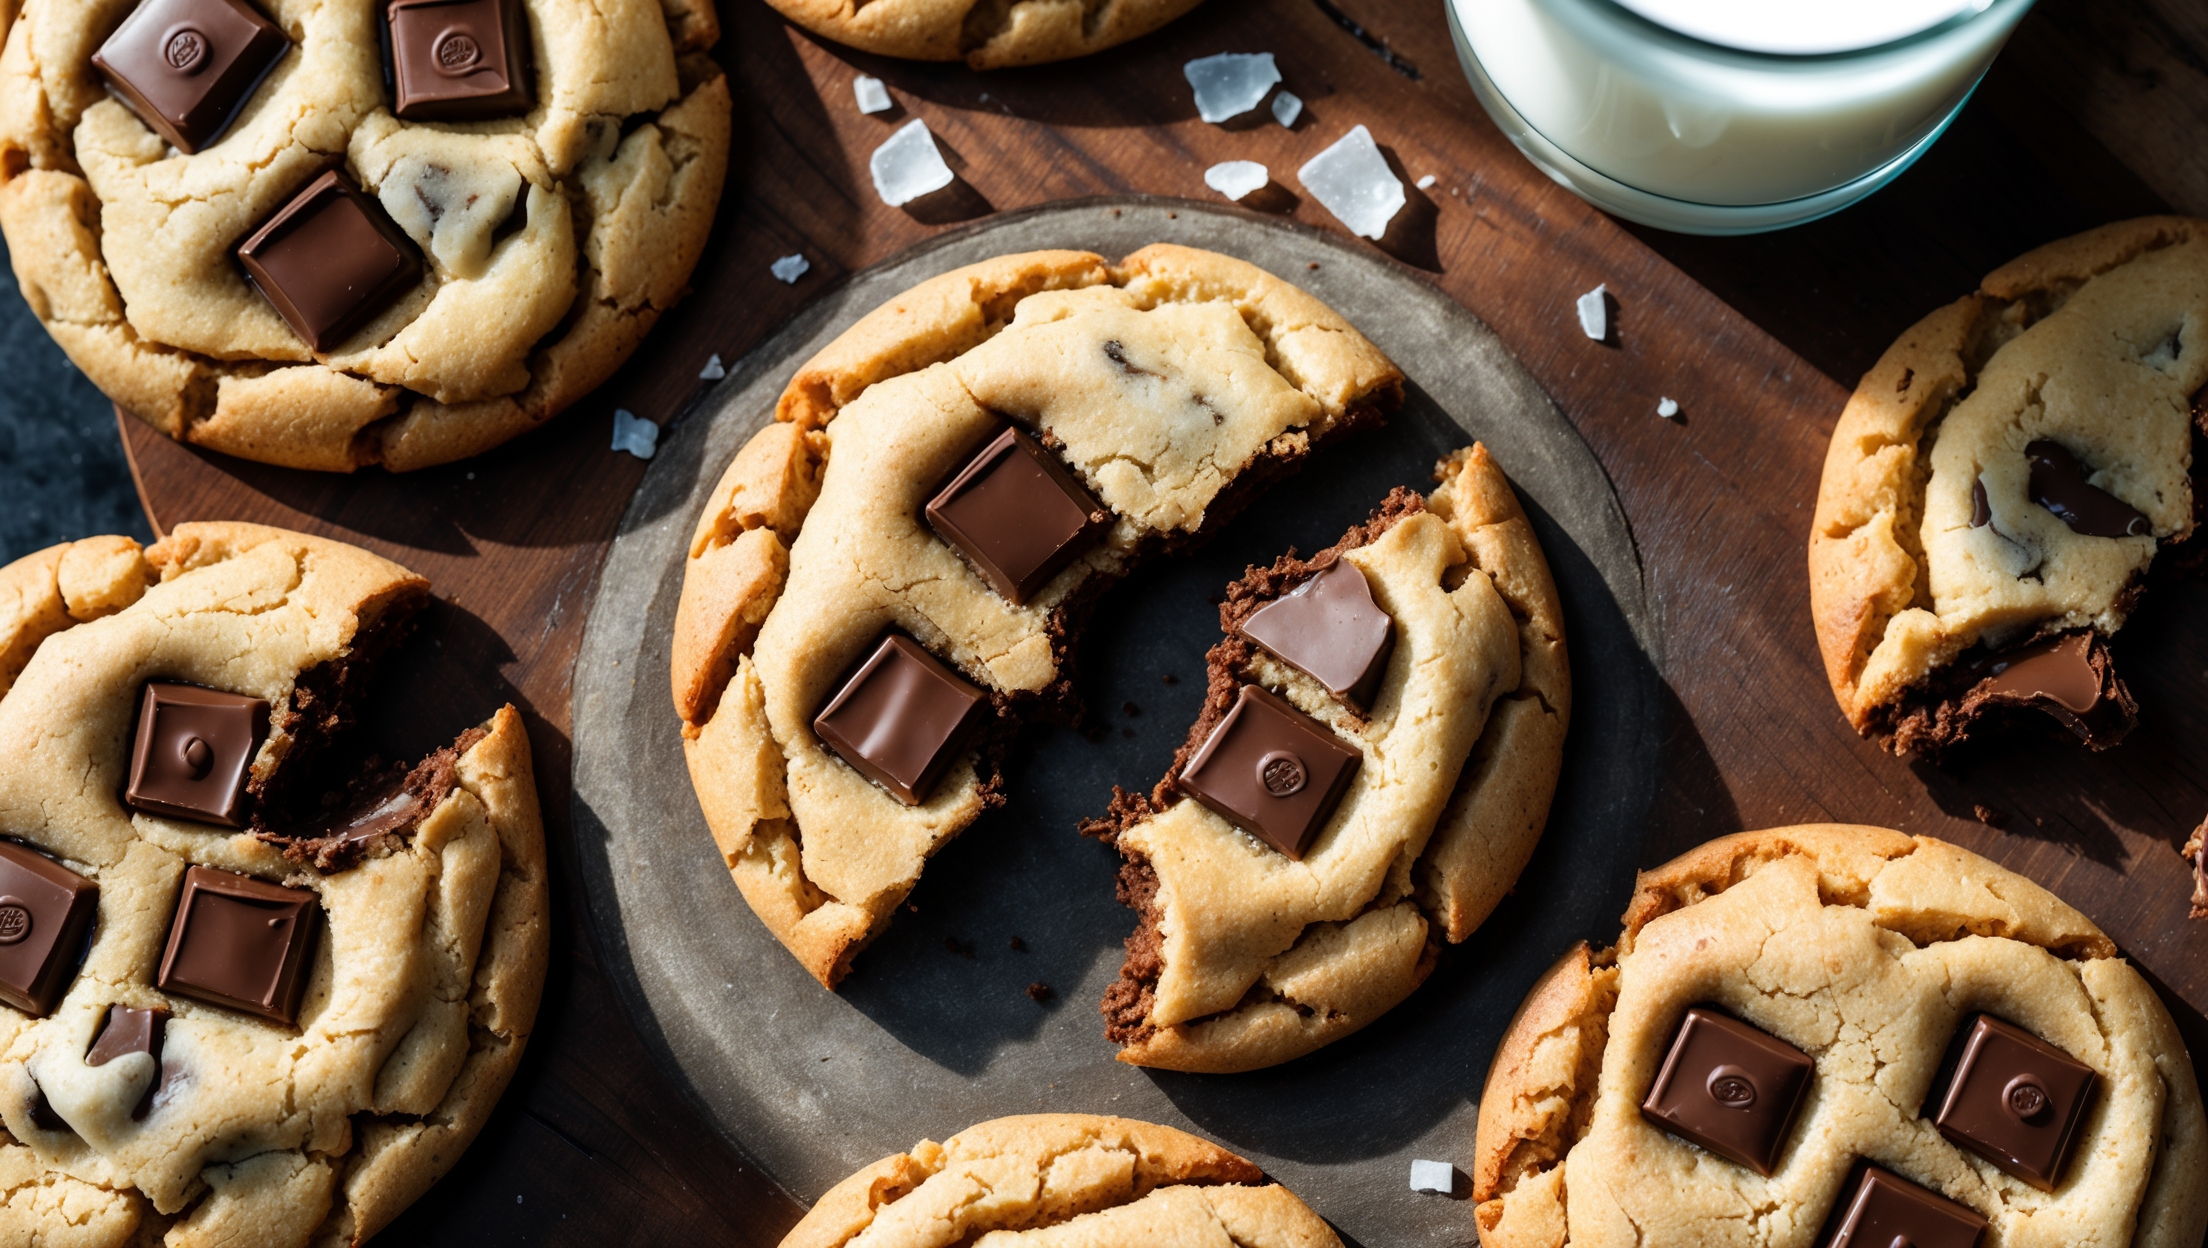
<ol class="no-list-style"><li class="MethodStepper"><h4 class="step-title">Step 1</h4>Begin by preheating your oven to 180°C and line two baking sheets with parchment paper. This preparation ensures you can work efficiently once your dough is ready.</li><li class="MethodStepper"><h4 class="step-title">Step 2</h4>In a small bowl, dissolve the espresso powder in 1 tablespoon of hot water to create a concentrated coffee solution. Stir until completely dissolved – this helps distribute the coffee flavor evenly throughout the dough rather than leaving bitter pockets.</li><li class="MethodStepper"><h4 class="step-title">Step 3</h4>In a medium bowl, whisk together flour, baking soda, and salt. Whisking these dry ingredients separately ensures they'll incorporate evenly into your wet mixture, preventing flour pockets in your finished cookies.</li><li class="MethodStepper"><h4 class="step-title">Step 4</h4>In a large bowl, cream together the softened butter, brown sugar, and granulated sugar for 4-5 minutes until light and fluffy. Don't rush this step – proper creaming creates air pockets that give your cookies structure and that perfect chewy texture.</li><li class="MethodStepper"><h4 class="step-title">Step 5</h4>Add the eggs one at a time, beating well after each addition until fully incorporated. Then mix in the vanilla extract and dissolved espresso solution. The mixture may look slightly curdled – this is perfectly normal!</li><li class="MethodStepper"><h4 class="step-title">Step 6</h4>Gradually add the flour mixture to the wet ingredients, mixing on low speed just until combined. Overmixing at this stage will develop gluten and make your cookies tough rather than tender.</li><li class="MethodStepper"><h4 class="step-title">Step 7</h4>Fold in the chocolate chunks by hand using a spatula, distributing them evenly throughout the dough. Reserve a few chunks to press into the tops of the cookies before baking for that bakery-style appearance.</li><li class="MethodStepper"><h4 class="step-title">Step 8</h4>For the best texture and flavor, chill the dough for at least 30 minutes (or up to 24 hours). This resting period allows the flour to hydrate fully and the flavors to meld beautifully, resulting in a more complex taste.</li><li class="MethodStepper"><h4 class="step-title">Step 9</h4>Using a cookie scoop or tablespoon, portion the dough into balls about 1½ tablespoons each, placing them about 5cm apart on your prepared baking sheets. Press a few reserved chocolate chunks into the tops of each cookie dough ball.</li><li class="MethodStepper"><h4 class="step-title">Step 10</h4>Bake for 10-12 minutes until the edges are set but the centers still look slightly underdone – they'll continue cooking from residual heat after removal. Look for golden edges with slightly paler centers for that perfect chewy texture.</li><li class="MethodStepper"><h4 class="step-title">Step 11</h4>Immediately after removing from the oven, sprinkle with flaky sea salt if desired. This optional step creates a delightful sweet-salty contrast that enhances both the chocolate and espresso flavors.</li><li class="MethodStepper"><h4 class="step-title">Step 12</h4>Allow the cookies to cool on the baking sheets for 5 minutes before transferring to a wire rack to cool completely. The cookies will firm up as they cool while maintaining that desirable chewy center.</li></ol>