Classic Pita Bread Recipe
Ingredients
Equipment
Directions
FAQs
Find answers to your most pressing questions about this delicious recipe right here.
Classic pita bread requires strong bread flour, instant dry yeast, salt, sugar, olive oil, and warm water. These simple ingredients create the perfect dough that puffs up during baking to form the characteristic pocket that makes pita bread so versatile for fillings.
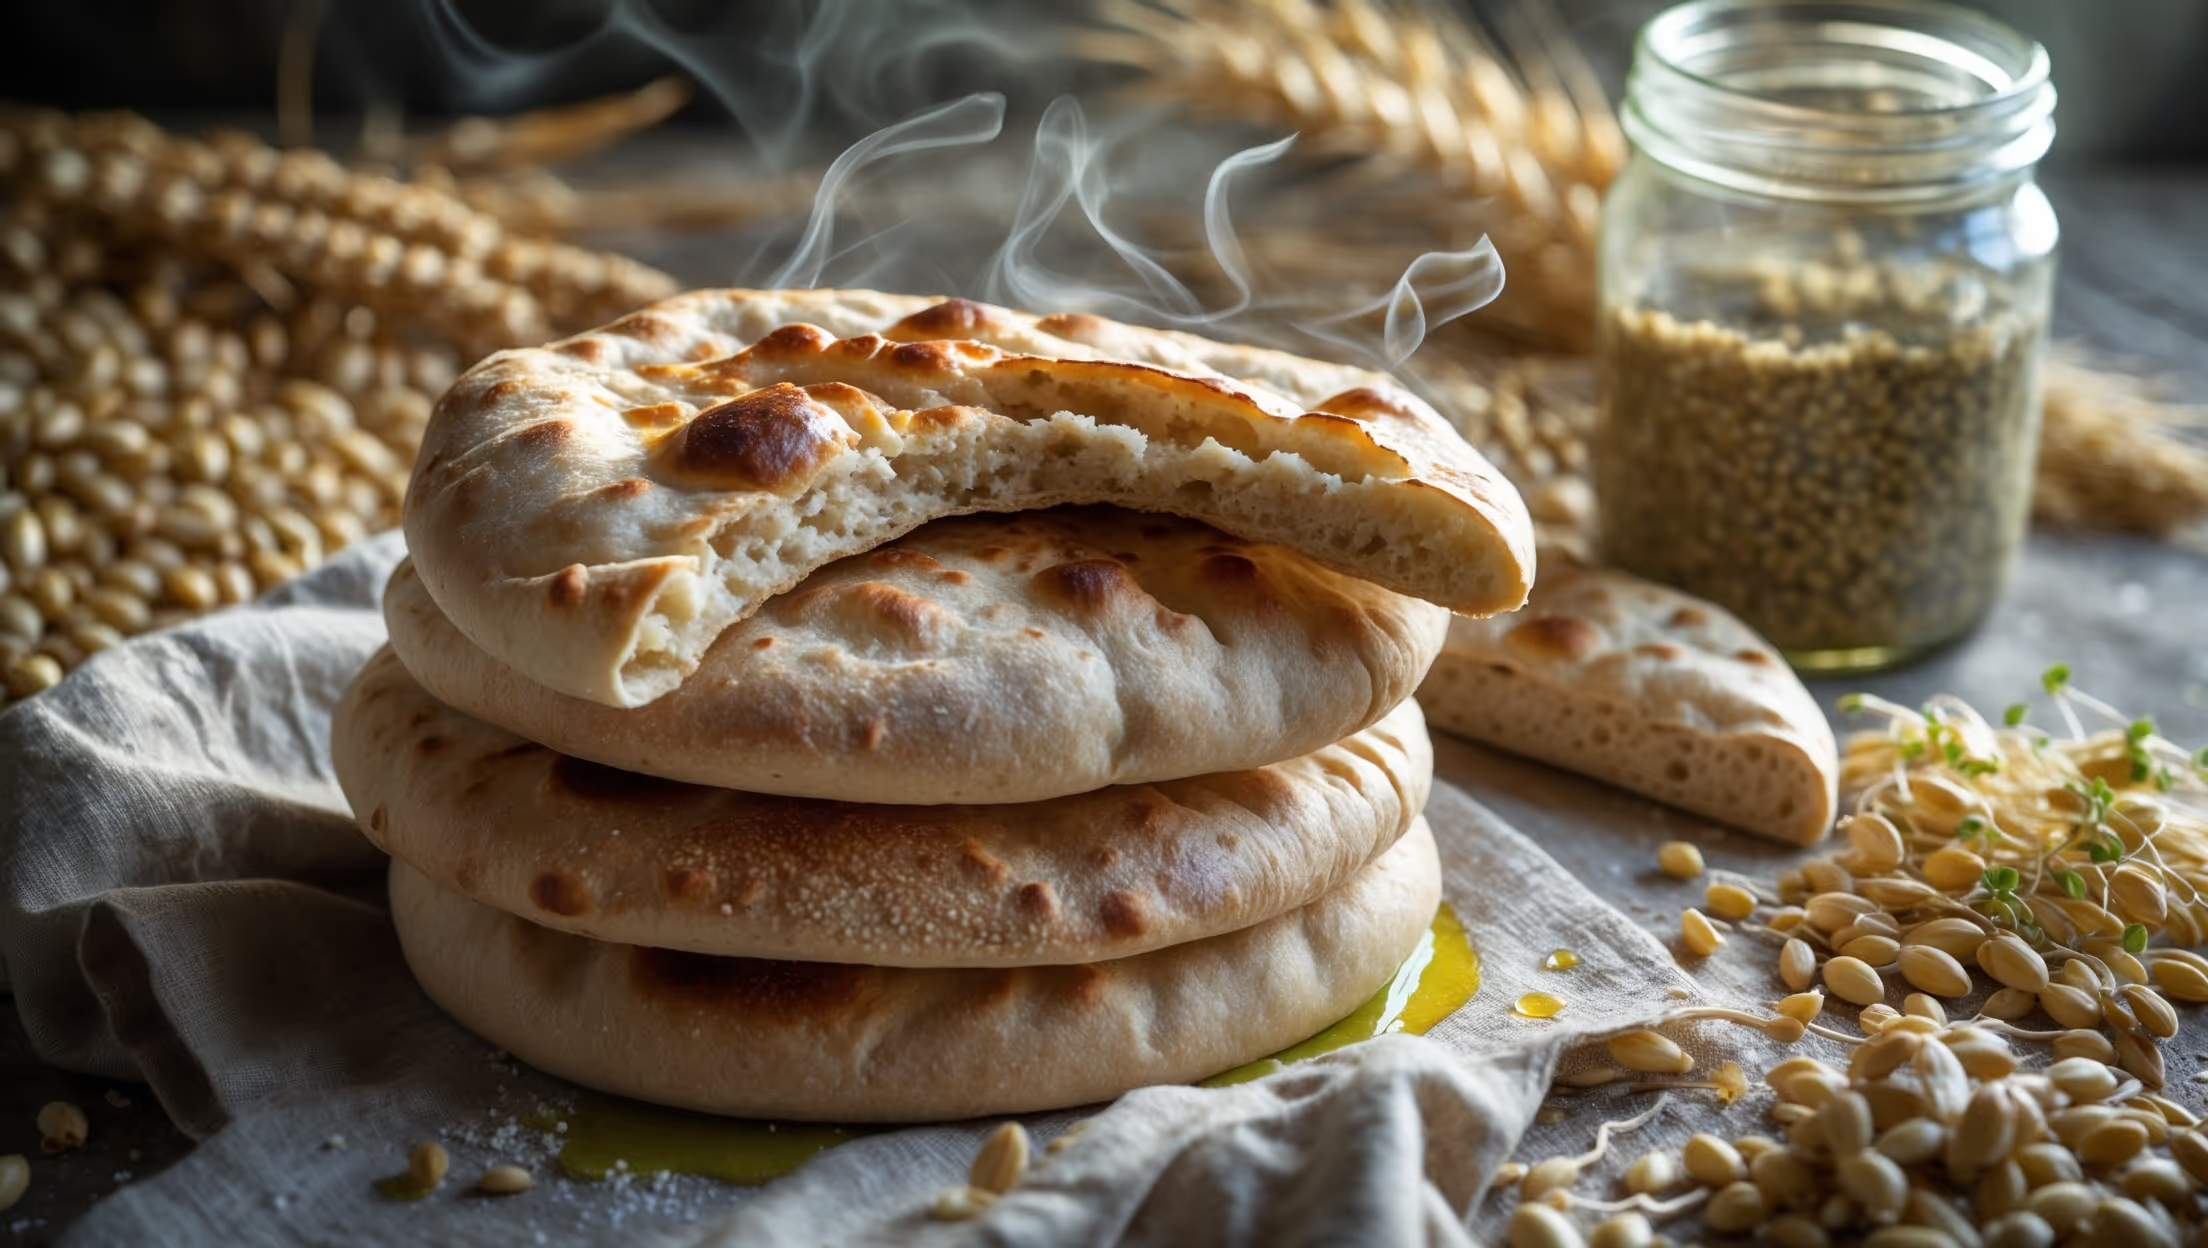
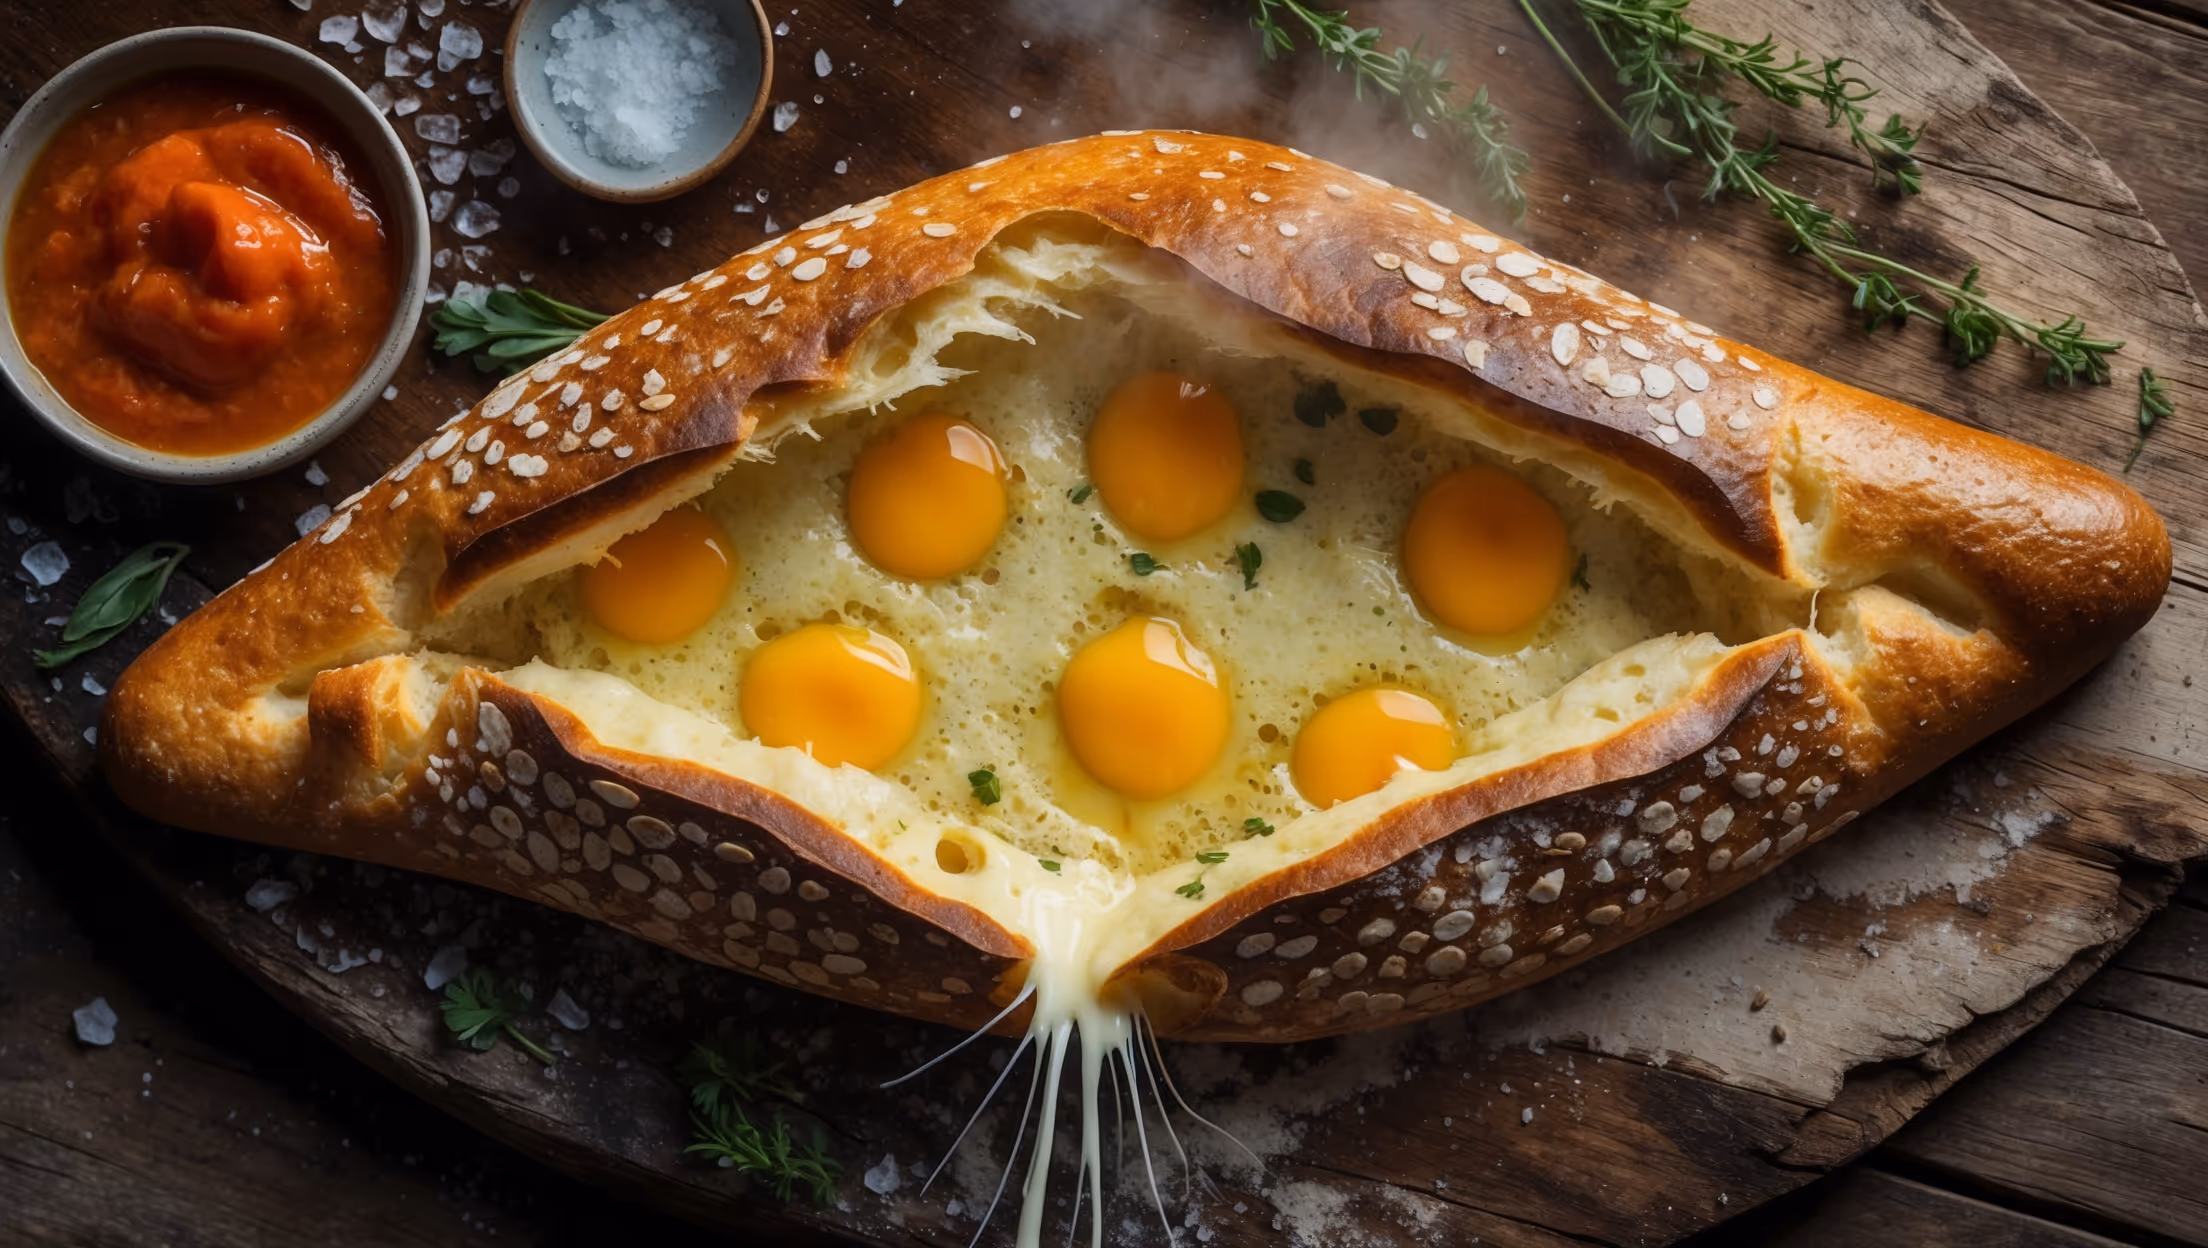
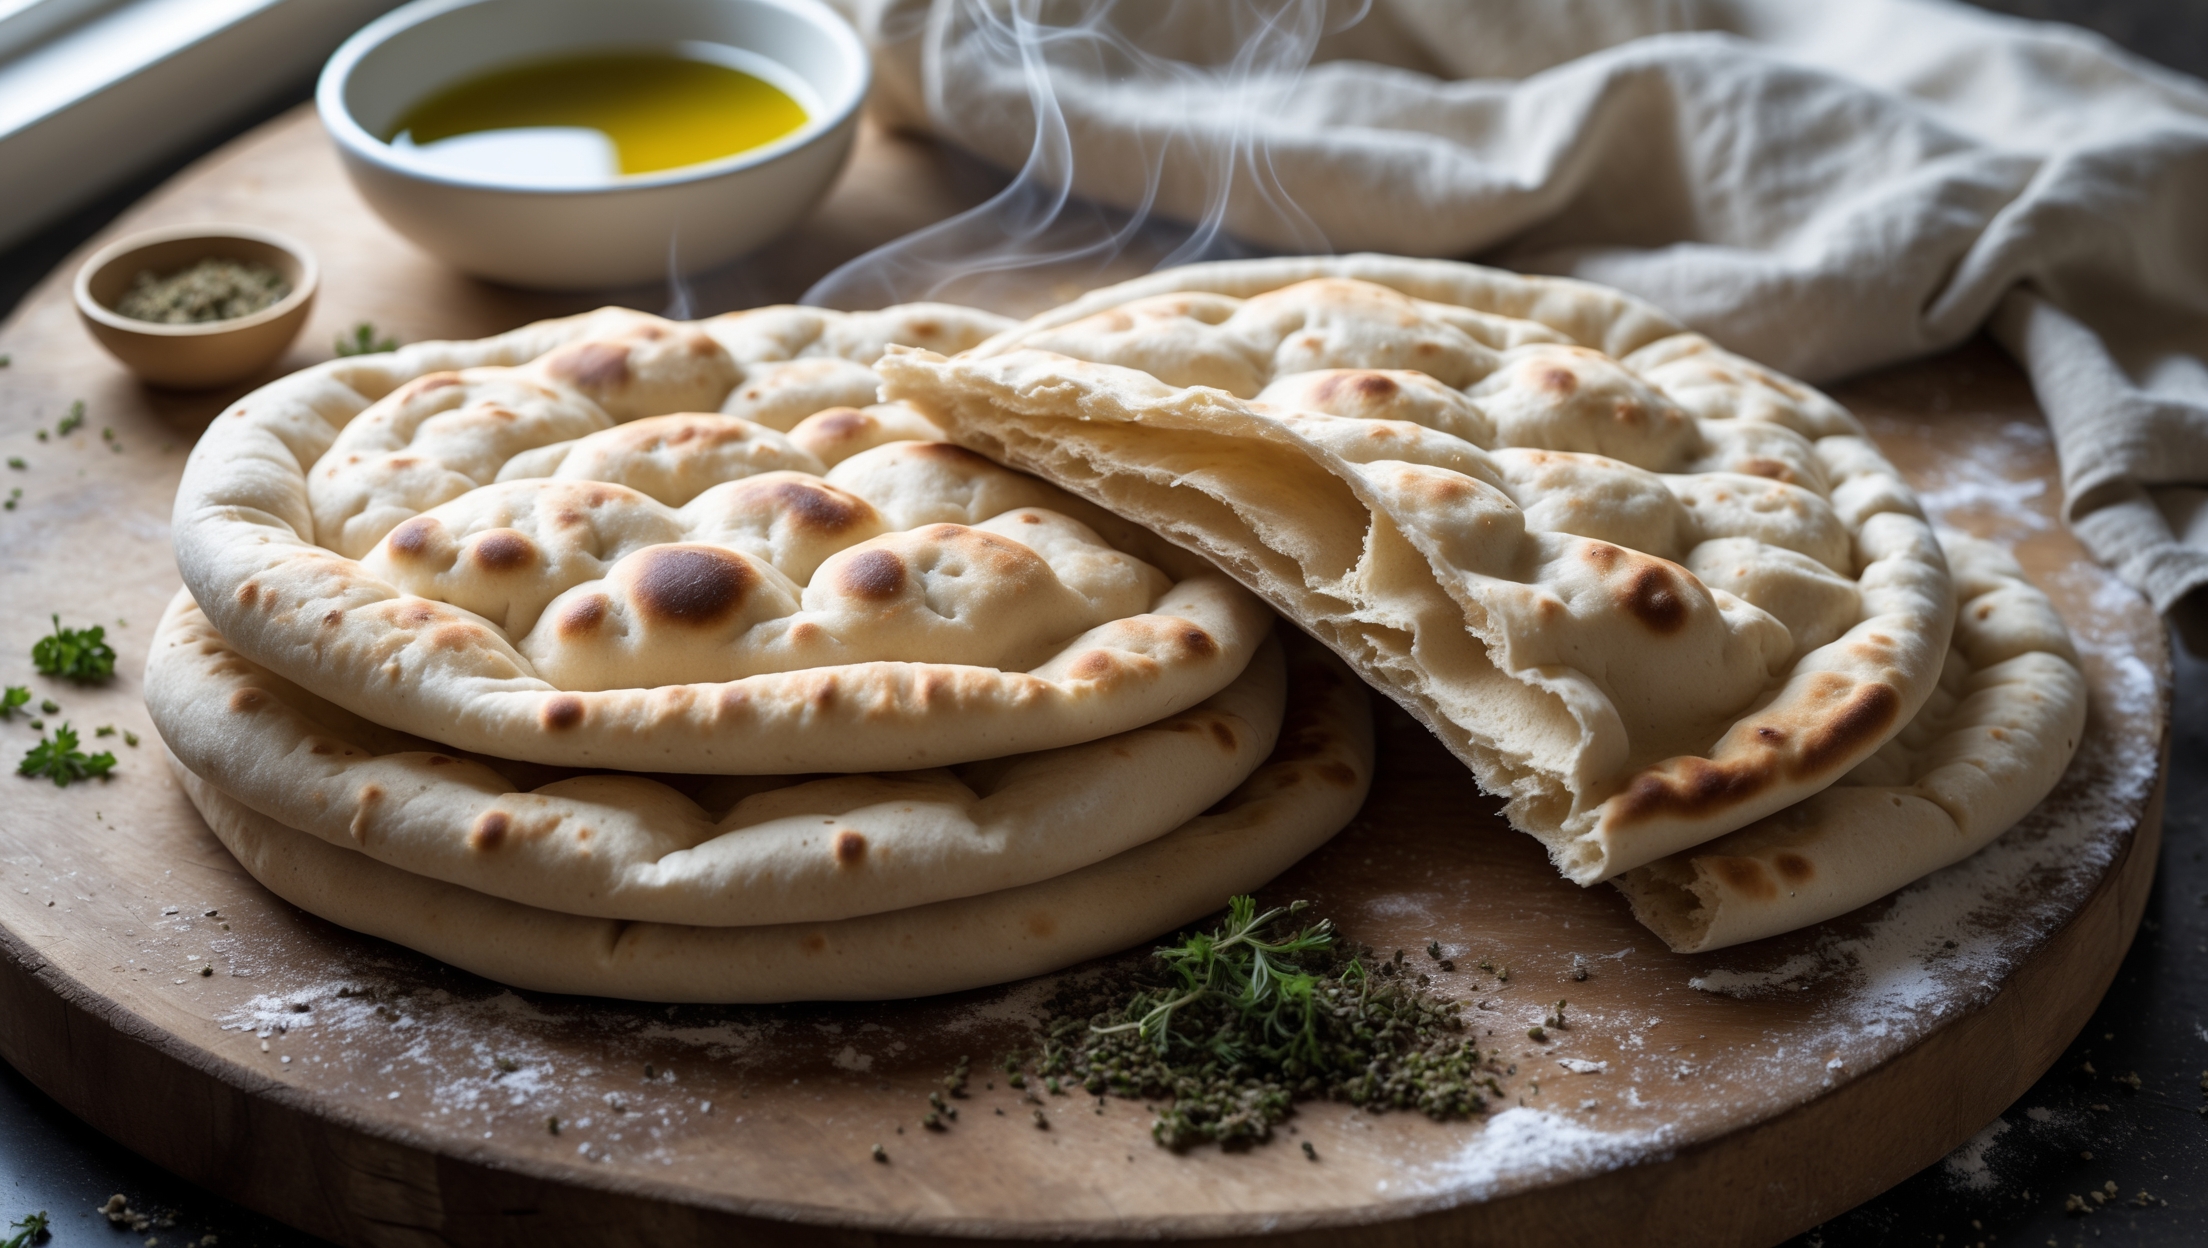
Learn how to cook Classic Pita Bread by making a simple yeasted dough, dividing it into portions, and baking on a very hot surface. The key technique is rolling the dough to even thickness and using high heat (240-250°C) which creates steam inside the dough, forcing the layers to separate and form the perfect pocket.
Pita bread may not puff if the dough isn't properly kneaded, the thickness is uneven, or the baking surface isn't hot enough. Ensure your oven reaches maximum temperature (240-250°C) with your stone or skillet inside, roll dough to even 3-5mm thickness, and let it rest before baking.
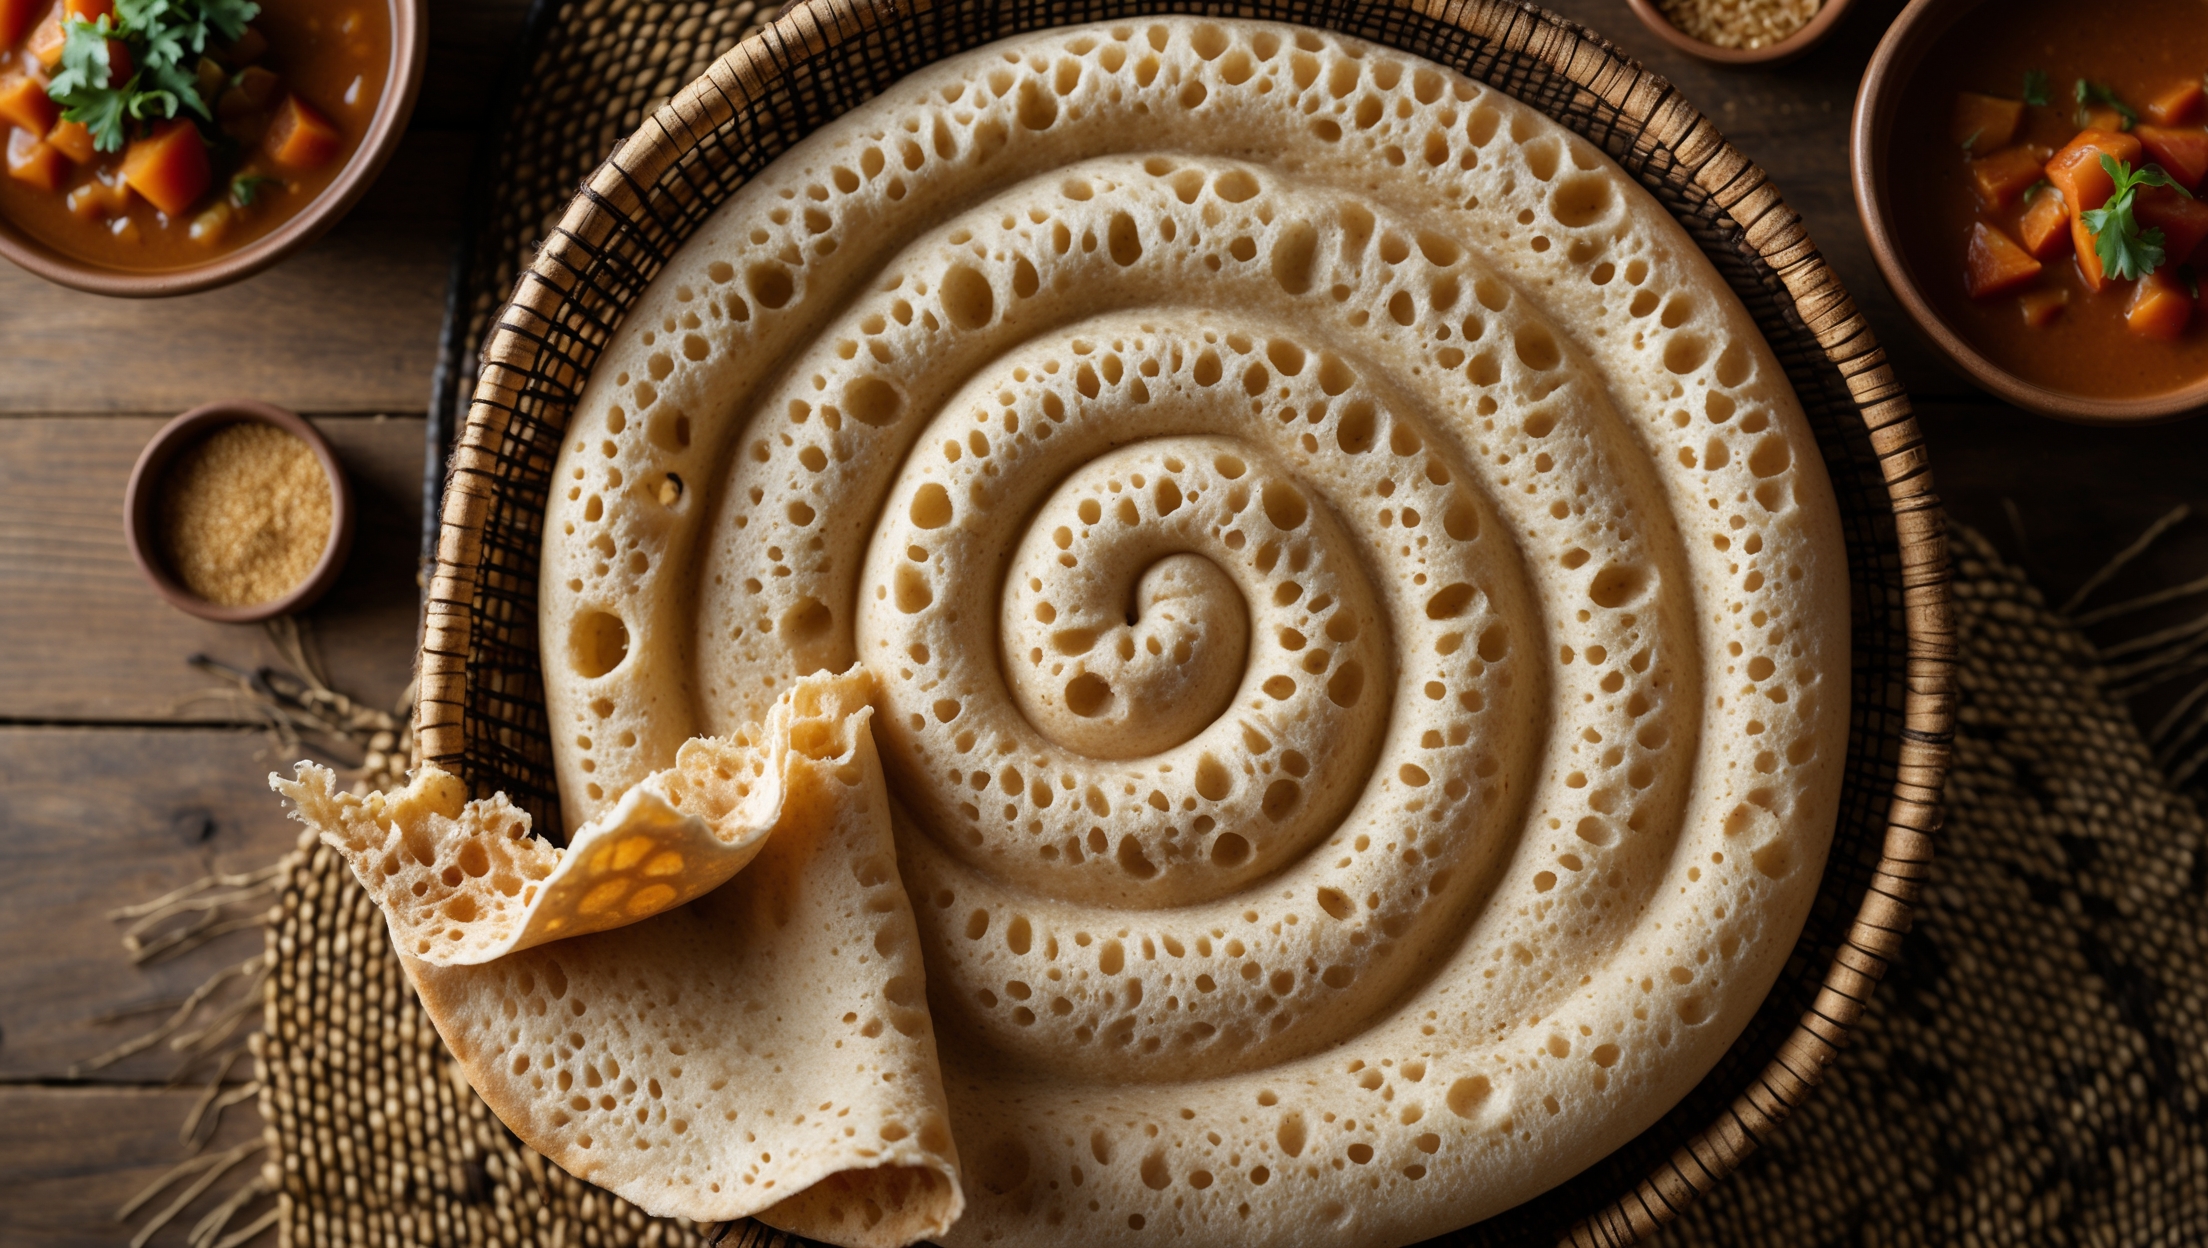
Yes, you can use a heavy baking tray preheated in the oven. Alternatively, cook pitas in a dry, hot non-stick frying pan on the stovetop—flip when bubbles form and the underside has golden spots. The key is high heat to create the steam that forms the pocket.
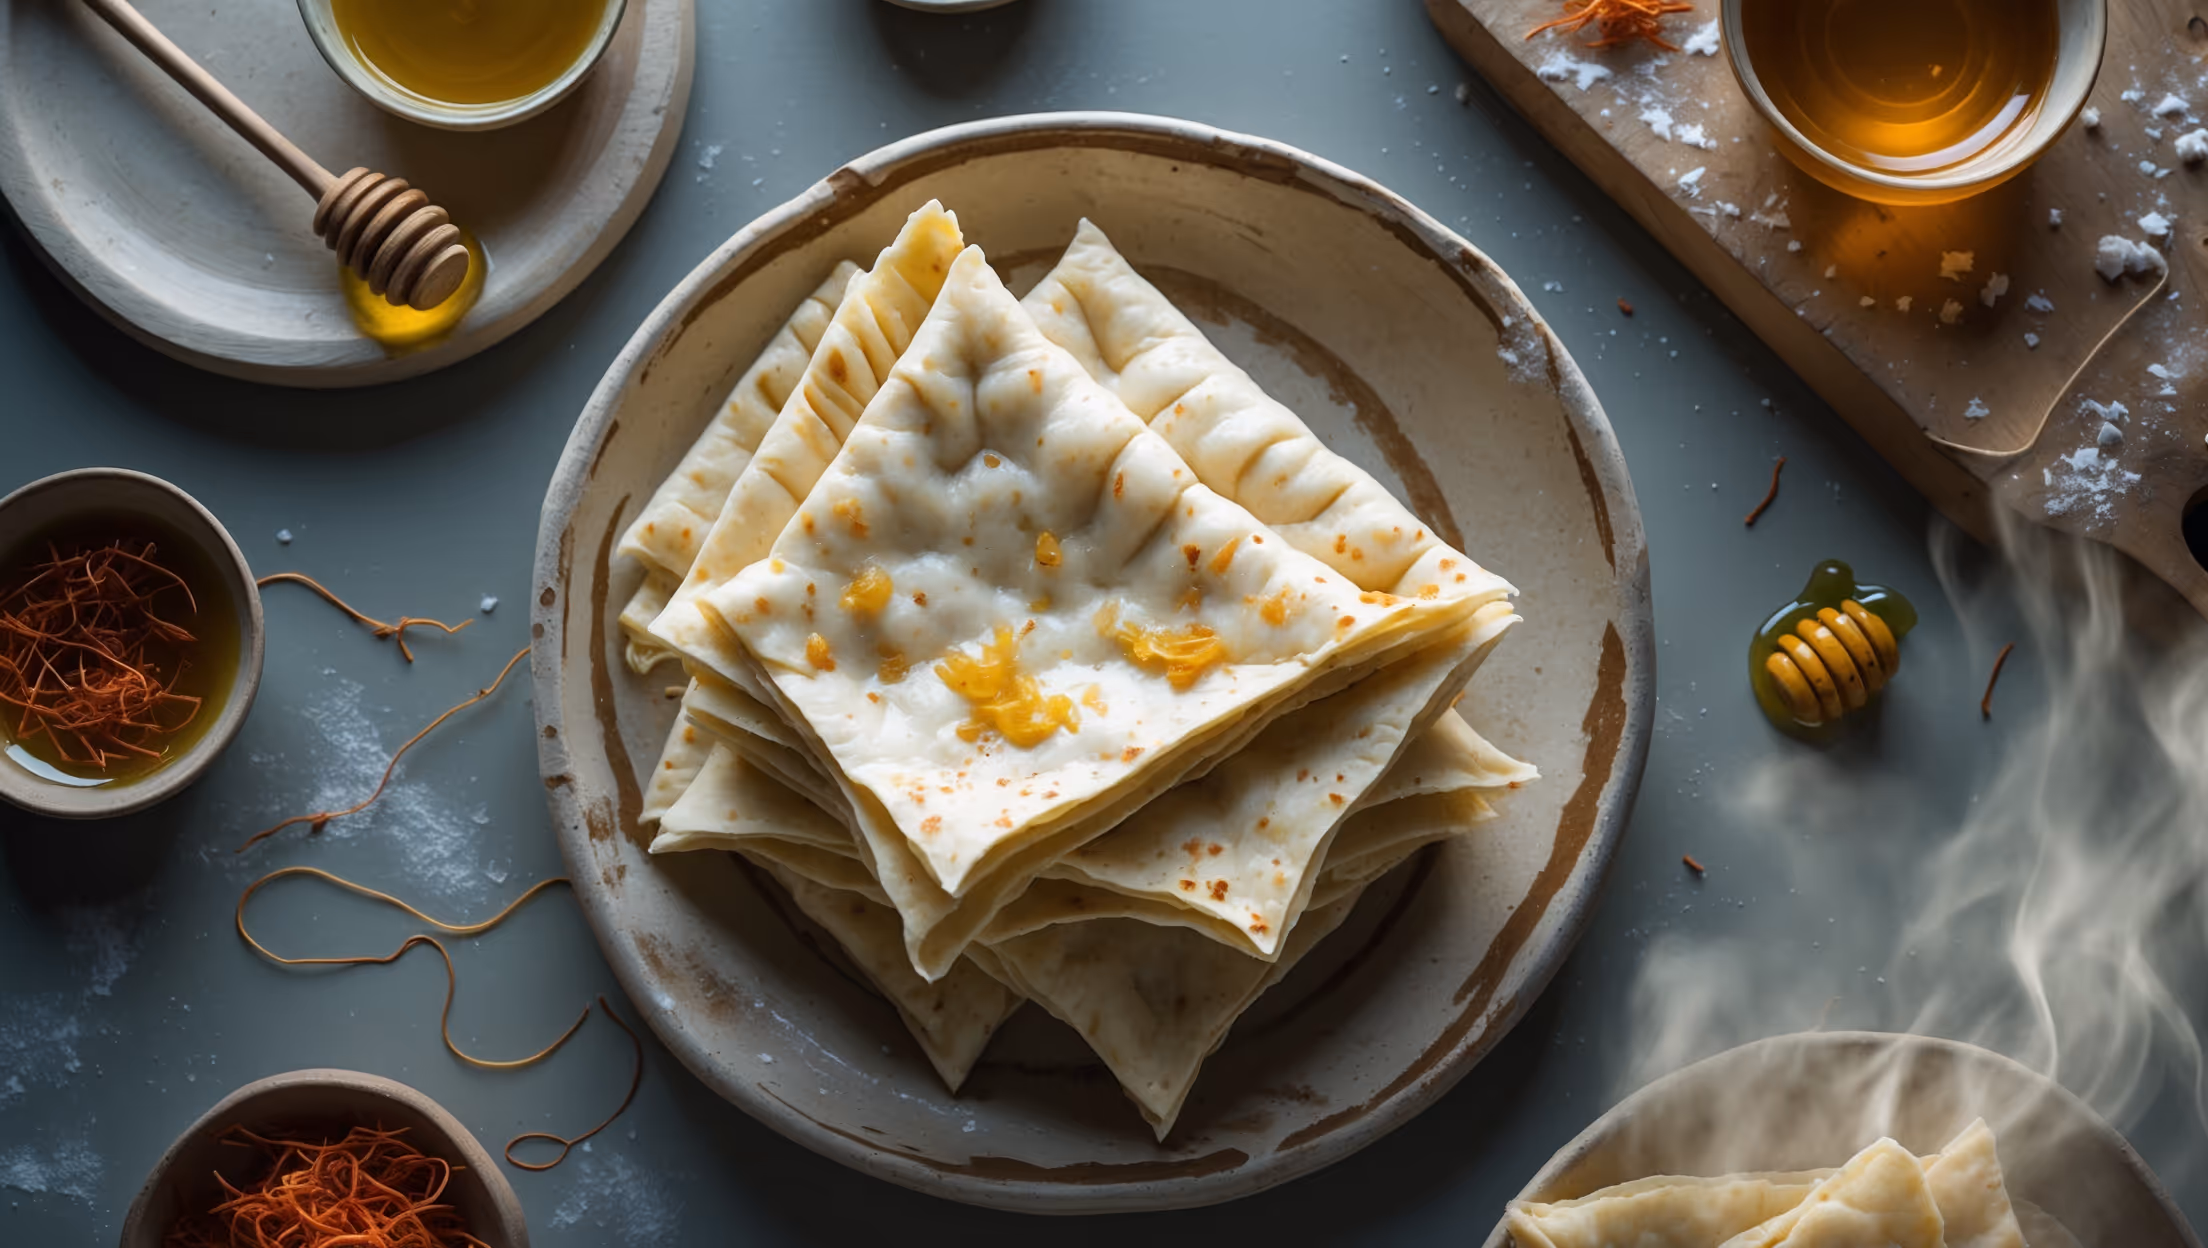
Traditional fillings include falafel, shawarma, or kebab meat with tahini sauce and fresh vegetables. For lighter options, try hummus with roasted vegetables, Greek salad with feta, or sabich (aubergine and egg). The sturdy pocket also works well with fusion fillings like curry or breakfast ingredients.
Flatbreads
Try following recommended recipes