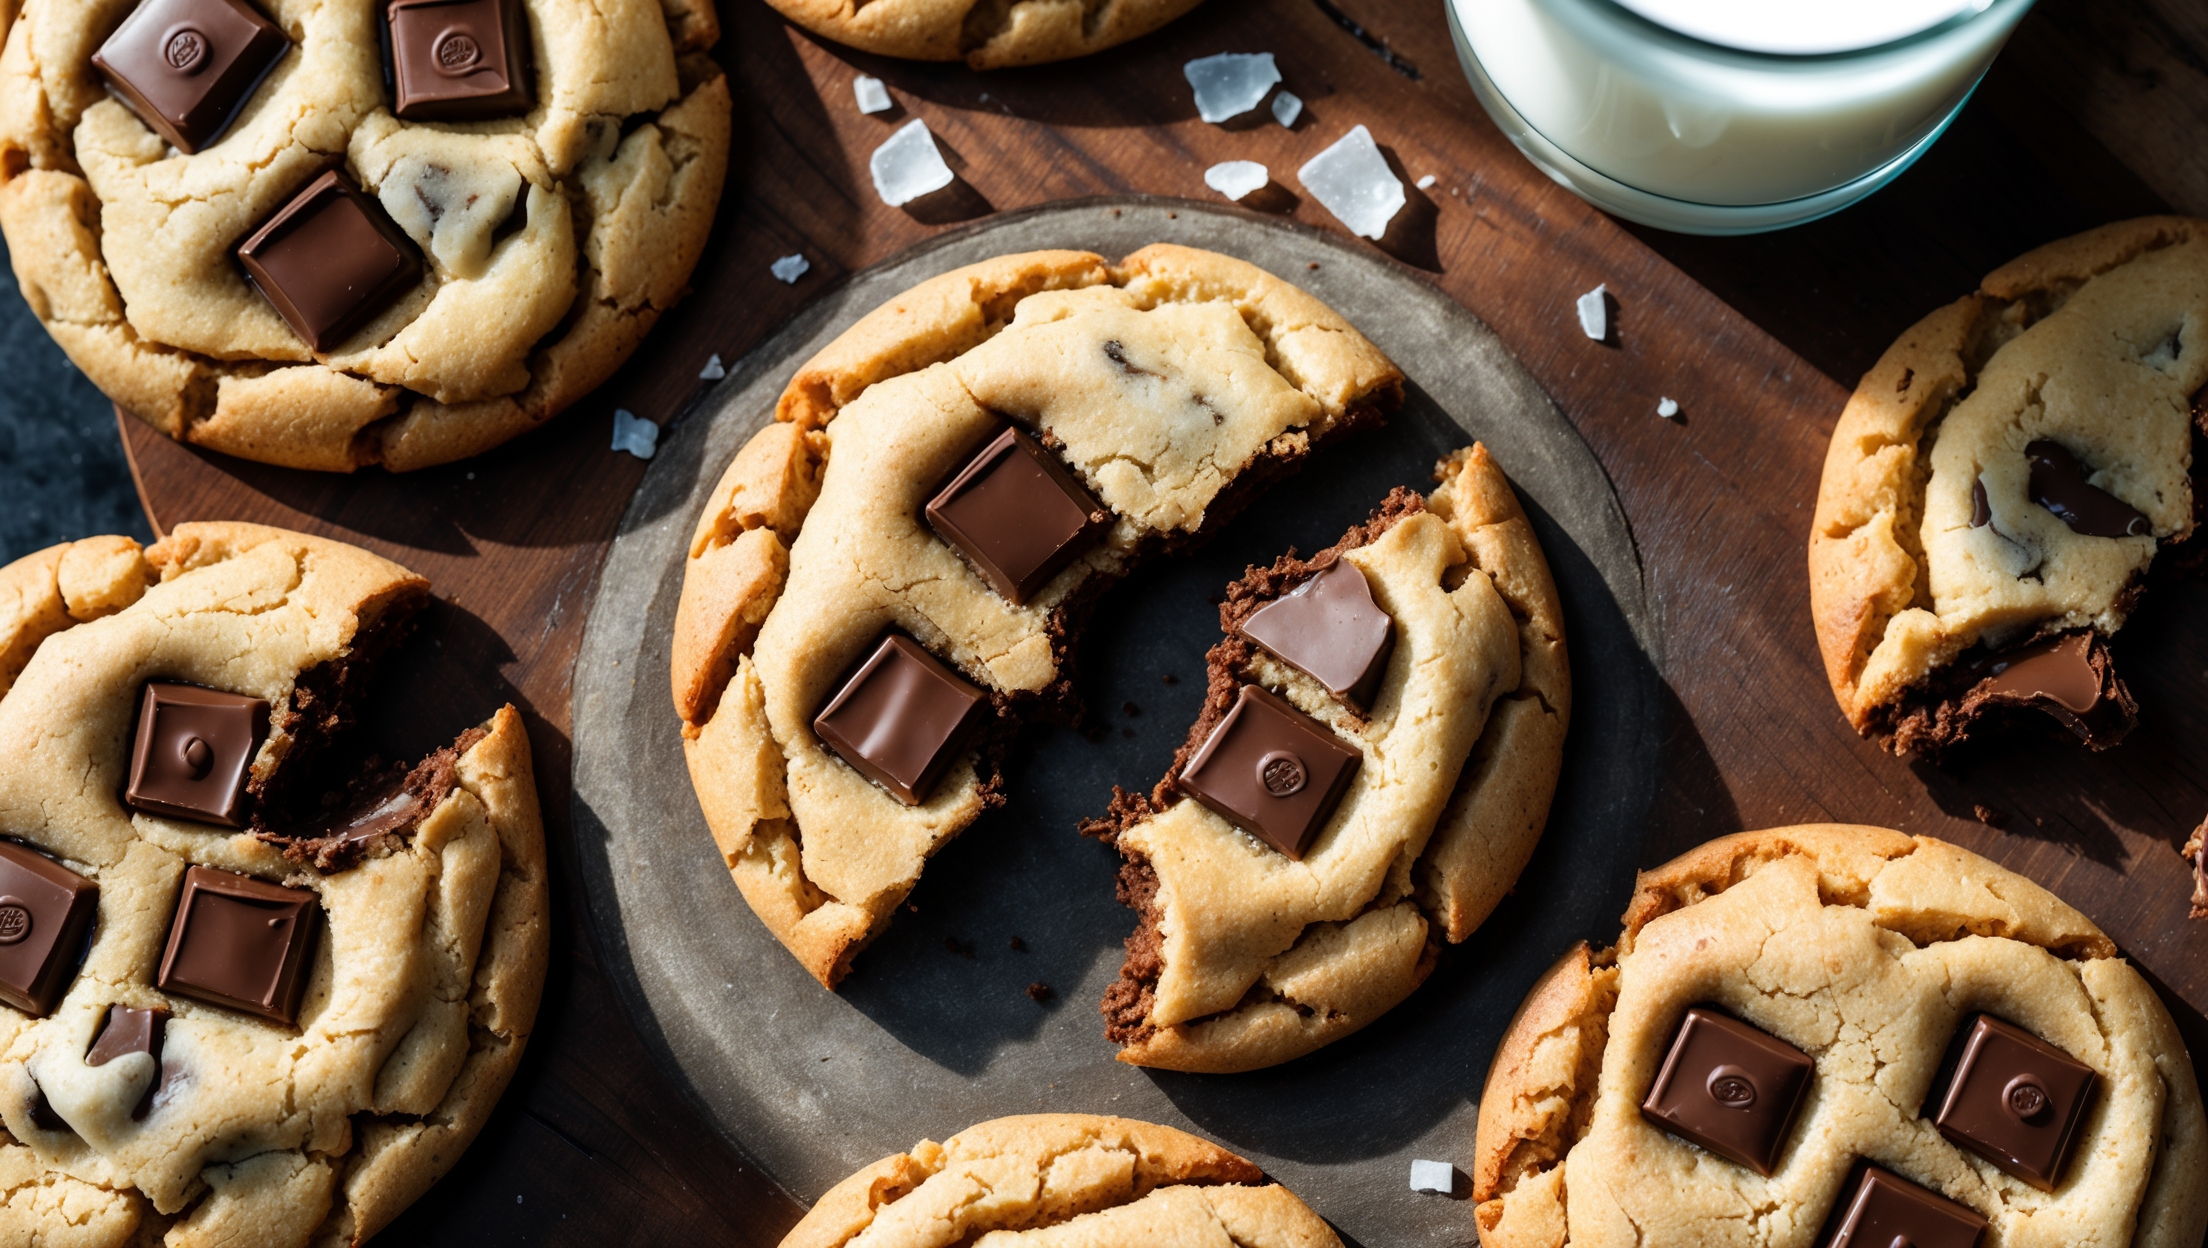
Directions
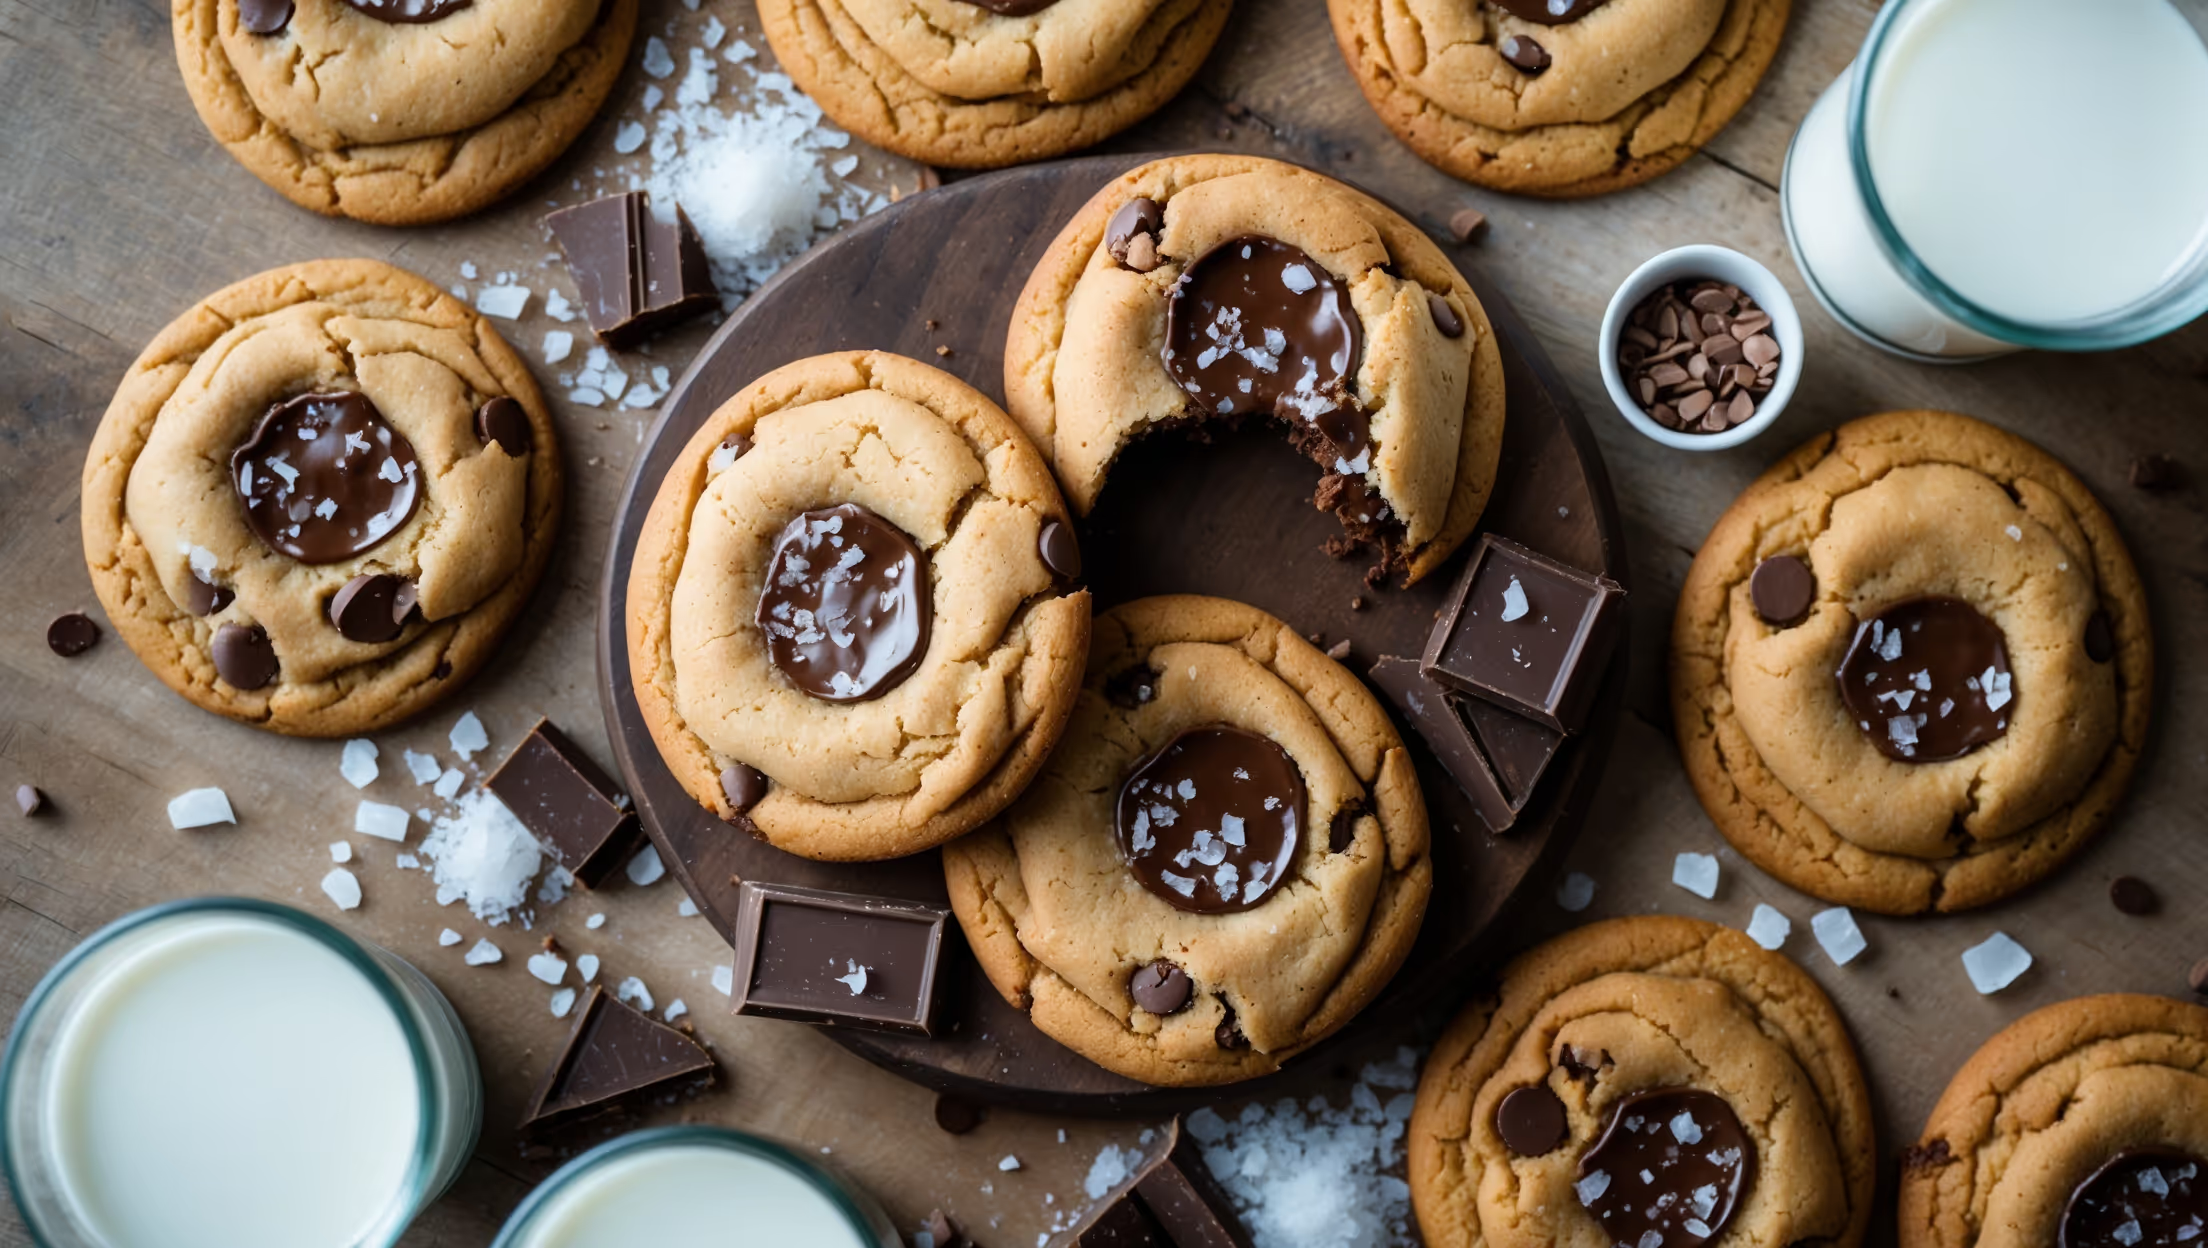
<ol class="no-list-style"><li class="MethodStepper"><h4 class="step-title">Step 1</h4>Begin by browning 175g of the butter: In a light-colored saucepan over medium heat, melt the butter, swirling occasionally. Continue cooking until the butter foams, then turns clear with golden brown specks and smells nutty (about 5-7 minutes). Immediately transfer to a heat-proof bowl and add the remaining 50g of cold butter to stop the cooking process. Let cool for 10 minutes. This brown butter step adds incredible toffee-like flavor depth to your cookies.</li><li class="MethodStepper"><h4 class="step-title">Step 2</h4>While the butter cools, preheat your oven to 180°C and line two baking sheets with parchment paper. In a medium bowl, whisk together the flour, baking soda, and salt, then set aside.</li><li class="MethodStepper"><h4 class="step-title">Step 3</h4>In a large bowl or stand mixer, combine the cooled brown butter with both sugars and beat for 2 minutes until well incorporated and slightly lighter in color. The sugar crystals will help aerate the fat, creating a better texture.</li><li class="MethodStepper"><h4 class="step-title">Step 4</h4>Add the eggs one at a time, beating well after each addition (about 30 seconds per egg). Stir in the vanilla extract until fully incorporated. Your mixture should look glossy and slightly thickened.</li><li class="MethodStepper"><h4 class="step-title">Step 5</h4>Gradually add the flour mixture to the wet ingredients, mixing on low speed just until combined. Over-mixing develops gluten which makes cookies tough, so stop once you no longer see dry flour.</li><li class="MethodStepper"><h4 class="step-title">Step 6</h4>Gently fold in the chocolate chips and toasted walnut pieces using a rubber spatula. The heat from toasting the walnuts releases their oils, enhancing their flavor in the finished cookie.</li><li class="MethodStepper"><h4 class="step-title">Step 7</h4>For best results, chill the dough for at least 30 minutes (or up to 24 hours). This allows the flour to fully hydrate and prevents excessive spreading during baking. The longer the chill, the more complex the flavor develops.</li><li class="MethodStepper"><h4 class="step-title">Step 8</h4>Using an ice cream scoop or spoon, portion dough into 50g balls and place on prepared baking sheets, leaving about 7cm between each cookie to allow for spreading. For bakery-style cookies, make the balls taller rather than perfectly round.</li><li class="MethodStepper"><h4 class="step-title">Step 9</h4>Bake for 11-13 minutes, rotating the pans halfway through. The cookies are done when the edges are set and golden but the centers still look slightly underdone. Don't overbake! They'll continue cooking on the hot sheet after removal.</li><li class="MethodStepper"><h4 class="step-title">Step 10</h4>If desired, sprinkle a small amount of flaky sea salt on top of each cookie immediately after removing from the oven. The contrast of salt enhances the chocolate flavor and adds gourmet appeal.</li><li class="MethodStepper"><h4 class="step-title">Step 11</h4>Allow cookies to cool on the baking sheets for 5 minutes (they're too fragile to move immediately), then transfer to a wire rack to cool completely. As they cool, the cookies will set up with the perfect texture: crisp edges and soft, chewy centers.</li><li class="MethodStepper"><h4 class="step-title">Step 12</h4>Store cooled cookies in an airtight container at room temperature for up to 5 days, or freeze baked cookies for up to 3 months. You can also freeze portioned dough balls to bake fresh cookies whenever the craving strikes!</li></ol>