Chocolate Chip Cookie Bars Recipe
Ingredients
Equipment
Directions
FAQs
Find answers to your most pressing questions about this delicious recipe right here.
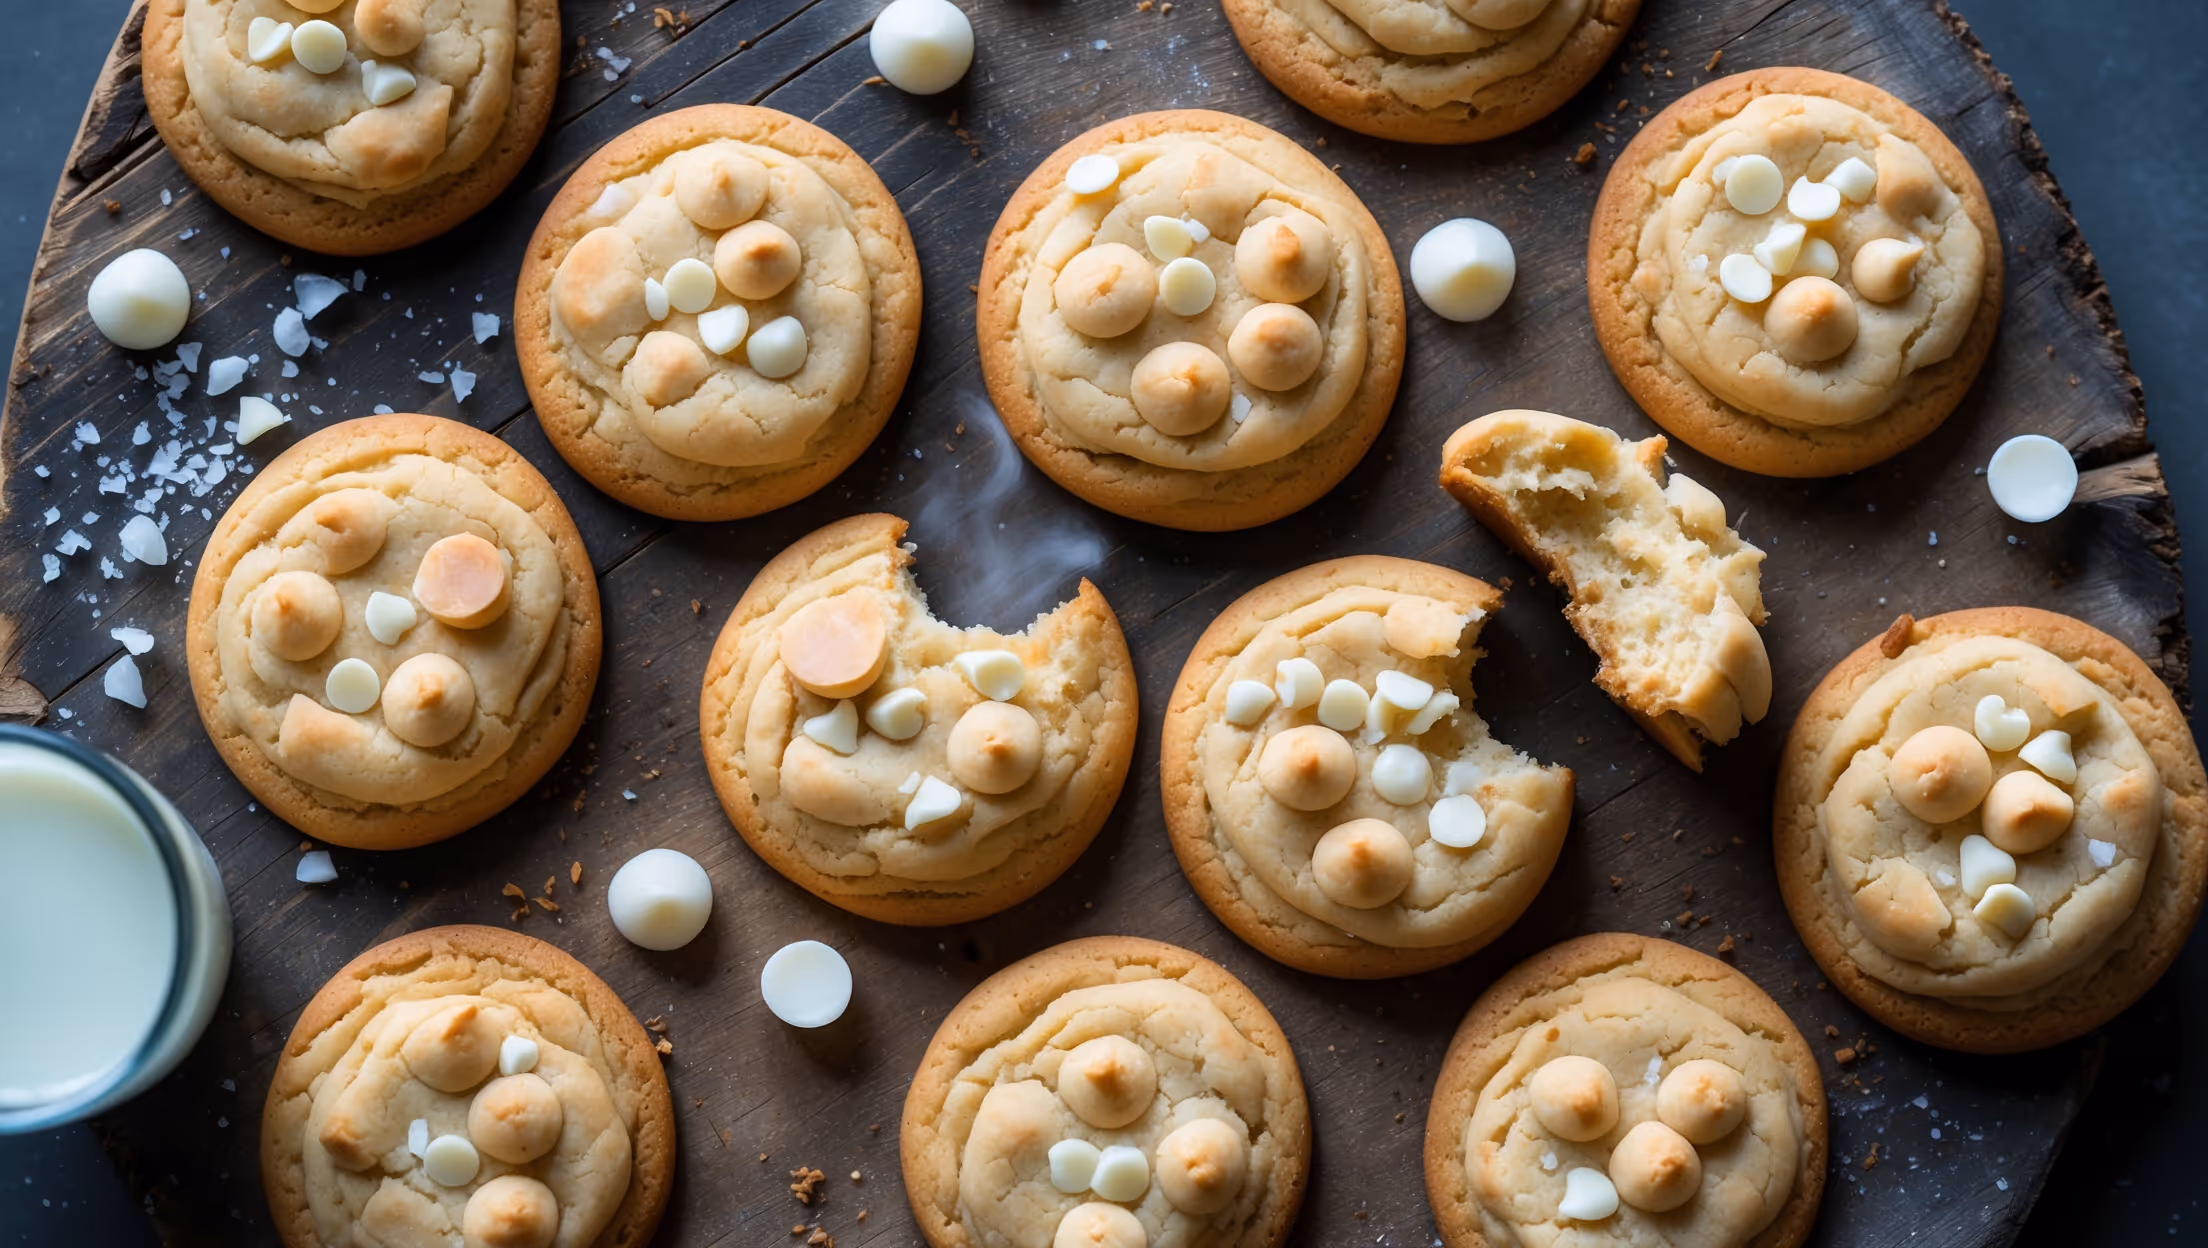
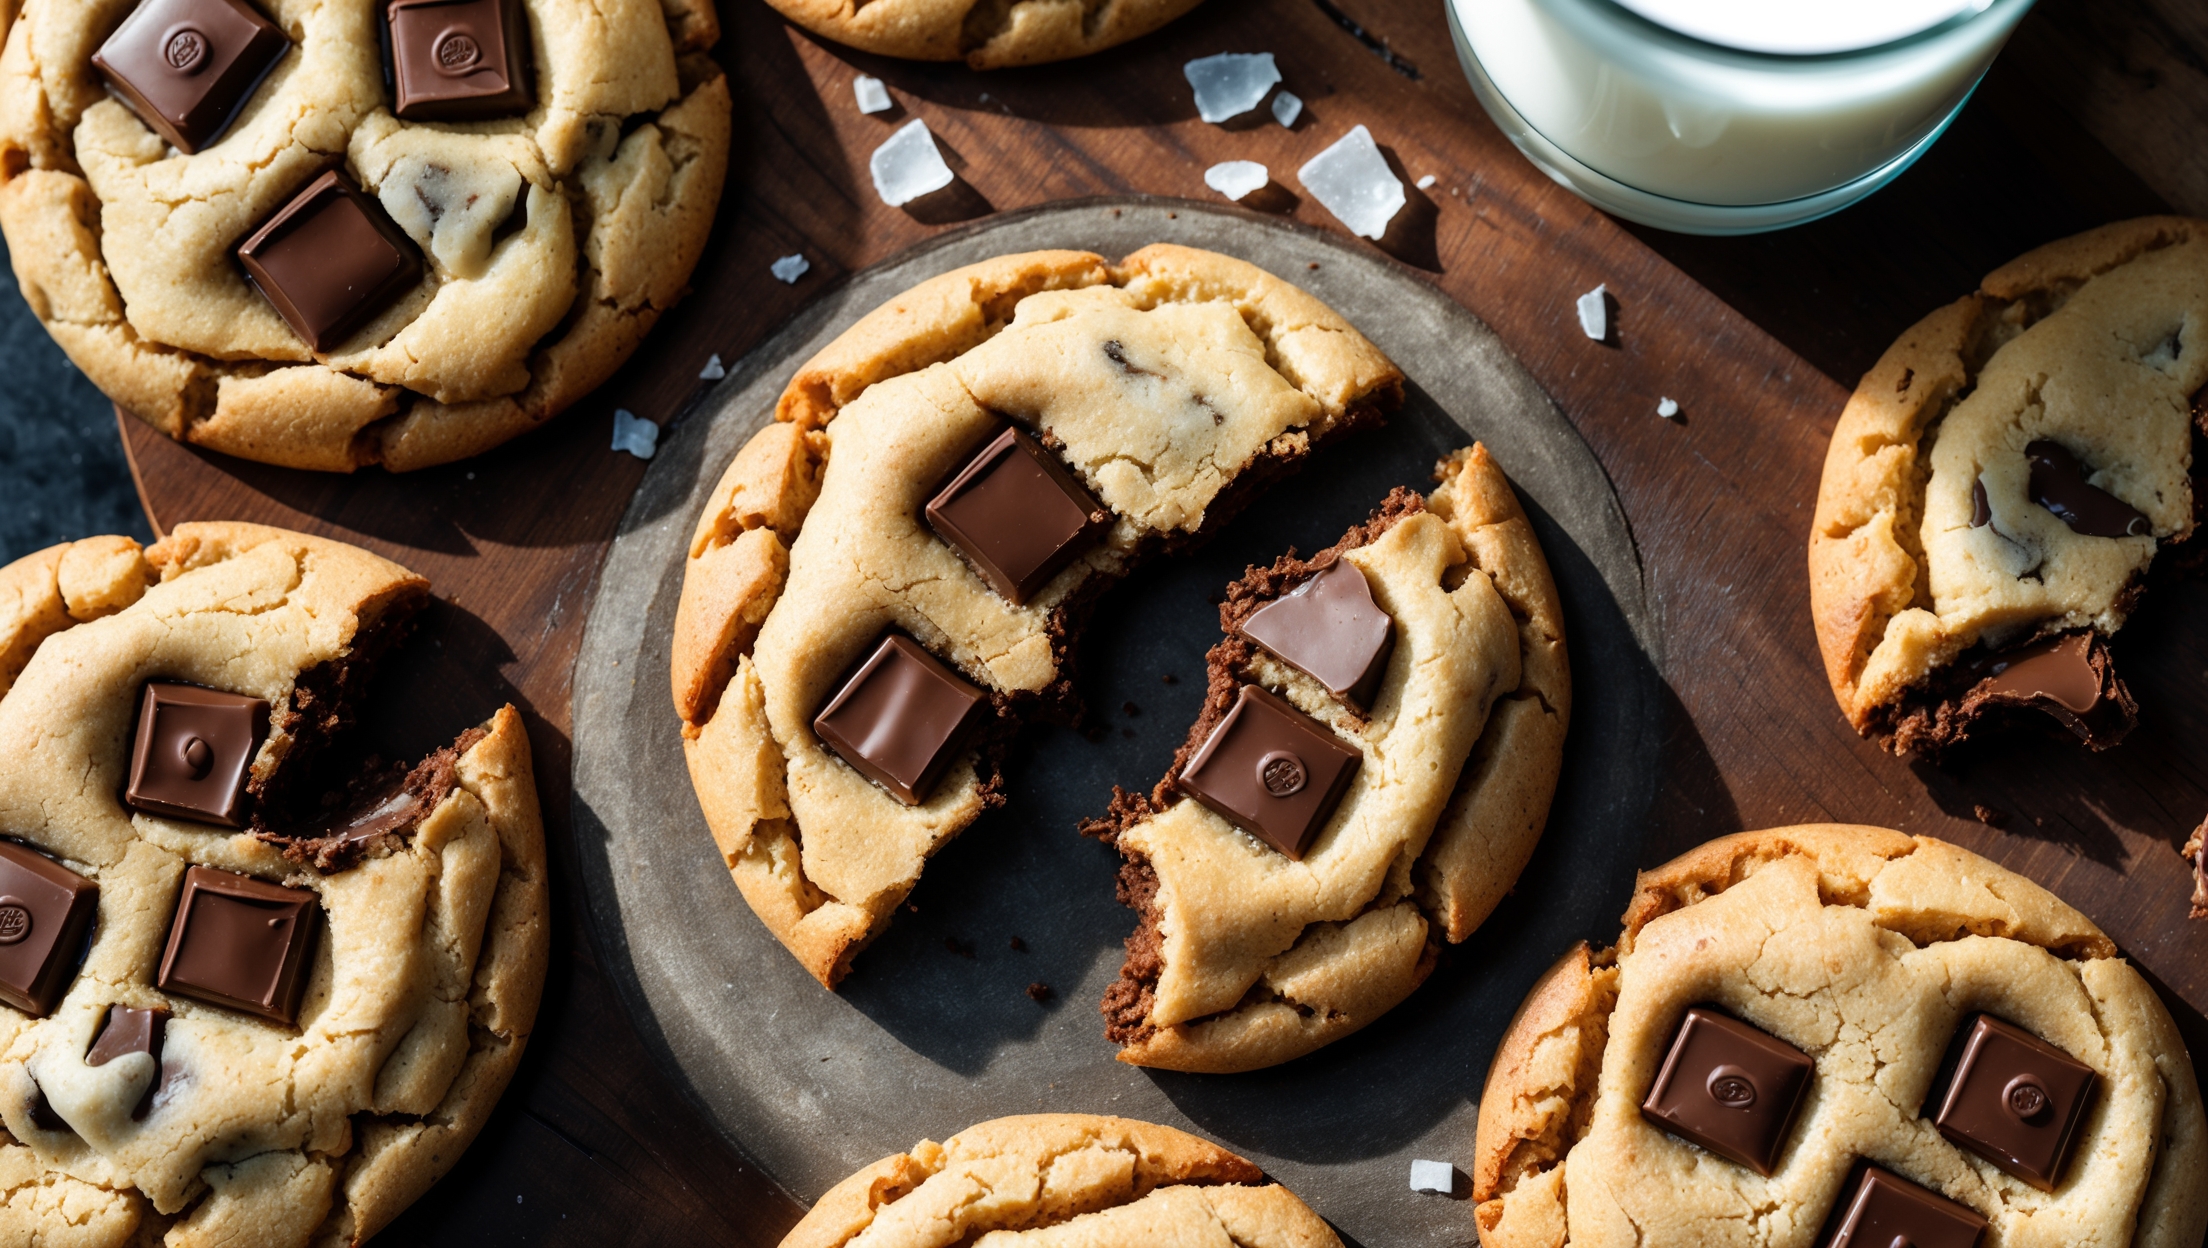
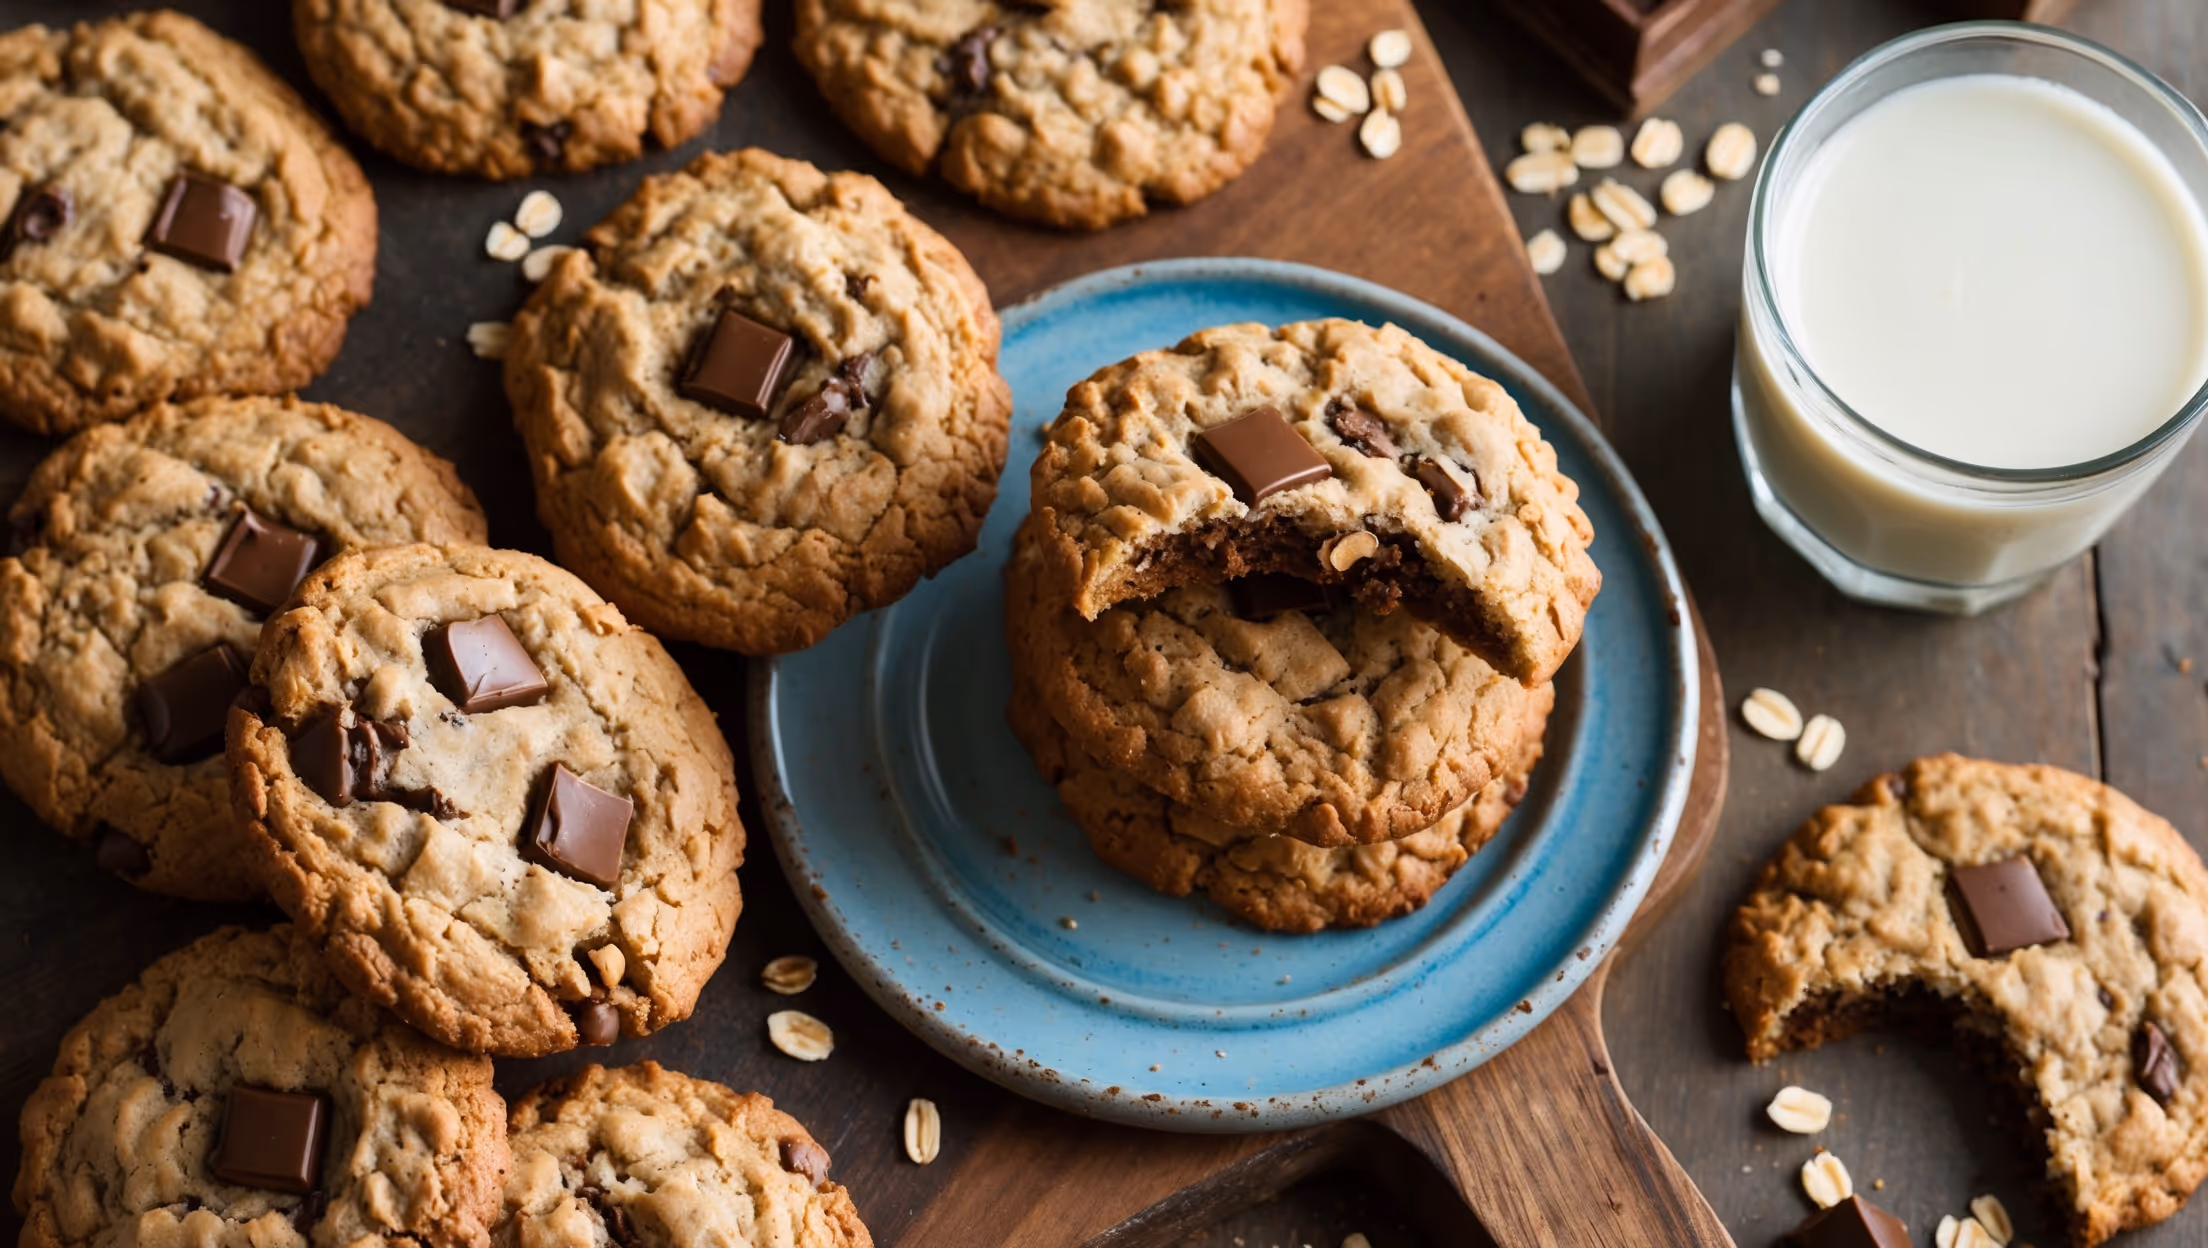
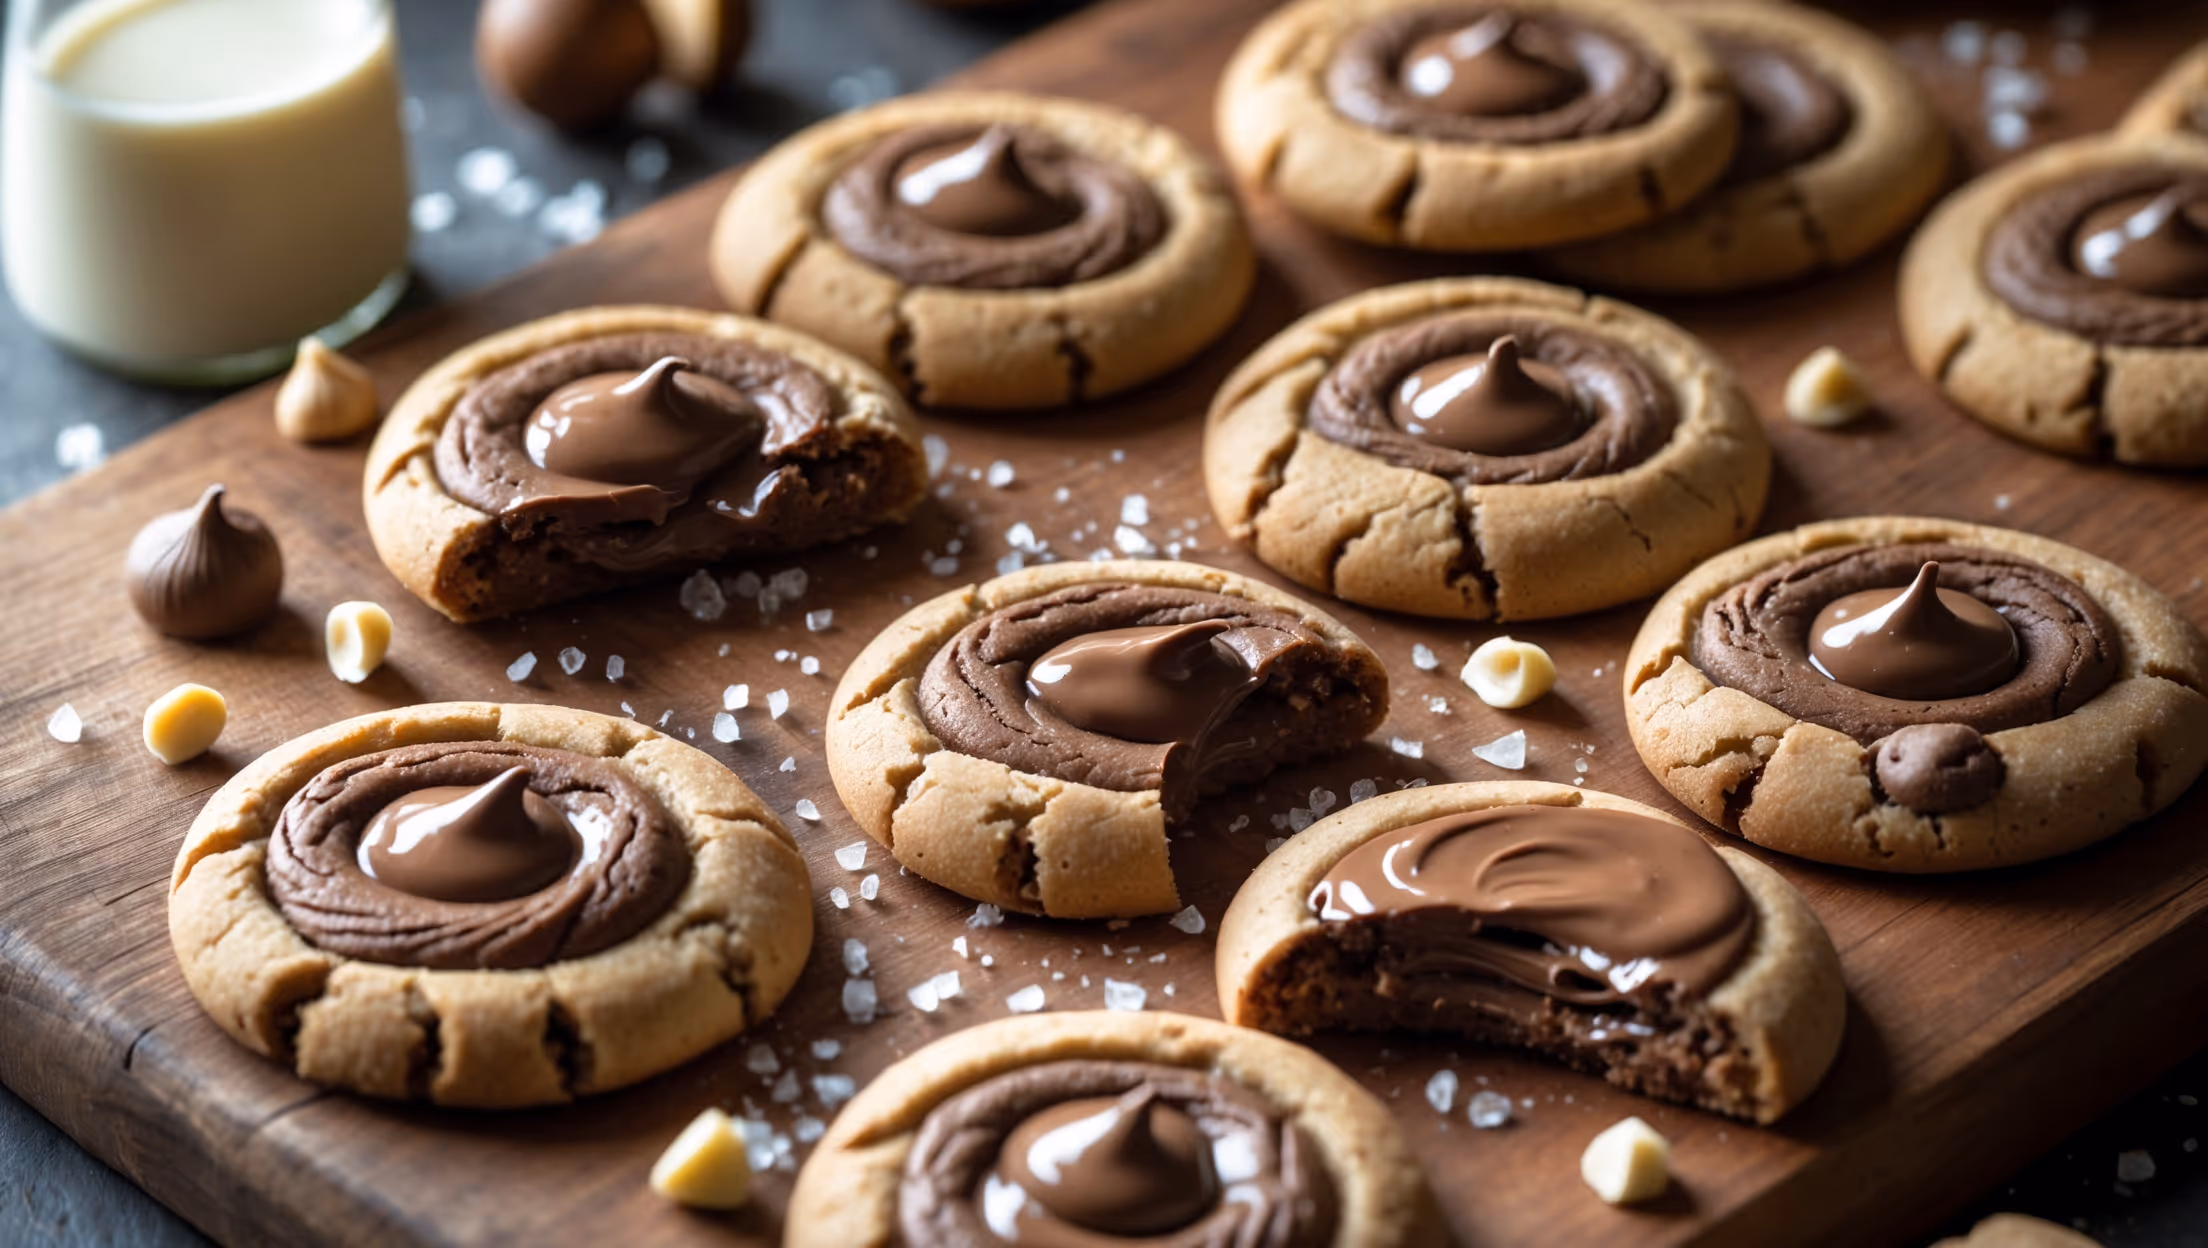
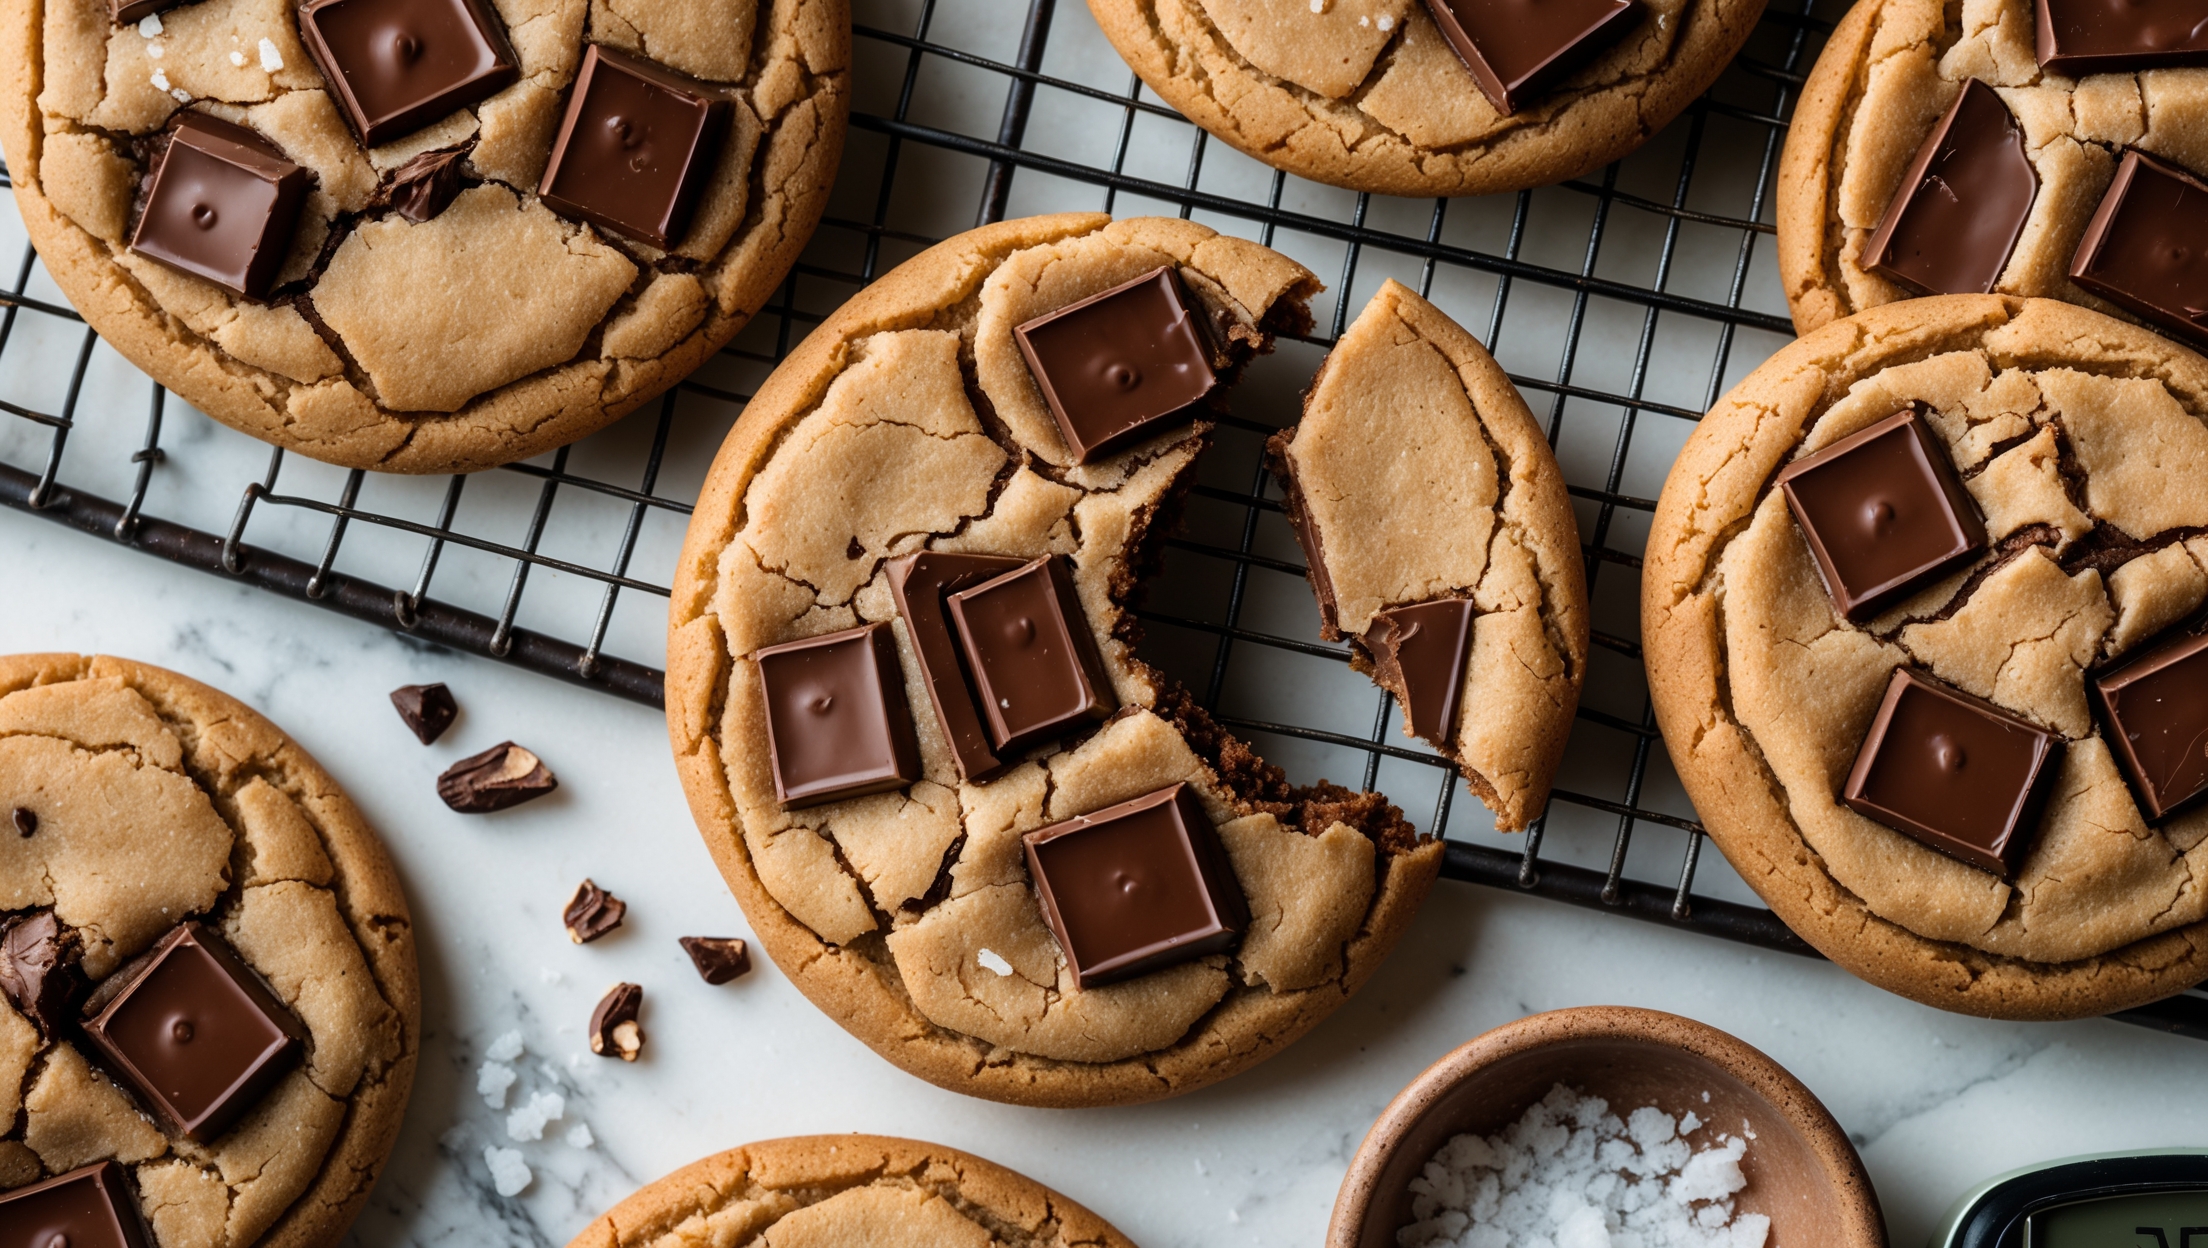
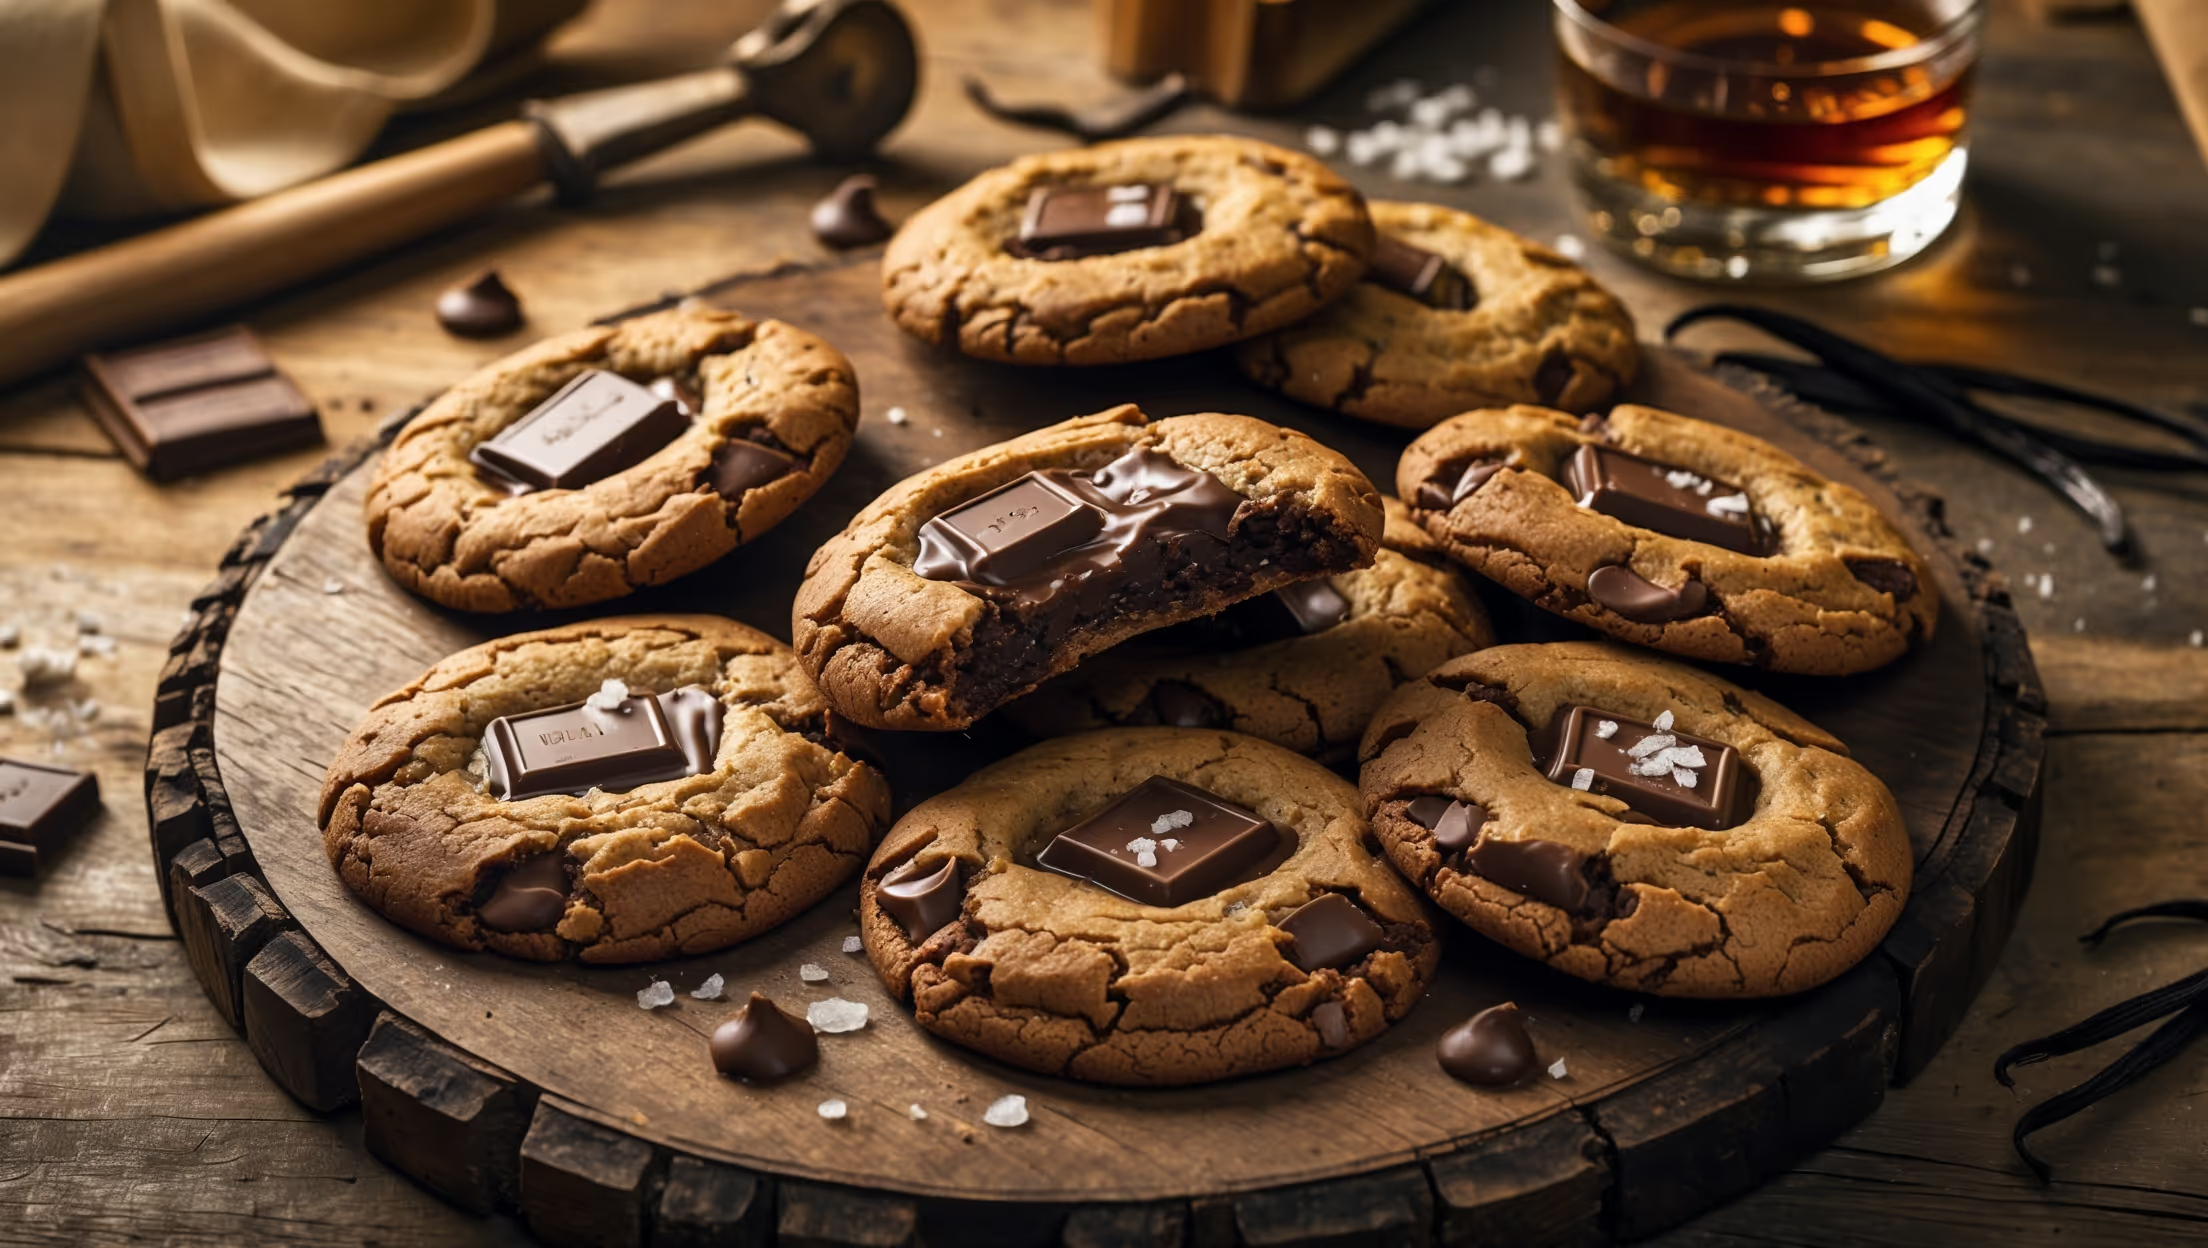
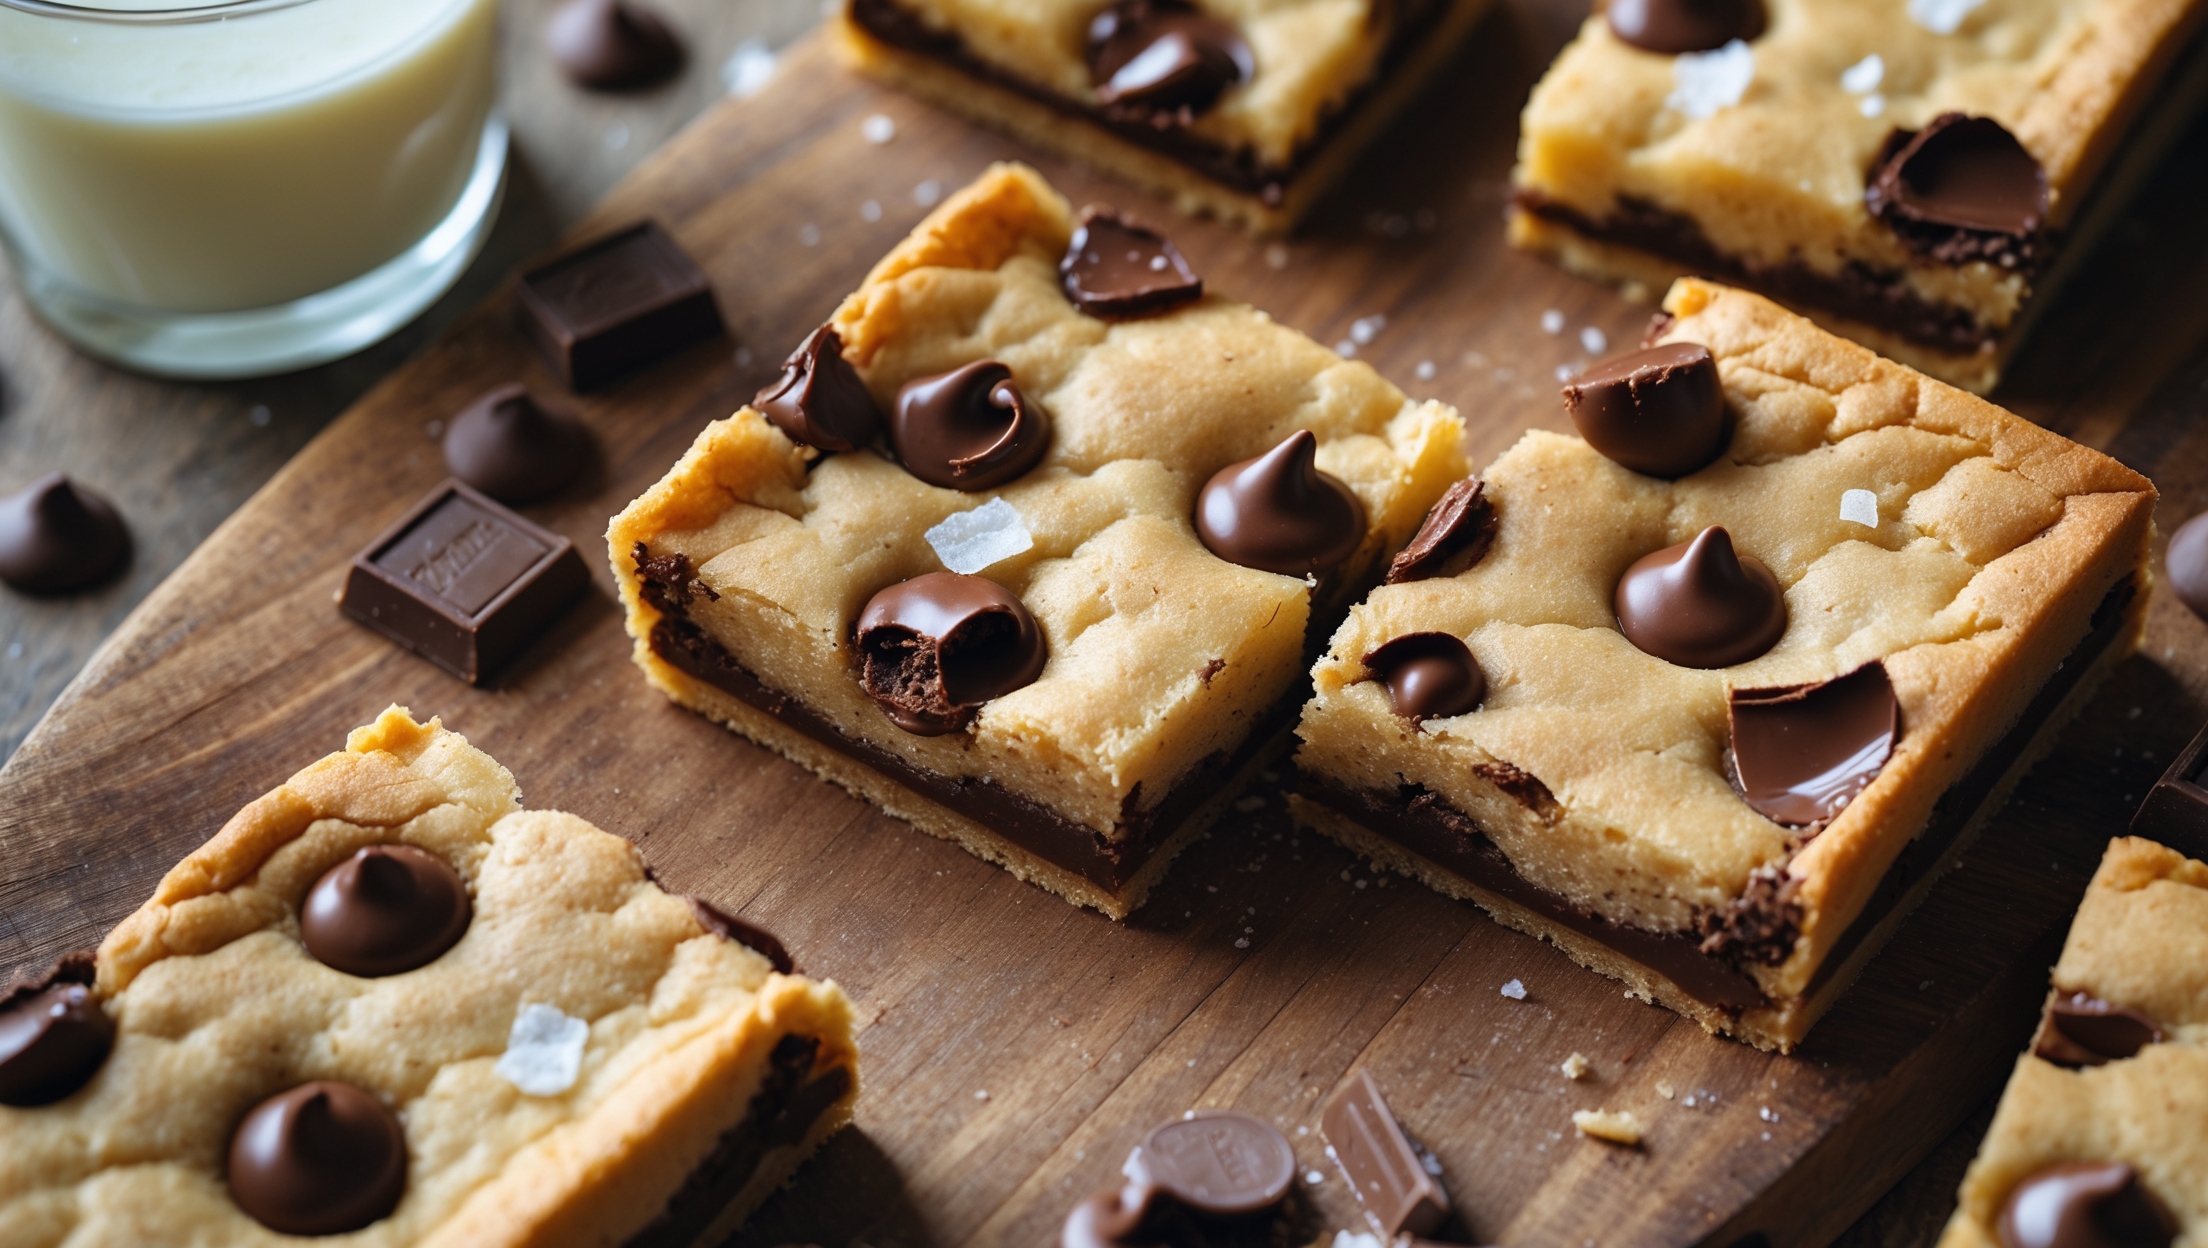
These cookie bars require unsalted butter, light brown and granulated sugars, eggs, vanilla, all-purpose flour, baking soda, salt, semi-sweet chocolate chips or chunks, and optional flaky sea salt for sprinkling. Brown butter adds a delicious caramel flavour to the recipe.
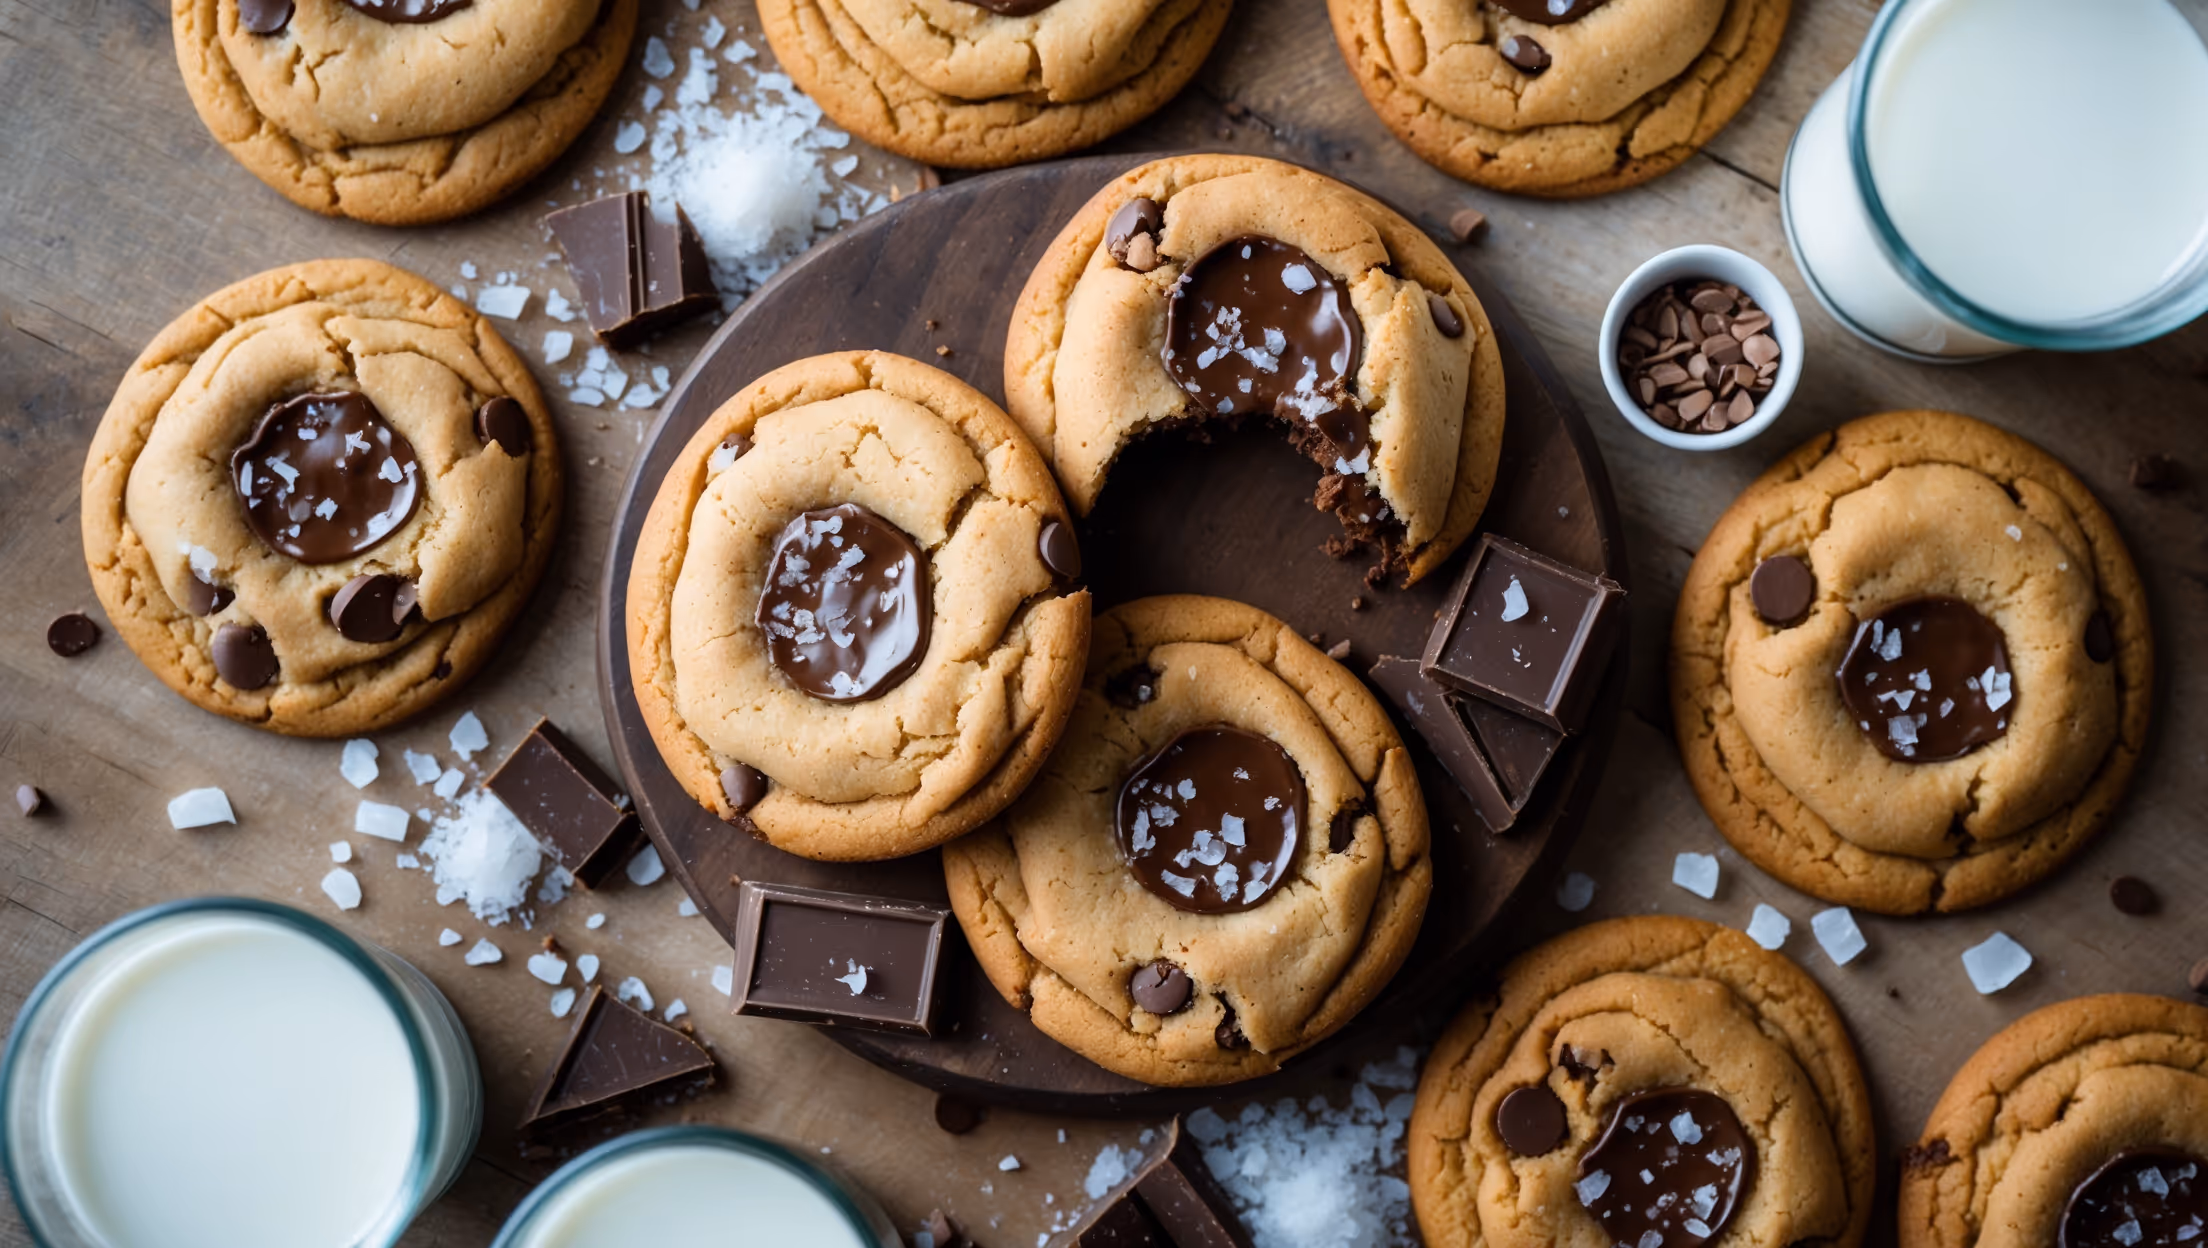
Learn how to cook Chocolate Chip Cookie Bars by melting or browning butter, mixing with sugars, adding eggs and vanilla, folding in dry ingredients, and studding with chocolate chips. Press into a parchment-lined baking pan and bake at 180°C for 22-25 minutes until edges are golden but centre remains slightly underdone for that perfect chewy texture.
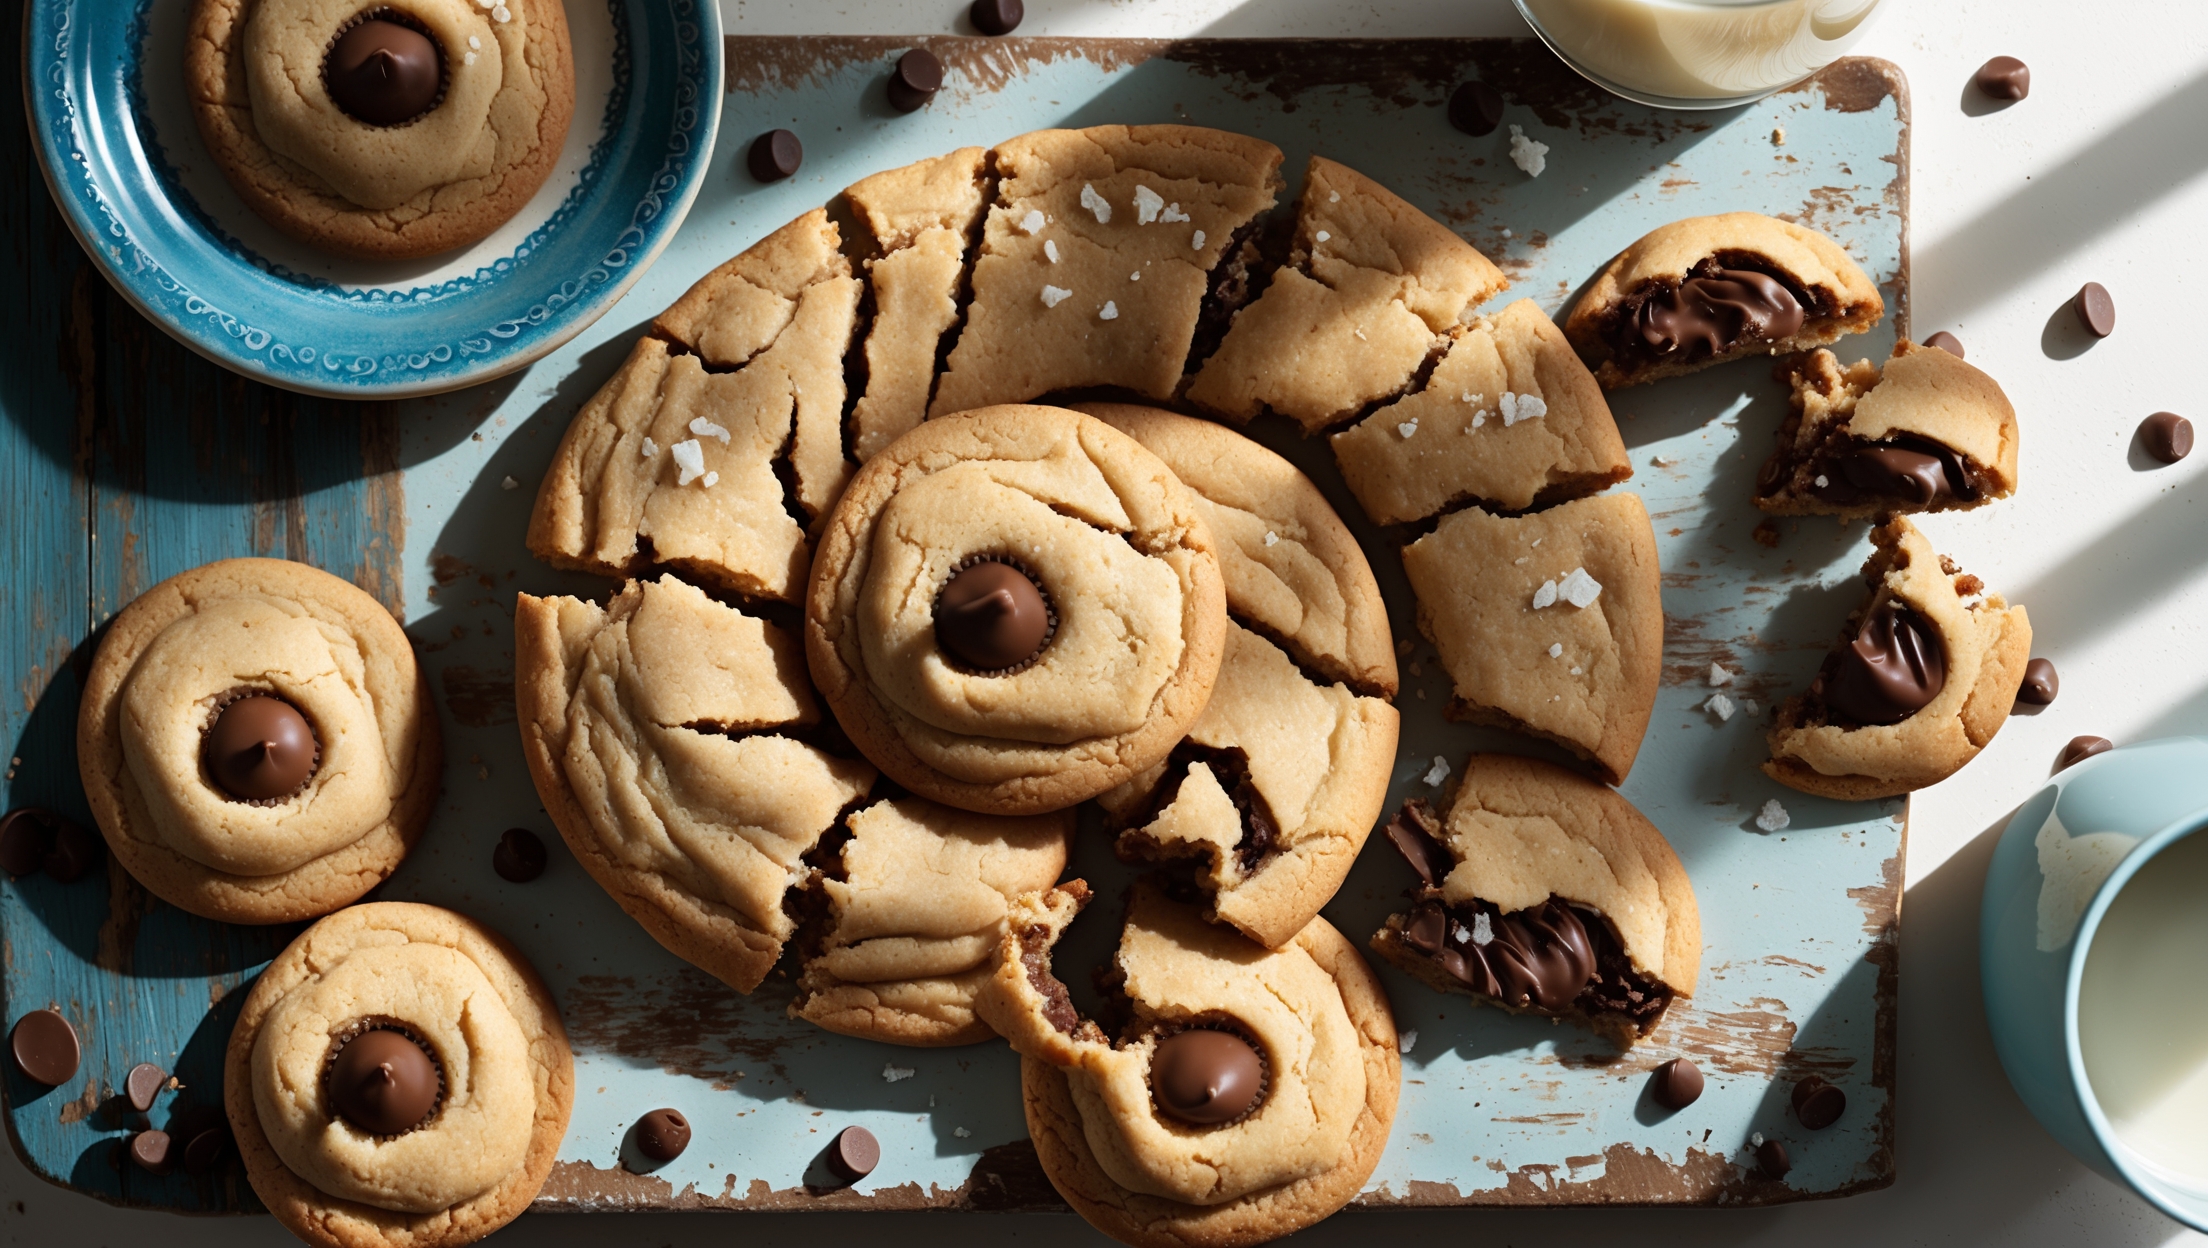
Absolutely! These bars actually develop better flavour on day two. Make them up to 2 days ahead and store in an airtight container at room temperature. Alternatively, bake and freeze for up to 3 months - simply thaw at room temperature before serving at your event.
Cakey cookie bars typically result from overmixing the batter (which develops gluten), using too much flour, or overbaking. For chewier bars, mix just until ingredients are combined, measure flour accurately (preferably by weight), and slightly underbake them until edges are set but centre looks soft.
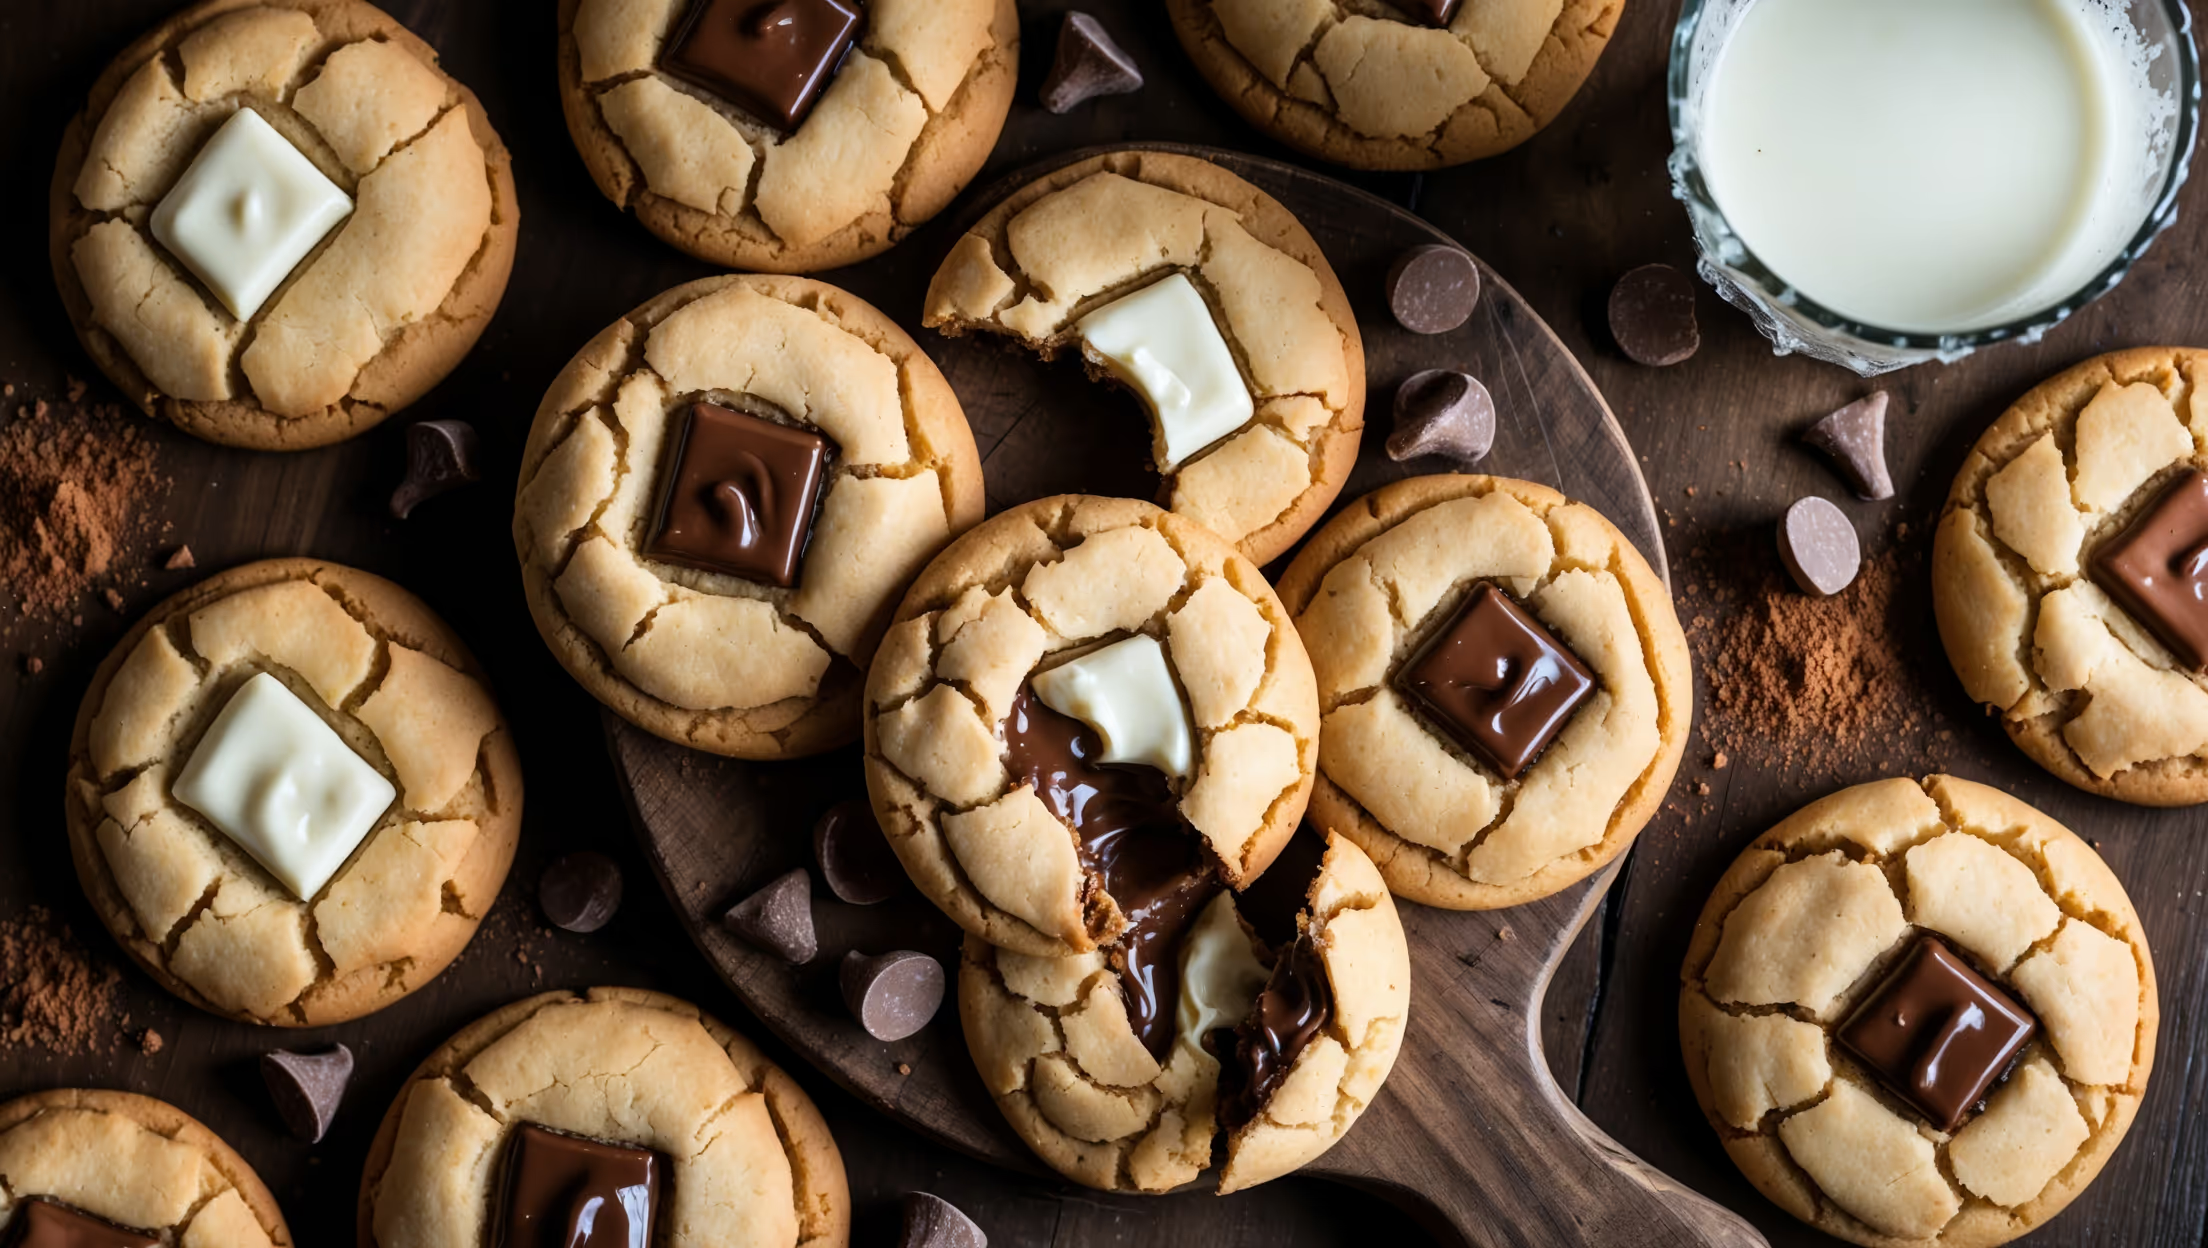
For ideal chocolate distribution, use a combination of chips and hand-chopped chocolate for varied texture. Reserve about 1/4 of your chocolate to sprinkle on top before baking. This creates both interior melty pockets and visible chocolate on the surface for that bakery-style appearance.
Chocolate Chip Cookies
Try following recommended recipes