Directions
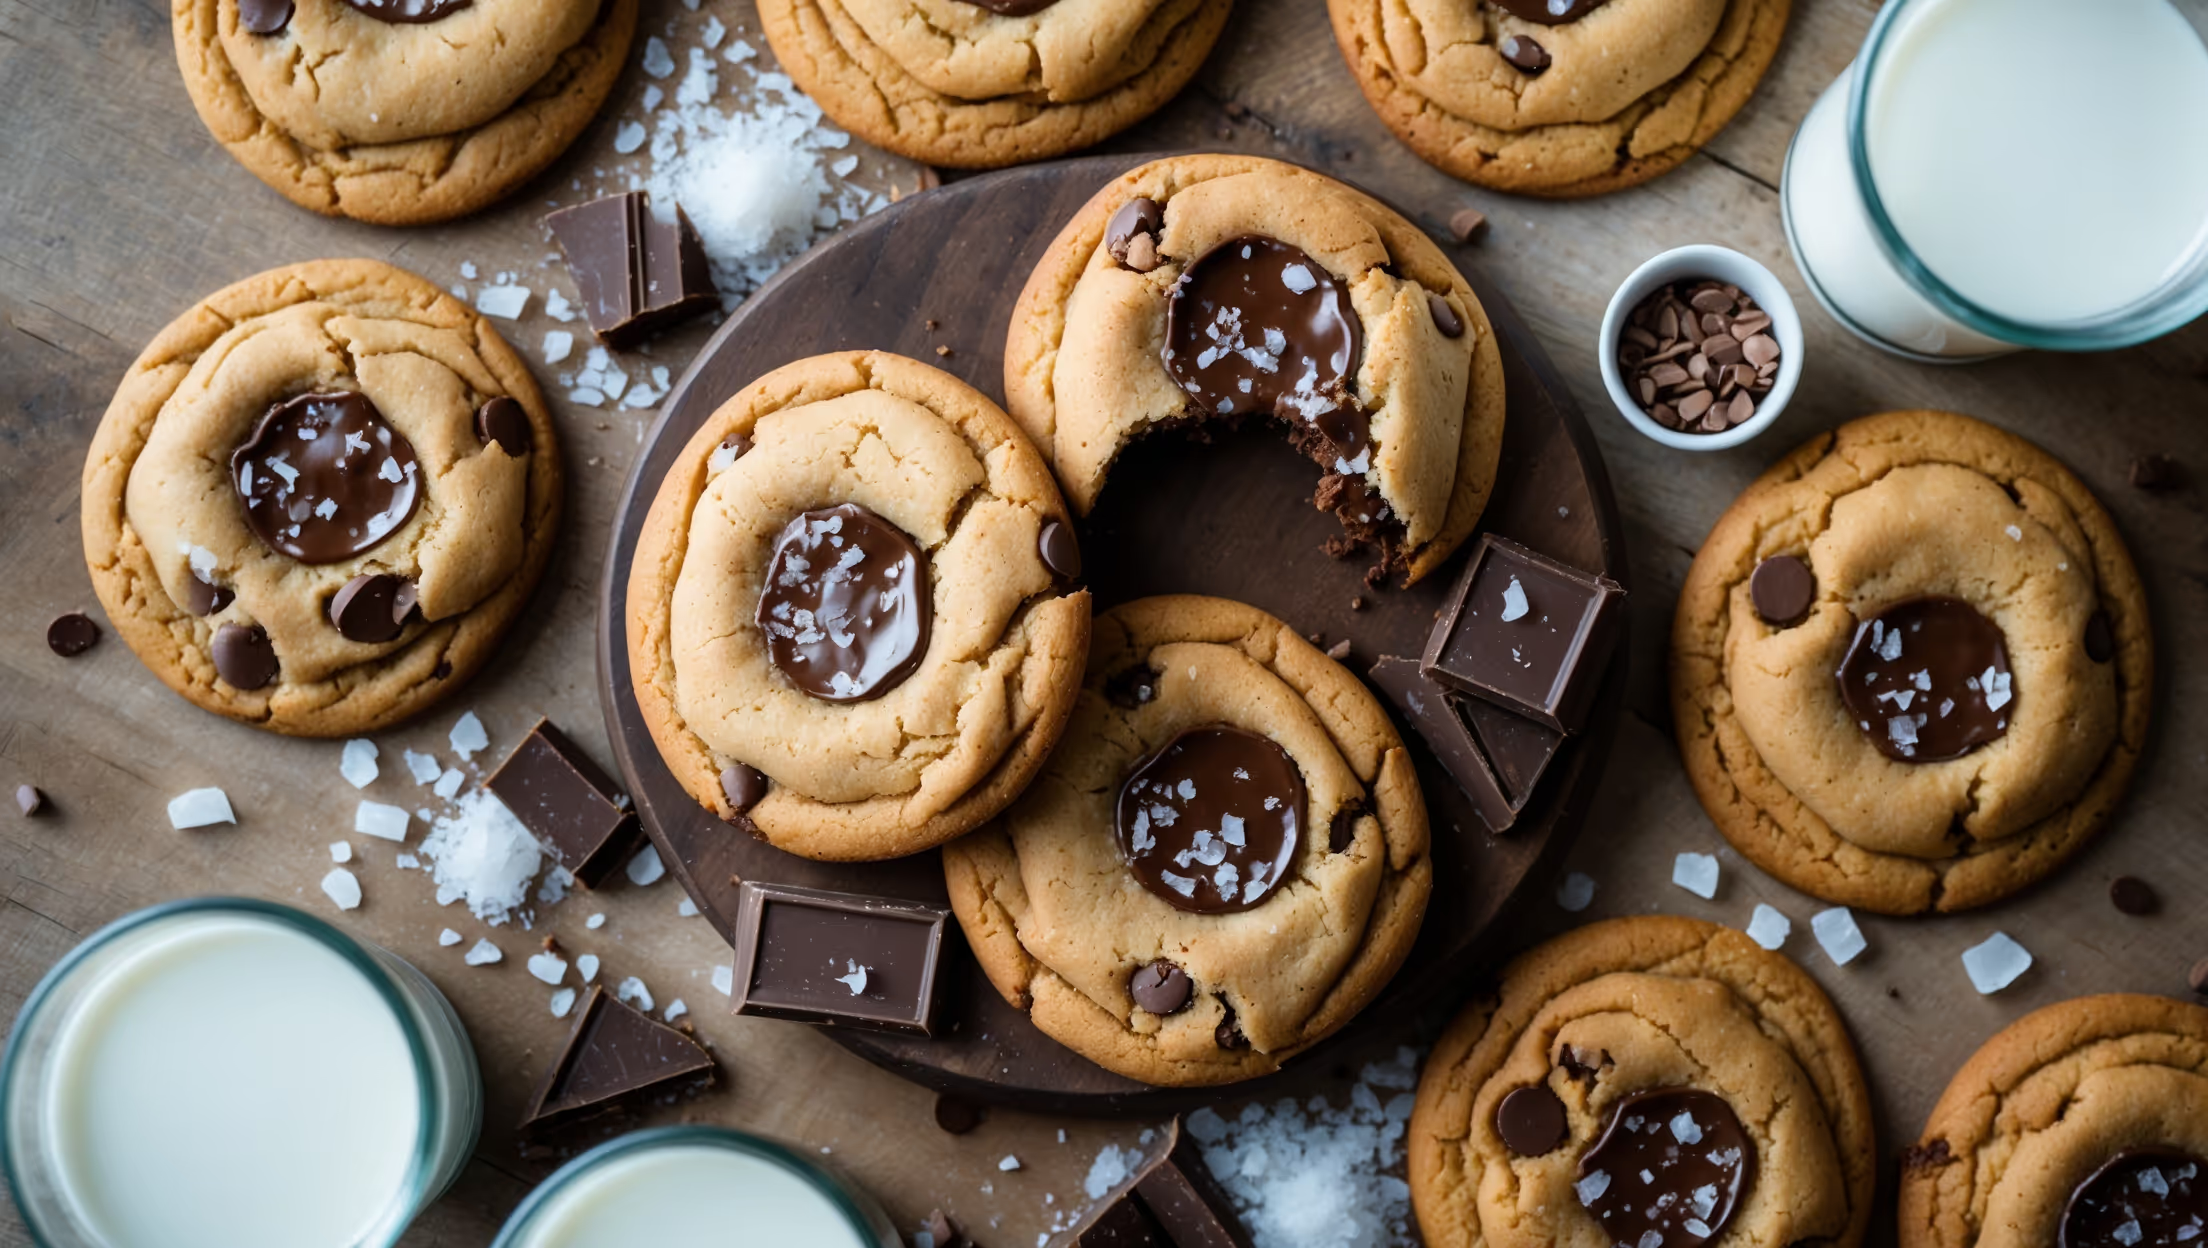
<ol class="no-list-style"> <li class="MethodStepper"> <h4 class="step-title">Step 1</h4> Preheat your oven to 180°C and line two baking sheets with parchment paper. This preparation ensures your cookies will bake evenly and won't stick to the pan. </li> <li class="MethodStepper"> <h4 class="step-title">Step 2</h4> In a medium bowl, whisk together the almond flour, baking soda, and salt until well combined. Almond flour is more delicate than wheat flour, so whisk gently to incorporate air without compacting it. </li> <li class="MethodStepper"> <h4 class="step-title">Step 3</h4> For extra flavor (optional), brown your butter by cooking it in a light-colored saucepan over medium heat for 5-7 minutes until it foams, then turns amber with a nutty aroma and brown bits form at the bottom. This adds a toffee-like depth to your cookies. Cool slightly before using. </li> <li class="MethodStepper"> <h4 class="step-title">Step 4</h4> In a large bowl, mix the melted (or browned) butter and coconut sugar until smooth and well incorporated. The melted butter helps create that perfect chewy texture in the final cookie. </li> <li class="MethodStepper"> <h4 class="step-title">Step 5</h4> Add the egg and vanilla to your butter-sugar mixture, whisking vigorously for about 1 minute until the mixture lightens in color. This creates an emulsion that helps with the cookie structure since we're not using gluten-forming wheat flour. </li> <li class="MethodStepper"> <h4 class="step-title">Step 6</h4> Fold the dry ingredients into the wet mixture using a spatula or wooden spoon, stirring just until combined. Almond flour cookies can become oily if overmixed, so use a gentle touch. The dough will be slightly thicker than traditional cookie dough. </li> <li class="MethodStepper"> <h4 class="step-title">Step 7</h4> Gently fold in the chocolate chunks, reserving a handful for pressing into the tops of the cookies before baking (this creates those beautiful melty chocolate puddles on top). </li> <li class="MethodStepper"> <h4 class="step-title">Step 8</h4> For the best texture, chill the dough for 30 minutes. This optional step helps prevent excessive spreading and enhances flavor development. If you're short on time, you can bake immediately, but expect slightly flatter cookies. </li> <li class="MethodStepper"> <h4 class="step-title">Step 9</h4> Using a medium cookie scoop (about 1.5 tablespoons), portion the dough onto the prepared baking sheets, leaving about 5cm between each cookie to allow for spreading. Press the reserved chocolate chunks into the tops. </li> <li class="MethodStepper"> <h4 class="step-title">Step 10</h4> Bake for 10-12 minutes until the edges are golden brown but the centers still look slightly underdone. They'll continue cooking on the hot baking sheet. Look for that perfect balance – too long in the oven and they'll become dry and crumbly. </li> <li class="MethodStepper"> <h4 class="step-title">Step 11</h4> Immediately sprinkle with flaky sea salt if using. This enhances the chocolate flavor and creates a beautiful sweet-savory contrast. </li> <li class="MethodStepper"> <h4 class="step-title">Step 12</h4> Allow the cookies to cool on the baking sheets for 5 minutes (they're fragile when hot due to the almond flour), then transfer to a wire rack to cool completely. As they cool, they'll firm up to that perfect chewy texture. </li> <li class="MethodStepper"> <h4 class="step-title">Step 13</h4> Store in an airtight container at room temperature for up to 4 days, or freeze for longer storage. To refresh leftover cookies, warm them in a 160°C oven for 3-4 minutes for that fresh-baked taste. </li> </ol>