Akki Roti (Rice Flour Flatbread) Recipe
Ingredients
Equipment
Directions
FAQs
Find answers to your most pressing questions about this delicious recipe right here.
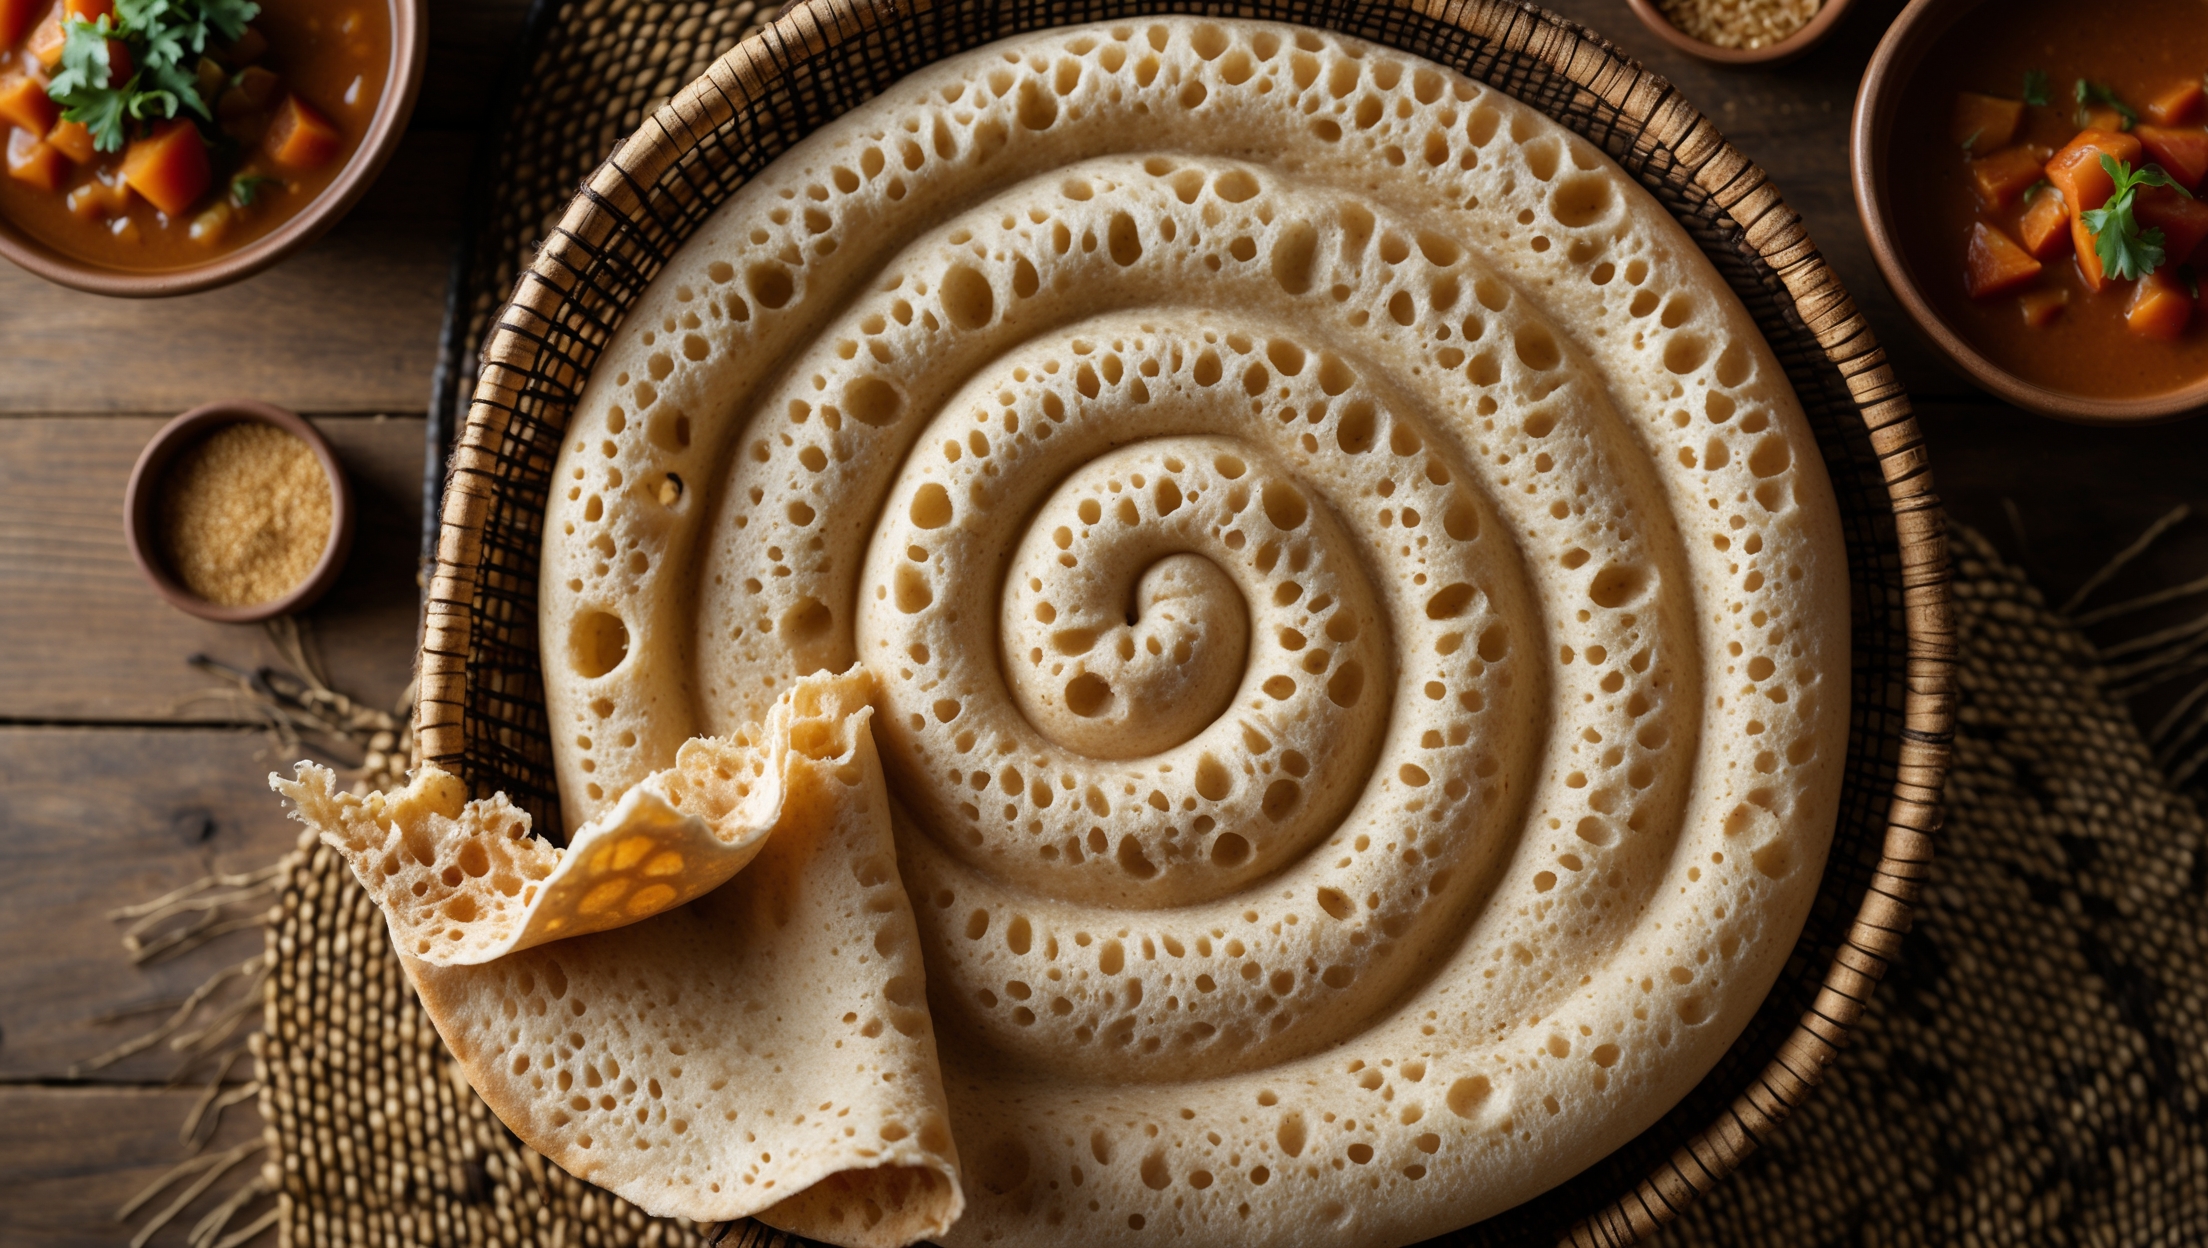
Akki Roti uses rice flour as the base, combined with chopped onions, green chilies, fresh coriander, grated carrot, curry leaves, cumin seeds, salt, oil, and water. Optional ingredients include fresh grated coconut for added flavour and authenticity.
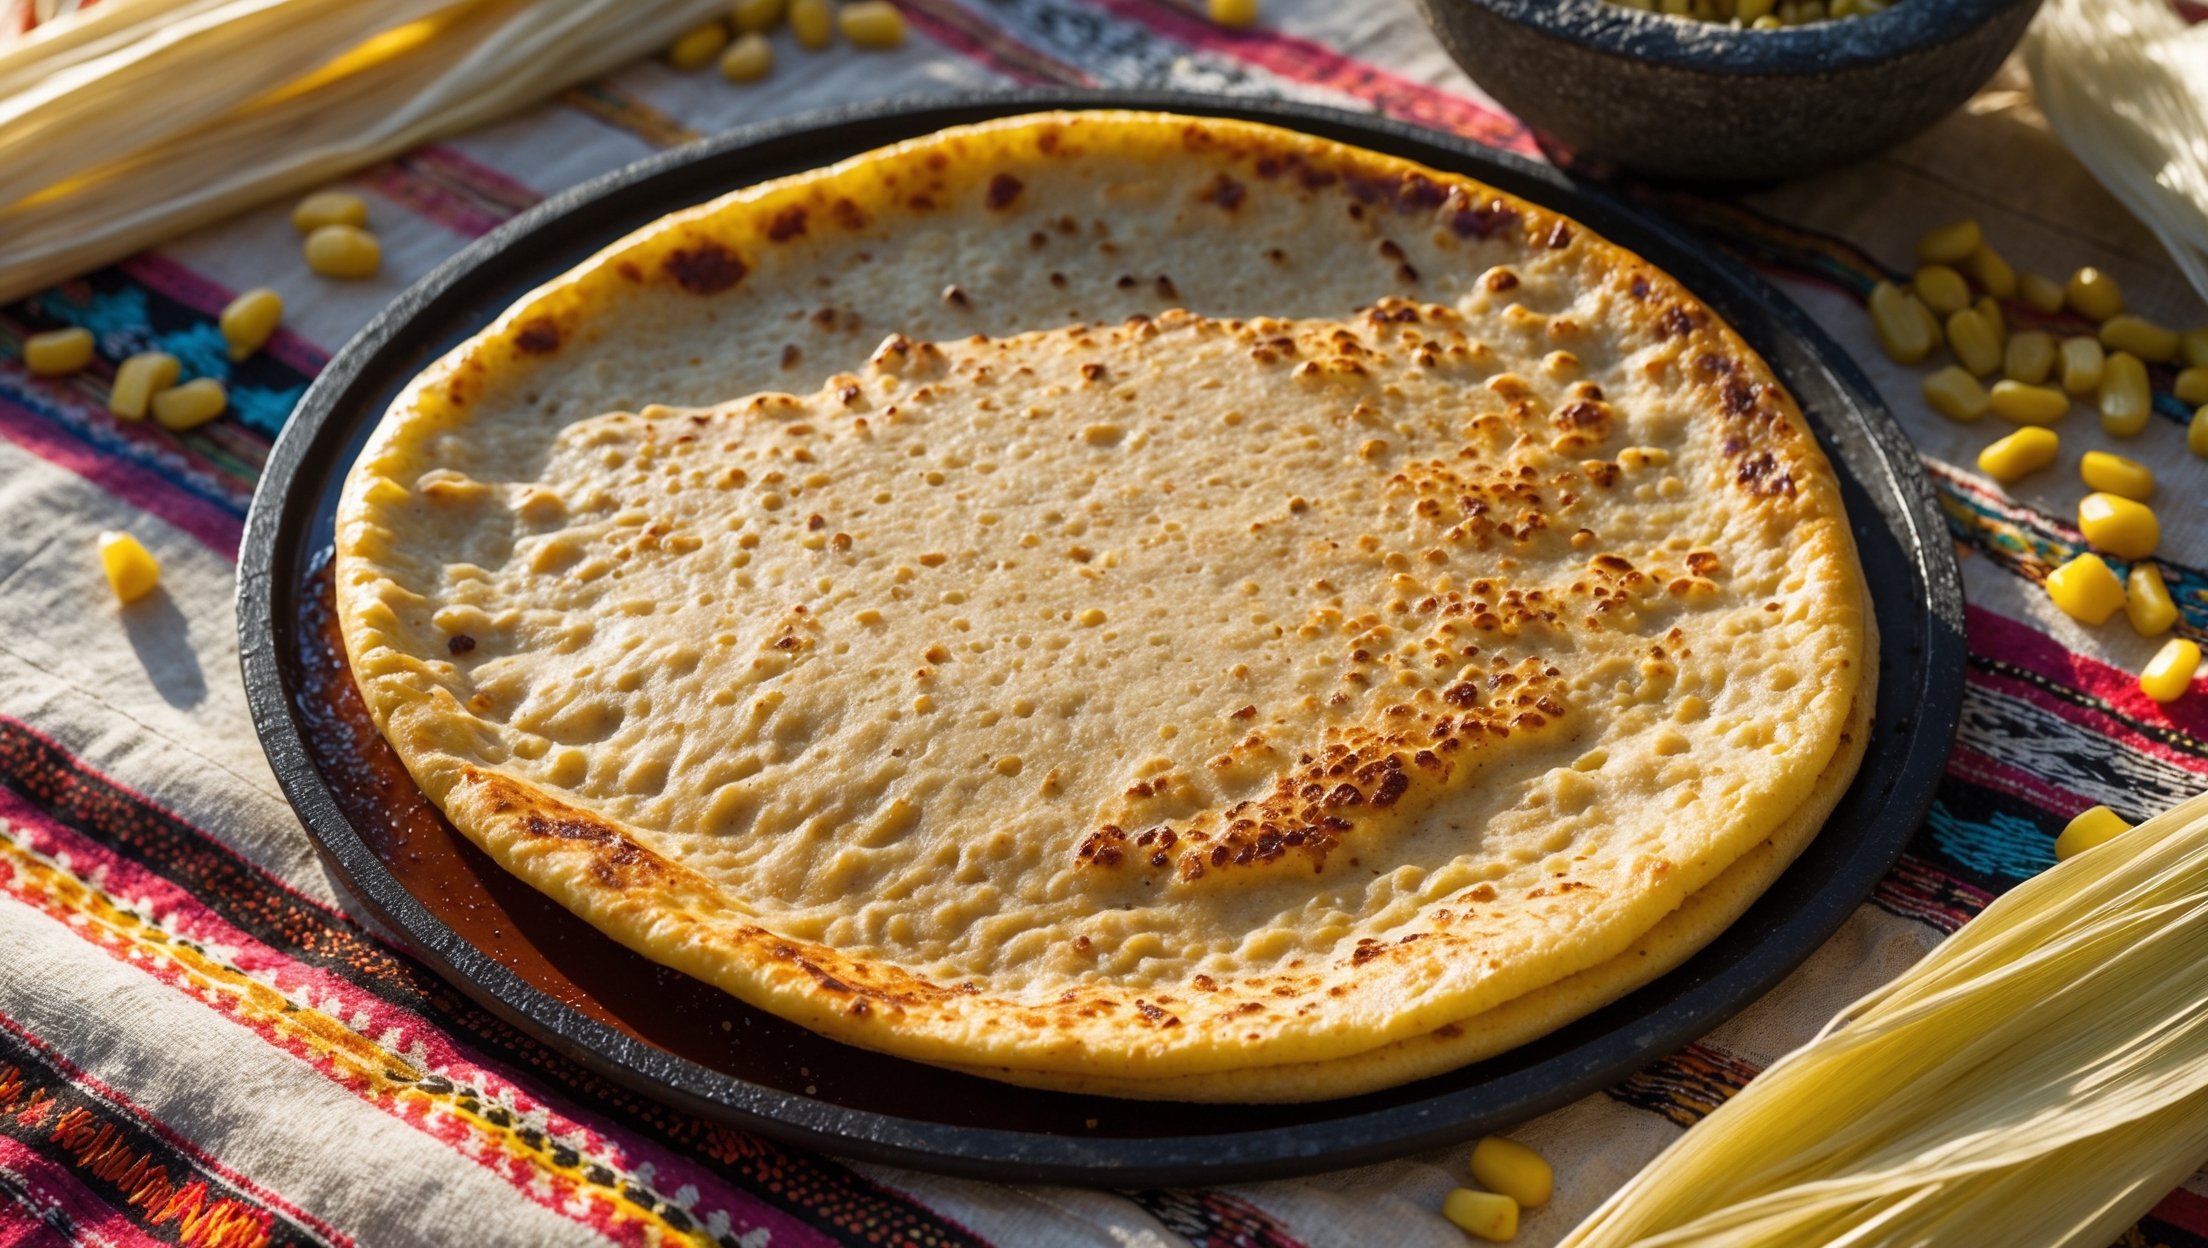
Learn how to cook Akki Roti by mixing rice flour with vegetables and spices, adding water to form a mouldable dough, then patting portions into thin discs directly on a hot tawa. Cook with a few drops of oil on medium heat, covered initially, then flipped to achieve the signature crispy exterior and soft interior.
Your flatbread might break when flipping if the dough is too dry or if you're flipping too early. Ensure proper moisture by adding enough water to the rice flour mixture and create a few small holes in the surface to help it cook evenly. Wait until it's partially cooked before flipping.
Yes! These rice flatbreads can be made ahead and stored for 1-2 days at room temperature or up to a week in the refrigerator. They also freeze well—layer with parchment paper before freezing, then reheat on a tawa or in a microwave before serving.
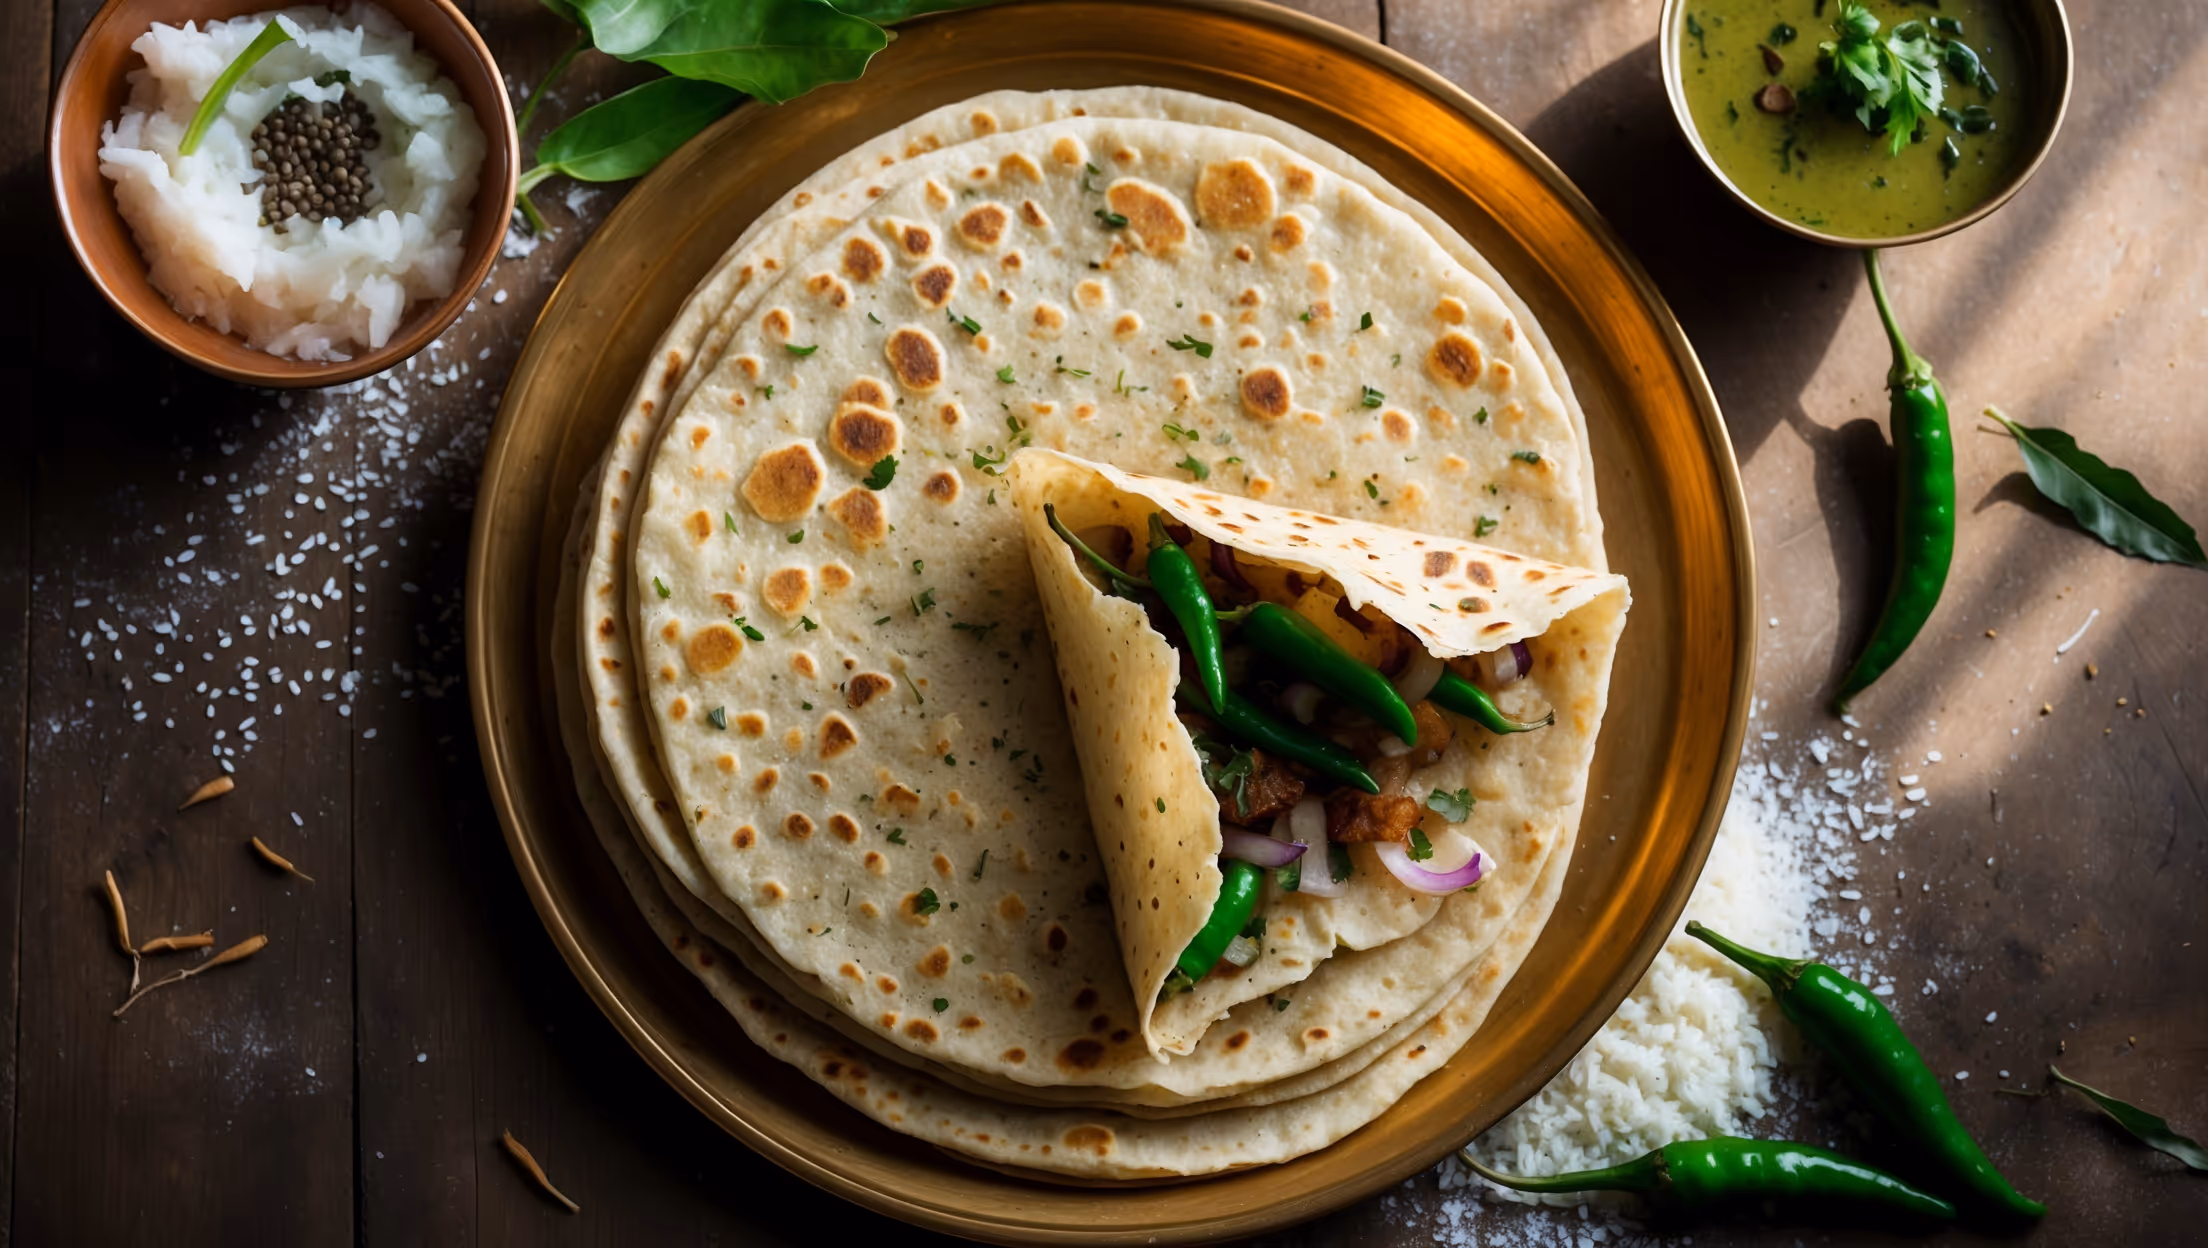
These Karnataka-style flatbreads are traditionally served with coconut chutney, peanut chutney, tomato chutney, or spicy pickle. They also pair beautifully with sambar (lentil soup) or simple yoghurt. For breakfast, they're often enjoyed with a cup of filter coffee.
Flatbreads
Try following recommended recipes