72-Hour Aged Dough Chocolate Chip Cookies with Malted Milk Powder Recipe
Ingredients
Equipment
Directions
FAQs
Find answers to your most pressing questions about this delicious recipe right here.
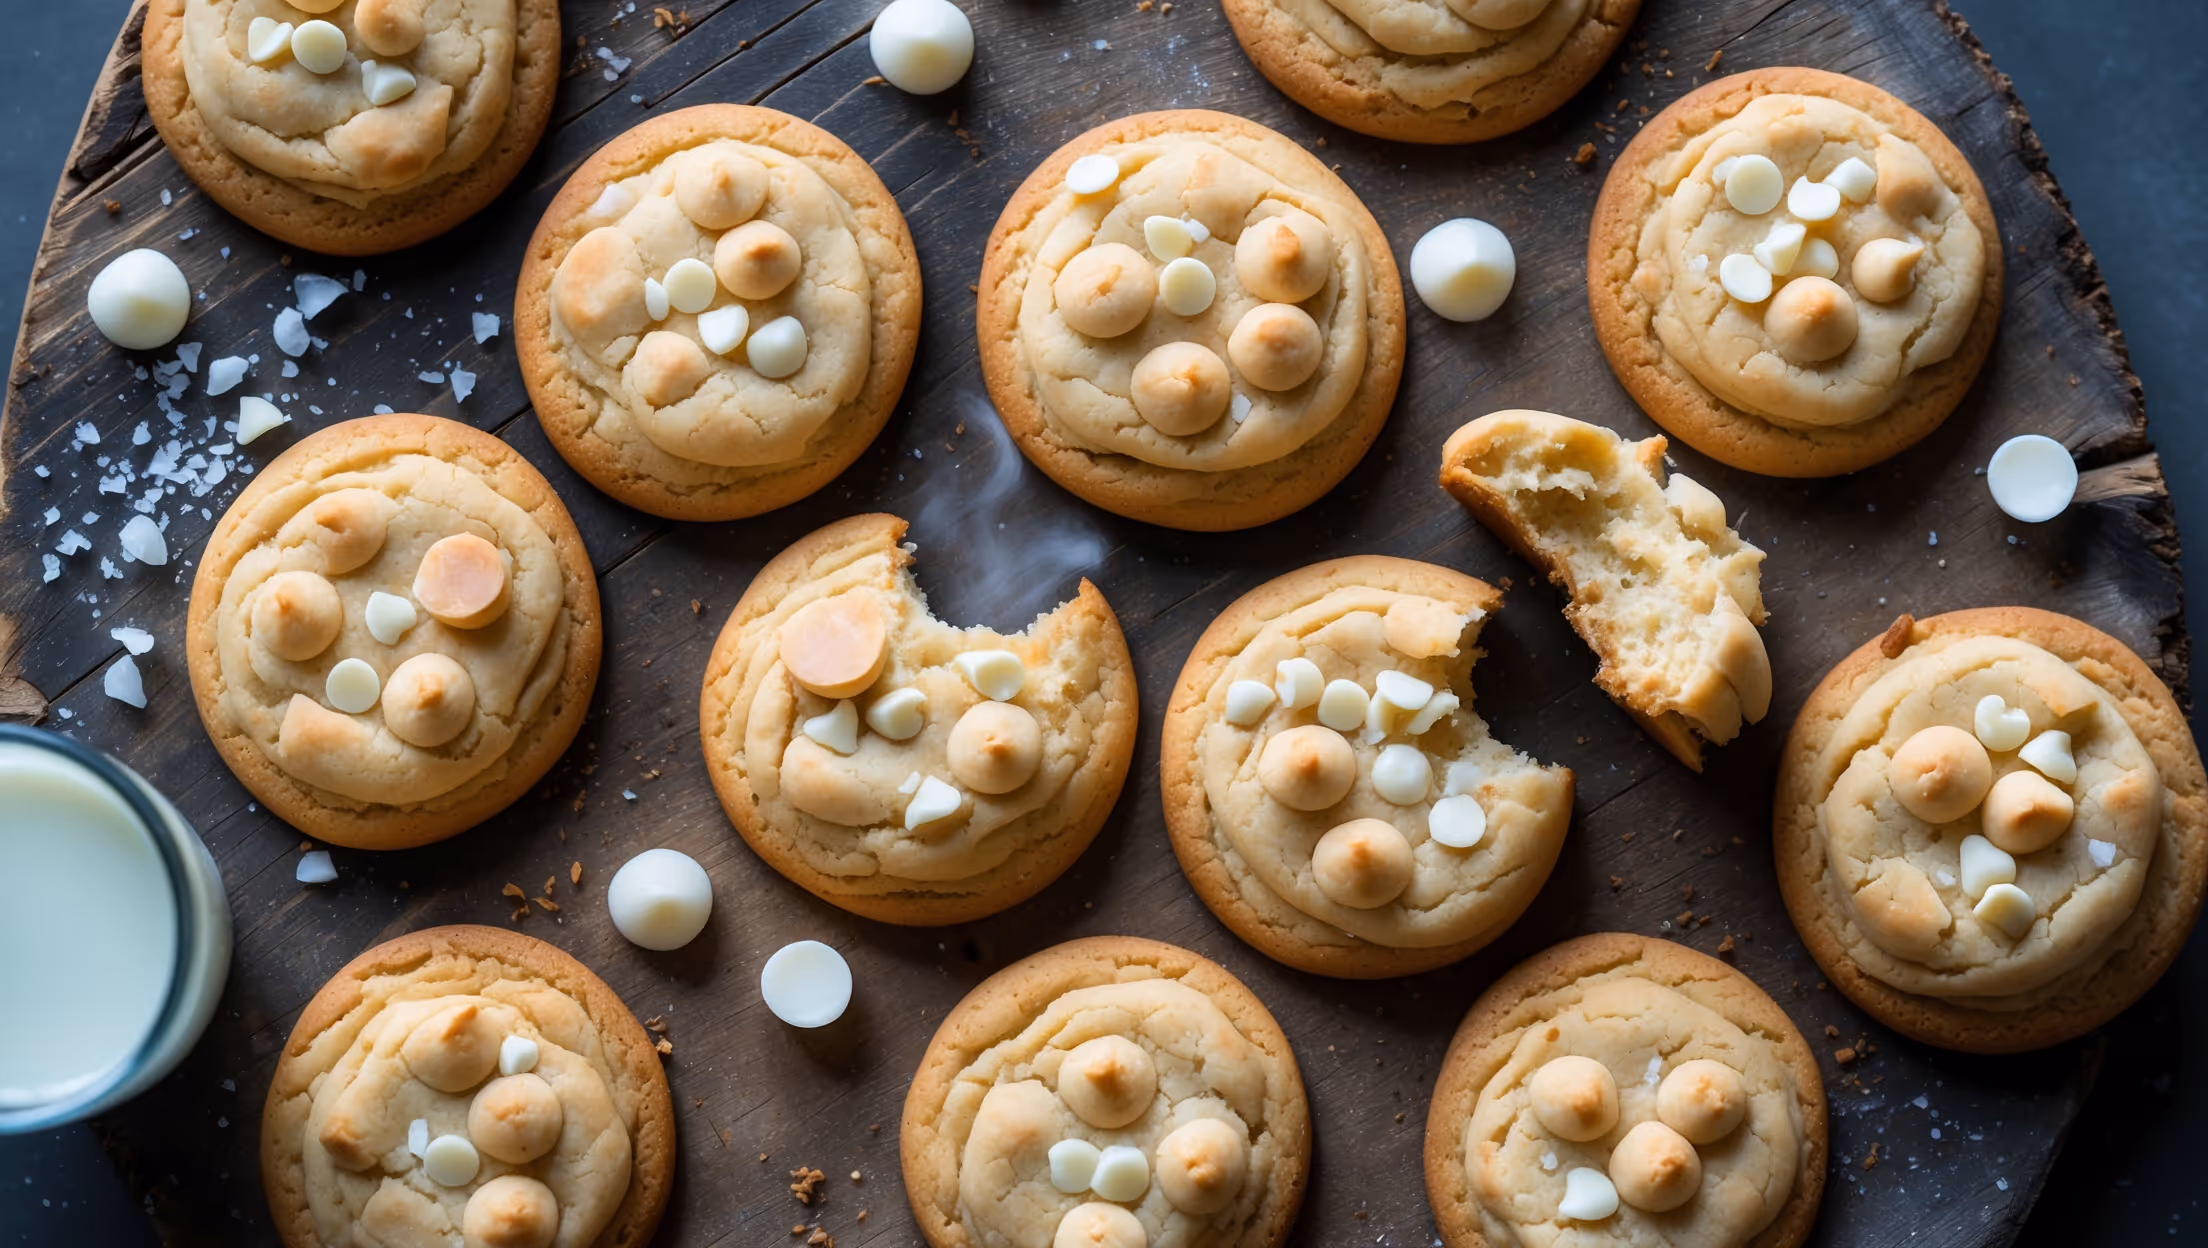
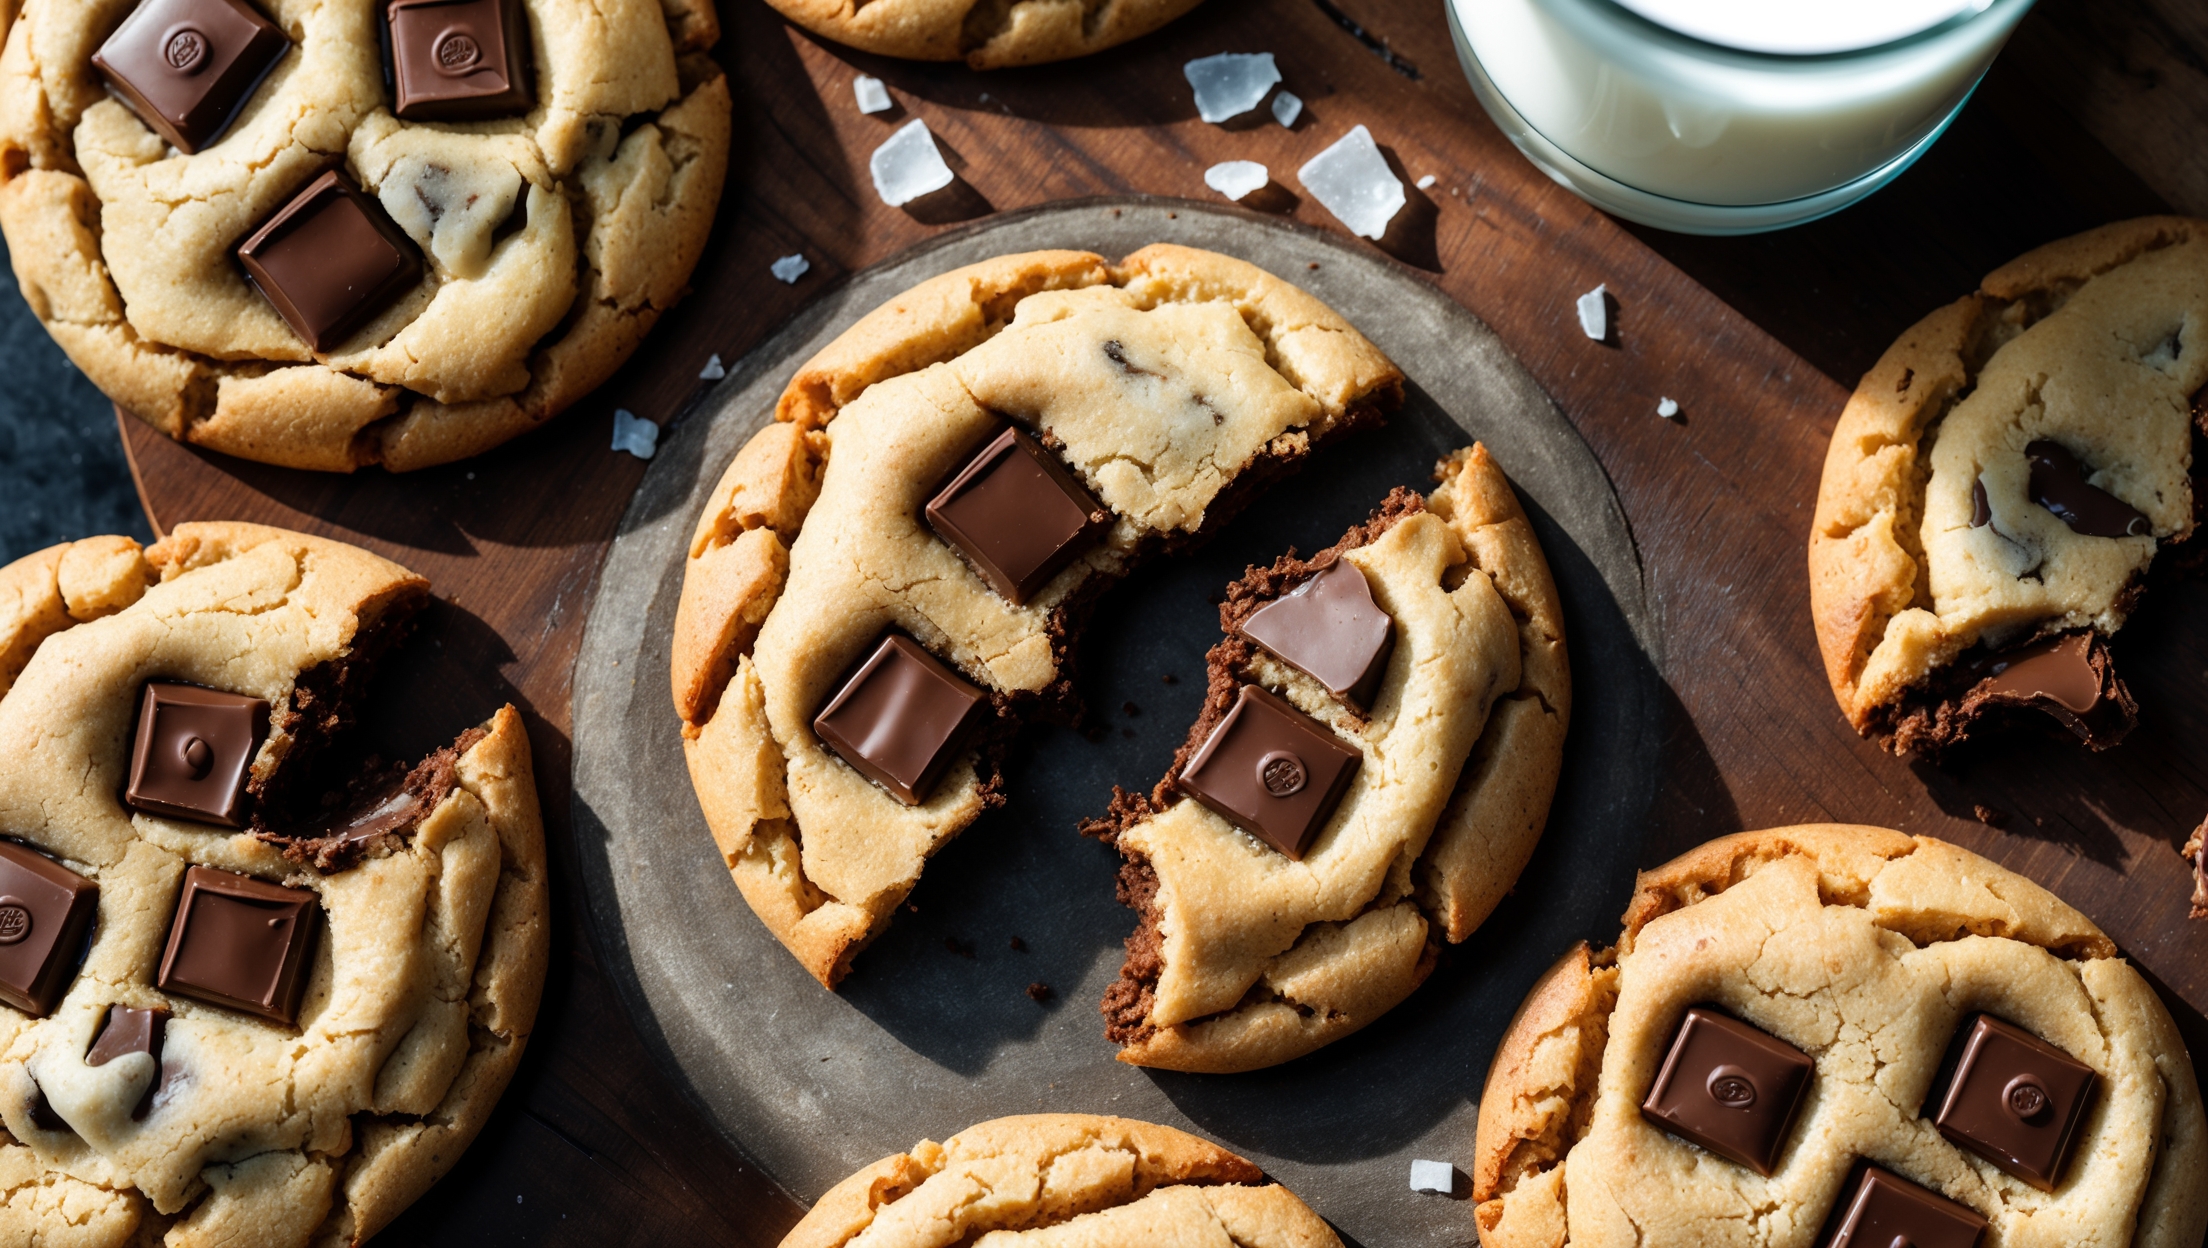
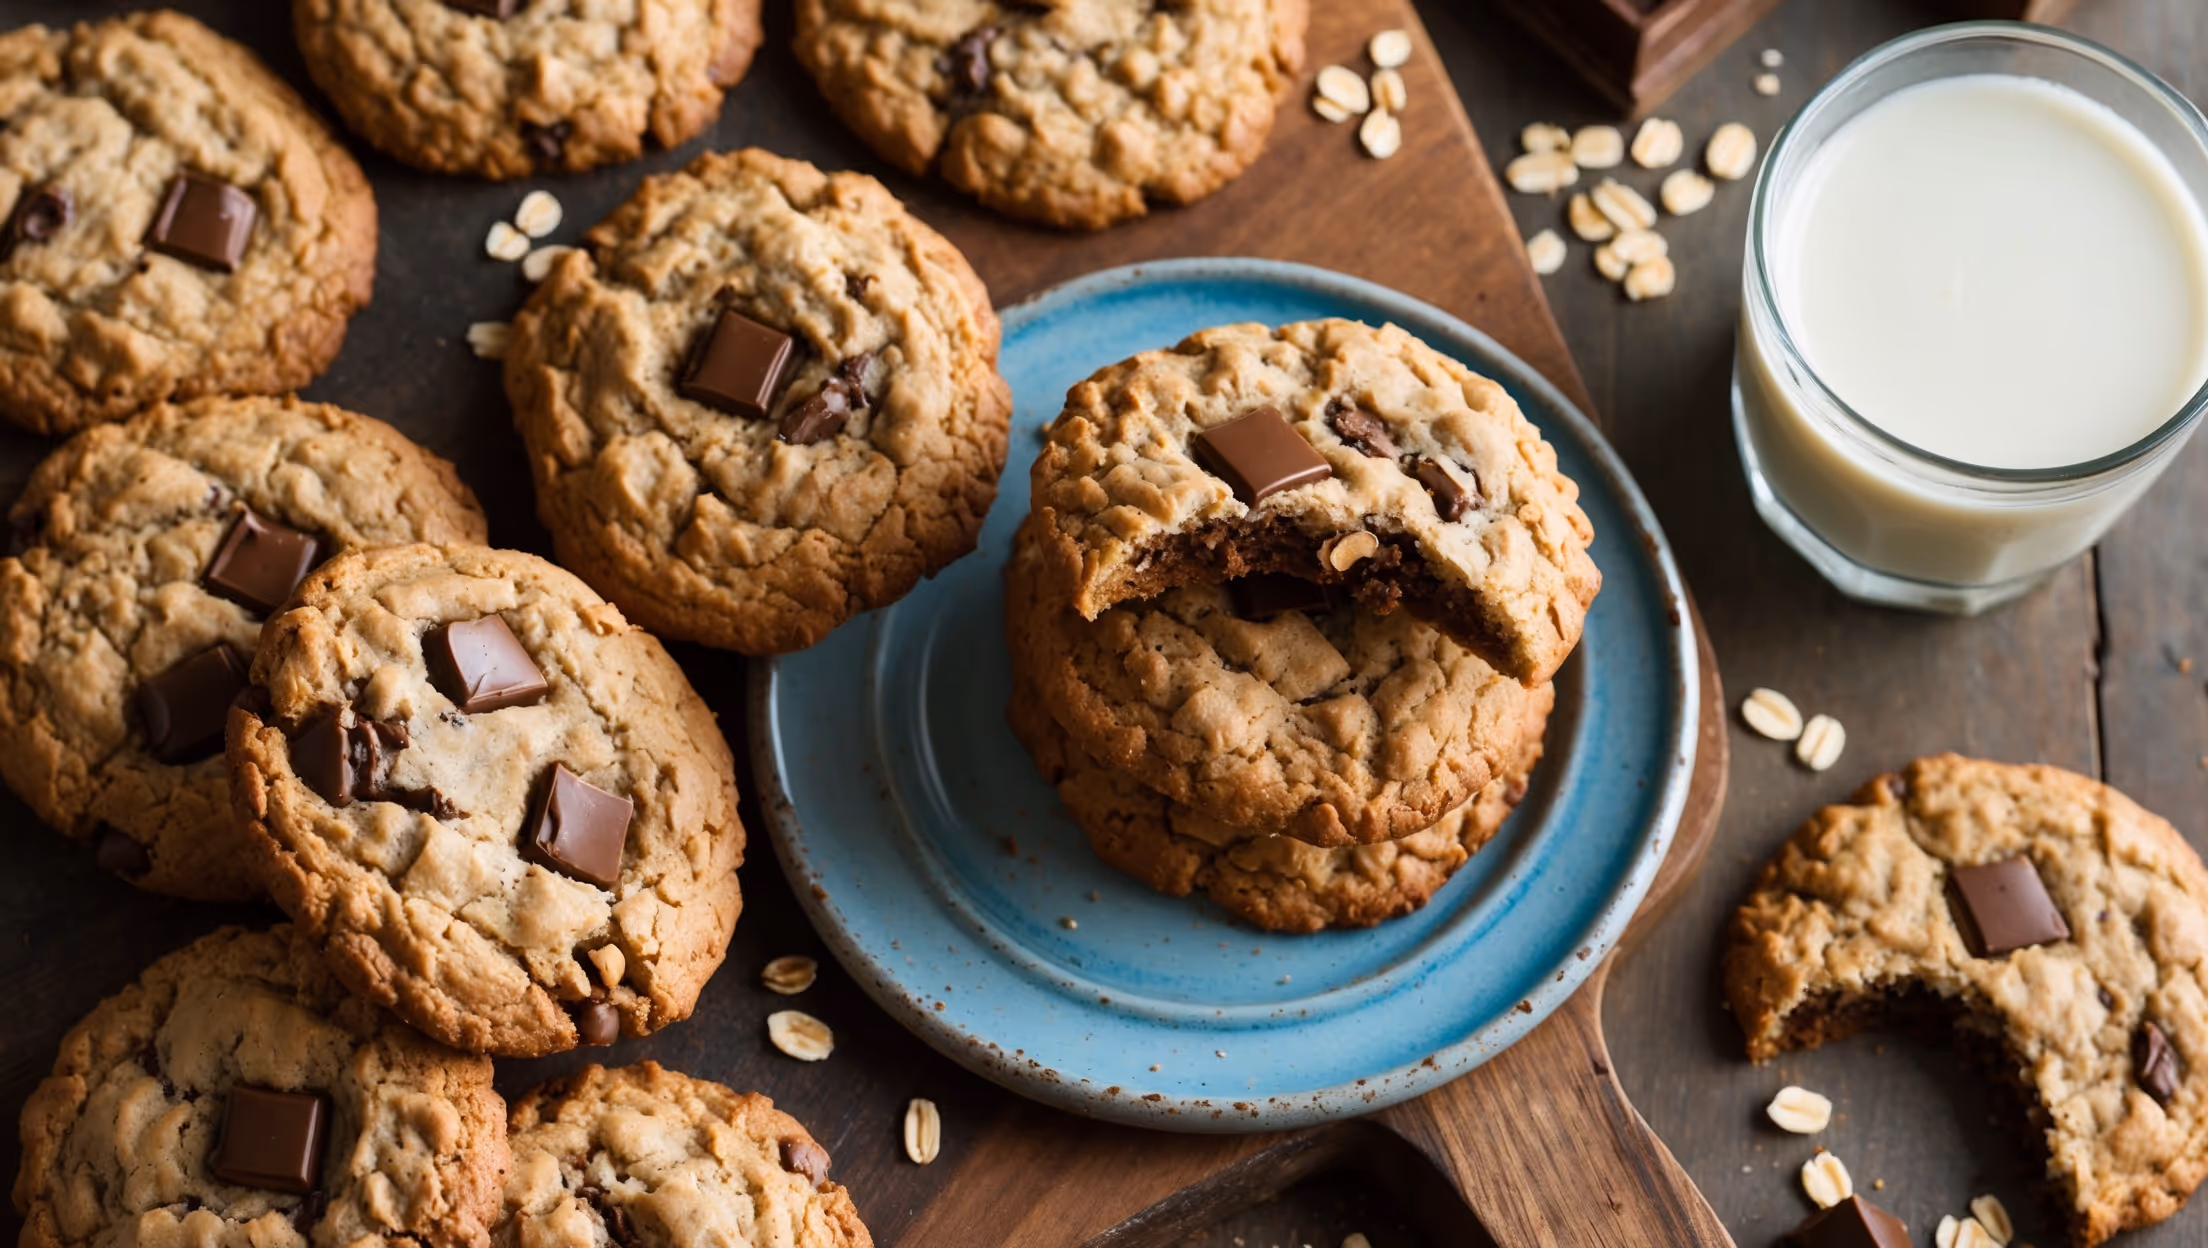
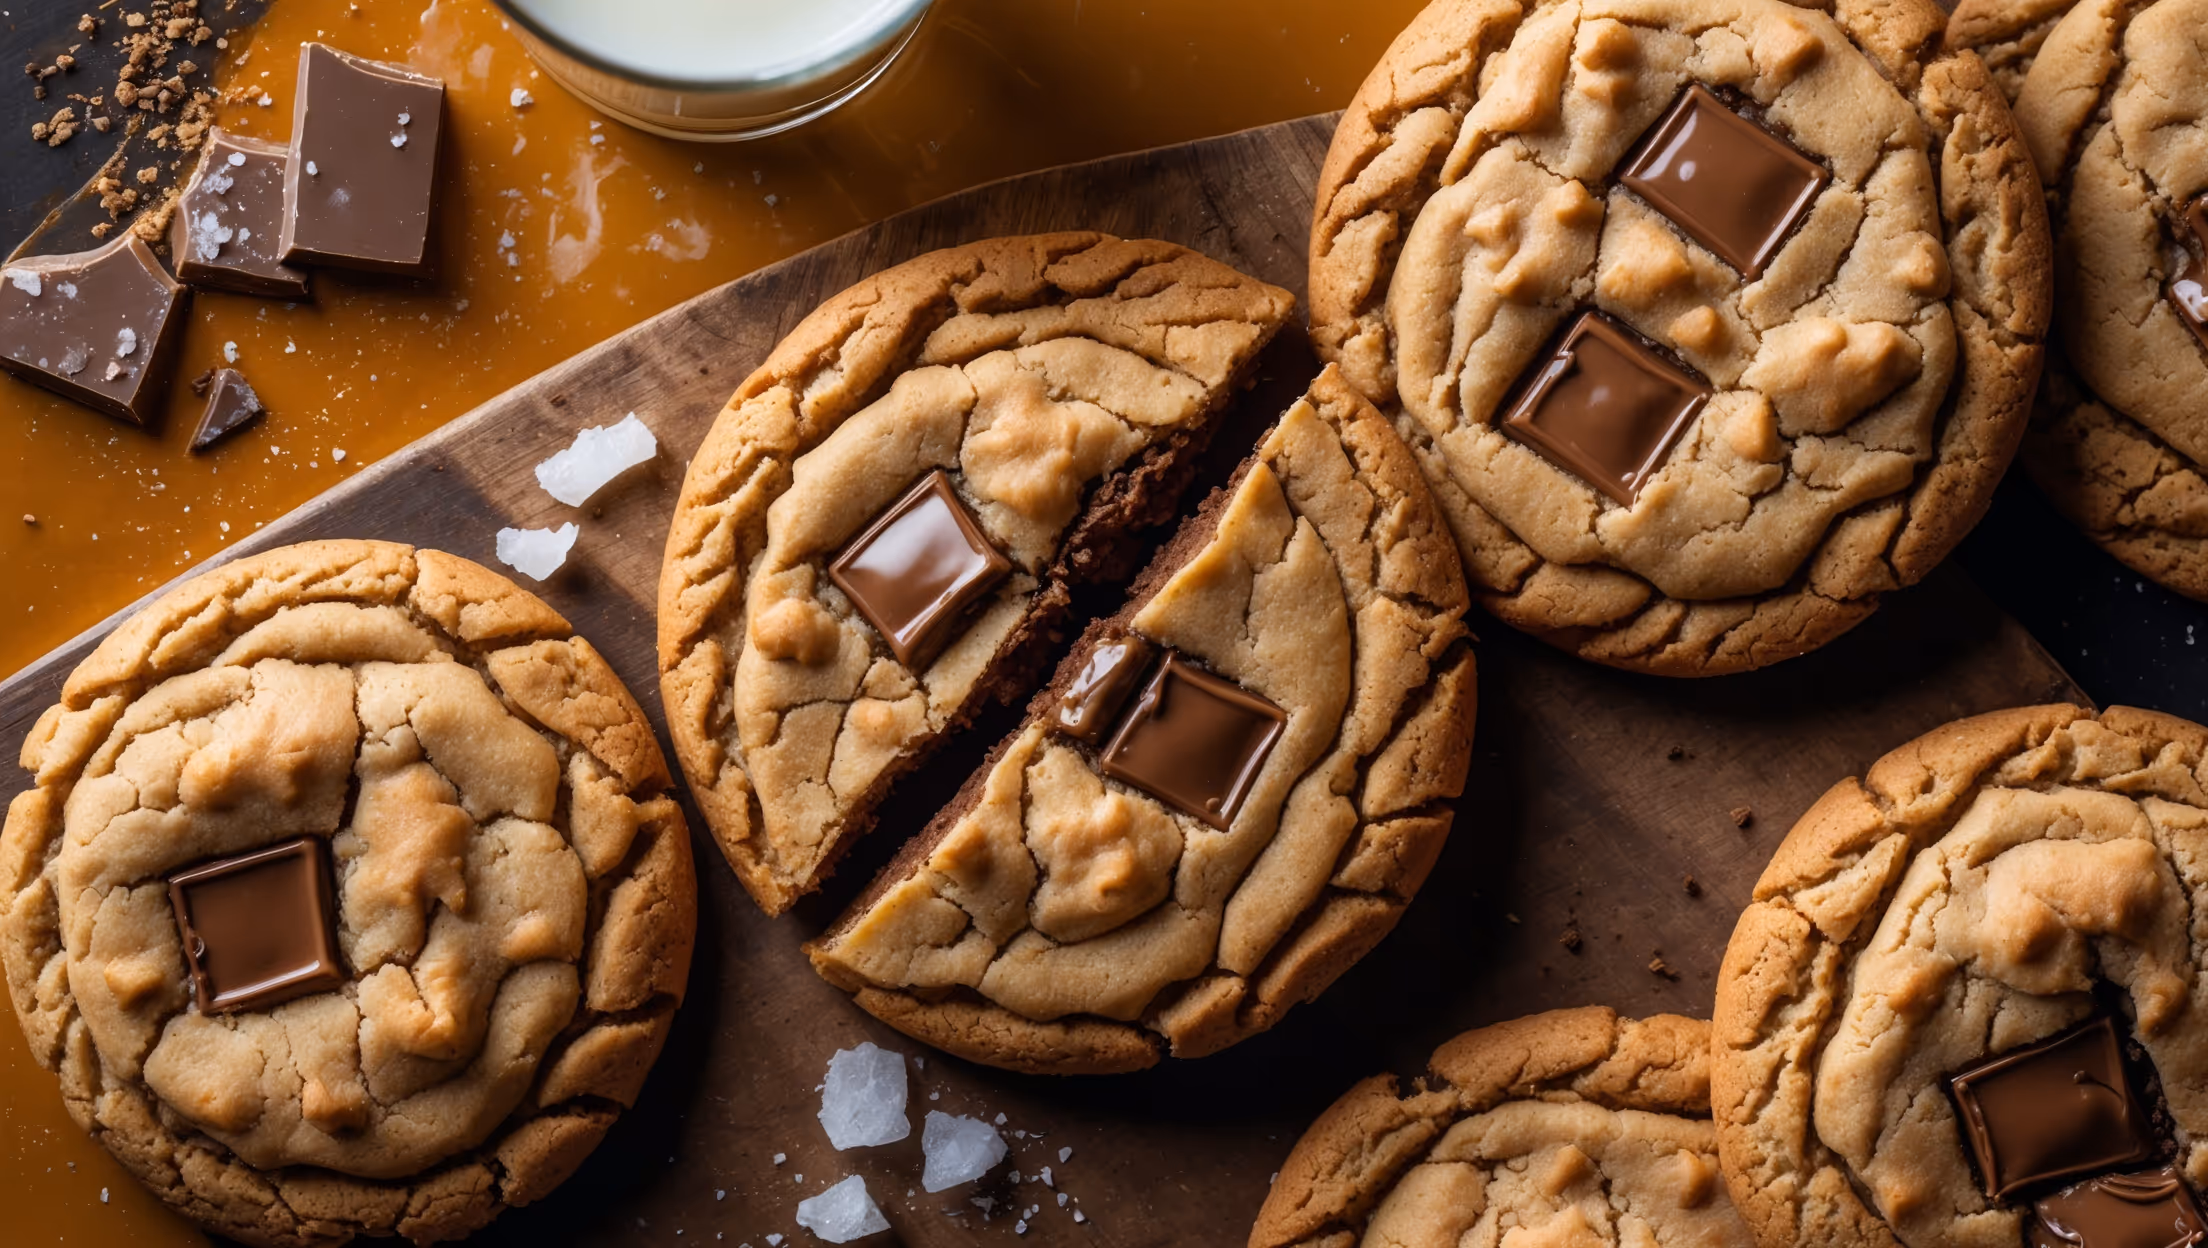
These gourmet cookies require all-purpose flour, baking soda, salt, unsalted butter, light brown and granulated sugars, eggs, vanilla extract, malted milk powder, high-quality dark chocolate chunks, and flaky sea salt for finishing.
Learn how to cook 72-Hour Aged Dough Chocolate Chip Cookies with Malted Milk Powder by creating a dough with malted milk powder, refrigerating it for 72 hours to develop complex flavours, then portioning and baking at 180°C for 11-13 minutes until edges are set but centres remain slightly soft for the perfect chewy-crisp texture.
The 72-hour ageing process allows flour to fully hydrate while enzymes break down starches into simple sugars, creating deeper caramelisation when baked. This results in more complex flavours, enhanced texture with chewier centres, crisper edges, and a distinctive wrinkled top with better browning.
Yes, you can omit malted milk powder and still make excellent cookies, though you'll miss its distinctive nutty, toasty flavour. Alternatives include non-diastatic malt powder, powdered milk with a touch of cocoa powder, or ground toasted oats for a different but complementary flavour profile.
For the perfect texture contrast, use a high ratio of brown to white sugar, refrigerate dough for at least 24 hours (ideally 72), underbake slightly (edges set but centres soft), use room temperature butter when mixing, and allow cookies to cool on the hot baking sheet for 10 minutes before transferring.
Chocolate Chip Cookies
Try following recommended recipes