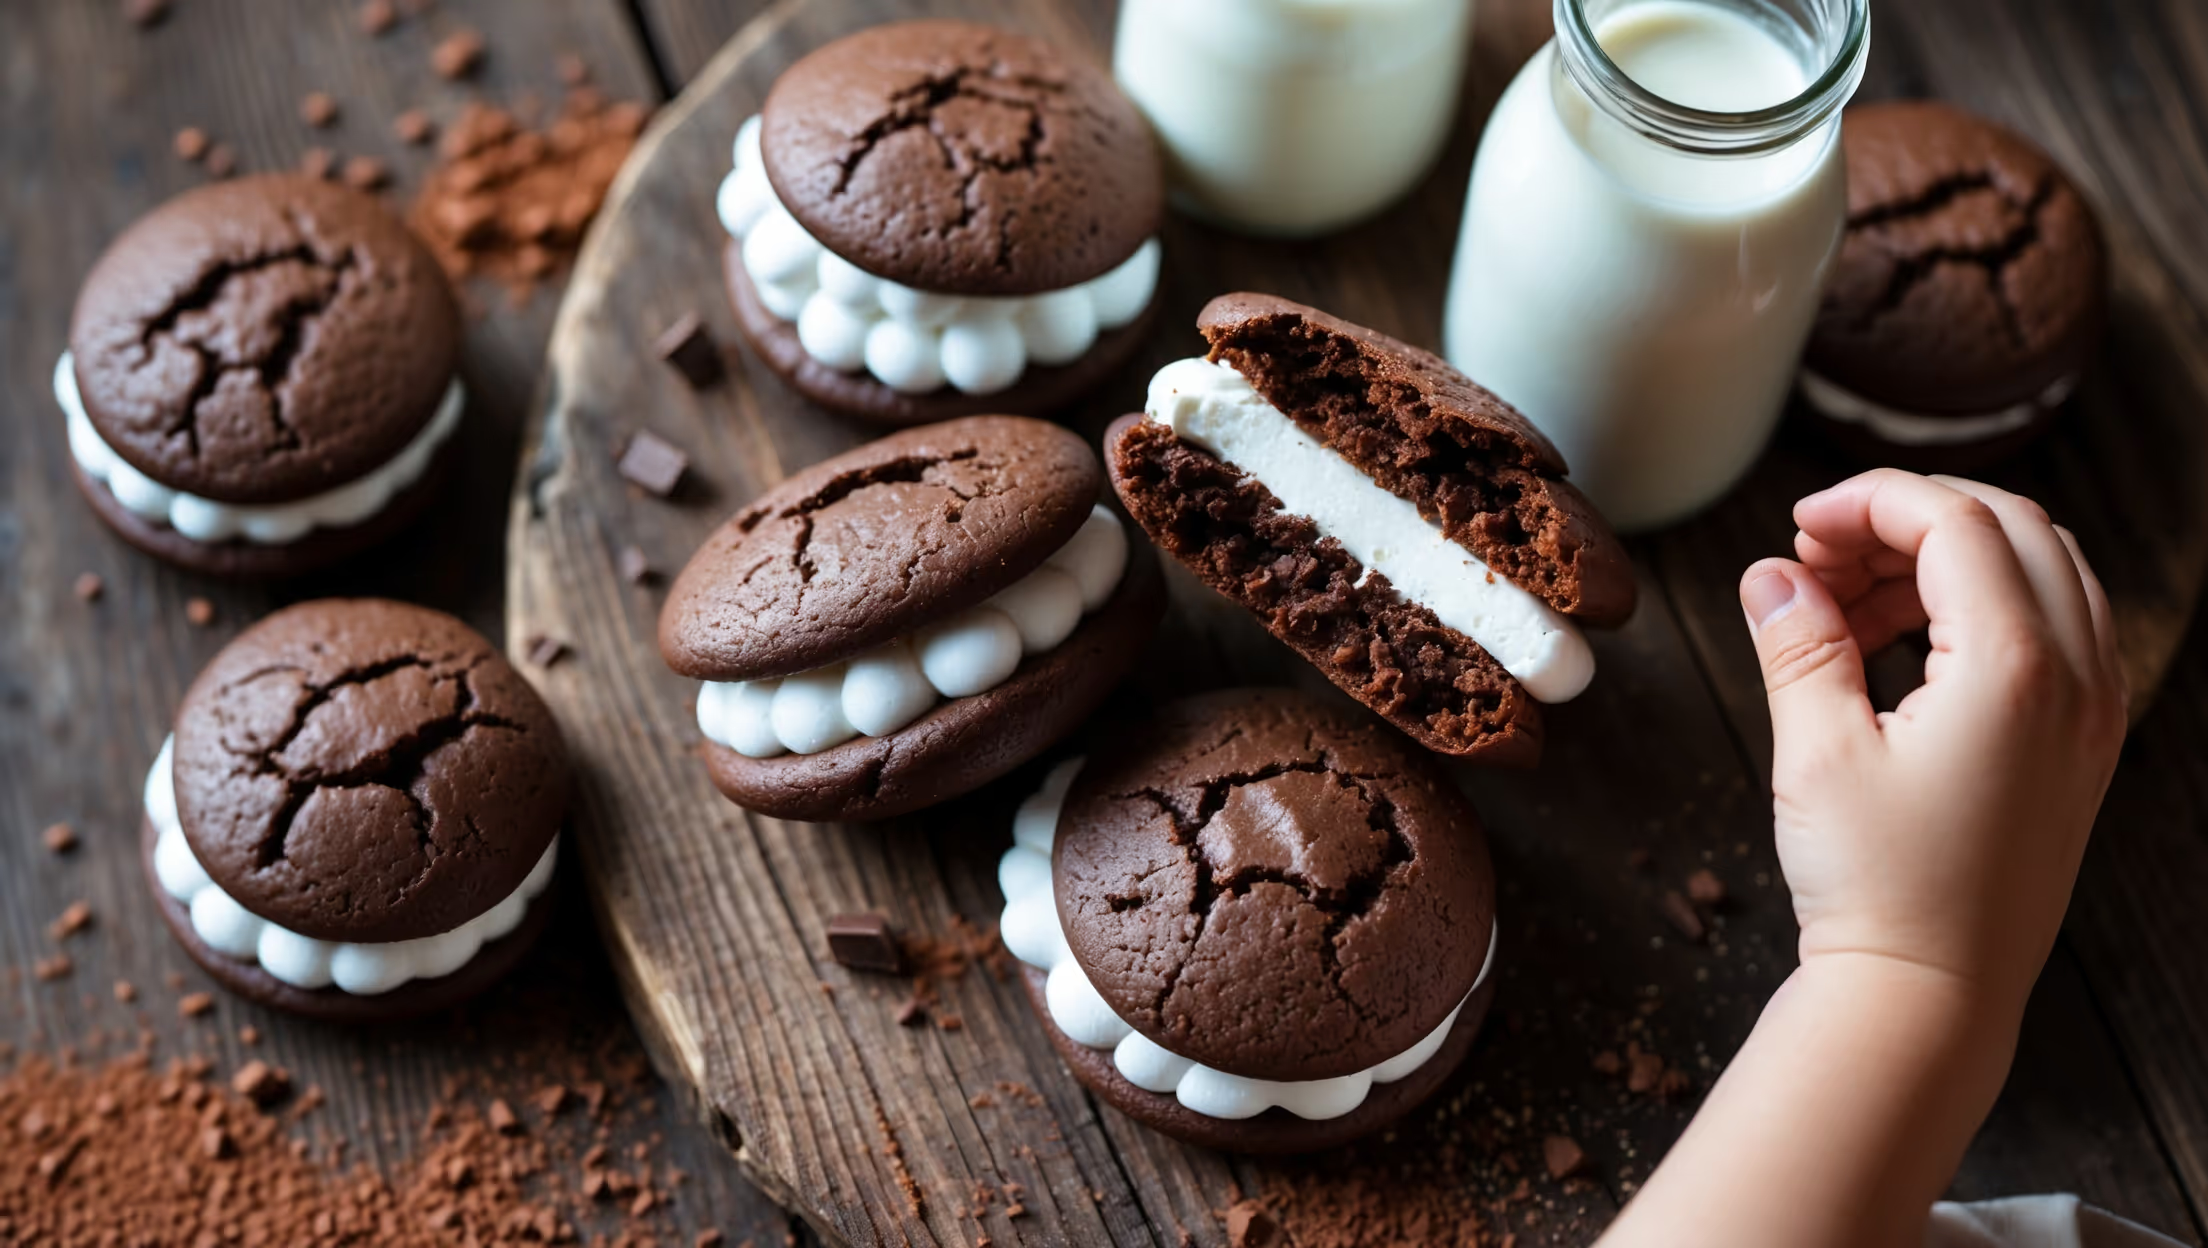
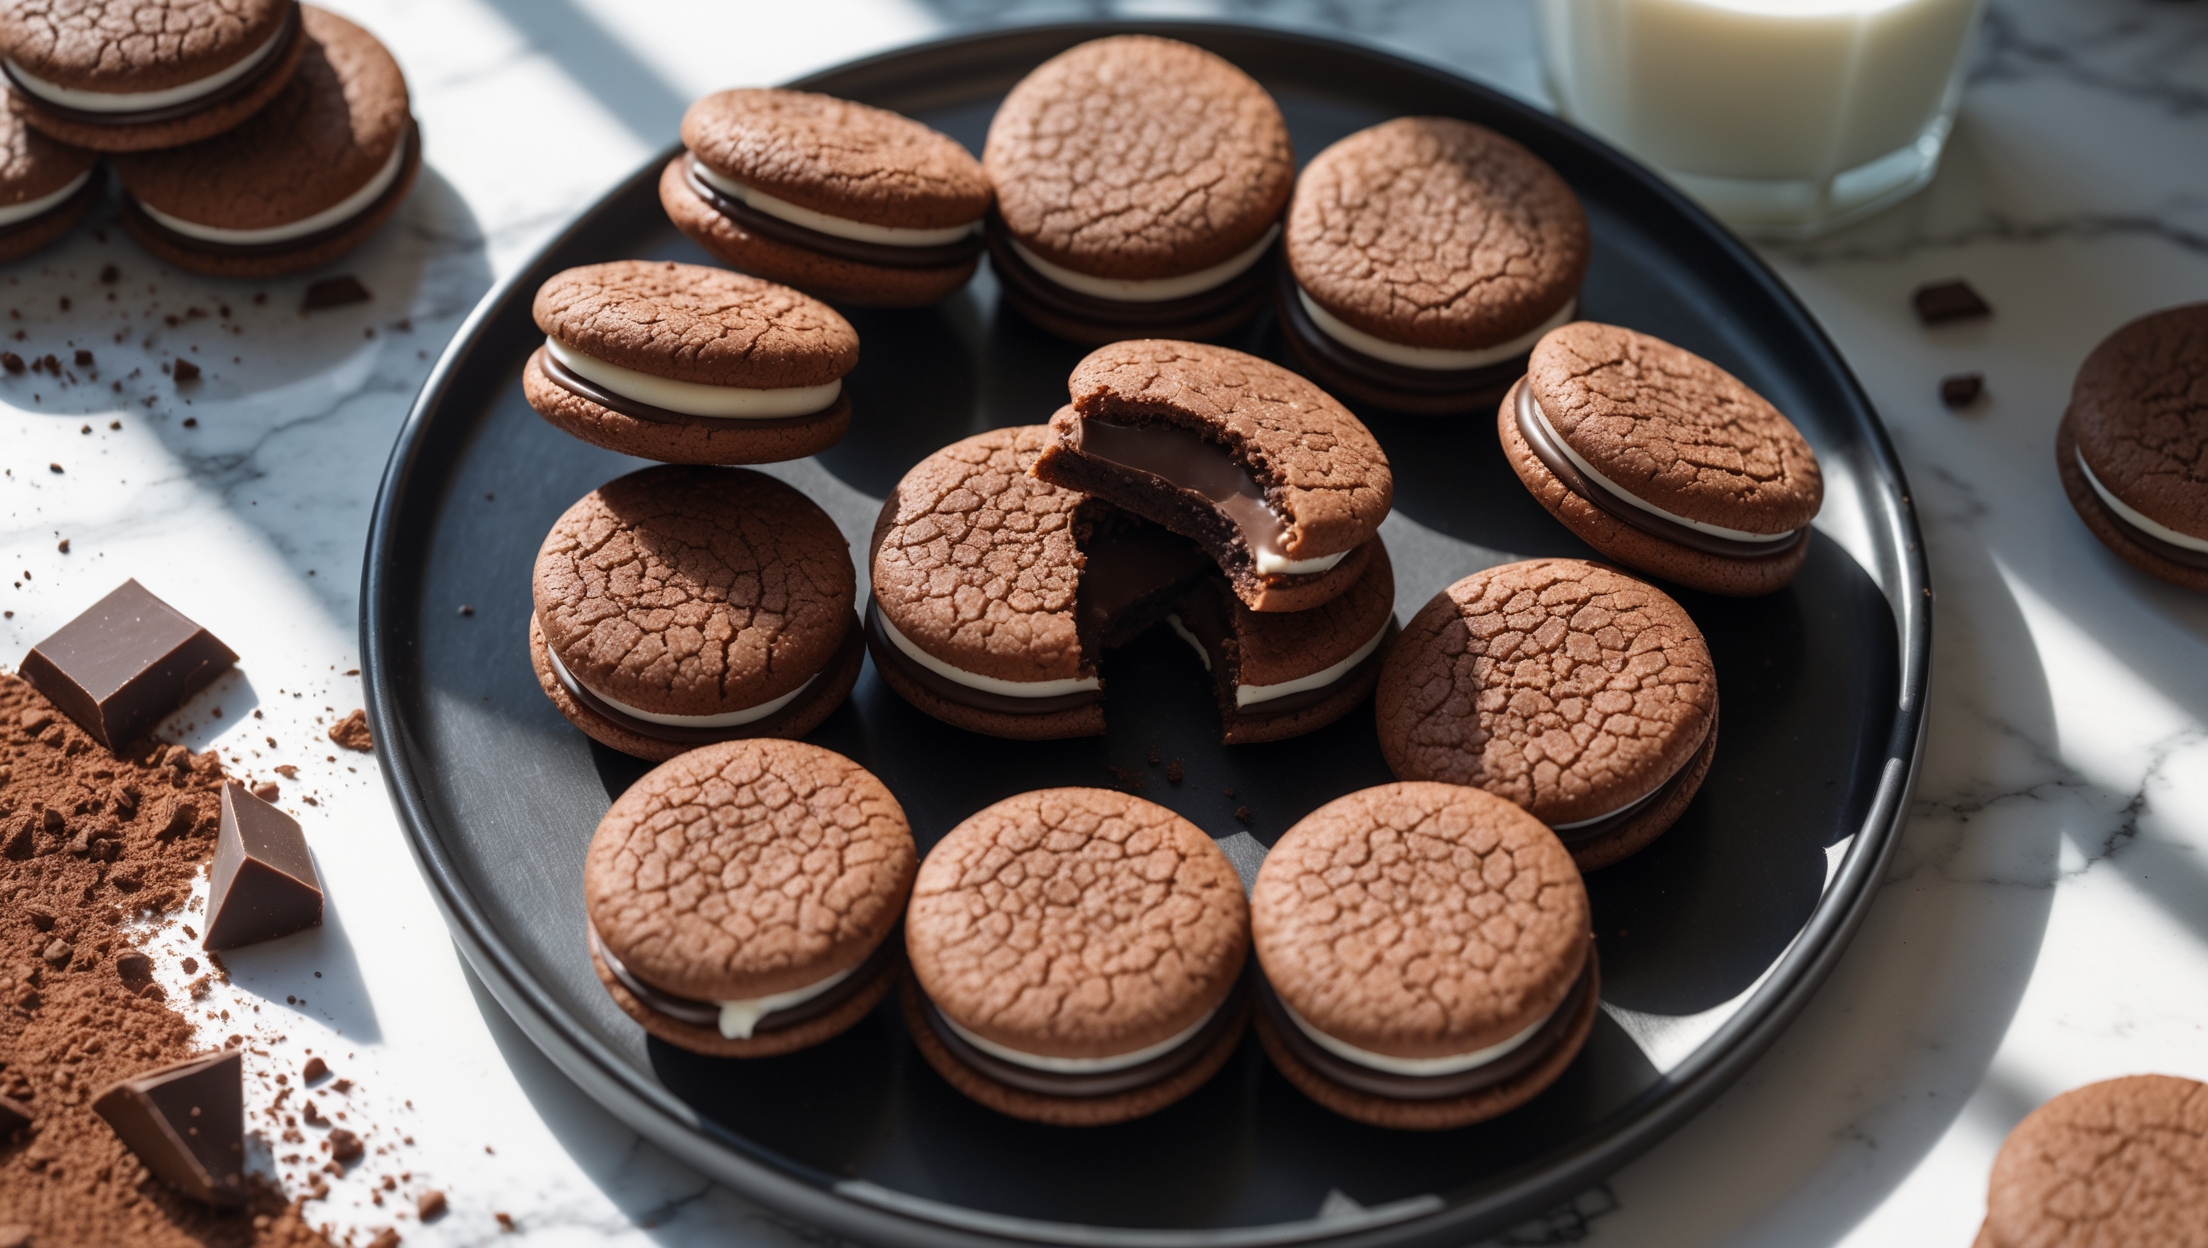
Directions
<ol class="no-list-style"><li class="MethodStepper"><h4 class="step-title">Step 1</h4>Preheat your oven to 160°C (fan)/180°C/350°F/Gas Mark 4. Line two baking sheets with parchment paper. Let the butter soften at room temperature until you can easily press a finger into it, but it still holds its shape - this is essential for the right piping consistency.</li><li class="MethodStepper"><h4 class="step-title">Step 2</h4>In a large bowl or stand mixer, beat the softened butter until very pale and creamy, about 3-4 minutes. This extended creaming creates air pockets that give the cookies their light, melt-in-mouth texture. Scrape down the sides of the bowl occasionally to ensure even mixing.</li><li class="MethodStepper"><h4 class="step-title">Step 3</h4>Sift the icing sugar into the butter and beat for another 2-3 minutes until the mixture becomes even lighter and fluffier. The fine texture of the icing sugar dissolves more readily than granulated sugar, contributing to the cookies' delicate crumb.</li><li class="MethodStepper"><h4 class="step-title">Step 4</h4>Add the vanilla extract and mix until incorporated. In a separate bowl, whisk together the flour, cornstarch, and salt. The cornstarch is crucial here - it weakens the protein structure of the flour, resulting in that signature tender, short texture.</li><li class="MethodStepper"><h4 class="step-title">Step 5</h4>Add the dry ingredients to the butter mixture in two additions, mixing on low speed just until combined. Over-mixing will develop the gluten in the flour, resulting in tough cookies, so stop as soon as no dry flour remains visible. The dough should be soft but hold its shape.</li><li class="MethodStepper"><h4 class="step-title">Step 6</h4>Transfer the dough to a piping bag fitted with a star tip. If the dough feels too firm for piping, warm it slightly by kneading the bag in your hands for a minute. Pipe 48 rosettes or swirls about 4-5cm in diameter onto the lined baking sheets, spacing them 3cm apart as they will spread slightly during baking.</li><li class="MethodStepper"><h4 class="step-title">Step 7</h4>Refrigerate the piped cookies for 15 minutes before baking. This helps them maintain their shape in the oven. Bake for 10-12 minutes until they're just firm to the touch and the edges are beginning to turn golden. Don't overbake - they should remain pale on top.</li><li class="MethodStepper"><h4 class="step-title">Step 8</h4>Allow the cookies to cool on the baking sheets for 5 minutes (they're very delicate when hot), then transfer to a wire rack to cool completely. Match similar-sized cookies into pairs for sandwiching.</li><li class="MethodStepper"><h4 class="step-title">Step 9</h4>For the chocolate filling: Place the chopped chocolate in a heatproof bowl. Heat the cream in a small saucepan until it just begins to simmer (tiny bubbles around the edge). Pour over the chocolate and let stand for 2 minutes. Add the butter and stir gently until completely smooth and glossy. Allow to cool and thicken at room temperature until spreadable, about 30-45 minutes.</li><li class="MethodStepper"><h4 class="step-title">Step 10</h4>To assemble: Turn half of the cookies flat-side up. Pipe or spread about 1 teaspoon of chocolate ganache or raspberry jam onto each cookie, then gently press the matching cookie on top. The filling should come just to the edges without squeezing out. Allow the filled cookies to set for about 30 minutes before serving.</li><li class="MethodStepper"><h4 class="step-title">Step 11</h4>Store your Viennese sandwich cookies in an airtight container at room temperature for up to 5 days, or refrigerate for up to a week. The flavor and texture actually improve after a day as the cookies soften slightly and the flavors meld together.</li></ol>