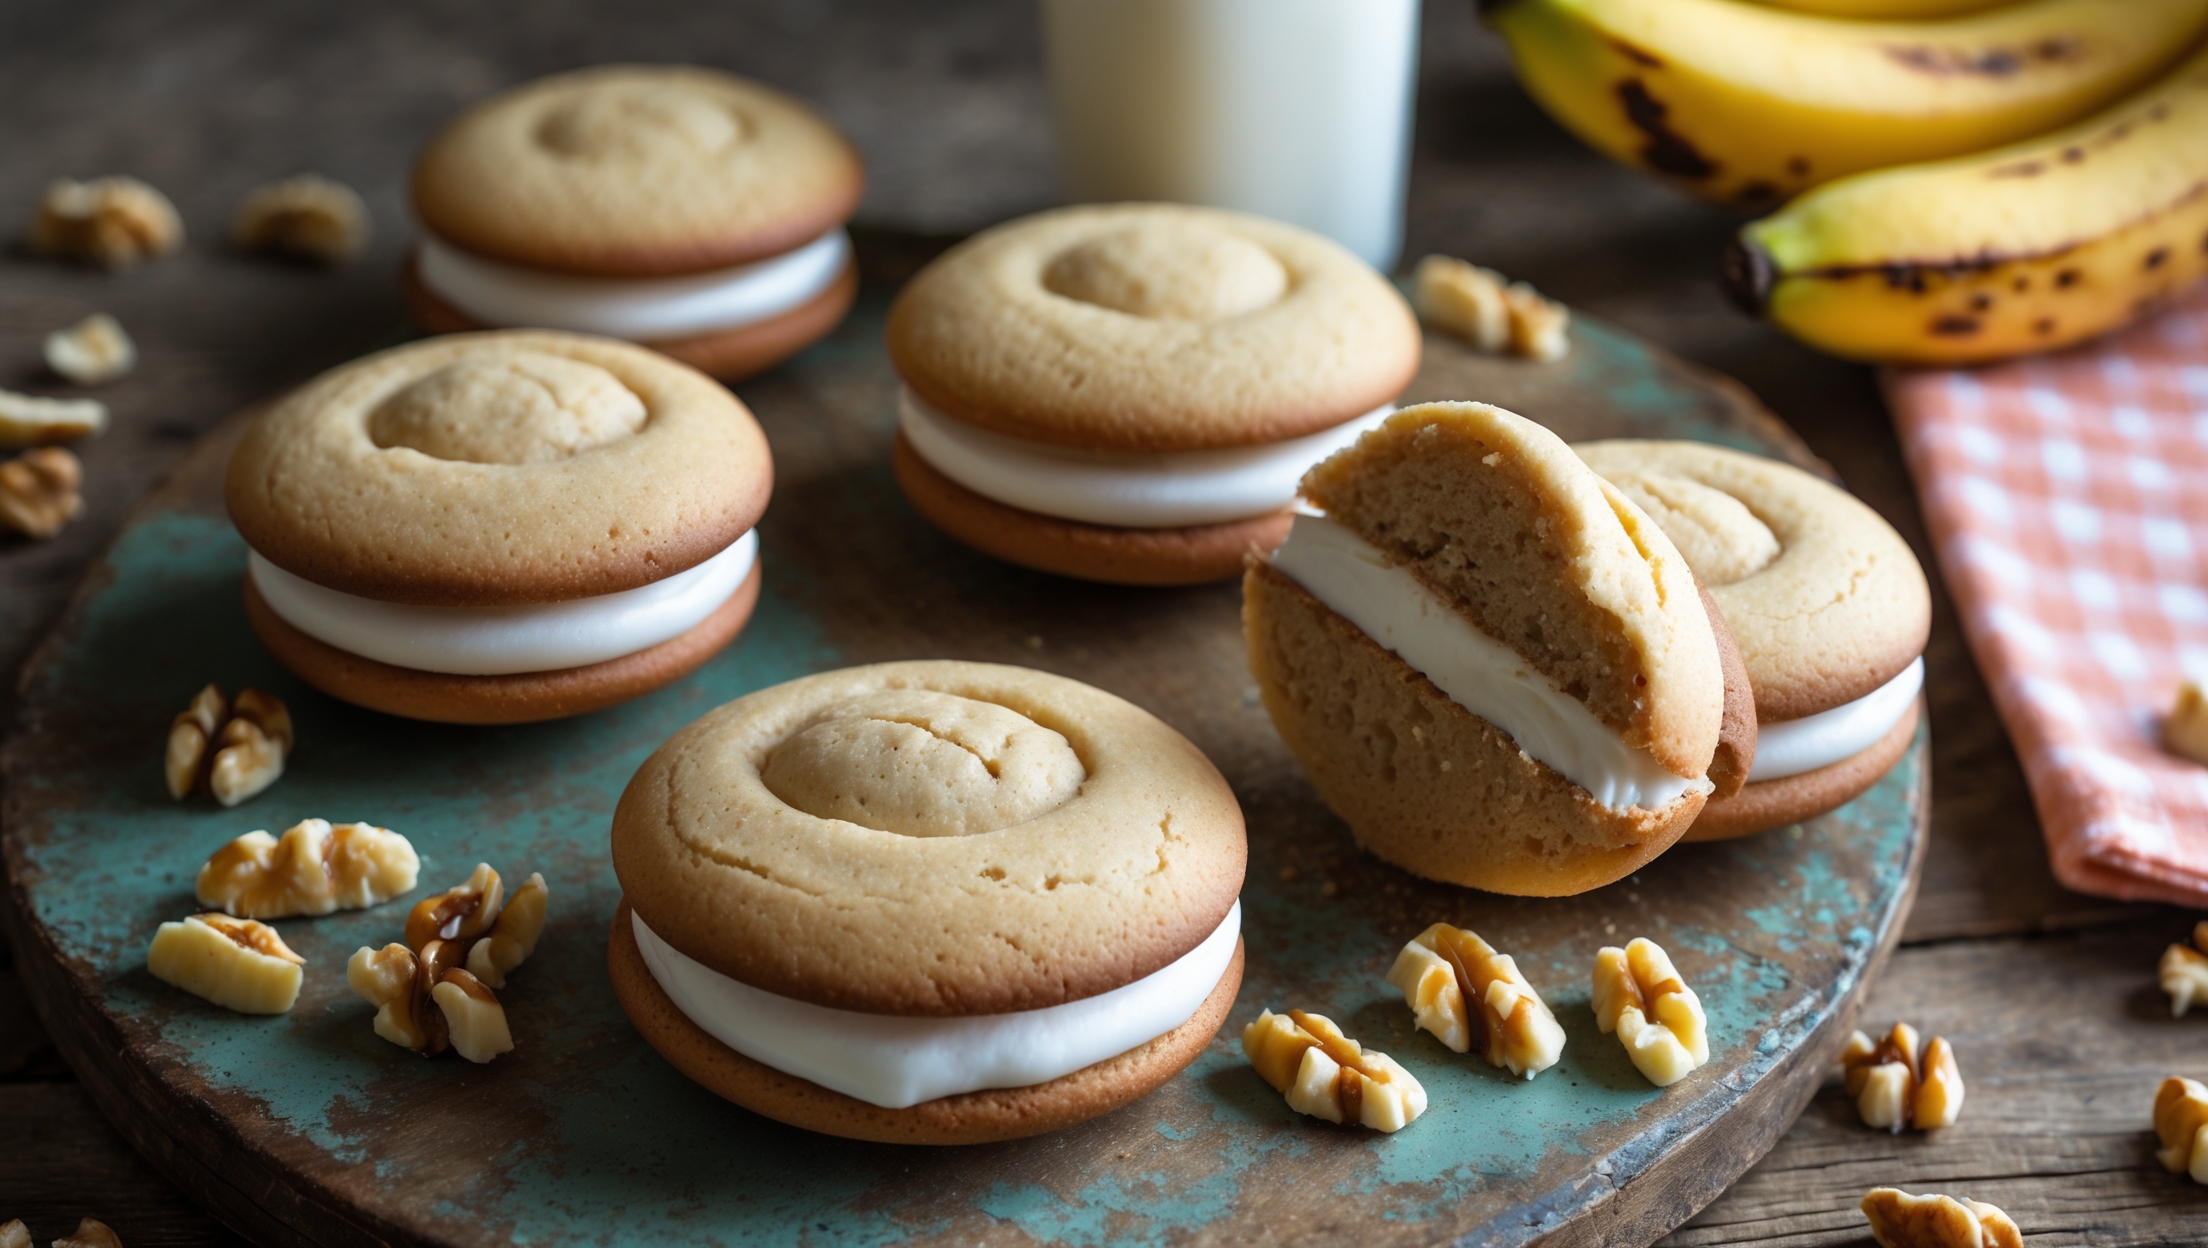
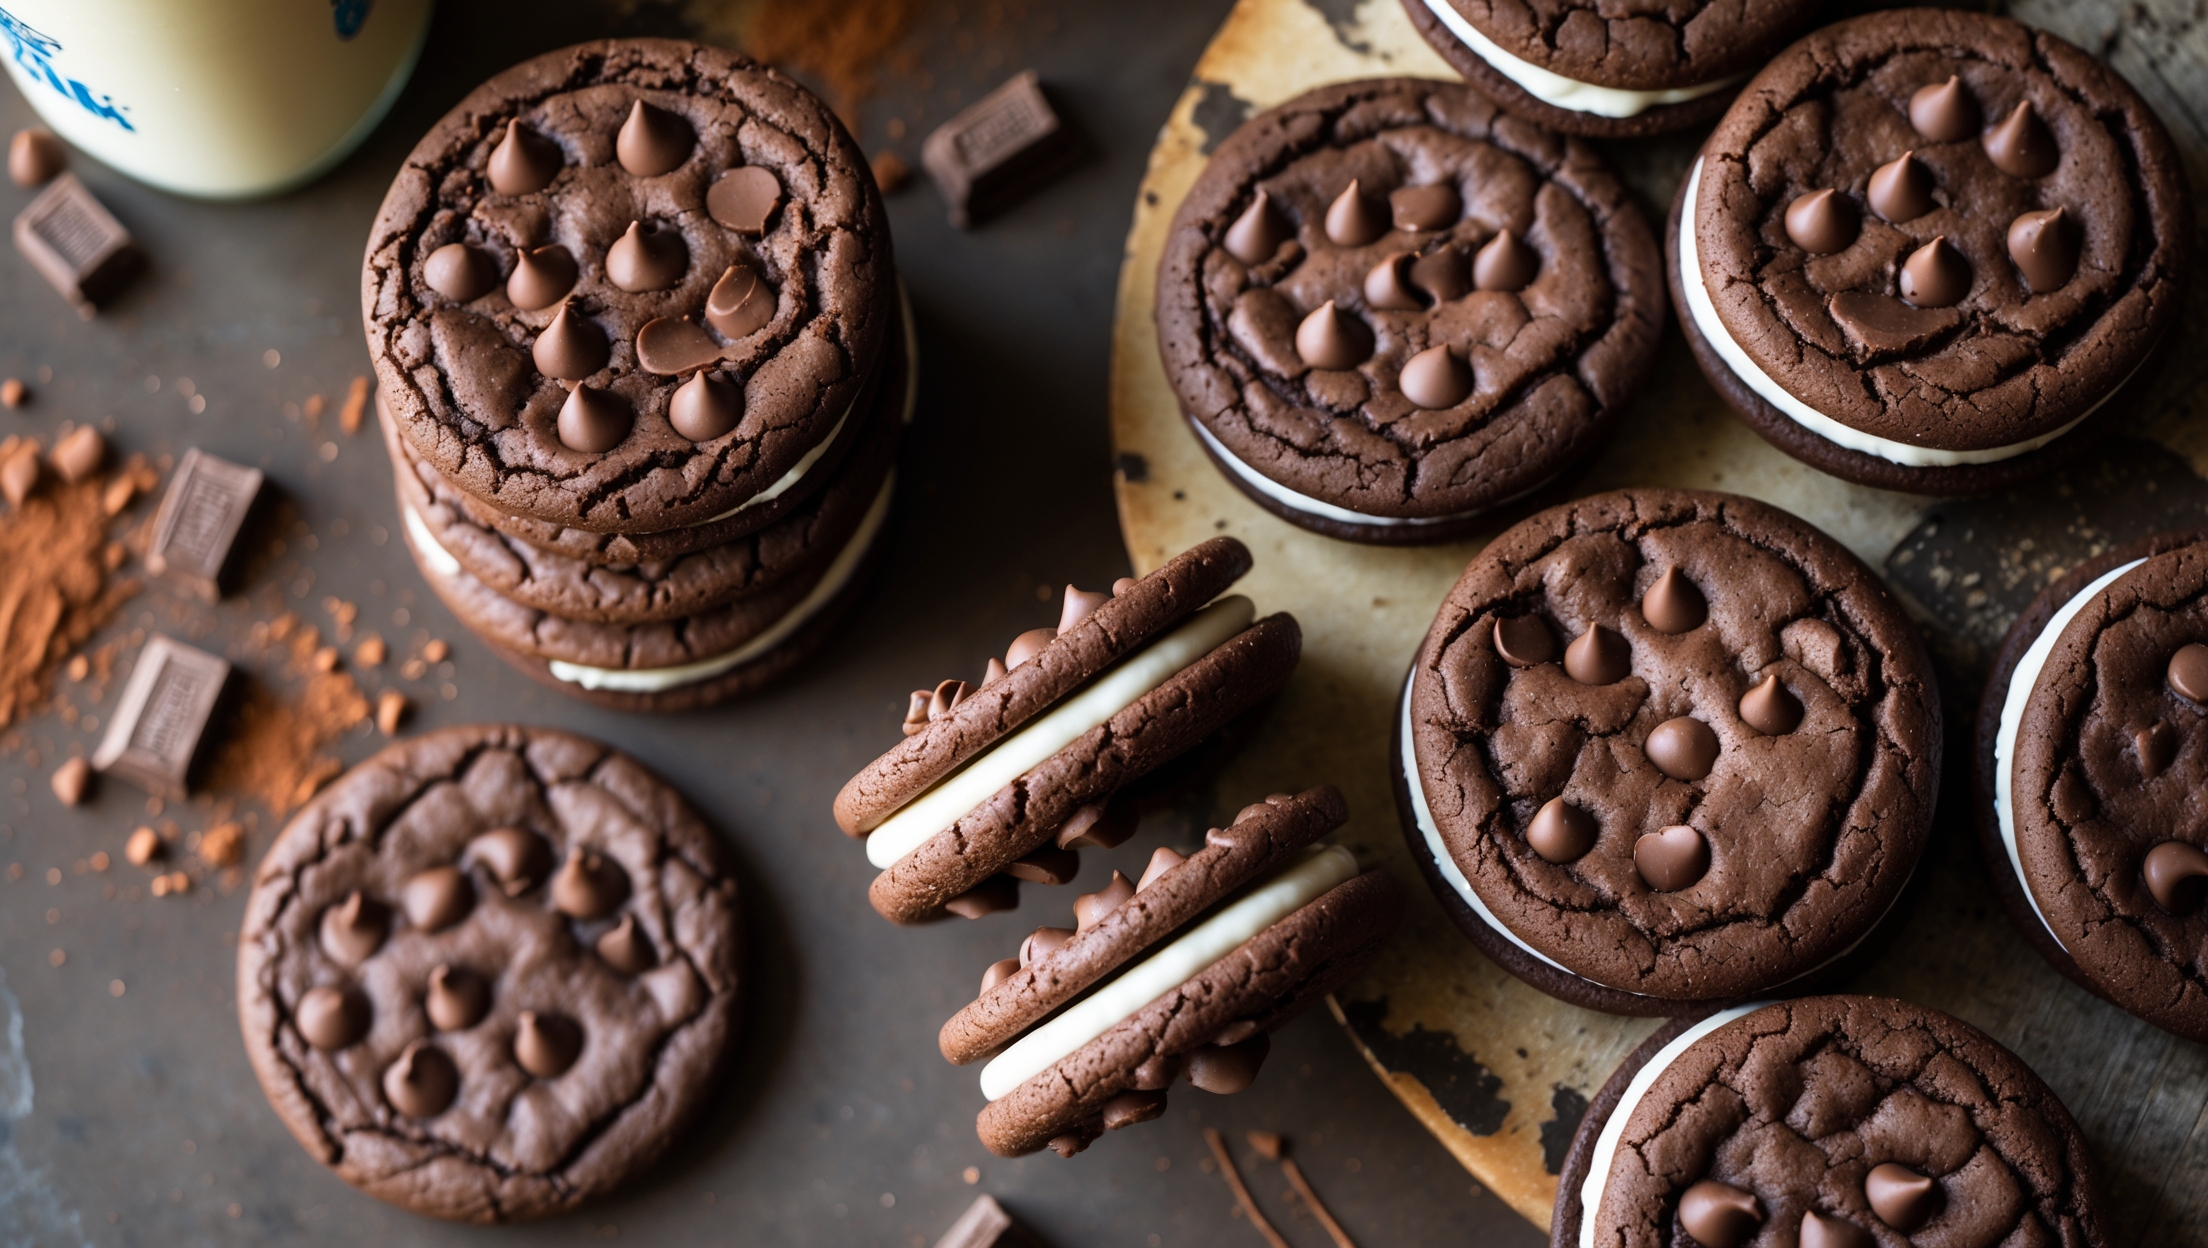
Old-Fashioned Whoopie Pie Sandwich Cookies Recipe

Ingredients
Equipment
Directions
FAQs
Find answers to your most pressing questions about this delicious recipe right here.
Traditional whoopie pies require butter, sugar, egg, vanilla, buttermilk, flour, cocoa powder, leavening agents for the chocolate cookies, plus butter, marshmallow fluff, vanilla, powdered sugar and milk for the fluffy marshmallow filling.
Learn how to cook Old-Fashioned Whoopie Pie Sandwich Cookies by making a cake-like chocolate batter, scooping it into rounds, and baking until they spring back when touched. Then whip up a fluffy marshmallow filling, sandwich it between two cooled cookies, and refrigerate to set for the authentic nostalgic texture and flavour experience.
Flat whoopie pies usually result from butter that's too warm, insufficient flour, or overmixing the batter. Ensure your ingredients are properly measured, butter is at room temperature (not melted), and mix only until ingredients are combined to maintain that classic domed shape.
The perfect marshmallow filling requires room temperature butter beaten until creamy before adding marshmallow fluff. Beat for a full 3 minutes after adding powdered sugar to incorporate air. Adjust thickness with small amounts of milk or powdered sugar until it's firm enough to hold shape but soft enough to pipe.
Yes! Whoopie pies freeze beautifully for up to 3 months. Wrap each assembled sandwich cookie individually in cling film, then place in a freezer bag. Thaw in the refrigerator overnight before serving for a treat that tastes freshly made.
Sandwich Cookies
Try following recommended recipes