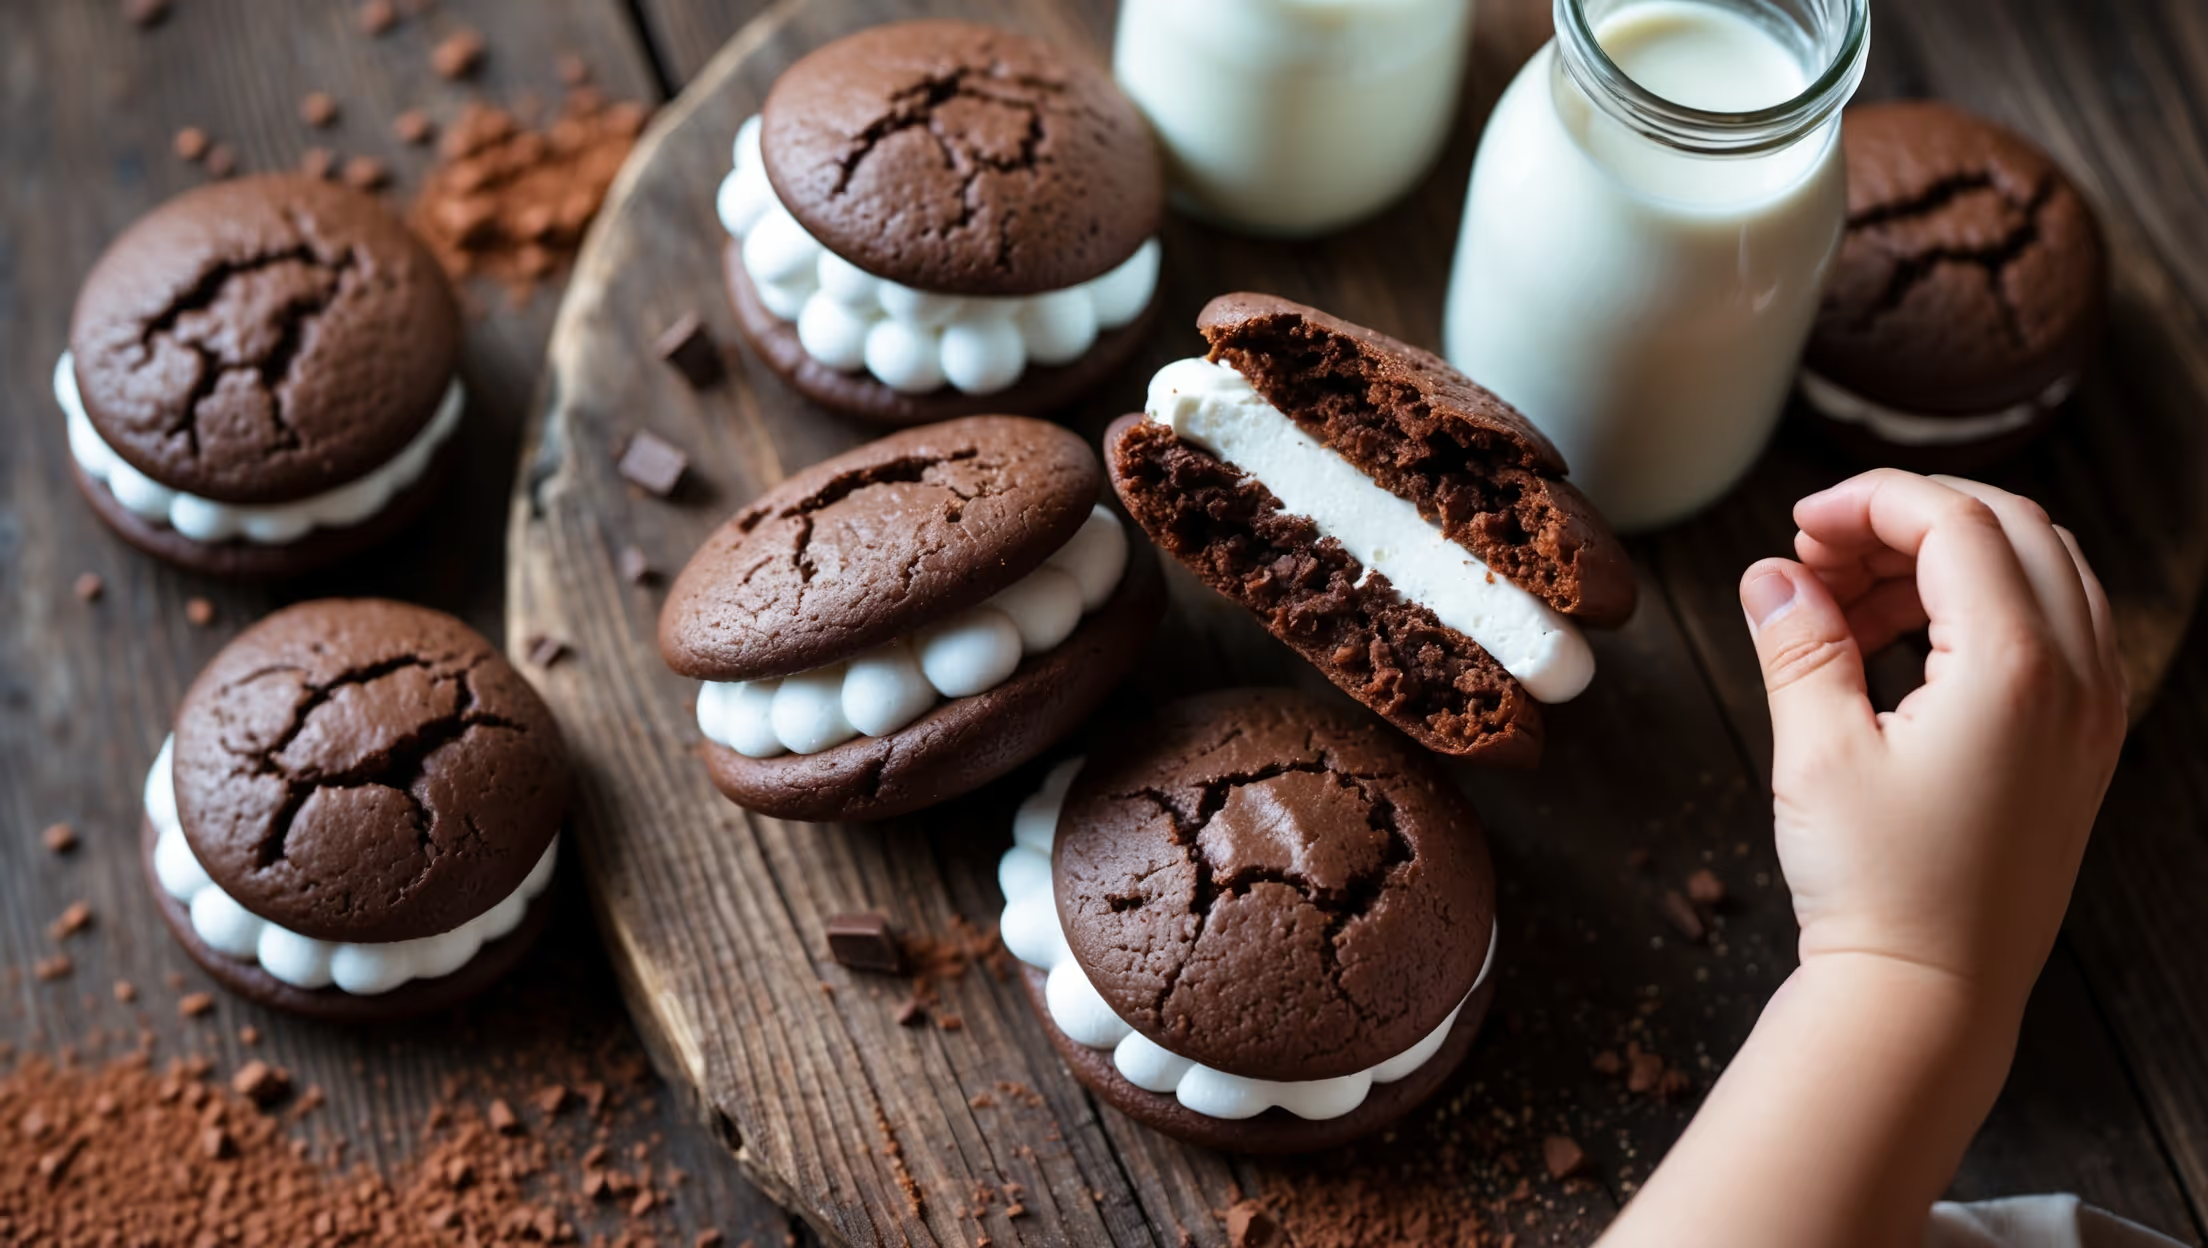
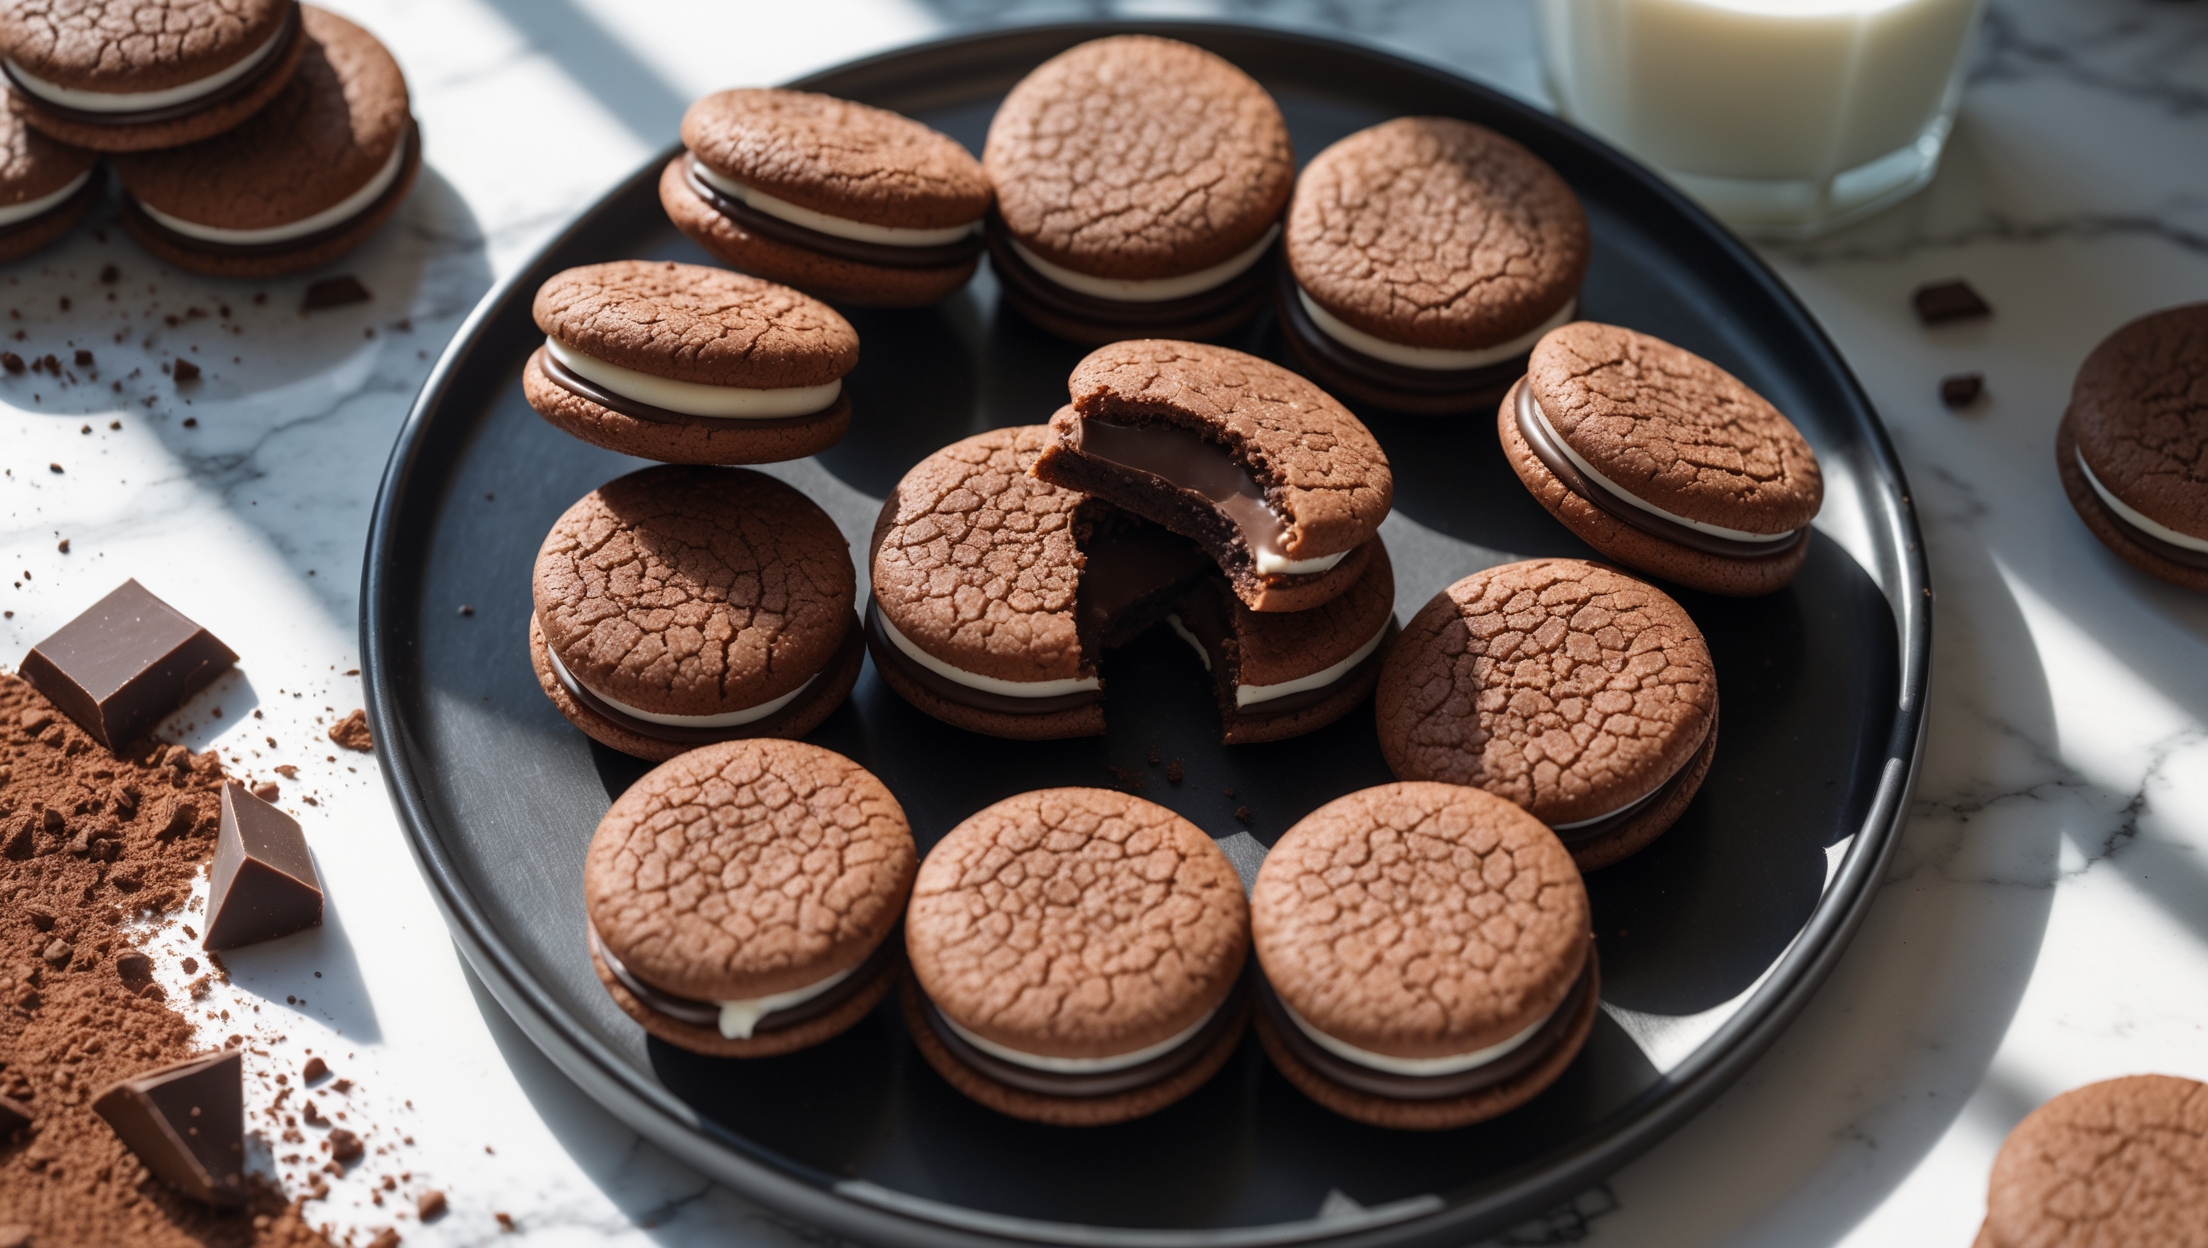
Directions
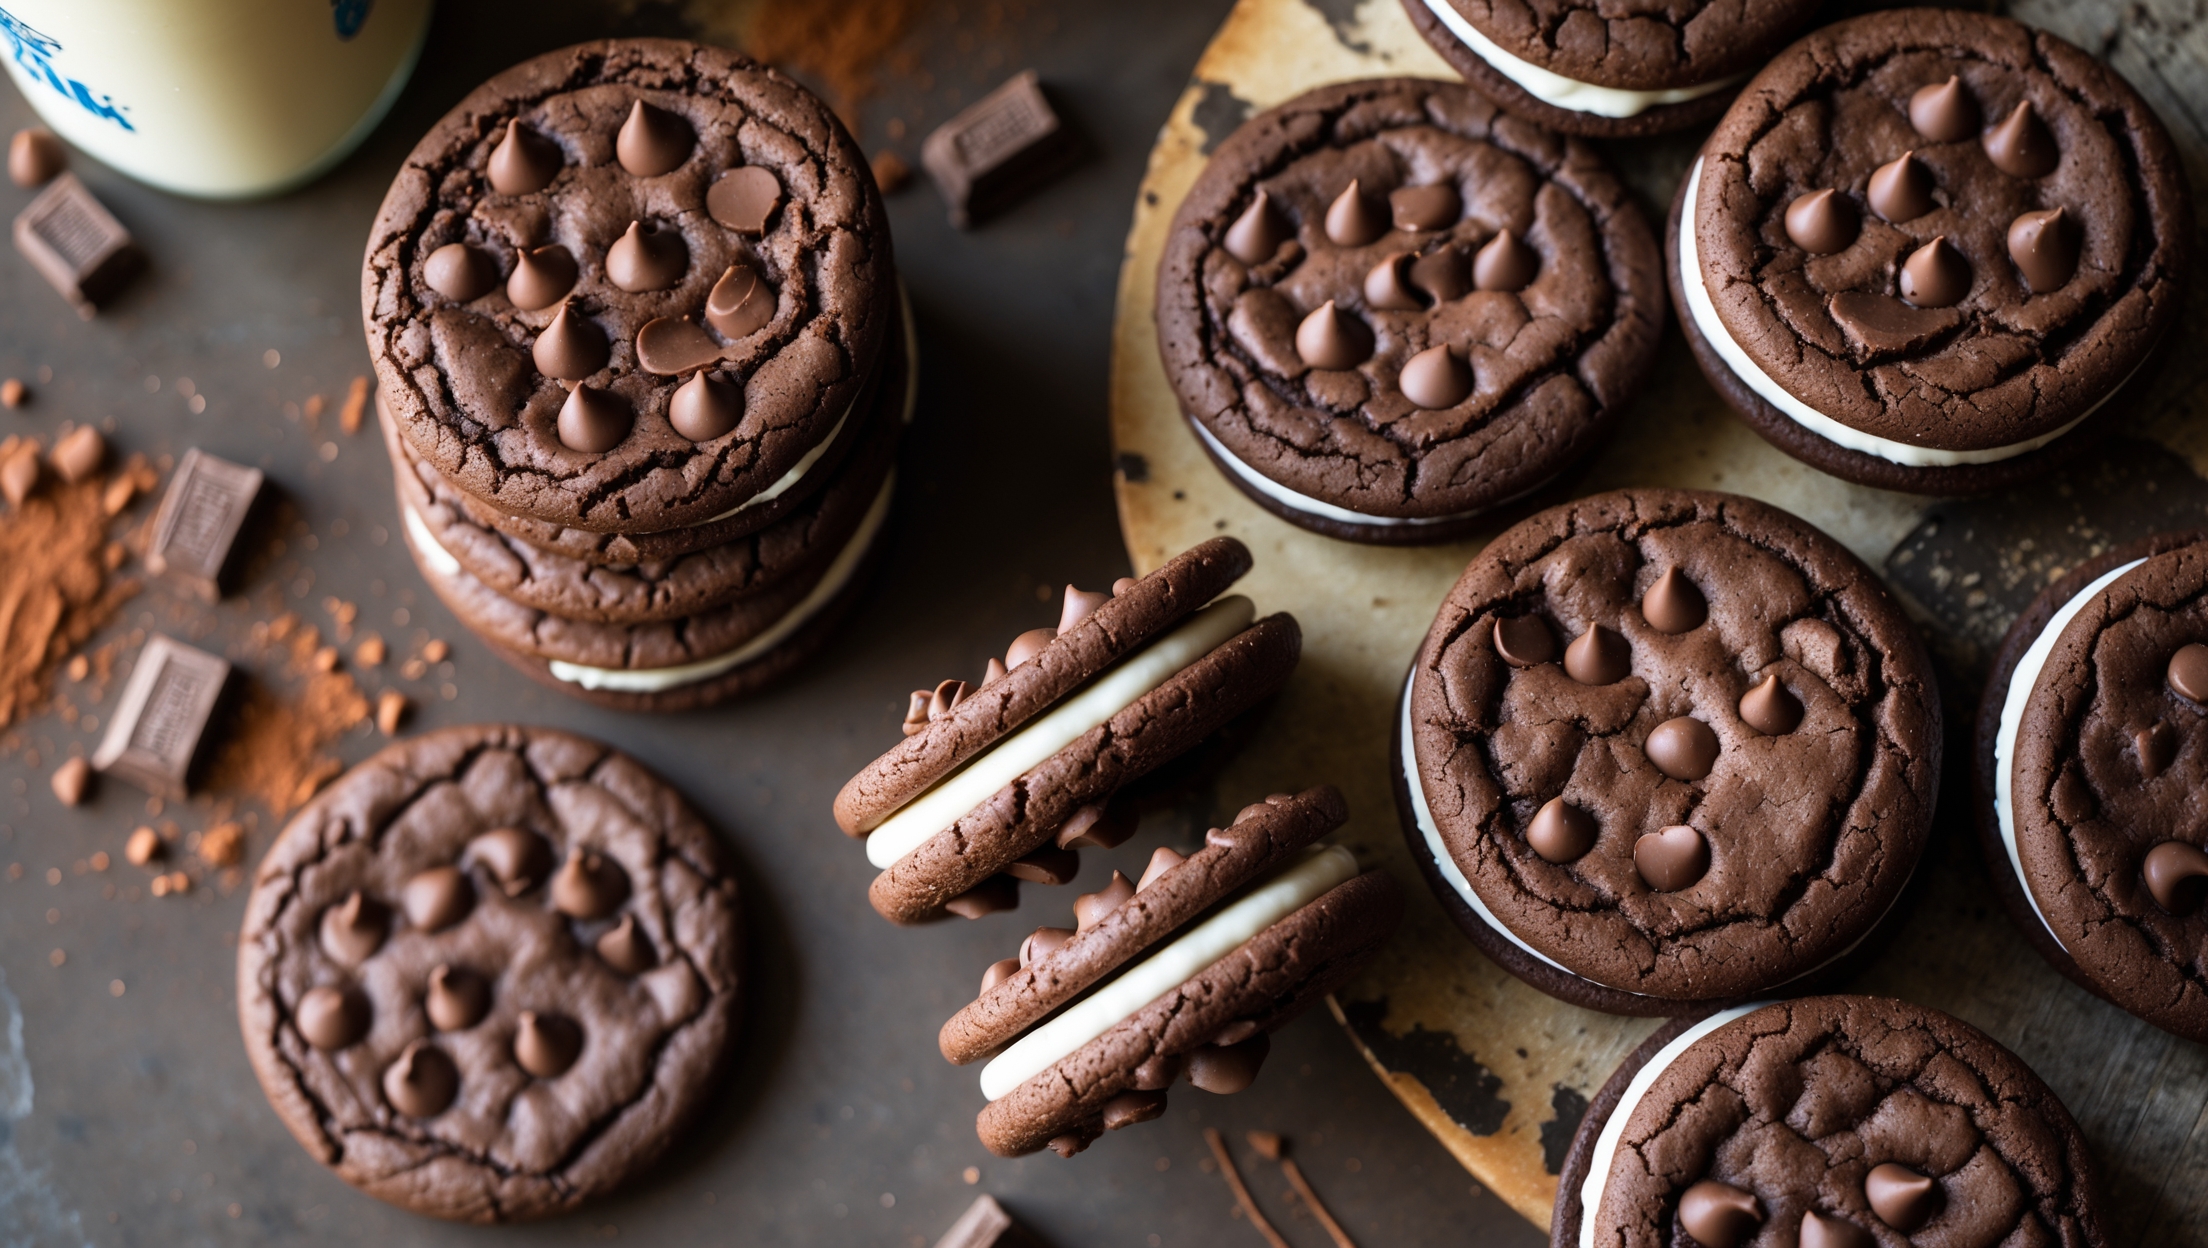
<ol class="no-list-style"><li class="MethodStepper"><h4 class="step-title">Step 1</h4>Preheat your oven to 180°C and line two baking sheets with parchment paper or silicone baking mats. In a medium bowl, whisk together the flour, cocoa powder, baking soda, and salt until well combined. This thorough mixing ensures even distribution of the leavening agents and prevents bitter spots from the cocoa.</li><li class="MethodStepper"><h4 class="step-title">Step 2</h4>In the bowl of your stand mixer fitted with the paddle attachment, cream the butter, granulated sugar, and brown sugar on medium-high speed for about 3-4 minutes until light and fluffy. This extended creaming process incorporates air into the mixture, which helps create that perfect crisp-yet-chewy texture we're aiming for.</li><li class="MethodStepper"><h4 class="step-title">Step 3</h4>Add the eggs one at a time, beating well after each addition and scraping down the sides of the bowl. Mix in the vanilla extract until just combined. The eggs provide structure and moisture, while the vanilla enhances the chocolate flavor.</li><li class="MethodStepper"><h4 class="step-title">Step 4</h4>With the mixer on low speed, gradually add the dry ingredient mixture until just combined. Don't overmix at this stage, as it can develop too much gluten and make your cookies tough rather than tender. Gently fold in the chocolate chips using a rubber spatula.</li><li class="MethodStepper"><h4 class="step-title">Step 5</h4>Place the coarse sugar in a small bowl. Using your cookie scoop, portion the dough into balls about 3cm in diameter (about 24 in total), then roll each ball in the coarse sugar. This not only adds a delightful crunch but also gives the cookies that distinctive sparkle and texture contrast.</li><li class="MethodStepper"><h4 class="step-title">Step 6</h4>Arrange the cookie dough balls on your prepared baking sheets, leaving about 5cm between each one as they will spread during baking. Slightly flatten each ball with the palm of your hand to encourage even spreading.</li><li class="MethodStepper"><h4 class="step-title">Step 7</h4>Bake for 10-12 minutes until the edges are set but the centers still appear slightly soft. They might seem underbaked, but they'll continue firming up as they cool. For the perfect texture contrast of crisp exterior and chewy interior, be careful not to overbake. The cookies should develop those characteristic crinkly tops.</li><li class="MethodStepper"><h4 class="step-title">Step 8</h4>Allow the cookies to cool on the baking sheets for 5 minutes before transferring to wire racks to cool completely. This brief resting period allows them to set up enough to move without breaking.</li><li class="MethodStepper"><h4 class="step-title">Step 9</h4>While the cookies cool, prepare the filling. In your clean mixer bowl with the paddle attachment, beat the butter until smooth and creamy, about 2 minutes. Add the sifted powdered sugar, cocoa powder, heavy cream, vanilla extract, and salt. Beat on low speed until combined, then increase to medium-high and beat for 2-3 minutes until light and fluffy. The filling should be smooth and hold its shape but still be spreadable.</li><li class="MethodStepper"><h4 class="step-title">Step 10</h4>Turn half of your cooled cookies upside down. Using either a piping bag or a spoon, apply about 1-2 tablespoons of filling to the center of each upside-down cookie. Top with the remaining cookies, pressing down gently until the filling spreads to the edges. Don't press too hard—we want to preserve that perfect texture contrast!</li><li class="MethodStepper"><h4 class="step-title">Step 11</h4>For the best flavor development and texture, allow the sandwich cookies to rest at room temperature for about 30 minutes before serving. This gives the filling time to set and the flavors to meld together. Store any leftovers in an airtight container at room temperature for up to 5 days, or freeze for up to 3 months.</li></ol>