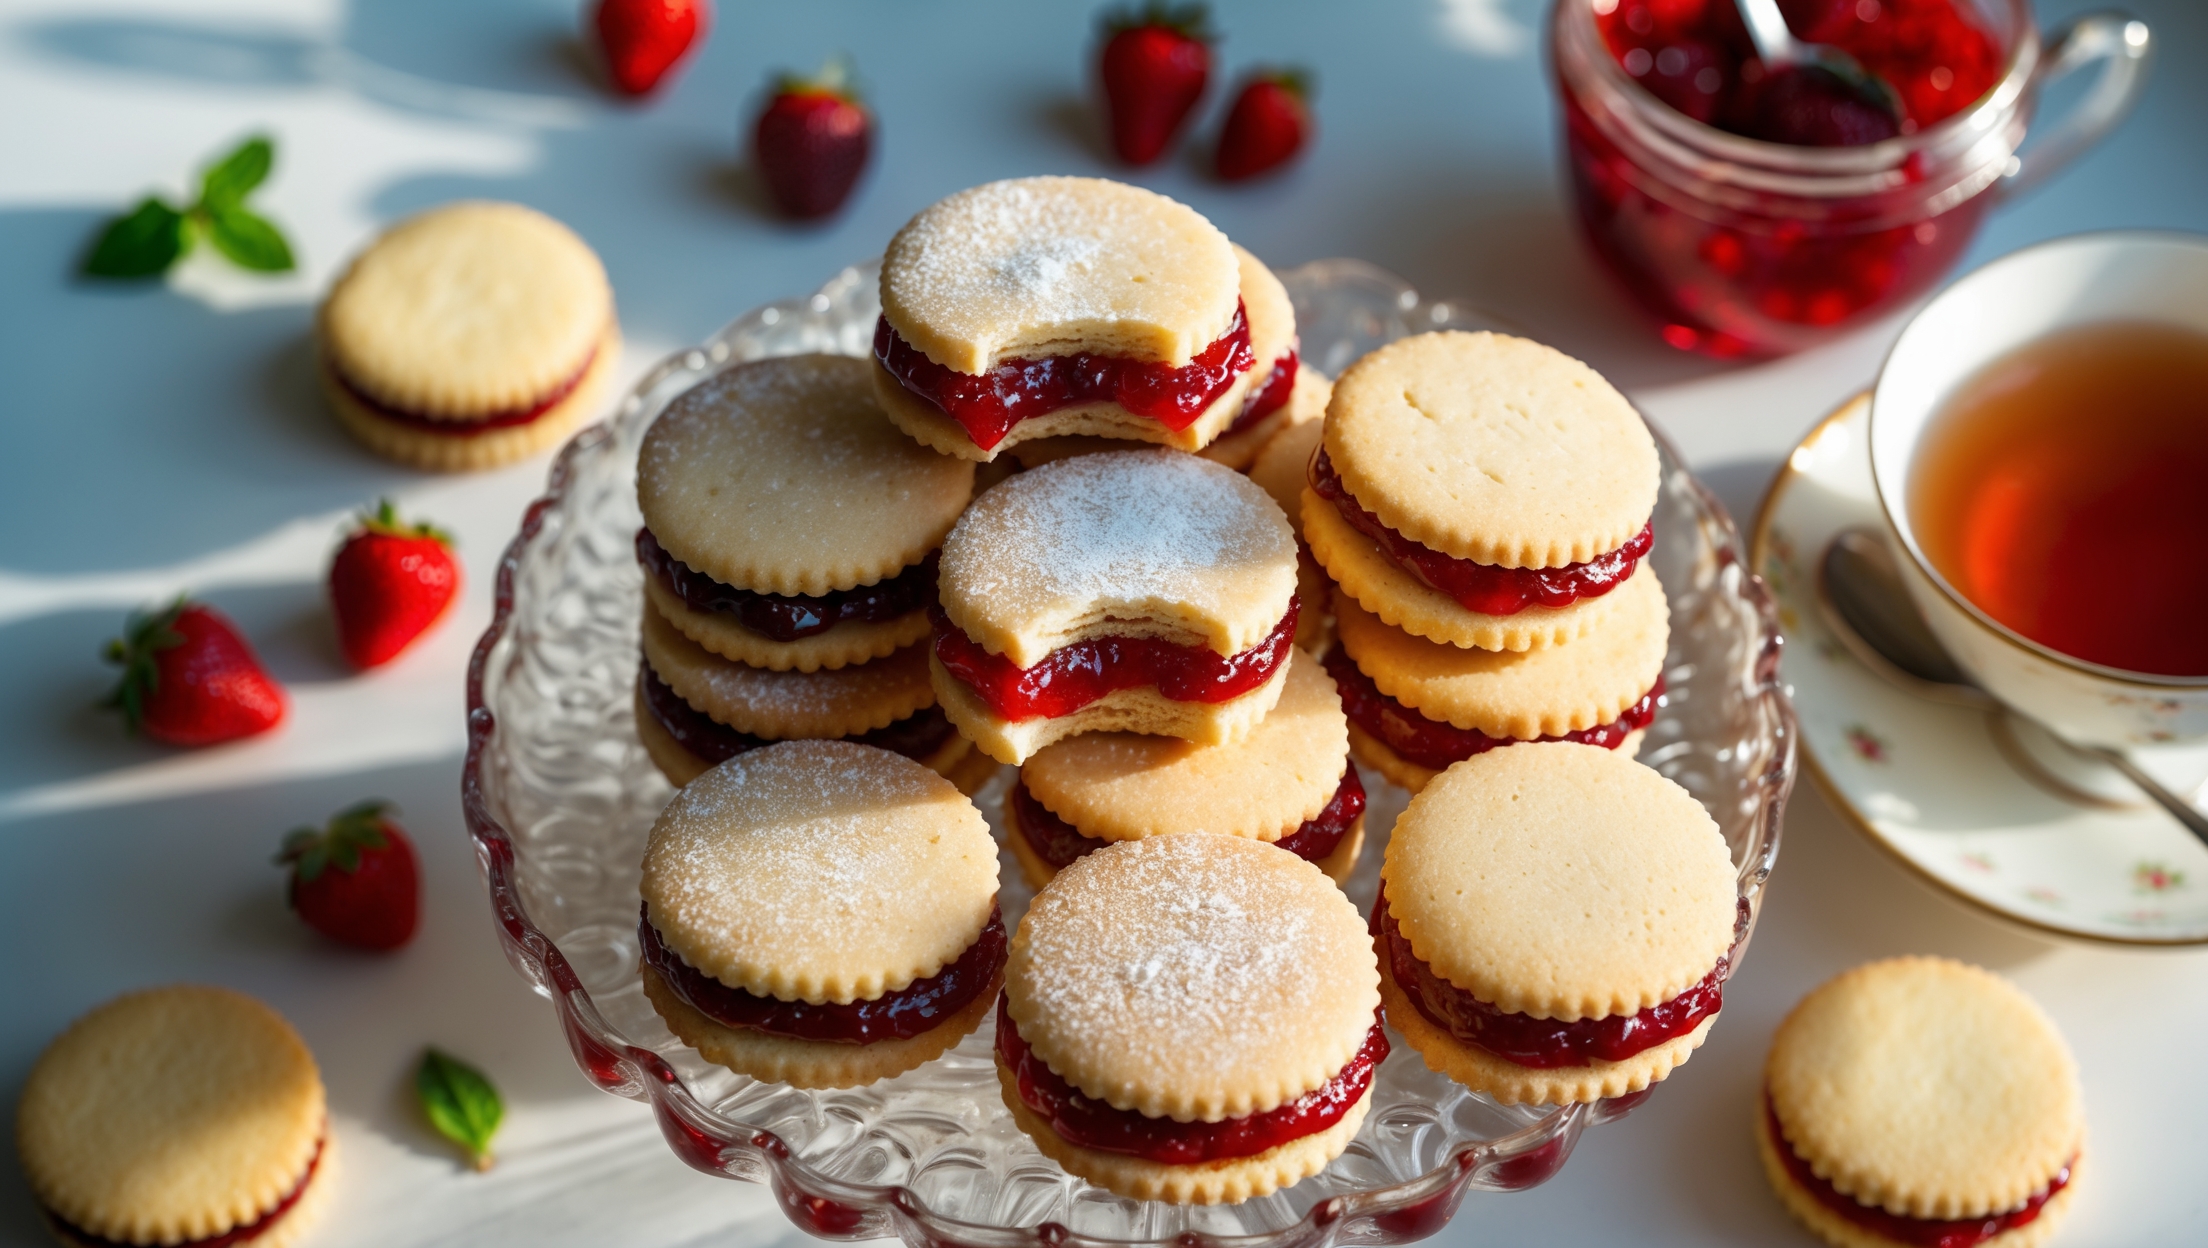
Directions
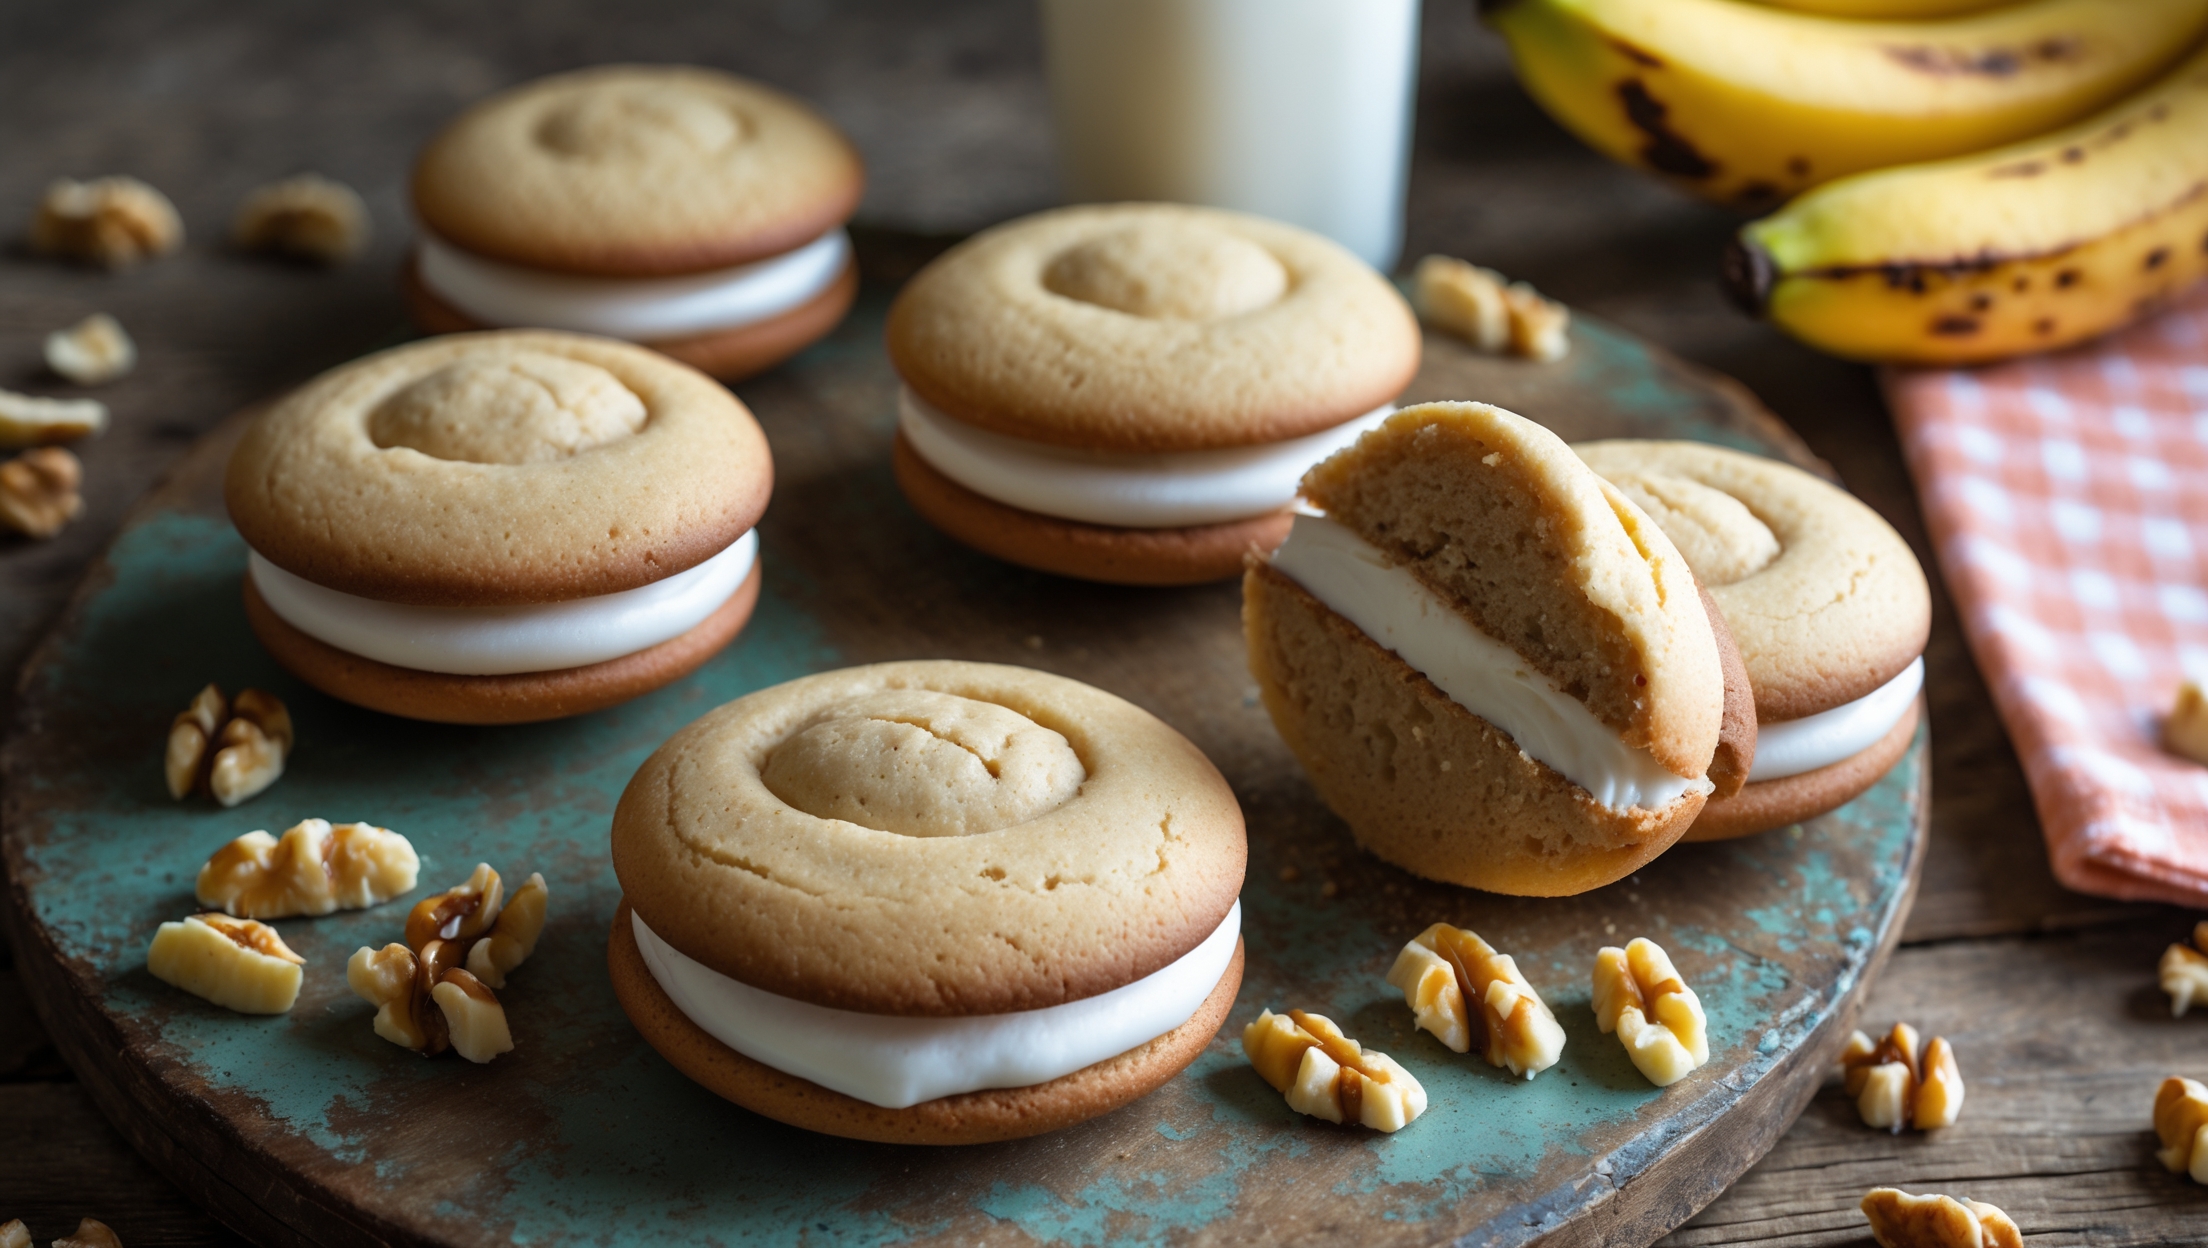
<ol class="no-list-style"><li class="MethodStepper"><h4 class="step-title">Step 1</h4>Preheat your oven to 180°C (350°F). Line two baking sheets with parchment paper or silicone baking mats. Ensure your bananas are very ripe with lots of brown spots – these contain more sugar and stronger banana flavor, perfect for baking.</li><li class="MethodStepper"><h4 class="step-title">Step 2</h4>In a medium bowl, whisk together the flour, baking powder, baking soda, salt, cinnamon, and nutmeg. Set aside. This pre-mixing ensures even distribution of the leavening agents throughout the batter.</li><li class="MethodStepper"><h4 class="step-title">Step 3</h4>In the bowl of your stand mixer fitted with the paddle attachment, cream the butter, granulated sugar, and brown sugar on medium-high speed for 2-3 minutes until light and fluffy. This incorporates air into the mixture, giving your cookies a lighter texture.</li><li class="MethodStepper"><h4 class="step-title">Step 4</h4>Add the eggs one at a time, beating well after each addition until fully incorporated. Scrape down the sides of the bowl as needed. The mixture might look slightly curdled at this point - that's perfectly normal.</li><li class="MethodStepper"><h4 class="step-title">Step 5</h4>Beat in the mashed bananas and vanilla extract until well combined. Don't worry if the mixture looks a bit separated - the banana moisture causes this and will be balanced once we add the dry ingredients.</li><li class="MethodStepper"><h4 class="step-title">Step 6</h4>With the mixer on low speed, gradually add the dry ingredients to the wet ingredients, mixing just until combined. Over-mixing develops gluten, which would make your whoopie pies tough rather than tender. Fold in the chopped walnuts if using.</li><li class="MethodStepper"><h4 class="step-title">Step 7</h4>Using an ice cream scoop or cookie scoop, drop rounded tablespoons of batter onto the prepared baking sheets, spacing them about 5cm (2 inches) apart. The batter should be thicker than cake batter but softer than traditional cookie dough.</li><li class="MethodStepper"><h4 class="step-title">Step 8</h4>Bake for 10-12 minutes, or until the tops spring back when lightly touched and are just beginning to brown around the edges. The centers should be set but still soft. Allow the cookies to cool on the baking sheets for 5 minutes before transferring to wire racks to cool completely.</li><li class="MethodStepper"><h4 class="step-title">Step 9</h4>While the cookies cool, prepare the filling. In your cleaned stand mixer bowl with paddle attachment, beat the butter on medium-high speed until creamy, about 2 minutes. Add the marshmallow fluff and beat until well combined.</li><li class="MethodStepper"><h4 class="step-title">Step 10</h4>With the mixer on low, gradually add the sifted powdered sugar, banana extract, and salt. Once incorporated, increase speed to medium and beat until light and fluffy, about 3-4 minutes. If the filling seems too thick, add heavy cream 1 tablespoon at a time until you reach a smooth, spreadable consistency that will hold its shape.</li><li class="MethodStepper"><h4 class="step-title">Step 11</h4>To assemble the whoopie pies, turn half of the cooled cookies upside down. Either pipe or spread about 2 tablespoons of filling onto the flat side of each cookie. Top with another cookie, flat side down, pressing gently to spread the filling to the edges.</li><li class="MethodStepper"><h4 class="step-title">Step 12</h4>For the best flavor development, wrap the assembled whoopie pies individually in plastic wrap and refrigerate for at least 1 hour before serving. This allows the flavors to meld and the filling to set. Bring to room temperature for about 15 minutes before serving for the best texture and flavor experience.</li><li class="MethodStepper"><h4 class="step-title">Step 13</h4>Store leftover whoopie pies in an airtight container in the refrigerator for up to 3 days, or freeze for up to 3 months. If freezing, place a piece of parchment paper between each pie to prevent sticking. Enjoy your delicious homemade banana whoopie pies!</li></ol>