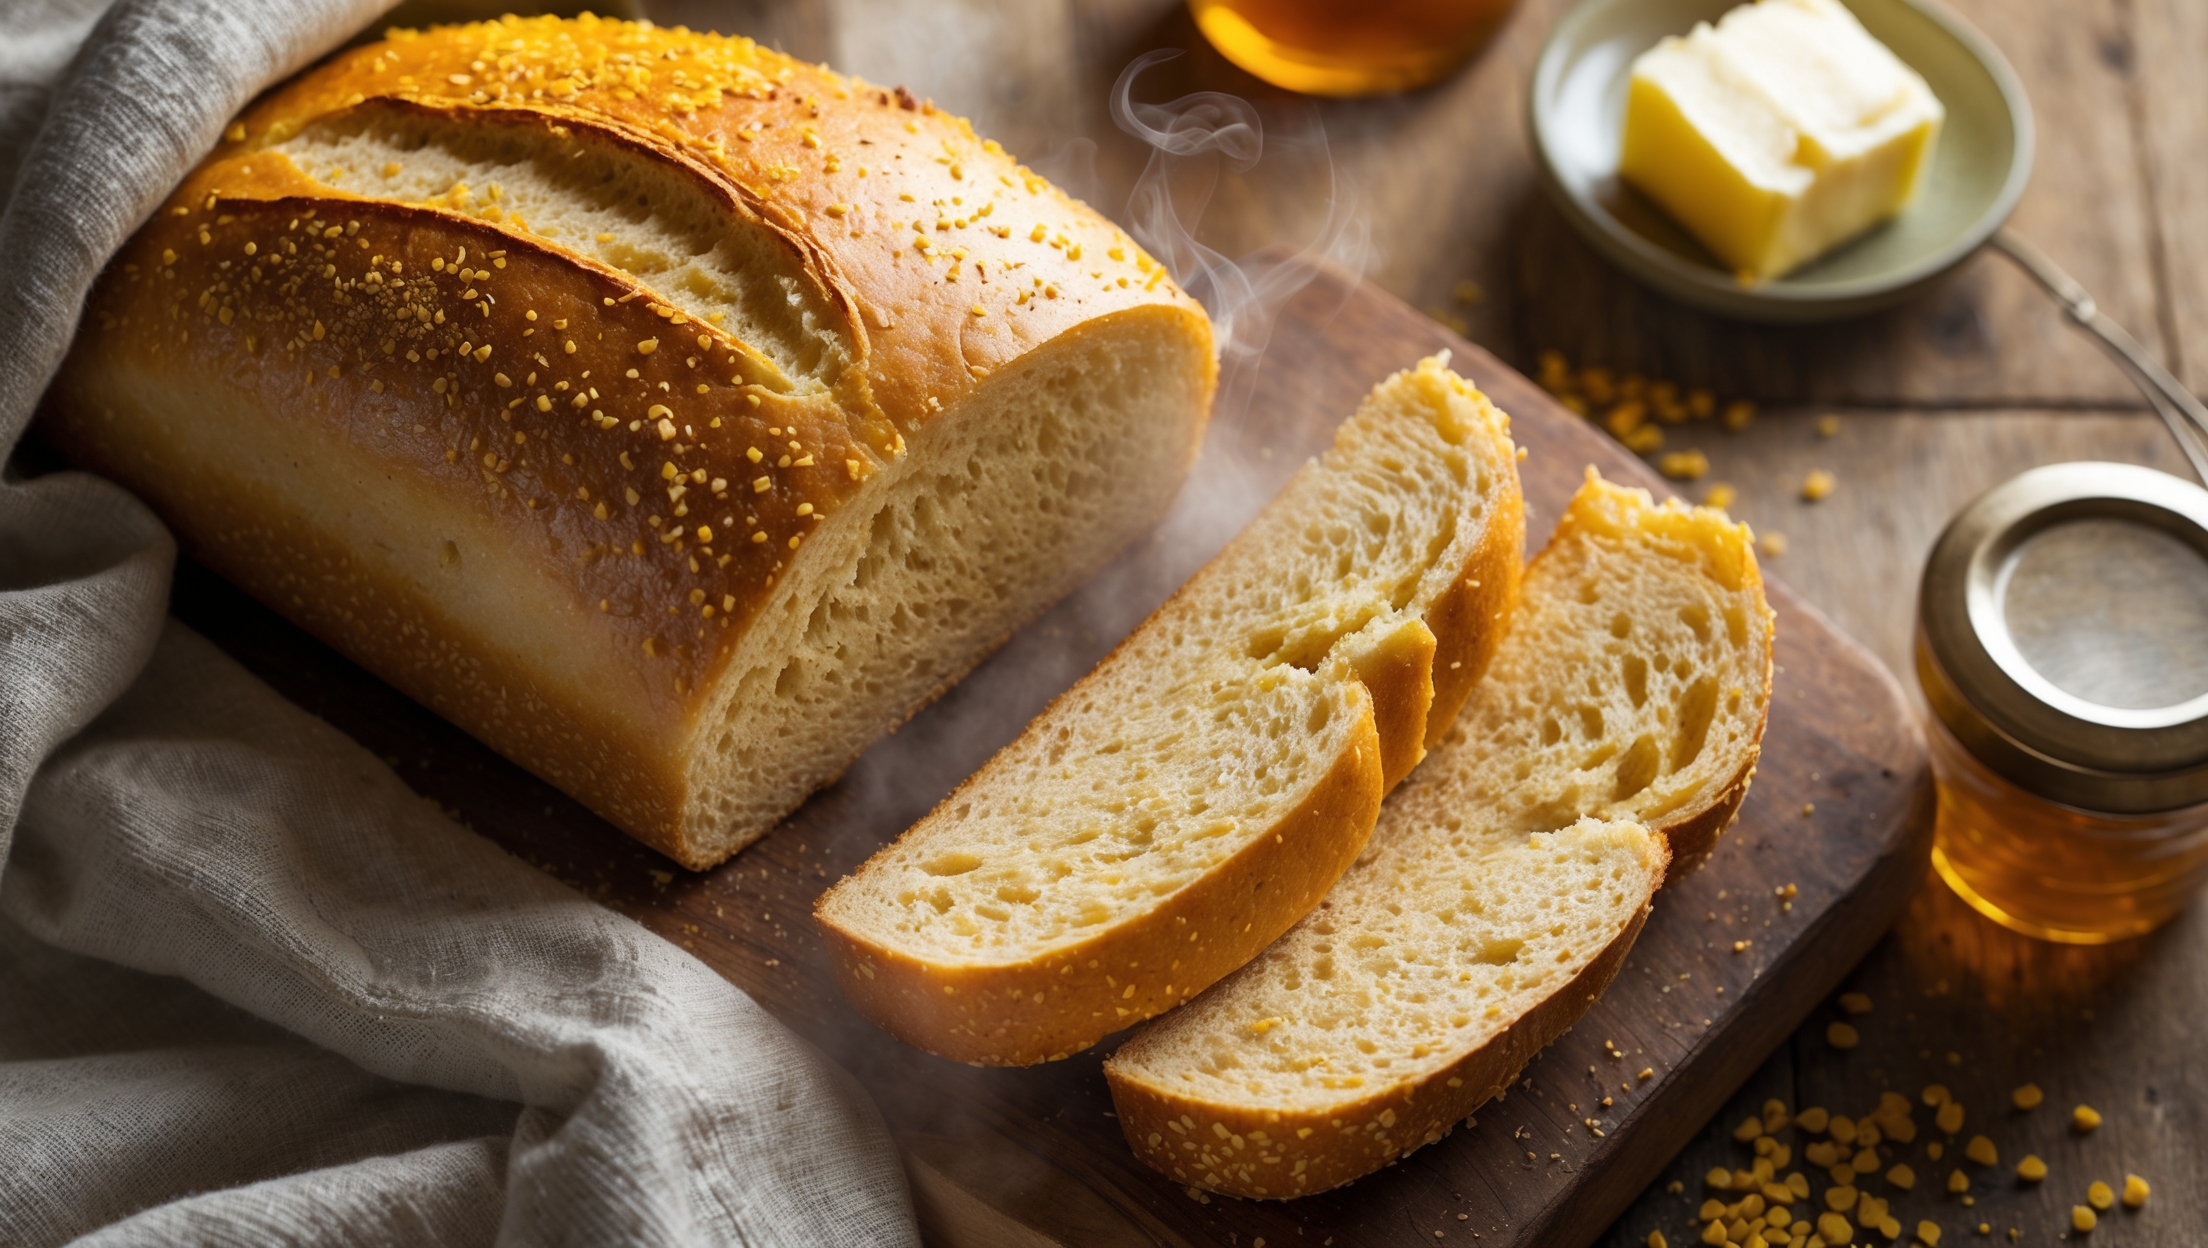
Directions
<ol class="no-list-style"><li class="MethodStepper"><h4 class="step-title">Step 1</h4>In a large mixing bowl or the bowl of your stand mixer, combine warm water (40-43°C/105-110°F) with honey, stirring until the honey dissolves. The water temperature is crucial here – too hot will kill the yeast, too cool won't activate it properly. Sprinkle the yeast over this mixture and let it stand for 5-10 minutes until foamy. This proofing step ensures your yeast is active and ready to work.</li><li class="MethodStepper"><h4 class="step-title">Step 2</h4>While the yeast is proofing, whisk together the whole wheat flour, bread flour, and salt in a separate bowl. The combination of whole wheat and bread flour provides the perfect balance – whole wheat for nutrition and flavor, bread flour for structure and chew.</li><li class="MethodStepper"><h4 class="step-title">Step 3</h4>Once the yeast mixture is foamy, add the vegetable oil to it. Then gradually add the flour mixture with the mixer running on low speed. After incorporating about half the flour, add the rolled oats and continue mixing. The dough will start to come together but will still be slightly sticky.</li><li class="MethodStepper"><h4 class="step-title">Step 4</h4>Increase the mixer speed to medium-low and knead the dough for 6-8 minutes until it becomes smooth, elastic, and pulls away from the sides of the bowl. If kneading by hand, turn the dough onto a lightly floured surface and knead for 8-10 minutes. The gluten development is essential for a good structure – you should be able to stretch a small piece of dough thin enough to see light through it (the "windowpane test").</li><li class="MethodStepper"><h4 class="step-title">Step 5</h4>Transfer the dough to a lightly oiled bowl, turning it to coat all sides. Cover with a clean kitchen towel or plastic wrap and let it rise in a warm, draft-free place for 1-1.5 hours, or until doubled in size. The ideal temperature for rising is around 24-27°C (75-80°F).</li><li class="MethodStepper"><h4 class="step-title">Step 6</h4>Once doubled, gently punch down the dough to release excess air bubbles. Turn it onto a lightly floured surface and shape it into a loaf by patting it into a rectangle about 20cm x 30cm (8x12 inches), then rolling it up tightly from the short end. Pinch the seam and ends to seal.</li><li class="MethodStepper"><h4 class="step-title">Step 7</h4>Place the shaped loaf, seam side down, into a greased 23cm x 13cm (9x5-inch) loaf pan. Cover lightly and let it rise again for 45-60 minutes until it's crowned about 2.5cm (1 inch) above the rim of the pan. During this time, preheat your oven to 190°C (375°F).</li><li class="MethodStepper"><h4 class="step-title">Step 8</h4>When the dough has risen, whisk together the egg and milk to create an egg wash. Gently brush the top of the loaf with this mixture – this will give your bread a beautiful golden sheen. Sprinkle additional oats on top for a rustic appearance and extra texture.</li><li class="MethodStepper"><h4 class="step-title">Step 9</h4>Bake in the preheated oven for 40-45 minutes until the bread is deeply golden and sounds hollow when tapped on the bottom. If the bread is browning too quickly, tent it with aluminum foil after 25 minutes. For absolute certainty, the interior temperature should reach 88-93°C (190-200°F) on a digital thermometer.</li><li class="MethodStepper"><h4 class="step-title">Step 10</h4>Remove from the oven and turn the bread out onto a wire rack to cool completely before slicing – about 1-2 hours. Cutting too soon will release steam and can make your bread gummy. This bread keeps well at room temperature for 3-4 days in an airtight container, or freeze slices for up to 3 months.</li></ol>