Directions
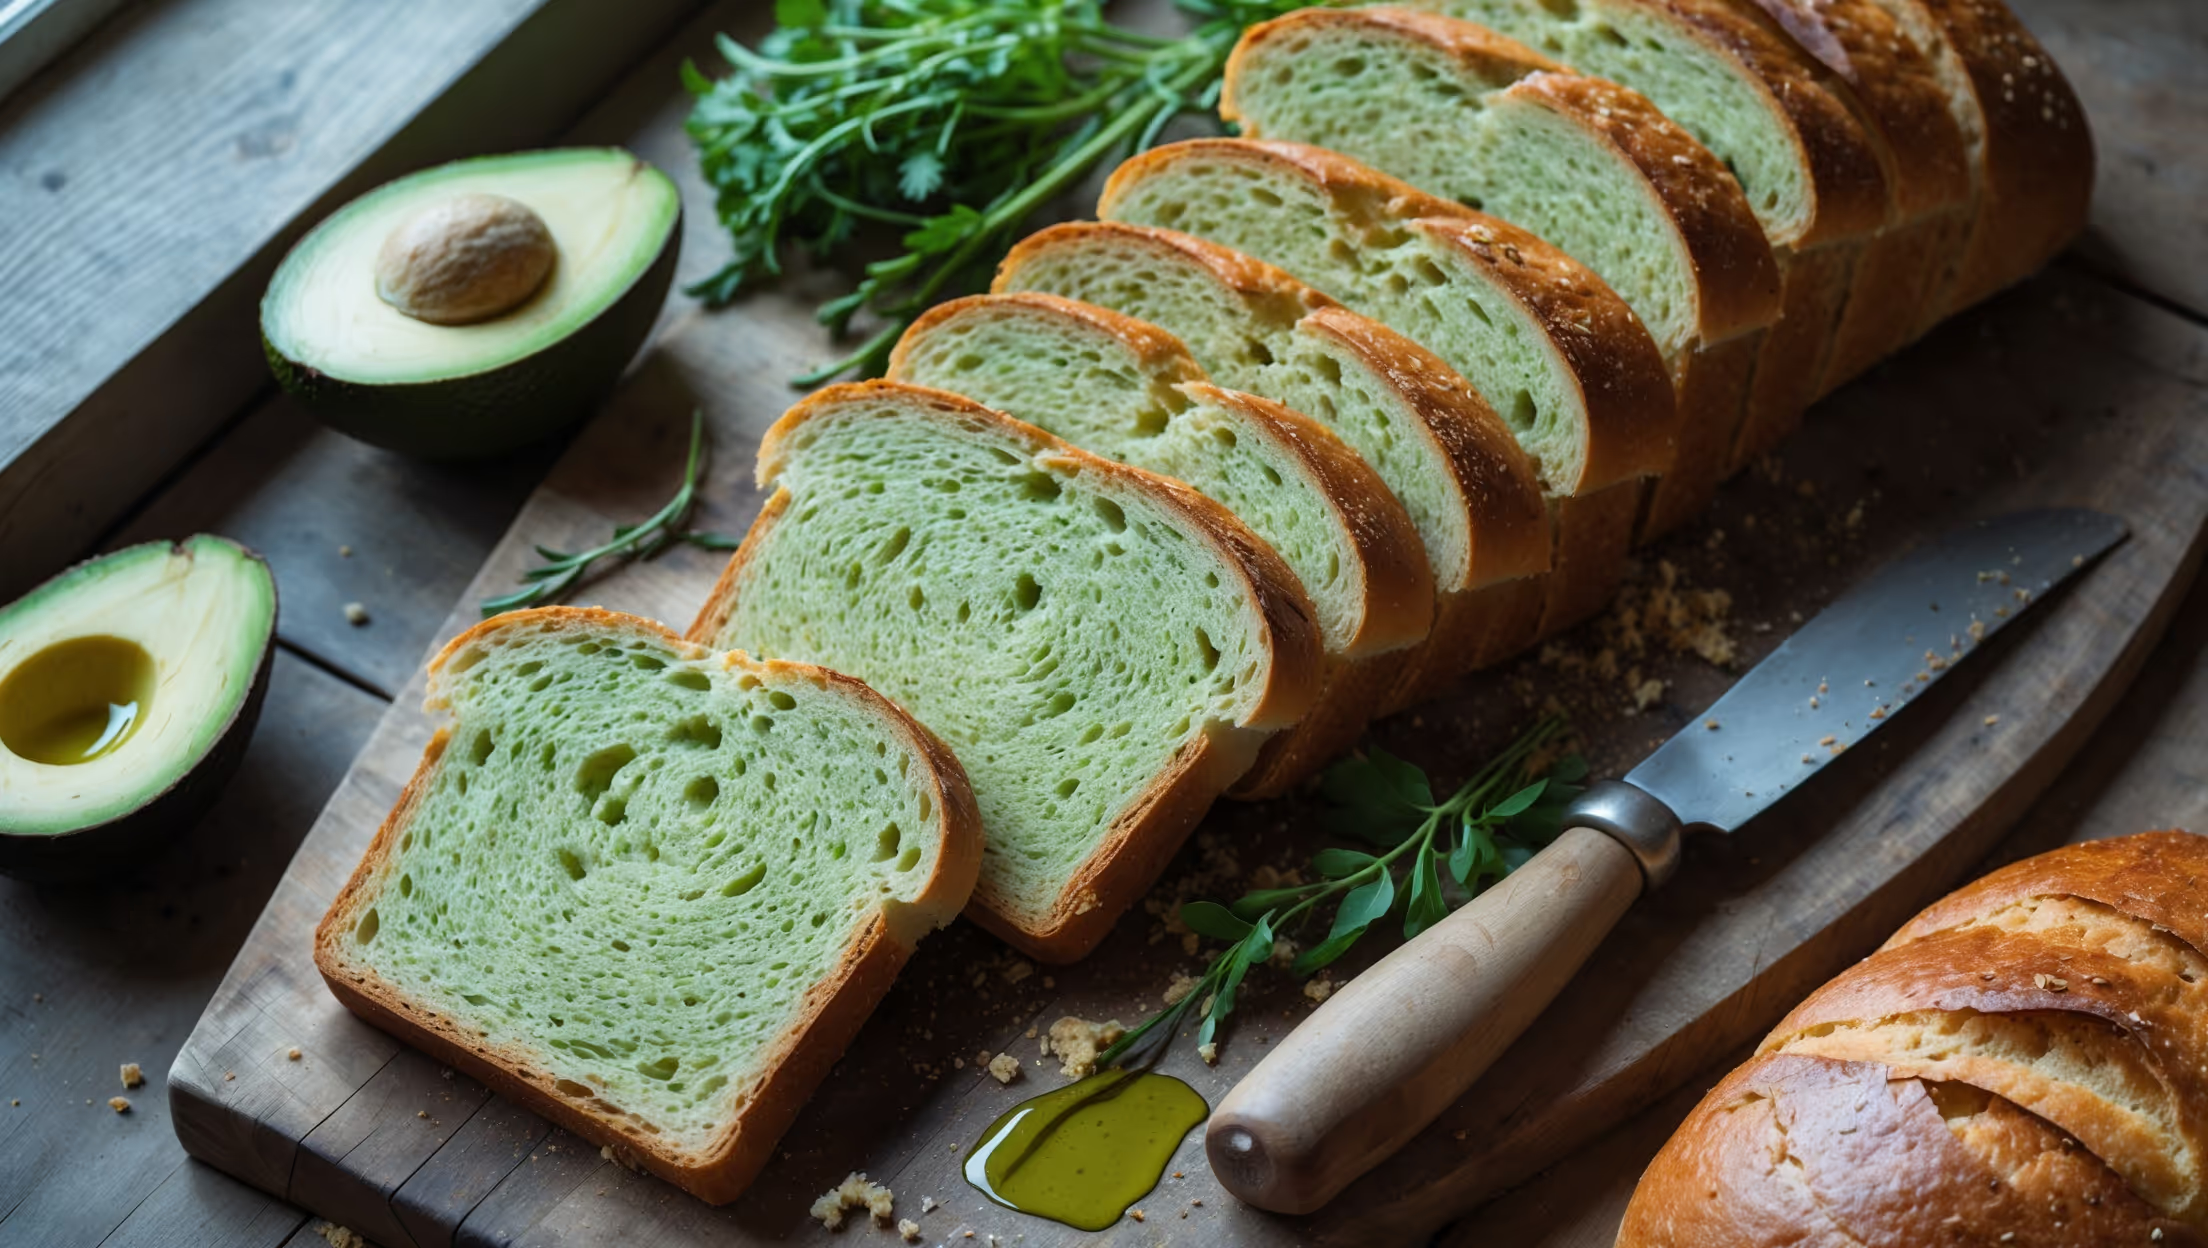
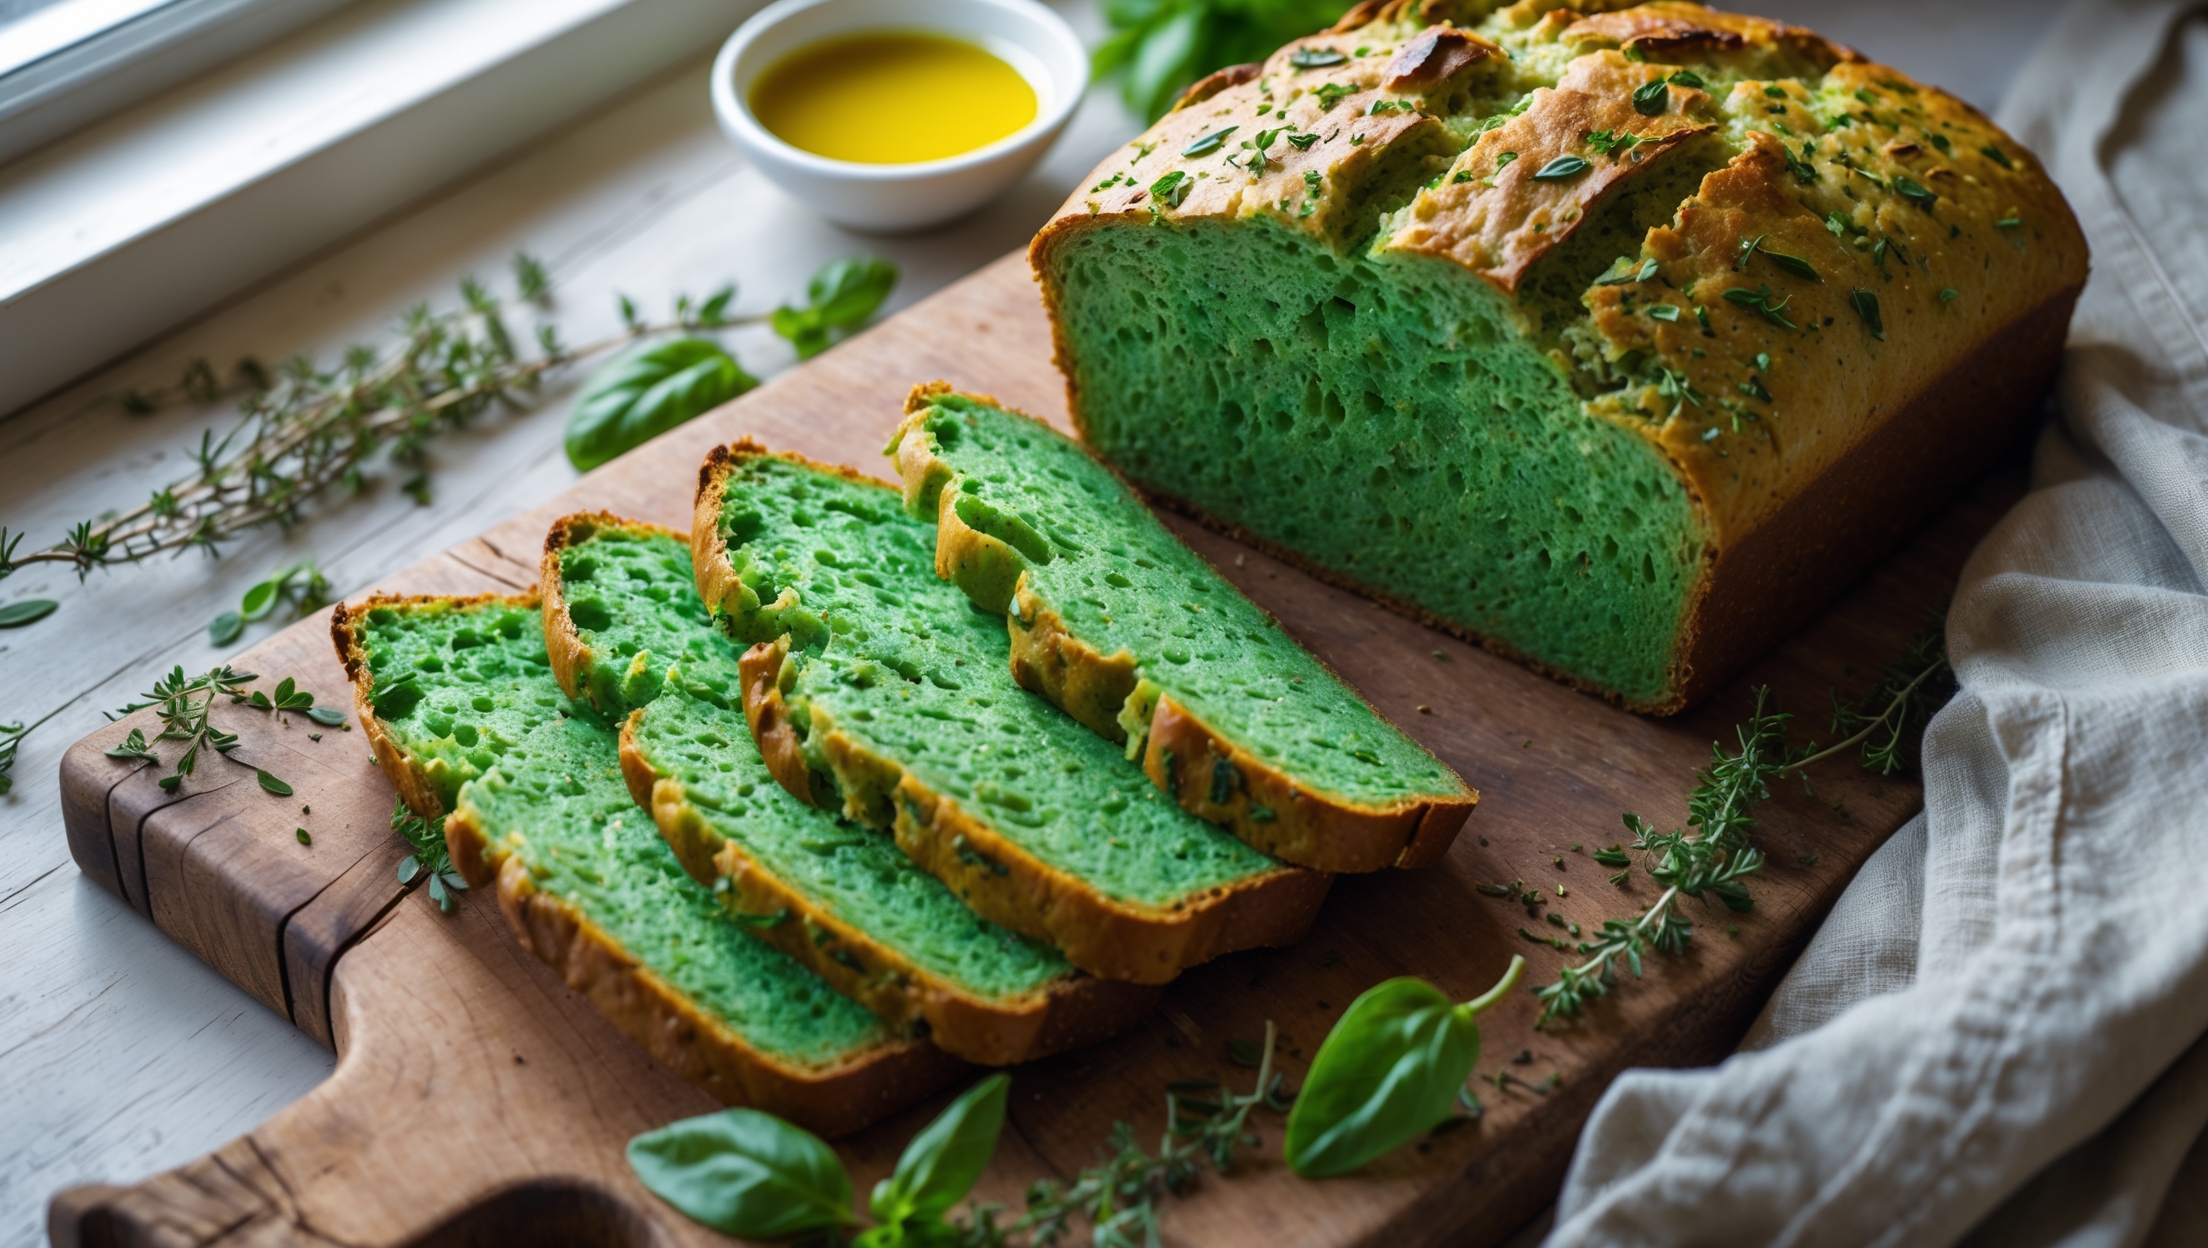
<ol class="no-list-style"><li class="MethodStepper"><h4 class="step-title">Step 1</h4>Begin by mashing the ripe avocado in a large bowl until completely smooth and free of lumps. The smoother your avocado puree, the more even your bread's color and texture will be. Add the lemon juice and mix well - this not only preserves the avocado's color but adds a subtle brightness to the bread's flavor profile.</li><li class="MethodStepper"><h4 class="step-title">Step 2</h4>In a separate bowl or measuring cup, combine the warm milk (around 38°C/100°F - it should feel just warm to the touch, not hot) with honey and sprinkle the yeast over the top. Let this mixture sit for 5-10 minutes until foamy. This proofing step ensures your yeast is active and will give your bread a proper rise.</li><li class="MethodStepper"><h4 class="step-title">Step 3</h4>Add the yeast mixture and olive oil to the mashed avocado, stirring until well combined. The oil contributes to the bread's softness and helps extend its shelf life by retaining moisture.</li><li class="MethodStepper"><h4 class="step-title">Step 4</h4>In a large mixing bowl, whisk together the bread flour and salt. Make a well in the center and pour in the avocado-yeast mixture. Mix initially with a wooden spoon until a shaggy dough forms, then transfer to a lightly floured surface.</li><li class="MethodStepper"><h4 class="step-title">Step 5</h4>Knead the dough for 8-10 minutes until smooth and elastic. The dough should be slightly tacky but not sticky, with a subtle green hue from the avocado. If using a stand mixer, use the dough hook attachment and knead on medium-low speed for about 6-8 minutes. The kneading develops gluten, creating the bread's structure and ensuring a good rise.</li><li class="MethodStepper"><h4 class="step-title">Step 6</h4>Form the dough into a ball and place in a lightly oiled bowl, turning once to coat. Cover with plastic wrap or a damp kitchen towel and let rise in a warm, draft-free place for 1-1.5 hours, or until doubled in size. The first rise develops flavor and improves the bread's texture.</li><li class="MethodStepper"><h4 class="step-title">Step 7</h4>Once doubled, gently punch down the dough to release excess air bubbles. Turn onto a lightly floured surface and shape into a loaf by patting into a rectangle roughly the length of your loaf pan, then rolling it up tightly from the short end. Pinch the seam and ends to seal.</li><li class="MethodStepper"><h4 class="step-title">Step 8</h4>Place the shaped dough seam-side down in a greased 23cm x 13cm (9" x 5") loaf pan. Cover loosely and let rise again for 45-60 minutes, or until the dough has risen about 2.5cm (1 inch) above the rim of the pan. This second rise gives your bread its final volume and light texture.</li><li class="MethodStepper"><h4 class="step-title">Step 9</h4>While the dough is on its second rise, preheat your oven to 180°C (350°F). Position a rack in the middle of the oven for even baking.</li><li class="MethodStepper"><h4 class="step-title">Step 10</h4>Just before baking, gently brush the top of the loaf with beaten egg and sprinkle with sesame seeds if using. The egg wash creates a beautiful golden brown crust while the seeds add texture and visual appeal.</li><li class="MethodStepper"><h4 class="step-title">Step 11</h4>Bake for 40-45 minutes, or until the bread is golden brown and sounds hollow when tapped on the bottom. If the top is browning too quickly, loosely cover with aluminum foil for the last 15 minutes of baking. The internal temperature should reach about 90°C (195°F) when fully baked.</li><li class="MethodStepper"><h4 class="step-title">Step 12</h4>Remove from the oven and let cool in the pan for 10 minutes. Then, transfer to a wire rack to cool completely before slicing. This cooling period is crucial - cutting warm bread can make it gummy and ruin the texture you've worked so hard to create.</li><li class="MethodStepper"><h4 class="step-title">Step 13</h4>Once completely cooled (at least 1 hour), slice with a serrated knife. Store in an airtight container or bread bag at room temperature for up to 3 days, or freeze slices wrapped individually for up to 3 months. The avocado's natural oils help keep this bread moist longer than traditional sandwich bread.</li></ol>