Directions
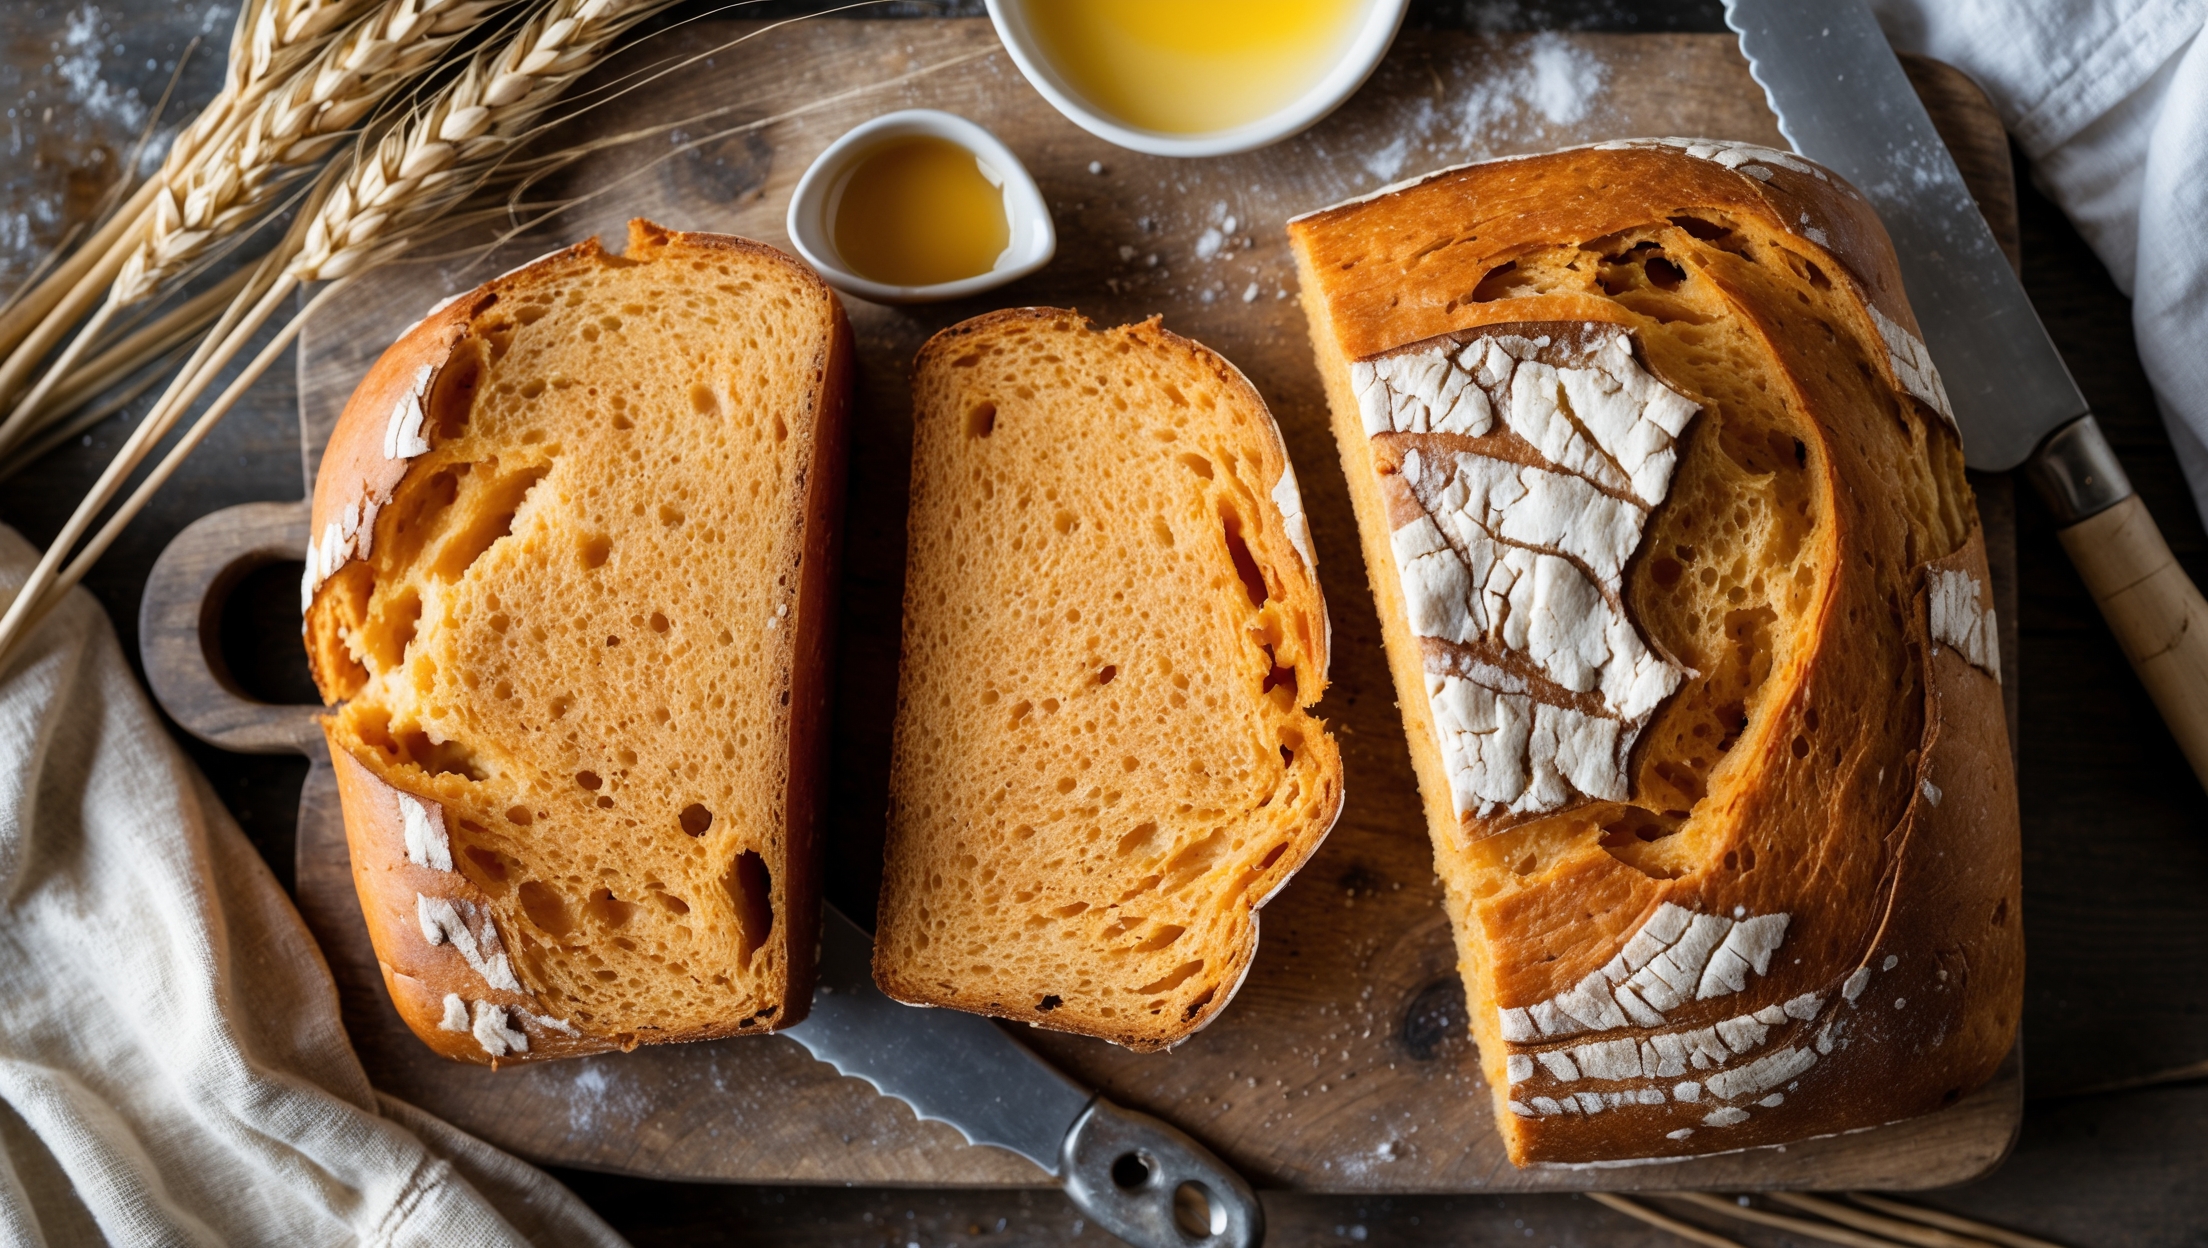
<ol class="no-list-style"><li class="MethodStepper"><h4 class="step-title">Step 1</h4>Begin by preparing your sweet potato. Preheat the oven to 200°C. Wash and dry the sweet potato, then prick it several times with a fork. Place it on a baking sheet and roast for 45-60 minutes until completely tender when pierced with a knife. The slow roasting develops the sweet potato's natural sugars, enhancing the bread's flavor.</li><li class="MethodStepper"><h4 class="step-title">Step 2</h4>Once roasted, allow the sweet potato to cool slightly, then remove the skin and mash the flesh until very smooth. Measure out 200g of the mashed sweet potato and set aside to cool completely. The sweet potato adds natural moisture and sweetness to the bread while also contributing beautiful color.</li><li class="MethodStepper"><h4 class="step-title">Step 3</h4>In the bowl of your stand mixer, combine the lukewarm water and milk. Sprinkle the yeast over the liquid mixture and let it sit for 5-10 minutes until foamy. This ensures your yeast is active and ready to provide proper rise.</li><li class="MethodStepper"><h4 class="step-title">Step 4</h4>Add the cooled mashed sweet potato, softened butter, and honey to the yeast mixture. Mix on low speed until well combined. The fats from the butter will help create a tender crumb while the honey provides natural sweetness and helps with browning.</li><li class="MethodStepper"><h4 class="step-title">Step 5</h4>In a separate bowl, whisk together the bread flour, salt, and milk powder (if using). The high protein content in bread flour will provide the structure needed for a good sandwich loaf, while the milk powder enhances tenderness and extends freshness.</li><li class="MethodStepper"><h4 class="step-title">Step 6</h4>With the mixer on low speed, gradually add the flour mixture to the sweet potato mixture. Once incorporated, increase to medium speed and knead for 8-10 minutes until the dough is smooth, elastic, and passes the windowpane test (when a small piece can be stretched thin enough to see light through without tearing).</li><li class="MethodStepper"><h4 class="step-title">Step 7</h4>Transfer the dough to a lightly oiled bowl, turning to coat all sides. Cover with plastic wrap or a damp cloth and let rise in a warm place until doubled in size, about 1-1.5 hours. The sweet potato creates a slightly slower rise than standard bread, so be patient.</li><li class="MethodStepper"><h4 class="step-title">Step 8</h4>Once doubled, gently punch down the dough to release excess gas. Transfer to a lightly floured surface and pat into a rectangle roughly 20×30cm. Starting from a short end, tightly roll the dough into a log, pinching the seam and ends to seal. This rolling technique creates a tight structure that supports the bread during baking.</li><li class="MethodStepper"><h4 class="step-title">Step 9</h4>Place the shaped loaf seam-side down in a greased 900g loaf tin. Cover loosely and let rise again until the dough has crowned about 2.5cm above the rim of the pan, approximately 45-60 minutes. Meanwhile, preheat your oven to 180°C.</li><li class="MethodStepper"><h4 class="step-title">Step 10</h4>Just before baking, gently brush the top of the loaf with beaten egg for a glossy, golden crust. If desired, make a shallow lengthwise cut down the center with a sharp knife or razor blade to guide the expansion.</li><li class="MethodStepper"><h4 class="step-title">Step 11</h4>Bake in the preheated oven for 35-40 minutes until deeply golden and the loaf sounds hollow when tapped on the bottom. If the top is browning too quickly, tent with aluminum foil after 25 minutes. The internal temperature should reach 95-98°C when fully baked.</li><li class="MethodStepper"><h4 class="step-title">Step 12</h4>Remove from the oven and immediately turn out onto a wire rack. Allow to cool completely before slicing, at least 2 hours. This resting period allows the crumb to set and moisture to distribute evenly throughout the loaf. Your patience will be rewarded with perfect slices that don't squish when cut.</li></ol>