Valentine's Day Pink Sandwich Cookies Recipe

Ingredients
Equipment
Directions
FAQs
Find answers to your most pressing questions about this delicious recipe right here.
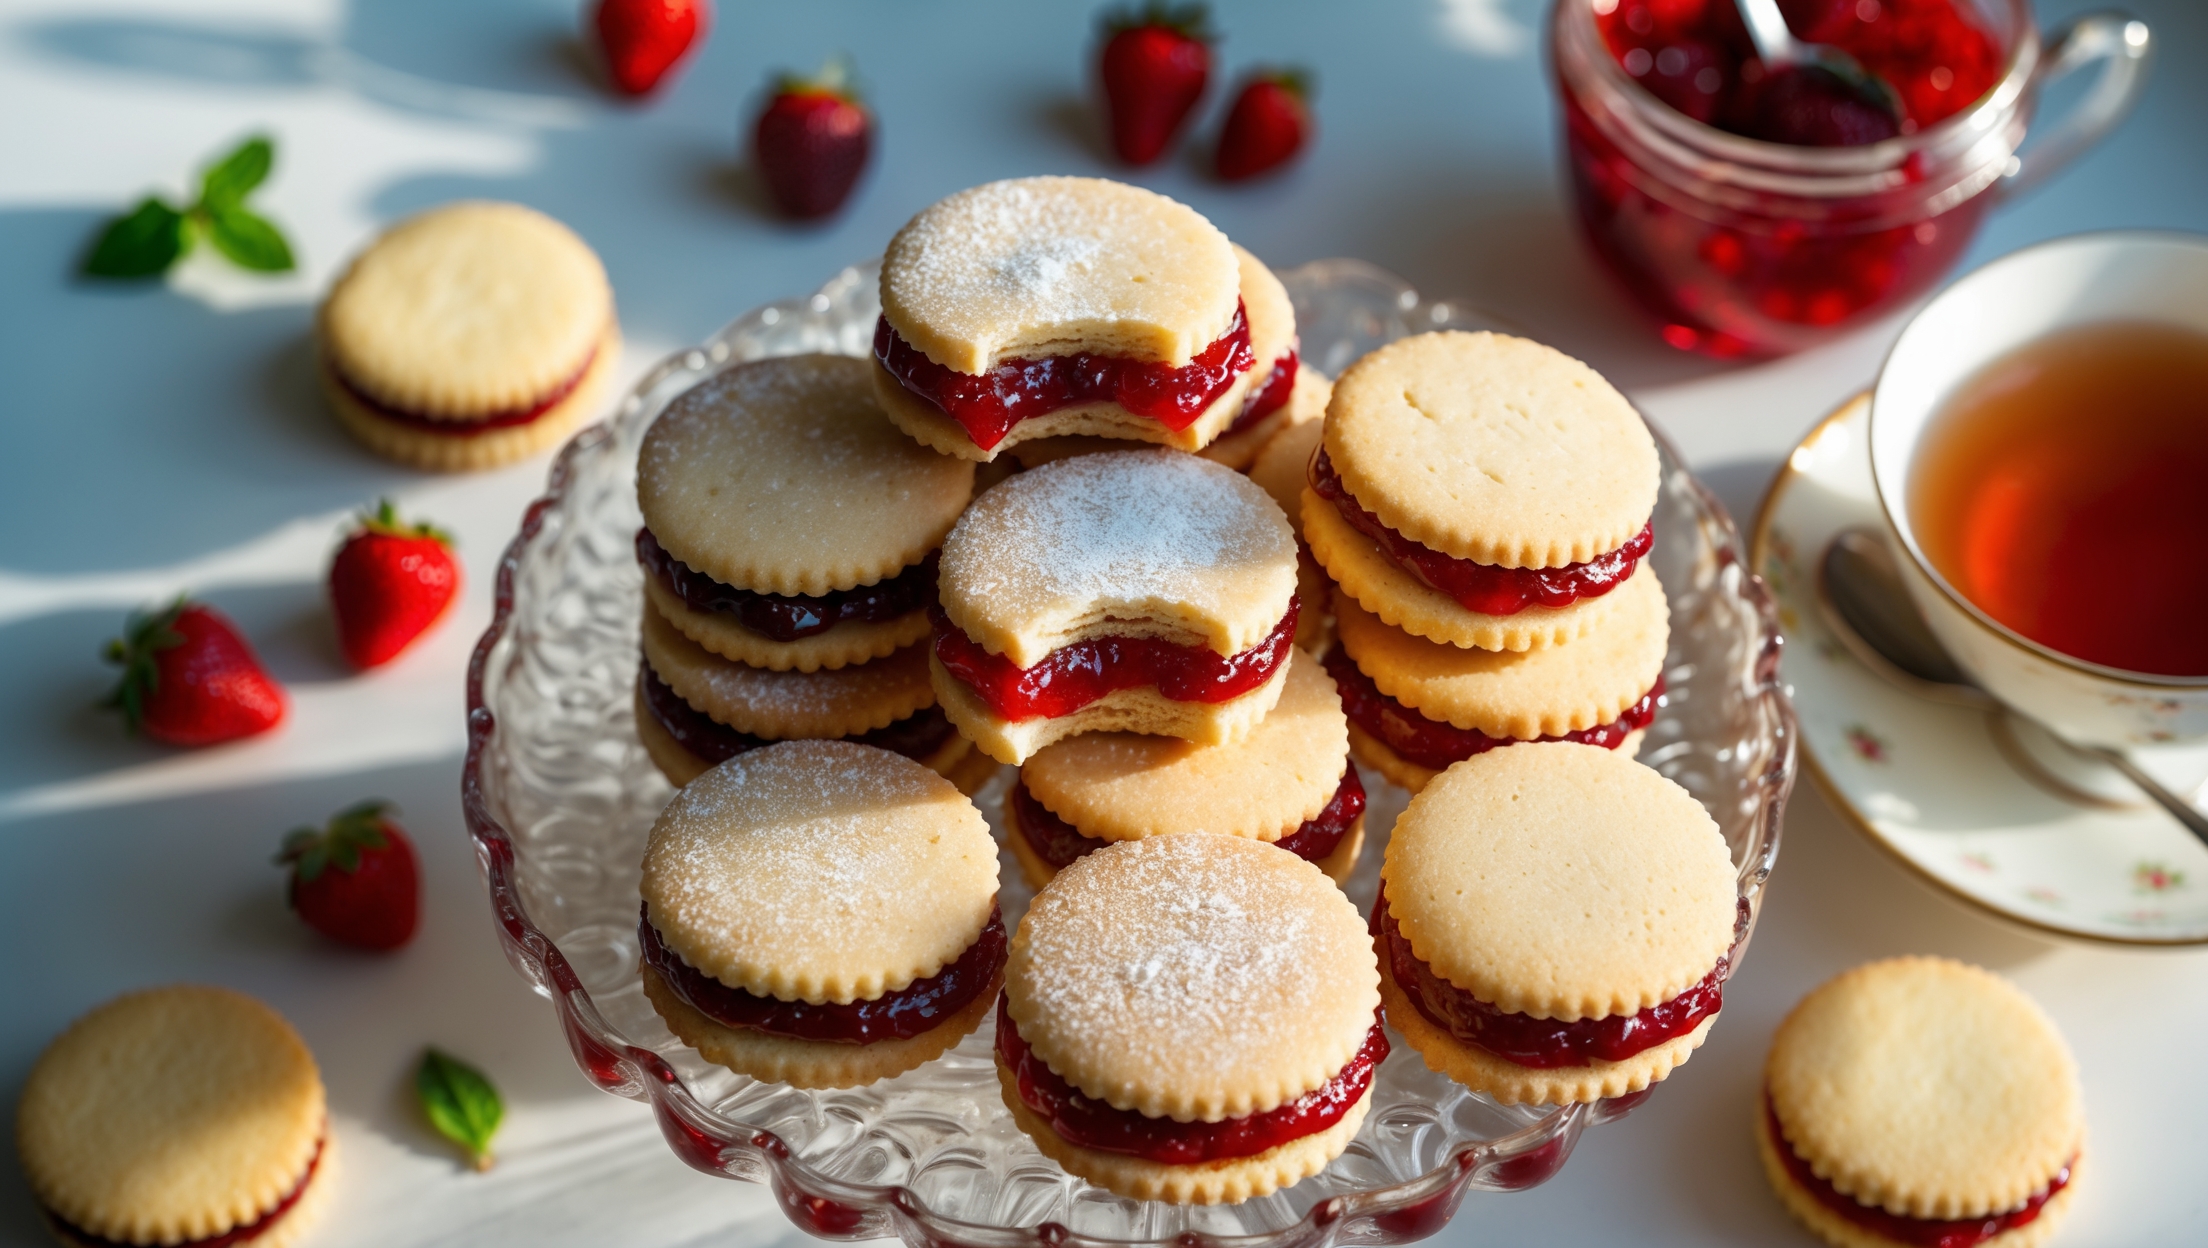
These cookies require plain flour, unsalted butter, caster sugar, egg, vanilla extract, and salt for the biscuits. The signature pink filling is made with butter, icing sugar, milk, vanilla extract, and pink food colouring. Optional decorations include sprinkles or sanding sugar.
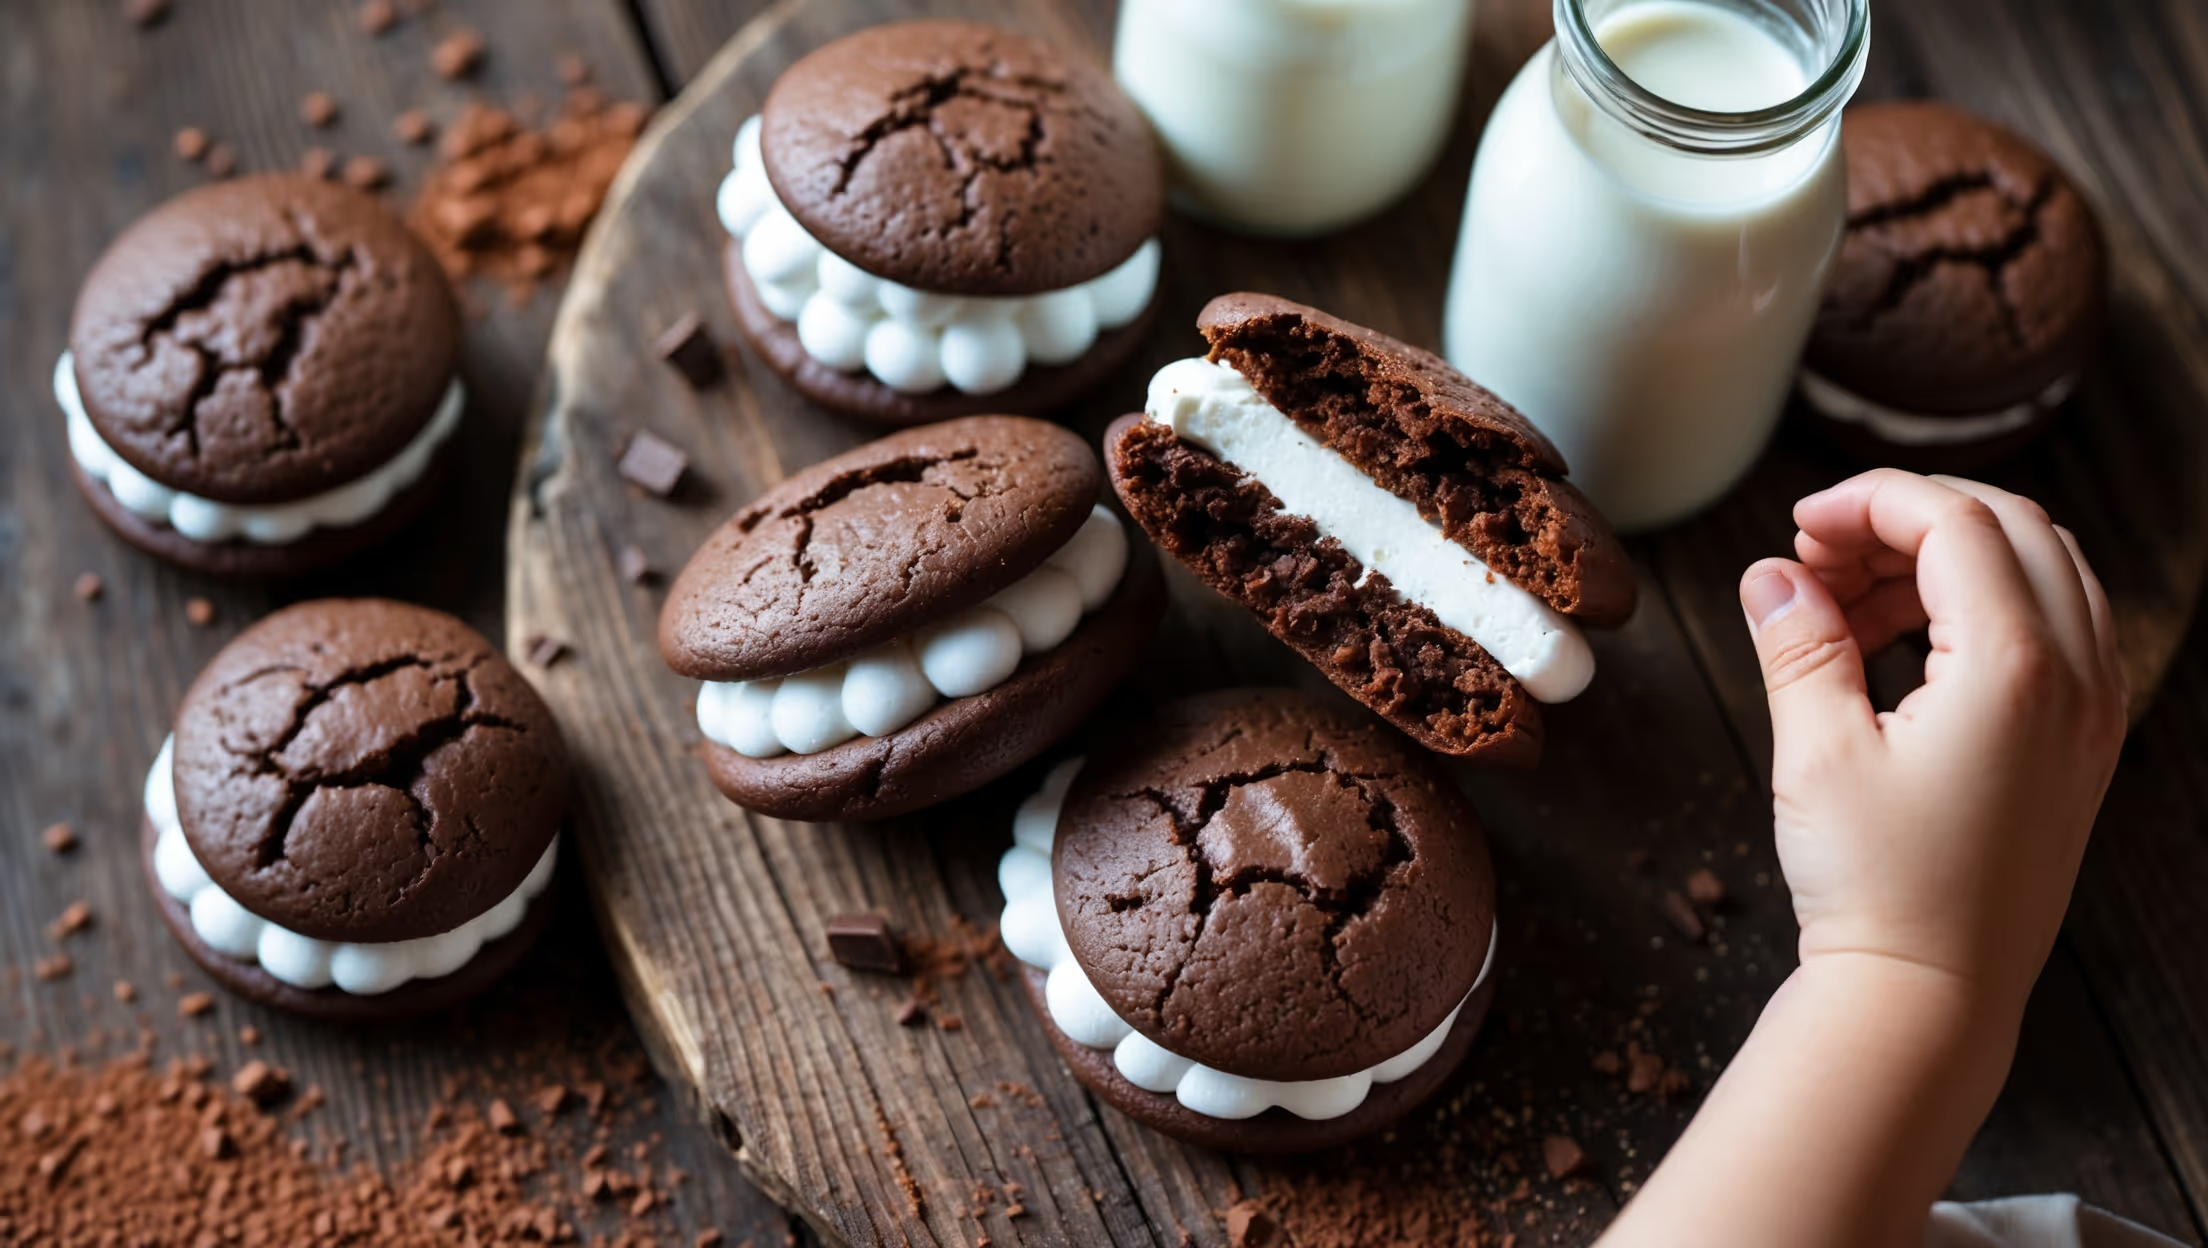
Learn how to cook Valentine's Day Pink Sandwich Cookies by first creaming butter and sugar until fluffy, then adding egg and vanilla. Mix in flour and salt gently, then chill the dough. Roll out and cut heart shapes, bake until edges are golden. Make pink buttercream filling, sandwich between cooled cookies, and optionally decorate with sprinkles.
Absolutely! You can make the dough up to 2 days ahead and refrigerate it, or freeze the unfilled cookies for up to 3 months. The assembled cookies will keep for 4 days at room temperature or a week refrigerated, making them perfect for advance Valentine's Day planning.
The key is thoroughly chilling the dough for at least one hour before rolling and cutting. This firms up the butter, preventing spread during baking. Rolling to an even 5mm thickness and not overworking the dough also helps maintain those crisp heart shapes.
Start with just a tiny amount of gel or paste food colouring (more concentrated than liquid versions) and gradually build up to your desired shade. For a natural alternative, use beetroot powder or reduced strawberry/raspberry puree for a subtle pink hue with added flavour.
Sandwich Cookies
Try following recommended recipes