Toasted Marshmallow Cheesecake Recipe
Ingredients
Equipment
Directions
FAQs
Find answers to your most pressing questions about this delicious recipe right here.
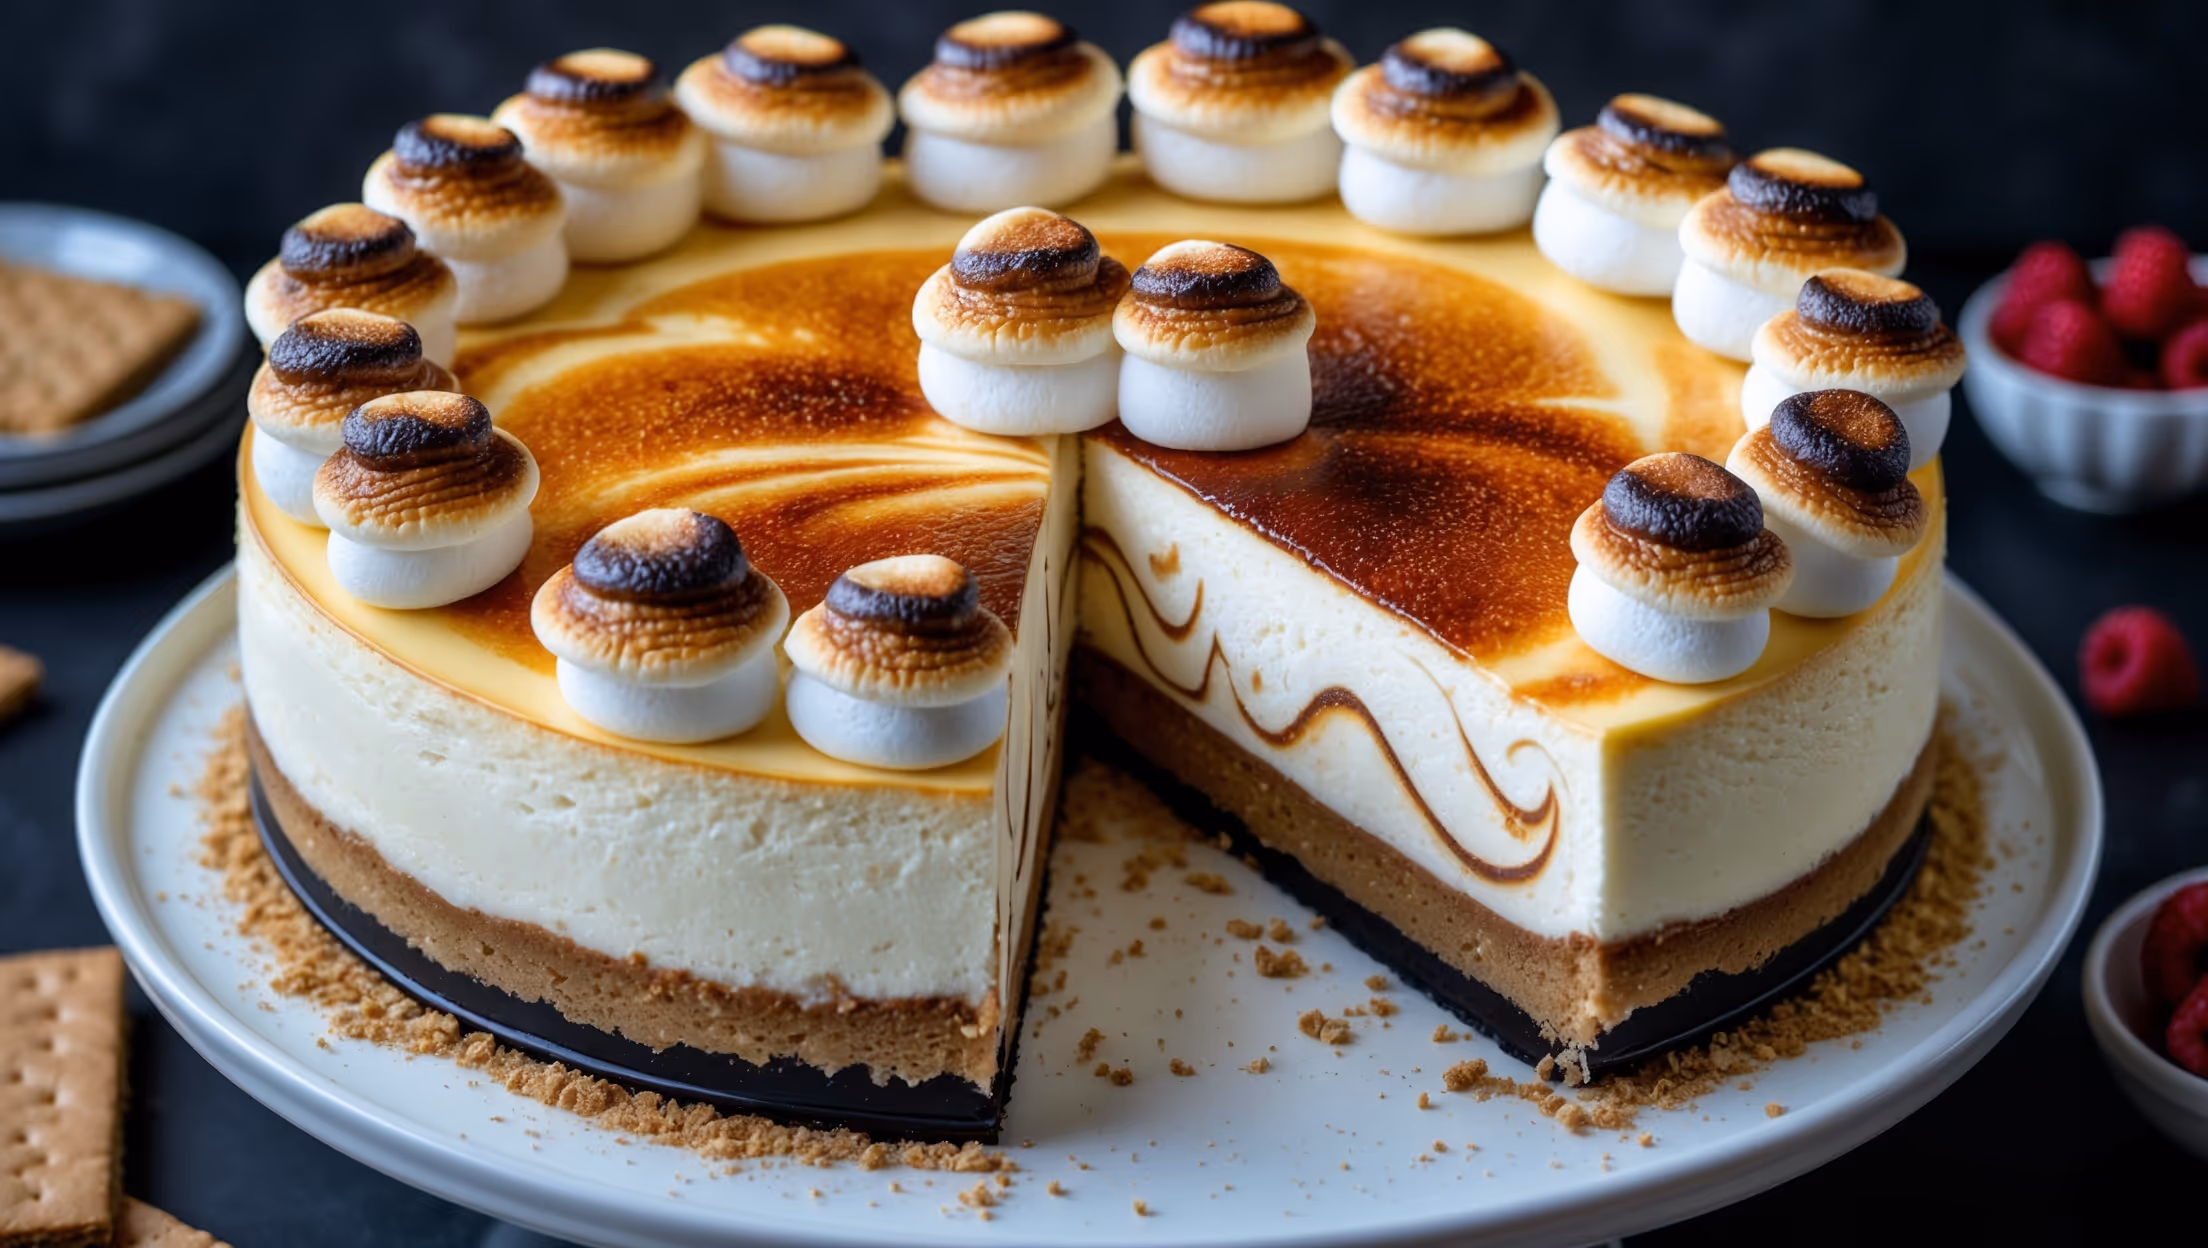
The key ingredients include digestive biscuits, unsalted butter, full-fat cream cheese, caster sugar, cornflour, eggs, vanilla bean paste, sour cream and marshmallows. These combine to create a buttery base, creamy filling and caramelised topping.
Learn how to cook Toasted Marshmallow Cheesecake by creating a buttery biscuit base, preparing a smooth cream cheese filling that bakes in a water bath, then finishing with a layer of marshmallows that you toast with a kitchen blowtorch or under the grill until golden and caramelised for that distinctive flavour contrast.
A water bath creates gentle, even heat and adds humidity to the oven environment. This prevents the cheesecake from drying out, cracking, or developing an uneven texture. The steam from the water helps the cheesecake bake slowly and rise consistently for that perfect silky finish.
Absolutely! If you don't have a kitchen blowtorch, you can place the marshmallow-topped cheesecake under a preheated grill (broiler) for about 30 seconds. Watch it constantly until the marshmallows turn golden brown, as they can burn very quickly.
A baked cheesecake can be prepared 2-3 days in advance and kept refrigerated. In fact, allowing it to set overnight improves the flavour and texture. Add the marshmallow topping just before serving for the best contrast between the cool cheesecake and warm toasted marshmallows.
Cheesecakes
Try following recommended recipes