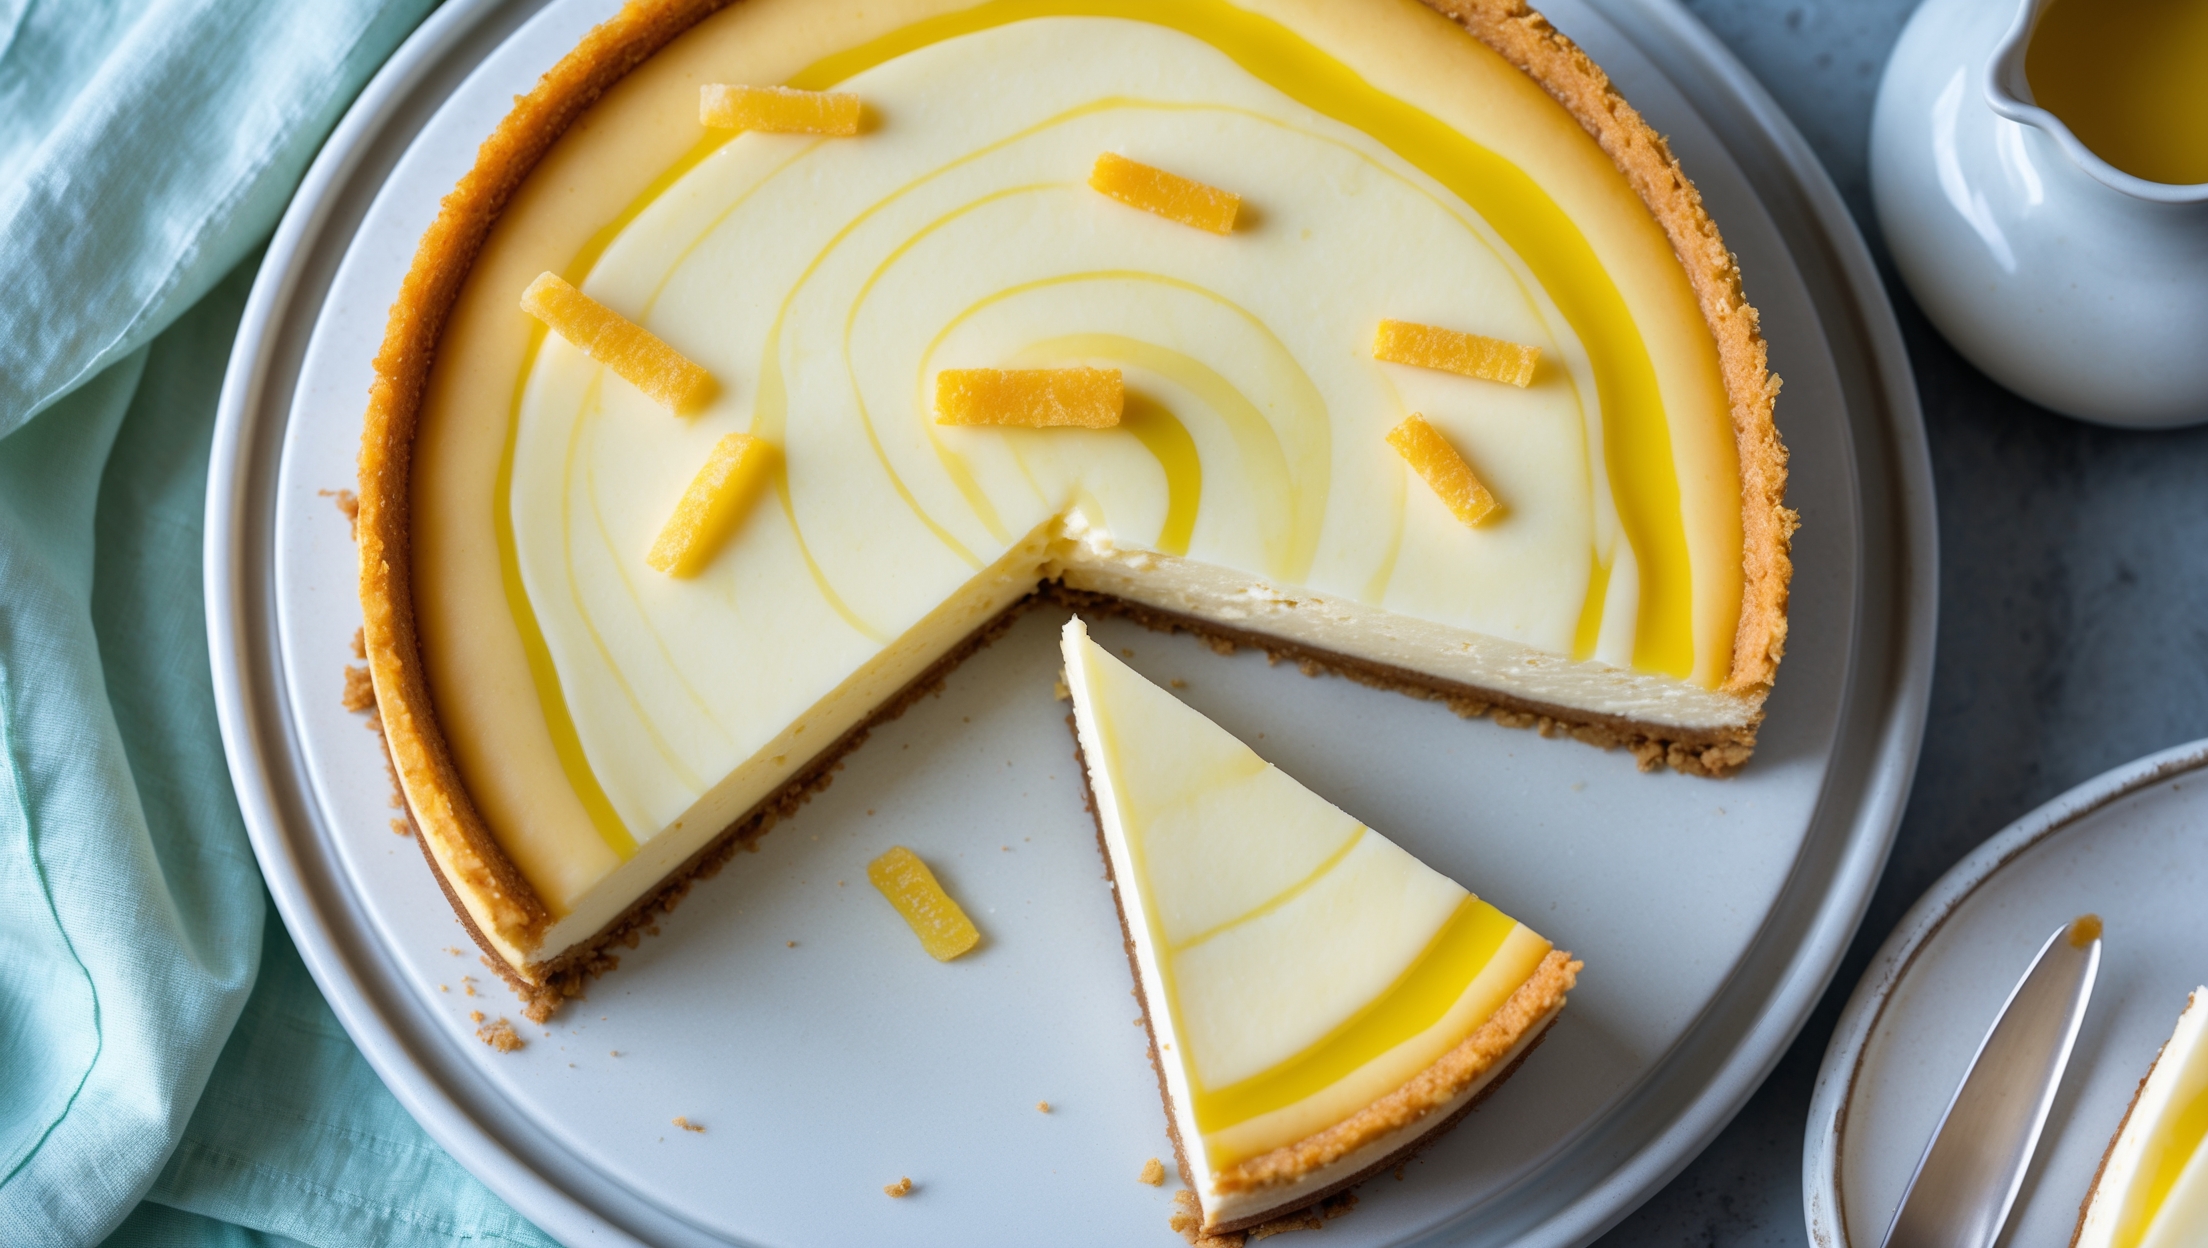
Directions
<ol class="no-list-style"><li class="MethodStepper"><h4 class="step-title">Step 1</h4>Begin by preparing your springform pan. Line the base with parchment paper and lightly grease the sides with butter. This will ensure your cheesecake releases easily when it's time to serve.</li><li class="MethodStepper"><h4 class="step-title">Step 2</h4>Place the digestive biscuits in a food processor and pulse until you have fine crumbs. If you don't have a food processor, place the biscuits in a sealed plastic bag and crush with a rolling pin. The texture should be like wet sand when ready.</li><li class="MethodStepper"><h4 class="step-title">Step 3</h4>Pour in the melted butter and pulse again until thoroughly combined. The mixture should hold together when pressed between your fingers - this indicates the perfect consistency for a sturdy base.</li><li class="MethodStepper"><h4 class="step-title">Step 4</h4>Tip the biscuit mixture into your prepared pan and press firmly using the back of a spoon to create an even base. Take your time here - a properly compacted base will slice beautifully later. Place in the refrigerator to chill while you prepare the filling.</li><li class="MethodStepper"><h4 class="step-title">Step 5</h4>In a large bowl, beat the cream cheese until smooth and creamy. Having your cream cheese at room temperature is crucial as it prevents lumps from forming in your filling. Add the caster sugar and vanilla extract, and beat until completely incorporated and slightly fluffy.</li><li class="MethodStepper"><h4 class="step-title">Step 6</h4>Warm the hazelnut spread in the microwave for 20-30 seconds until easier to work with, then fold into the cream cheese mixture until fully incorporated. This technique creates beautiful streaks of flavor throughout the filling.</li><li class="MethodStepper"><h4 class="step-title">Step 7</h4>In a separate bowl, whip the double cream until it forms soft peaks. Be careful not to overwhip, as this can make your cheesecake too firm. Gently fold the whipped cream into the cream cheese mixture using a figure-eight motion to maintain as much air as possible.</li><li class="MethodStepper"><h4 class="step-title">Step 8</h4>Remove the base from the refrigerator and pour the filling over it, smoothing the top with a palette knife or spatula. Return to the refrigerator and chill for at least 4 hours, or preferably overnight. The longer chilling time allows the flavors to meld and the texture to set perfectly.</li><li class="MethodStepper"><h4 class="step-title">Step 9</h4>For the hazelnut praline, toast 150g of the chopped hazelnuts in a dry frying pan over medium heat for 5-7 minutes until golden and fragrant, stirring frequently to prevent burning. The toasting enhances the nuts' natural oils and flavor. Set aside to cool.</li><li class="MethodStepper"><h4 class="step-title">Step 10</h4>Line a baking sheet with a silicone mat or parchment paper. In a heavy-bottomed saucepan, combine the granulated sugar and water. Heat over medium heat without stirring until the sugar dissolves completely and turns amber in color (around 160-170°C if using a thermometer). This caramelization process creates complex flavors that beautifully complement the hazelnuts.</li><li class="MethodStepper"><h4 class="step-title">Step 11</h4>Once the caramel reaches the right color, immediately remove from heat and carefully stir in the toasted hazelnuts and sea salt. Work quickly as the caramel will begin to harden. Pour onto the prepared baking sheet and spread in a thin layer. Allow to cool completely until hard, about 30 minutes.</li><li class="MethodStepper"><h4 class="step-title">Step 12</h4>Break the cooled praline into chunks and pulse in a food processor until you have a mixture of fine dust and small chunks, or crush in a plastic bag using a rolling pin. The varying textures will add interest to each slice.</li><li class="MethodStepper"><h4 class="step-title">Step 13</h4>When ready to serve, carefully remove the cheesecake from the springform pan by running a warm knife around the edge before releasing the clasp. Sprinkle the praline generously over the top of the cheesecake, and arrange the remaining whole hazelnuts around the edge for decoration.</li><li class="MethodStepper"><h4 class="step-title">Step 14</h4>For the cleanest slices, dip your knife in hot water and wipe clean between cuts. The cheesecake will keep in the refrigerator for up to 3 days, though the praline may soften slightly over time - which is still delicious, just less crunchy!</li></ol>