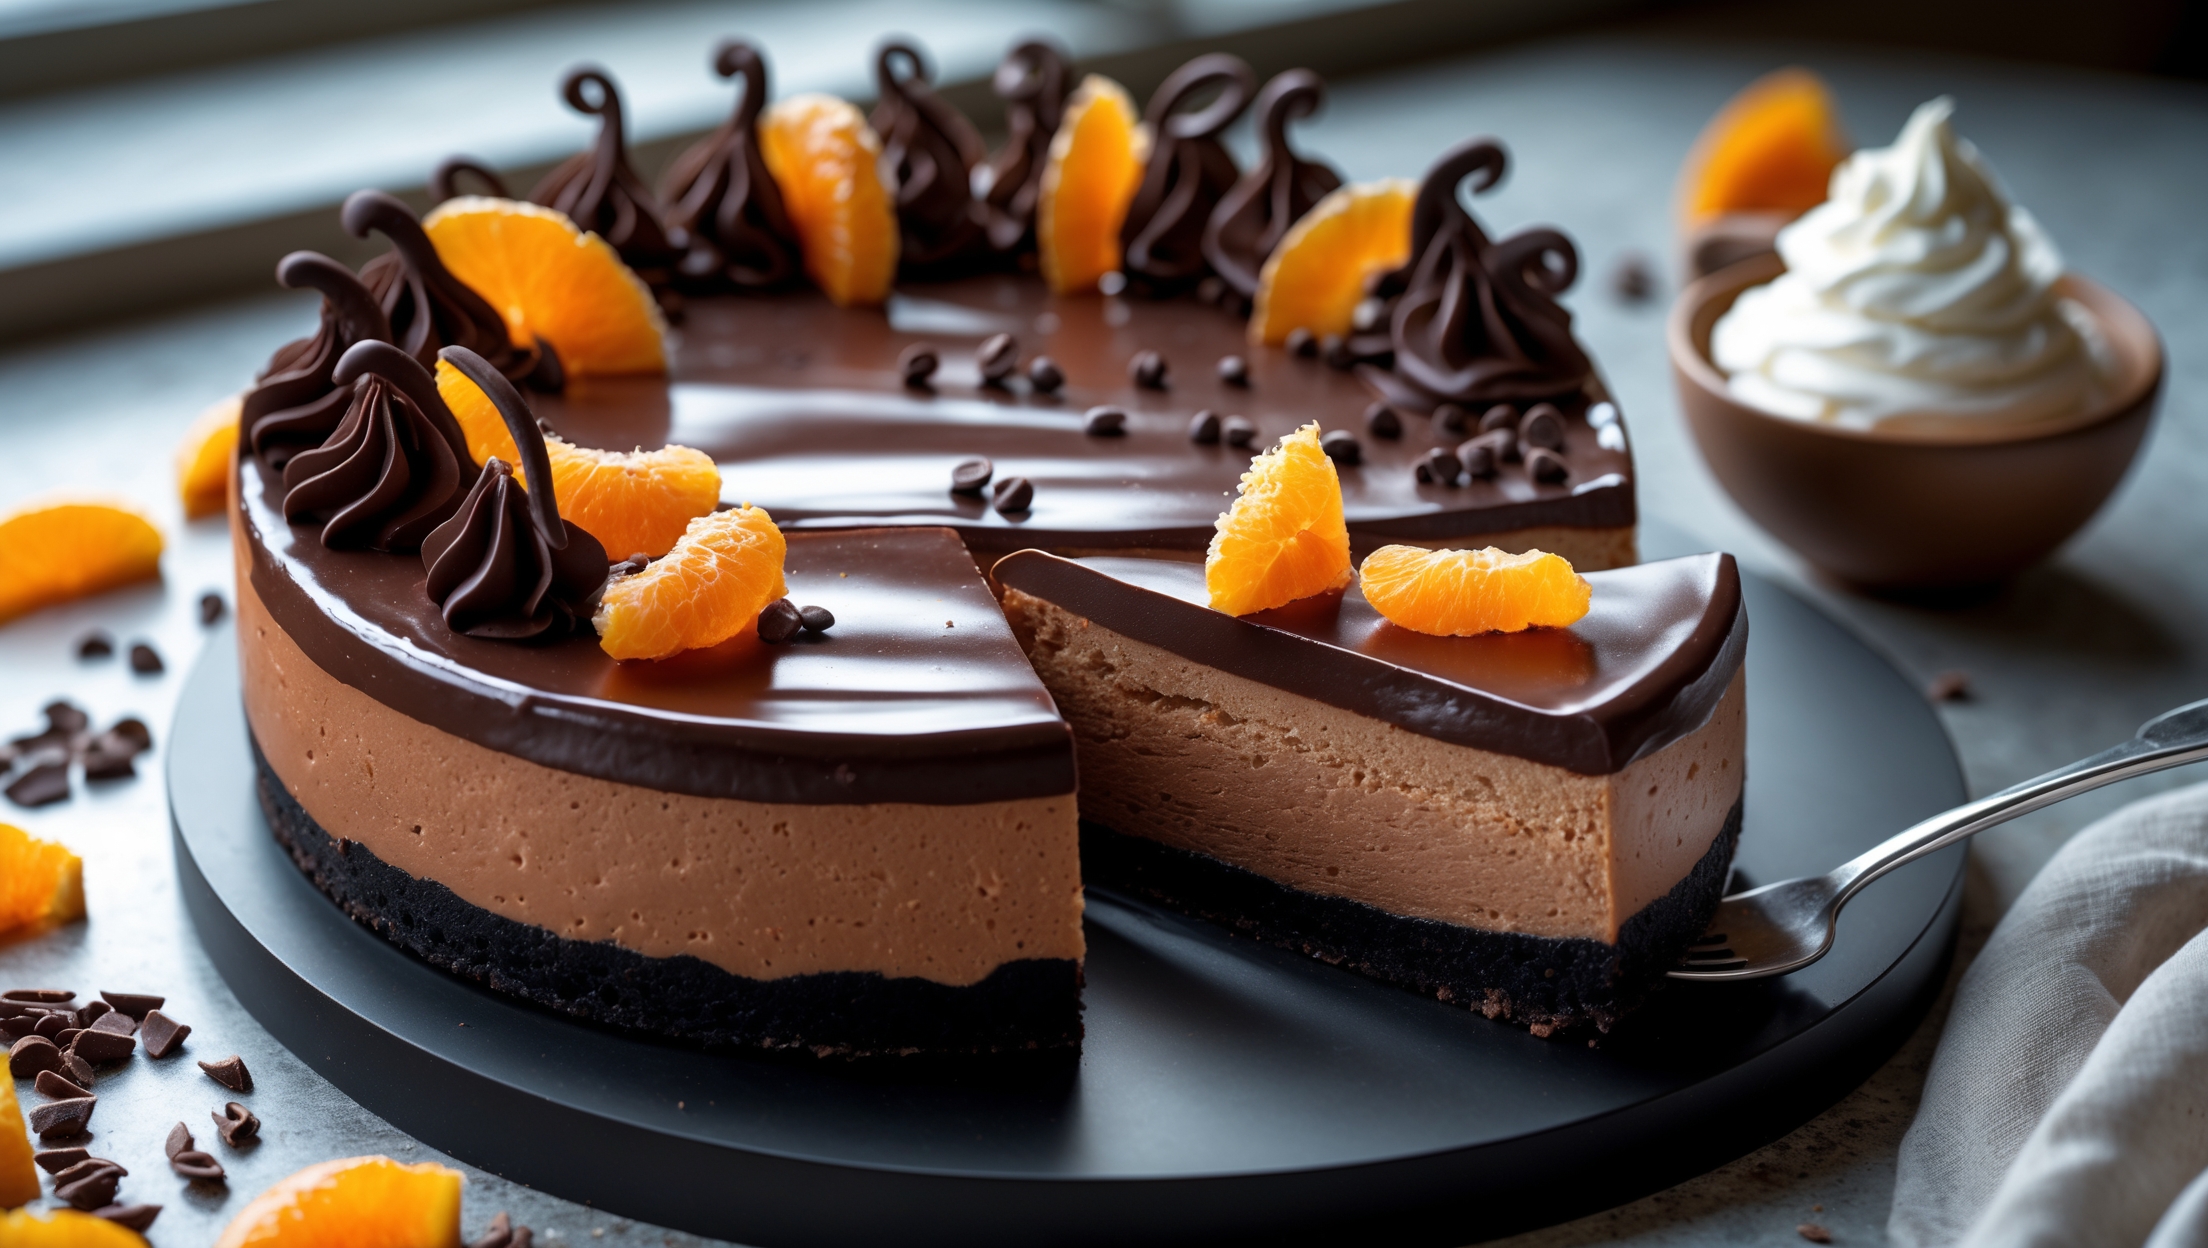
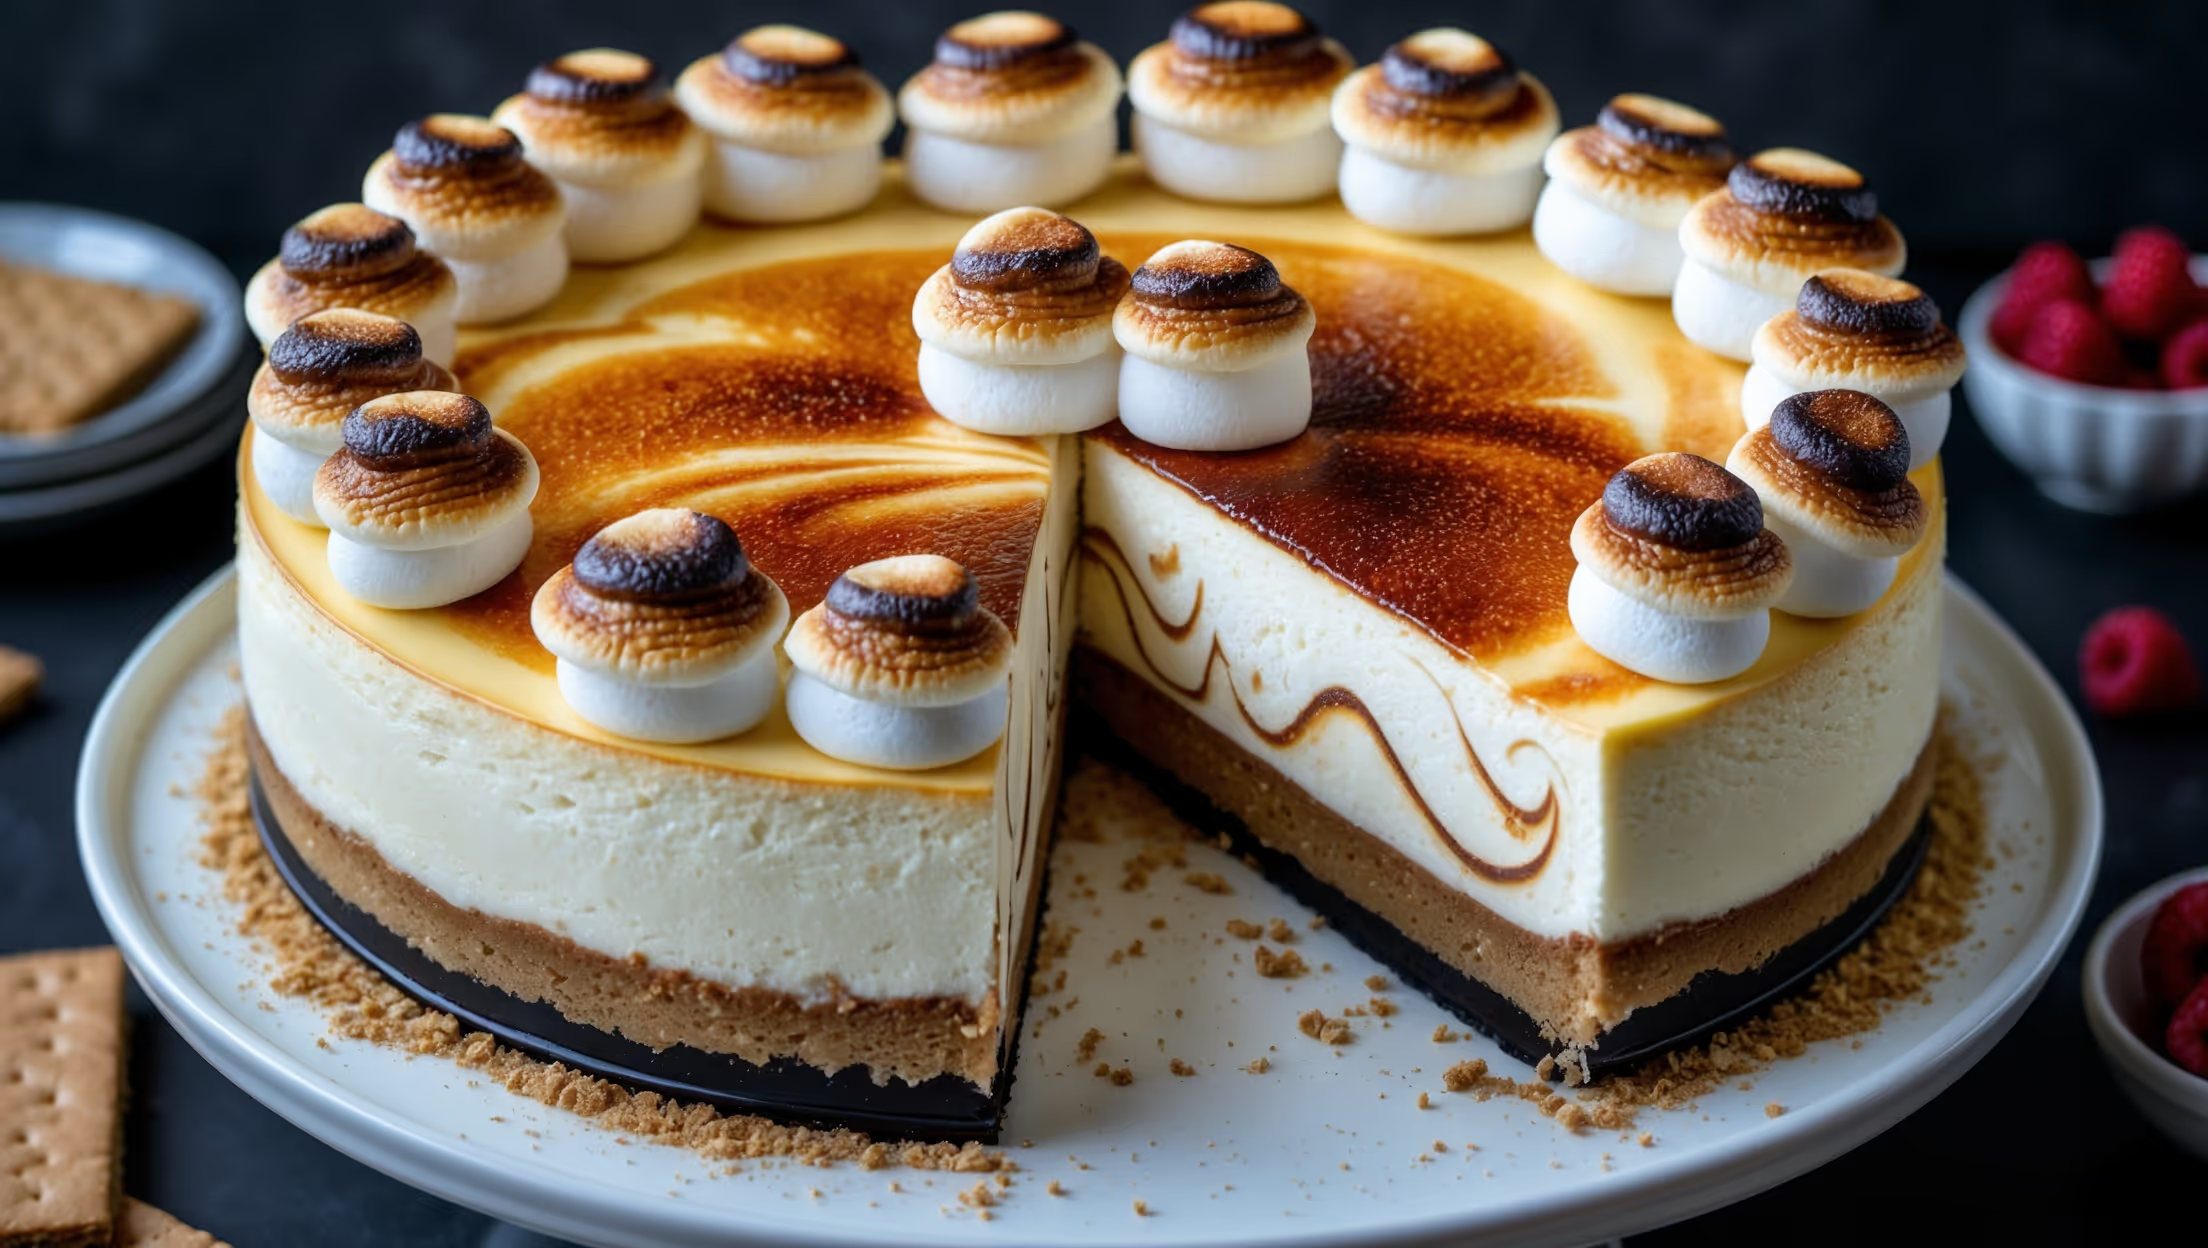
Directions
<ol class="no-list-style"><li class="MethodStepper"><h4 class="step-title">Step 1</h4>Preheat your oven to 160°C (140°C fan/325°F). Begin by wrapping the outside of your springform pan with two large pieces of heavy-duty aluminum foil, making sure it comes up all sides. This critical step prevents water from the water bath seeping into your cheesecake, which would make the crust soggy.</li><li class="MethodStepper"><h4 class="step-title">Step 2</h4>For the crust, pulse the chocolate biscuits in a food processor until finely crushed. Slowly pour in the melted butter while pulsing until the mixture resembles wet sand. Press this mixture firmly and evenly into the bottom of your springform pan using the flat bottom of a glass or measuring cup. Bake for 10 minutes, then remove and cool while you prepare the filling.</li><li class="MethodStepper"><h4 class="step-title">Step 3</h4>Prepare the coffee syrup by combining the cooled espresso, coffee liqueur, and sugar in a shallow dish, stirring until the sugar dissolves completely. Quickly dip each ladyfinger into this mixture (about 1-2 seconds per side—any longer and they'll become too soggy), then arrange them in a single layer over the cooled crust. You may need to break some to fit. Reserve any remaining coffee mixture.</li><li class="MethodStepper"><h4 class="step-title">Step 4</h4>For the cheesecake filling, beat the mascarpone and cream cheese in a large bowl with an electric mixer until smooth and creamy. Add the sugar and continue beating until well incorporated. The sugar crystals help create tiny air pockets in the cheese mixture, contributing to a lighter texture.</li><li class="MethodStepper"><h4 class="step-title">Step 5</h4>Add the eggs one at a time, beating well after each addition but being careful not to overmix. Overmixing at this stage can incorporate too much air, causing the cheesecake to rise dramatically and then crack as it cools. Gently fold in the vanilla extract and flour until just combined.</li><li class="MethodStepper"><h4 class="step-title">Step 6</h4>Pour half of the cheesecake mixture over the ladyfinger layer. Drizzle 2 tablespoons of the reserved coffee mixture over this layer, then swirl gently with a knife to create coffee ripples without fully mixing. Add the remaining cheesecake batter, smoothing the top with a spatula.</li><li class="MethodStepper"><h4 class="step-title">Step 7</h4>Place the foil-wrapped springform pan in a large roasting pan. Place in the oven, then carefully pour hot water into the roasting pan until it reaches about halfway up the sides of the springform pan. This water bath creates a humid environment that helps the cheesecake bake evenly and prevents cracking.</li><li class="MethodStepper"><h4 class="step-title">Step 8</h4>Bake for 55-60 minutes, or until the edges are set but the center still has a slight wobble when gently shaken. Turn off the oven, crack the door open, and allow the cheesecake to cool slowly in the oven for 1 hour. This gradual cooling prevents dramatic temperature changes that can cause cracks.</li><li class="MethodStepper"><h4 class="step-title">Step 9</h4>Remove from the oven and water bath, carefully peel away the foil, and run a thin knife around the edge to prevent sticking. Let cool completely at room temperature, then refrigerate for at least 6 hours or preferably overnight. The long chilling time allows the flavors to meld and the texture to set perfectly.</li><li class="MethodStepper"><h4 class="step-title">Step 10</h4>For the topping, whip the double cream with icing sugar and vanilla until soft peaks form. Spread this over the chilled cheesecake. Using a fine mesh sieve, dust the top generously with cocoa powder, then sprinkle with grated dark chocolate.</li><li class="MethodStepper"><h4 class="step-title">Step 11</h4>To serve, allow the cheesecake to stand at room temperature for about 30 minutes before slicing. For clean slices, dip a sharp knife in hot water and wipe dry between cuts. The dessert will keep in the refrigerator for up to 5 days, though the ladyfingers will soften further over time, creating an even more authentic tiramisu texture.</li></ol>