Directions
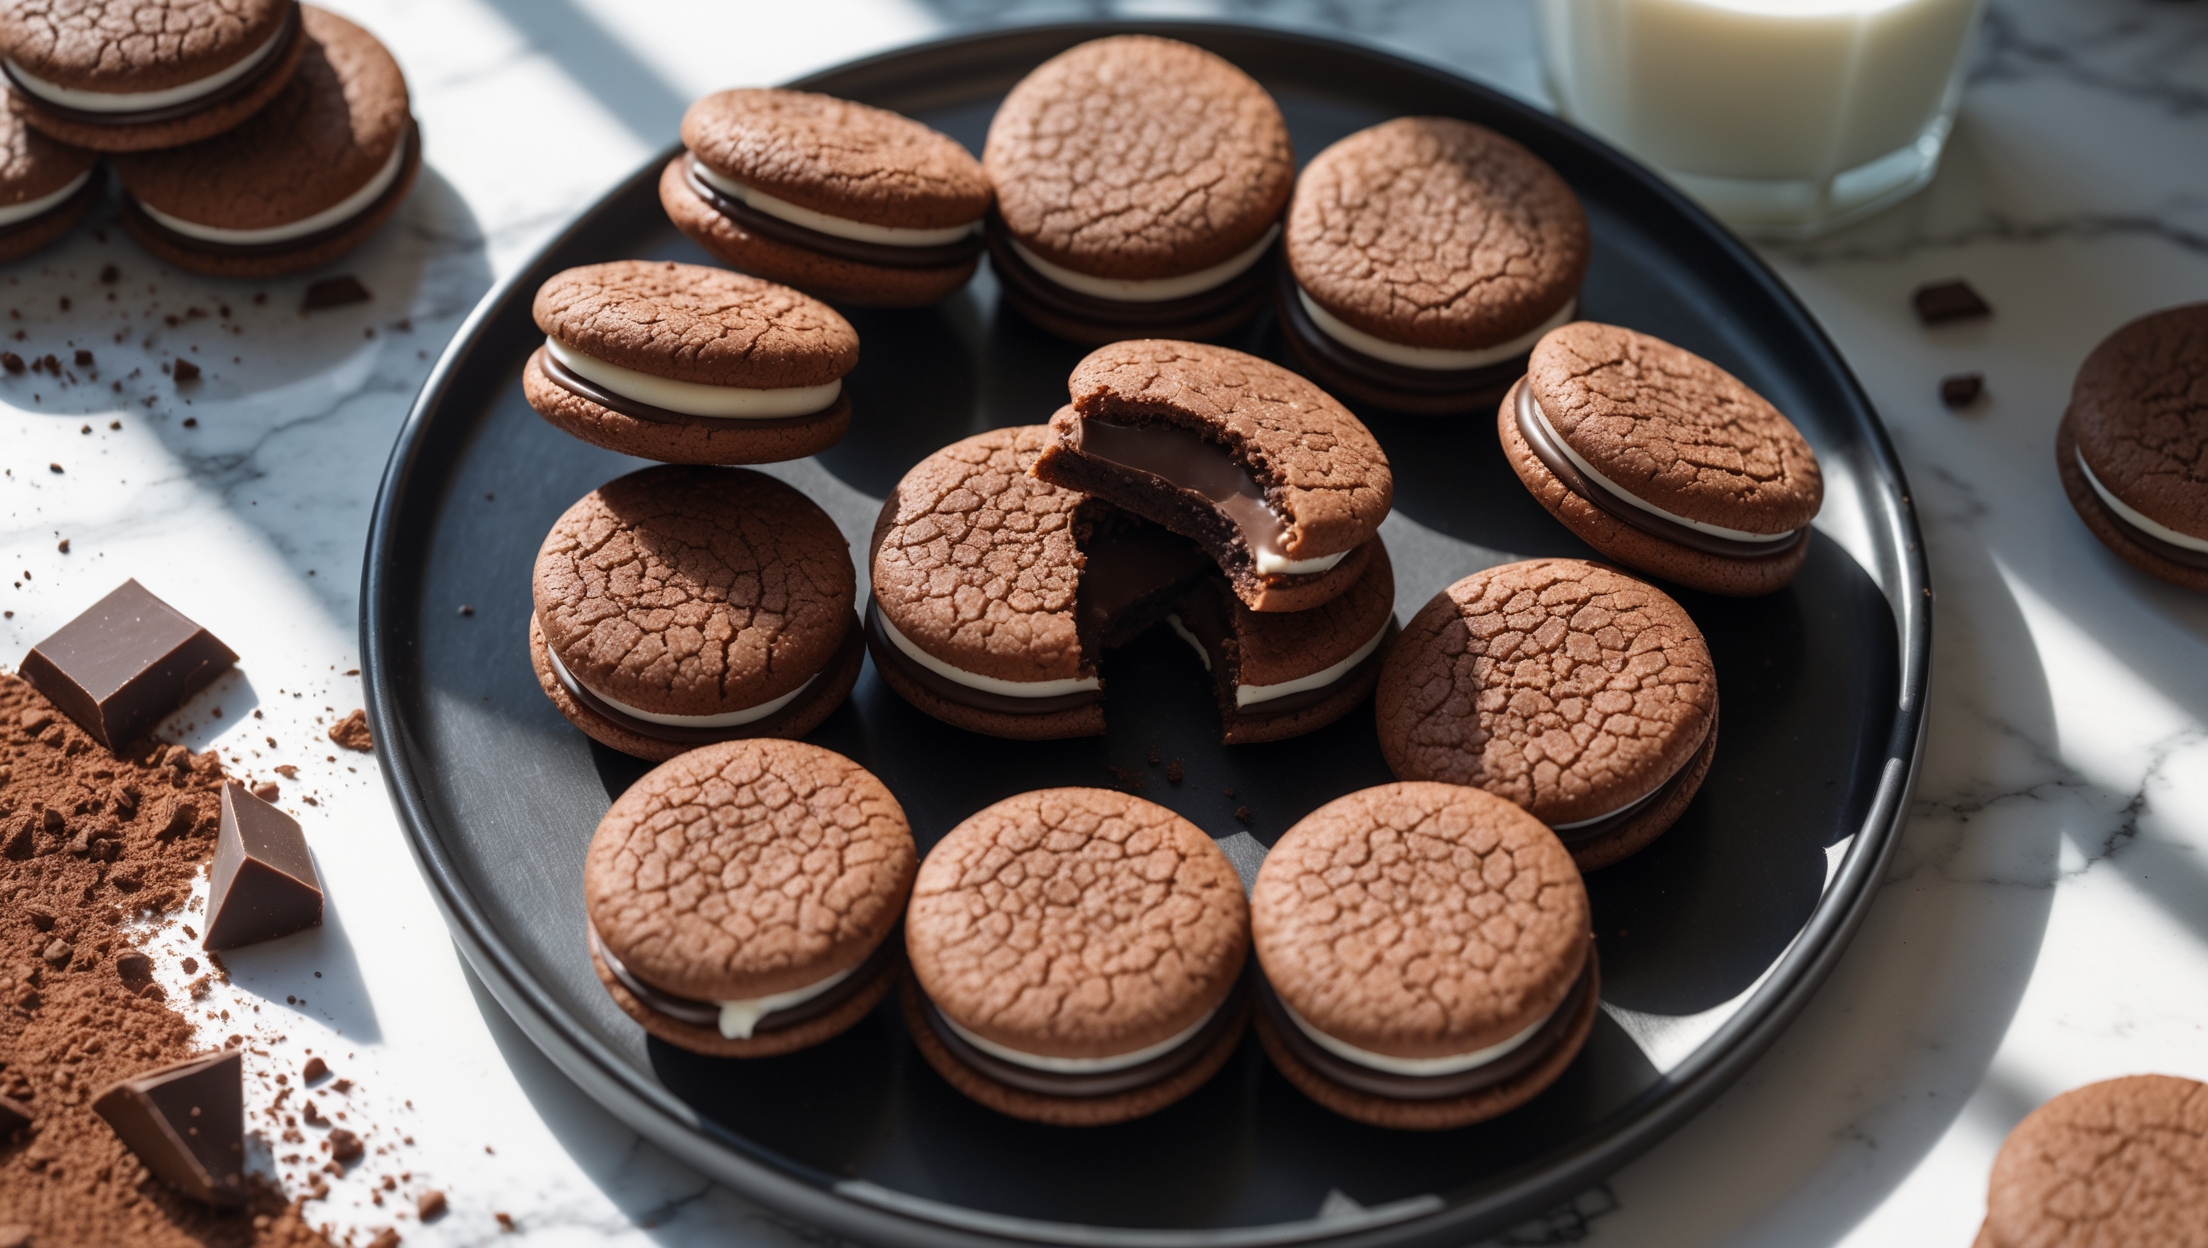
<ol class="no-list-style"><li class="MethodStepper"><h4 class="step-title">Step 1</h4>Preheat your oven to 180°C and line two baking sheets with parchment paper. In a medium bowl, whisk together the flour, cocoa powder, baking soda, and salt until well combined. The cocoa powder tends to clump, so be thorough to ensure your cookies have a consistent texture.</li><li class="MethodStepper"><h4 class="step-title">Step 2</h4>In the bowl of your stand mixer fitted with the paddle attachment, cream together the butter, granulated sugar, and brown sugar on medium-high speed for about 3-4 minutes until light and fluffy. This extended creaming incorporates air into the mixture, creating a lighter cookie texture.</li><li class="MethodStepper"><h4 class="step-title">Step 3</h4>Add the egg and vanilla extract to your butter-sugar mixture and beat until fully incorporated, about 1 minute. Scrape down the sides of the bowl with a spatula to ensure everything is evenly mixed.</li><li class="MethodStepper"><h4 class="step-title">Step 4</h4>With the mixer on low speed, gradually add the dry ingredients to the wet ingredients, mixing just until combined. Over-mixing will develop too much gluten, resulting in tough cookies, so stop as soon as no dry streaks remain.</li><li class="MethodStepper"><h4 class="step-title">Step 5</h4>Divide the dough in half, form each half into a disk, and wrap in plastic wrap. Chill in the refrigerator for at least 1 hour. This resting time allows the flour to fully hydrate and the butter to firm up, preventing the cookies from spreading too much during baking.</li><li class="MethodStepper"><h4 class="step-title">Step 6</h4>On a lightly floured surface, roll out one disk of dough to about 5mm thickness. Using your round cookie cutter, cut out as many circles as possible. Transfer the cut cookies to the prepared baking sheets, spacing them about 2.5cm apart. Re-roll the scraps once to cut additional cookies.</li><li class="MethodStepper"><h4 class="step-title">Step 7</h4>Bake the cookies for 10-12 minutes, until the edges are set but the centers still look slightly soft. The cookies will firm up as they cool, so don't overbake or they'll become too crisp. Allow them to cool on the baking sheet for 5 minutes before transferring to a wire rack to cool completely.</li><li class="MethodStepper"><h4 class="step-title">Step 8</h4>While the cookies cool, prepare the tahini filling. In your stand mixer bowl, beat the softened butter and tahini together until smooth and well combined. The natural oils in tahini can sometimes separate, so be sure your tahini is well-stirred before measuring.</li><li class="MethodStepper"><h4 class="step-title">Step 9</h4>Gradually add the powdered sugar, vanilla extract, and salt, beating on low speed until incorporated, then increasing to medium-high speed until light and fluffy, about 3 minutes. If the filling seems too thick, add milk one teaspoon at a time until you reach a smooth, spreadable consistency.</li><li class="MethodStepper"><h4 class="step-title">Step 10</h4>To assemble the sandwich cookies, flip half of the cooled cookies upside down. Either pipe or spread about 1 tablespoon of the tahini filling onto each flipped cookie, then top with the remaining cookies, pressing gently to spread the filling to the edges.</li><li class="MethodStepper"><h4 class="step-title">Step 11</h4>Allow the assembled cookies to rest for about 30 minutes before serving, which gives the filling time to set. This makes them easier to handle and allows the flavors to meld together beautifully. The cookies will keep in an airtight container at room temperature for up to 3 days, or refrigerated for up to a week.</li></ol>