Chickpea Flour Sandwich Bread Recipe
Ingredients
Equipment
Directions
FAQs
Find answers to your most pressing questions about this delicious recipe right here.
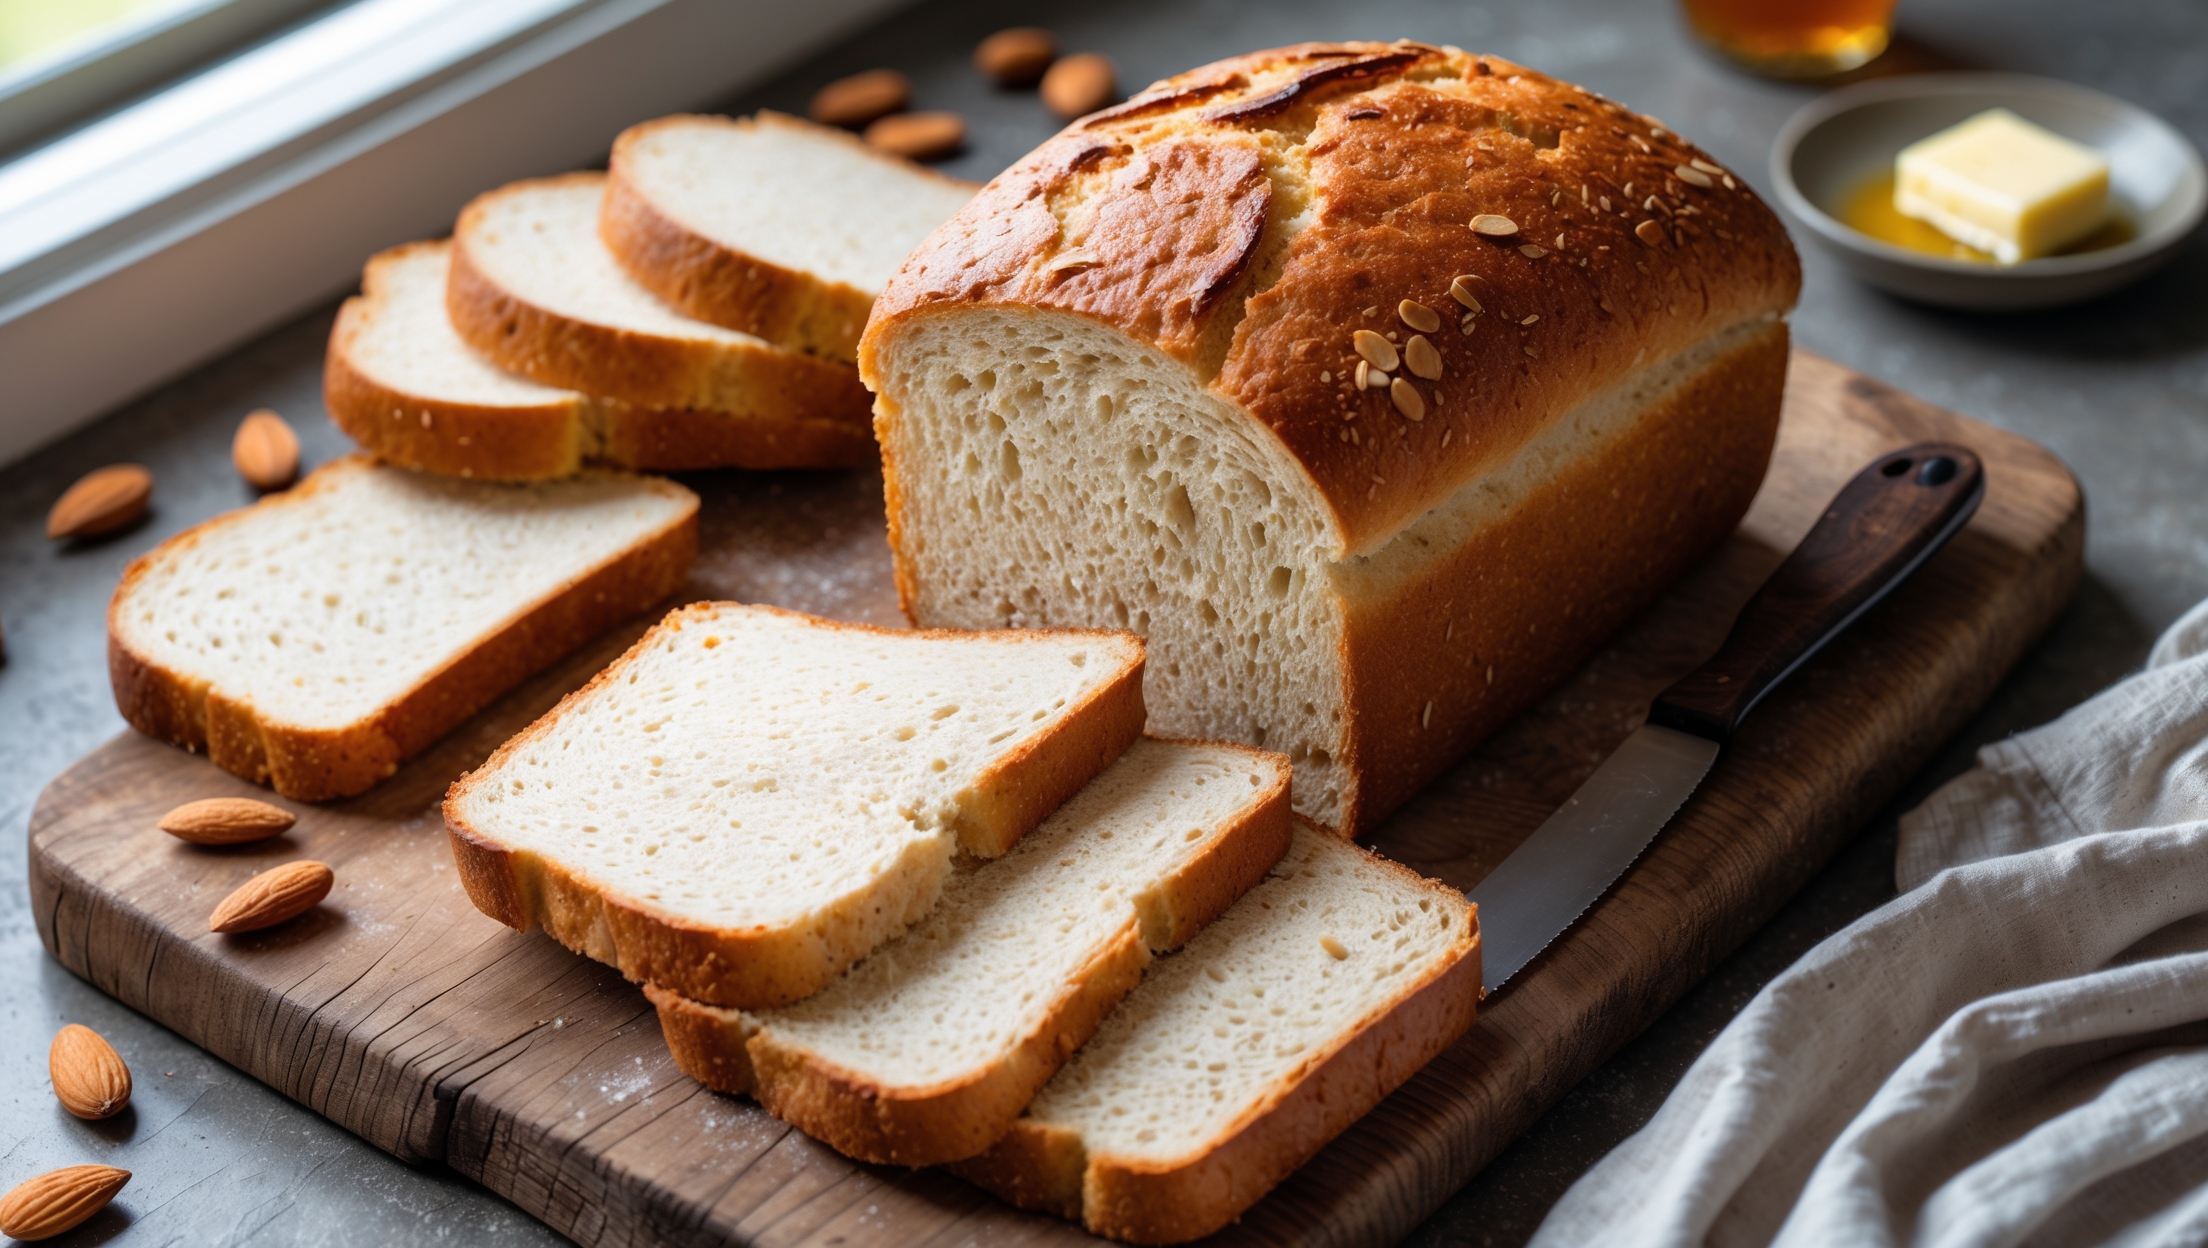
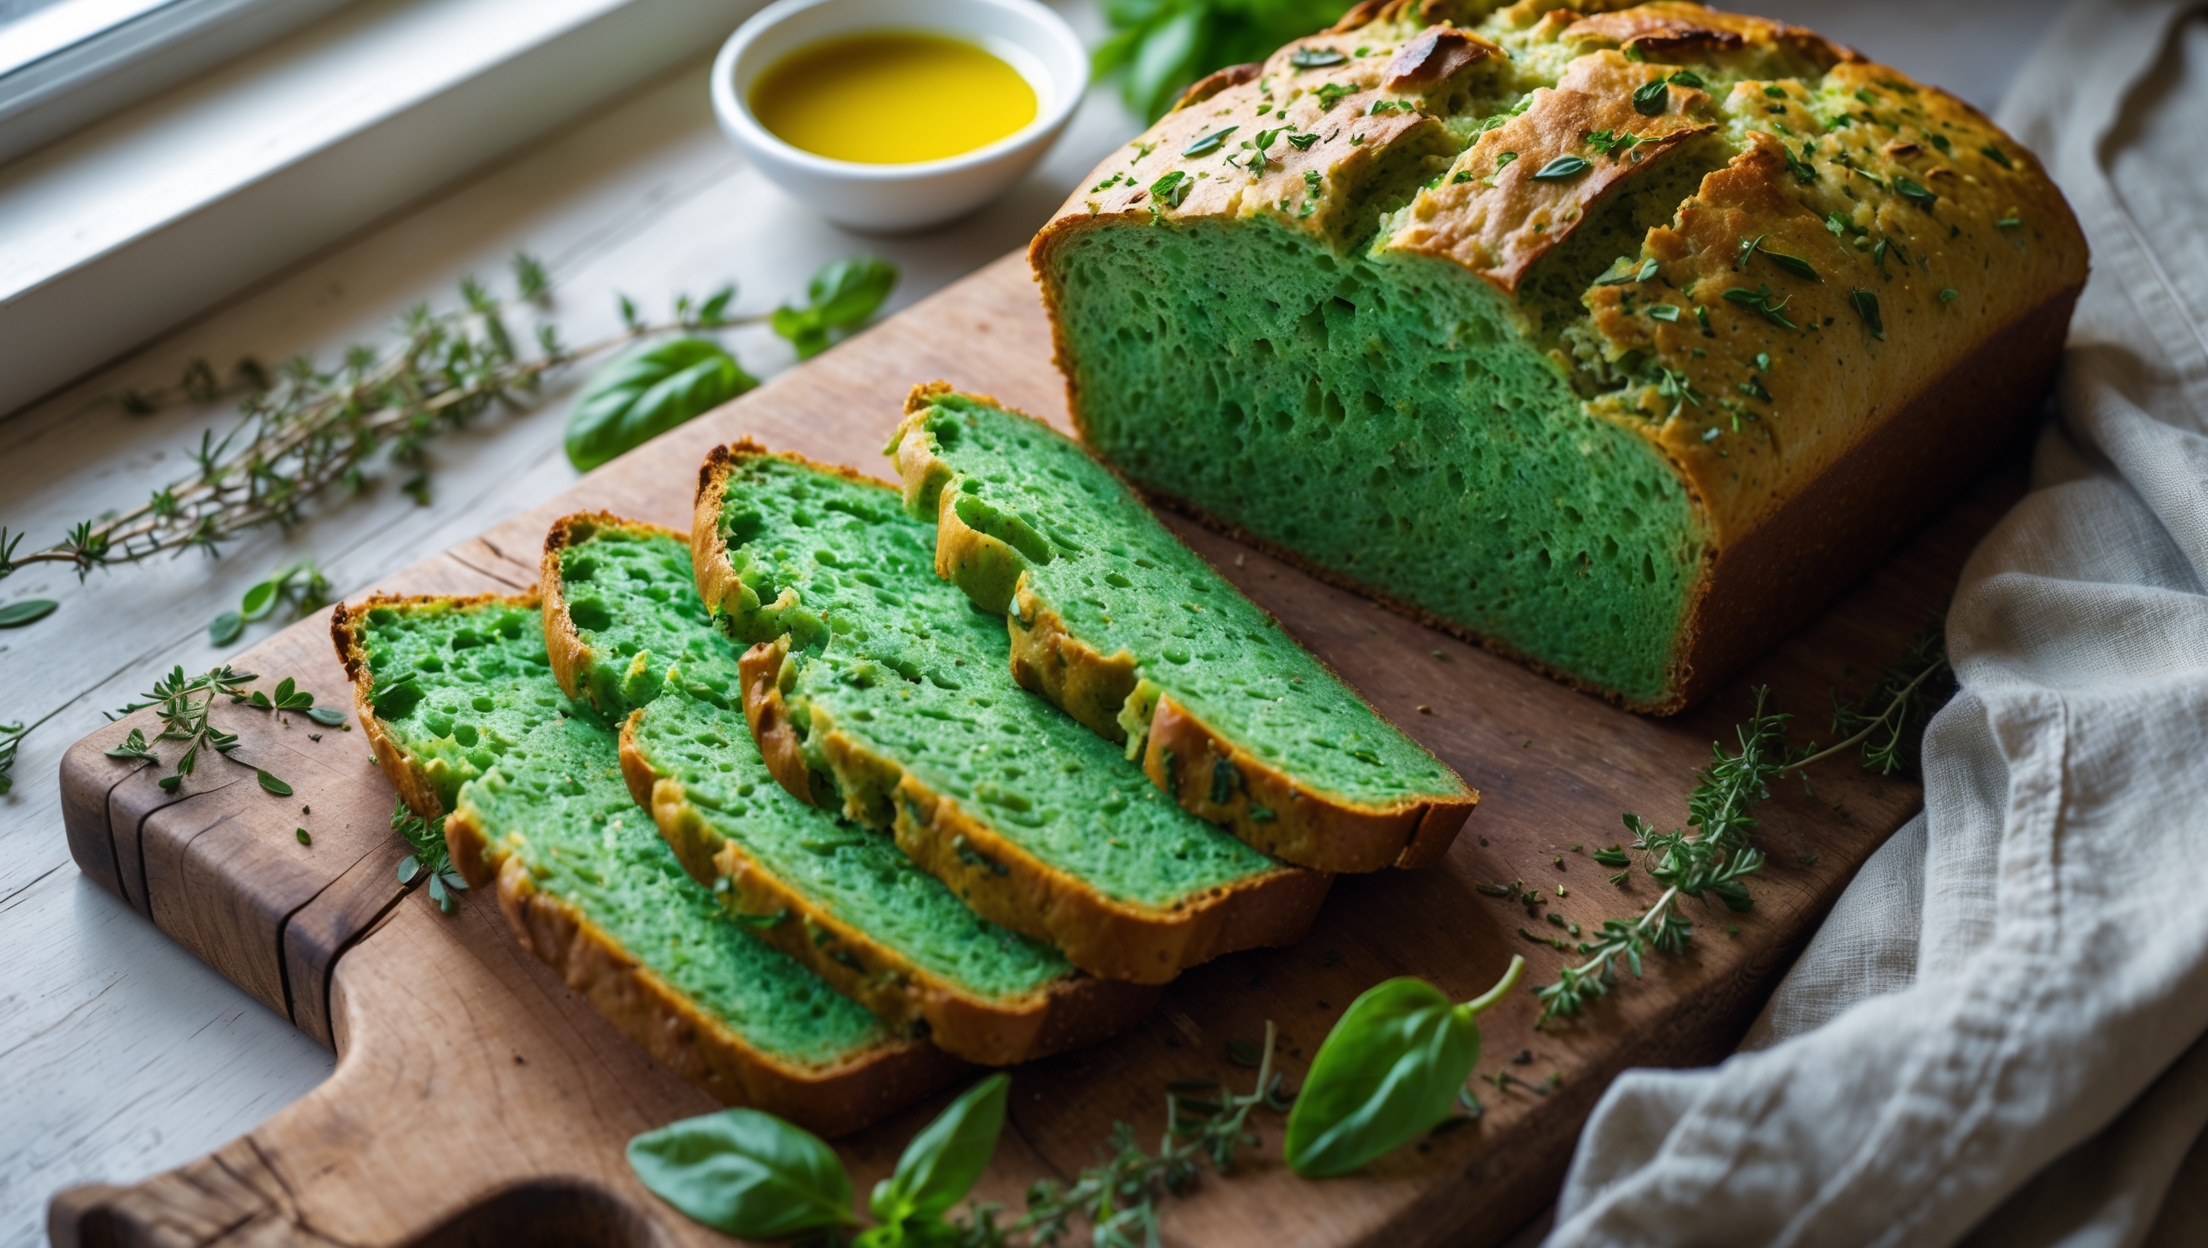
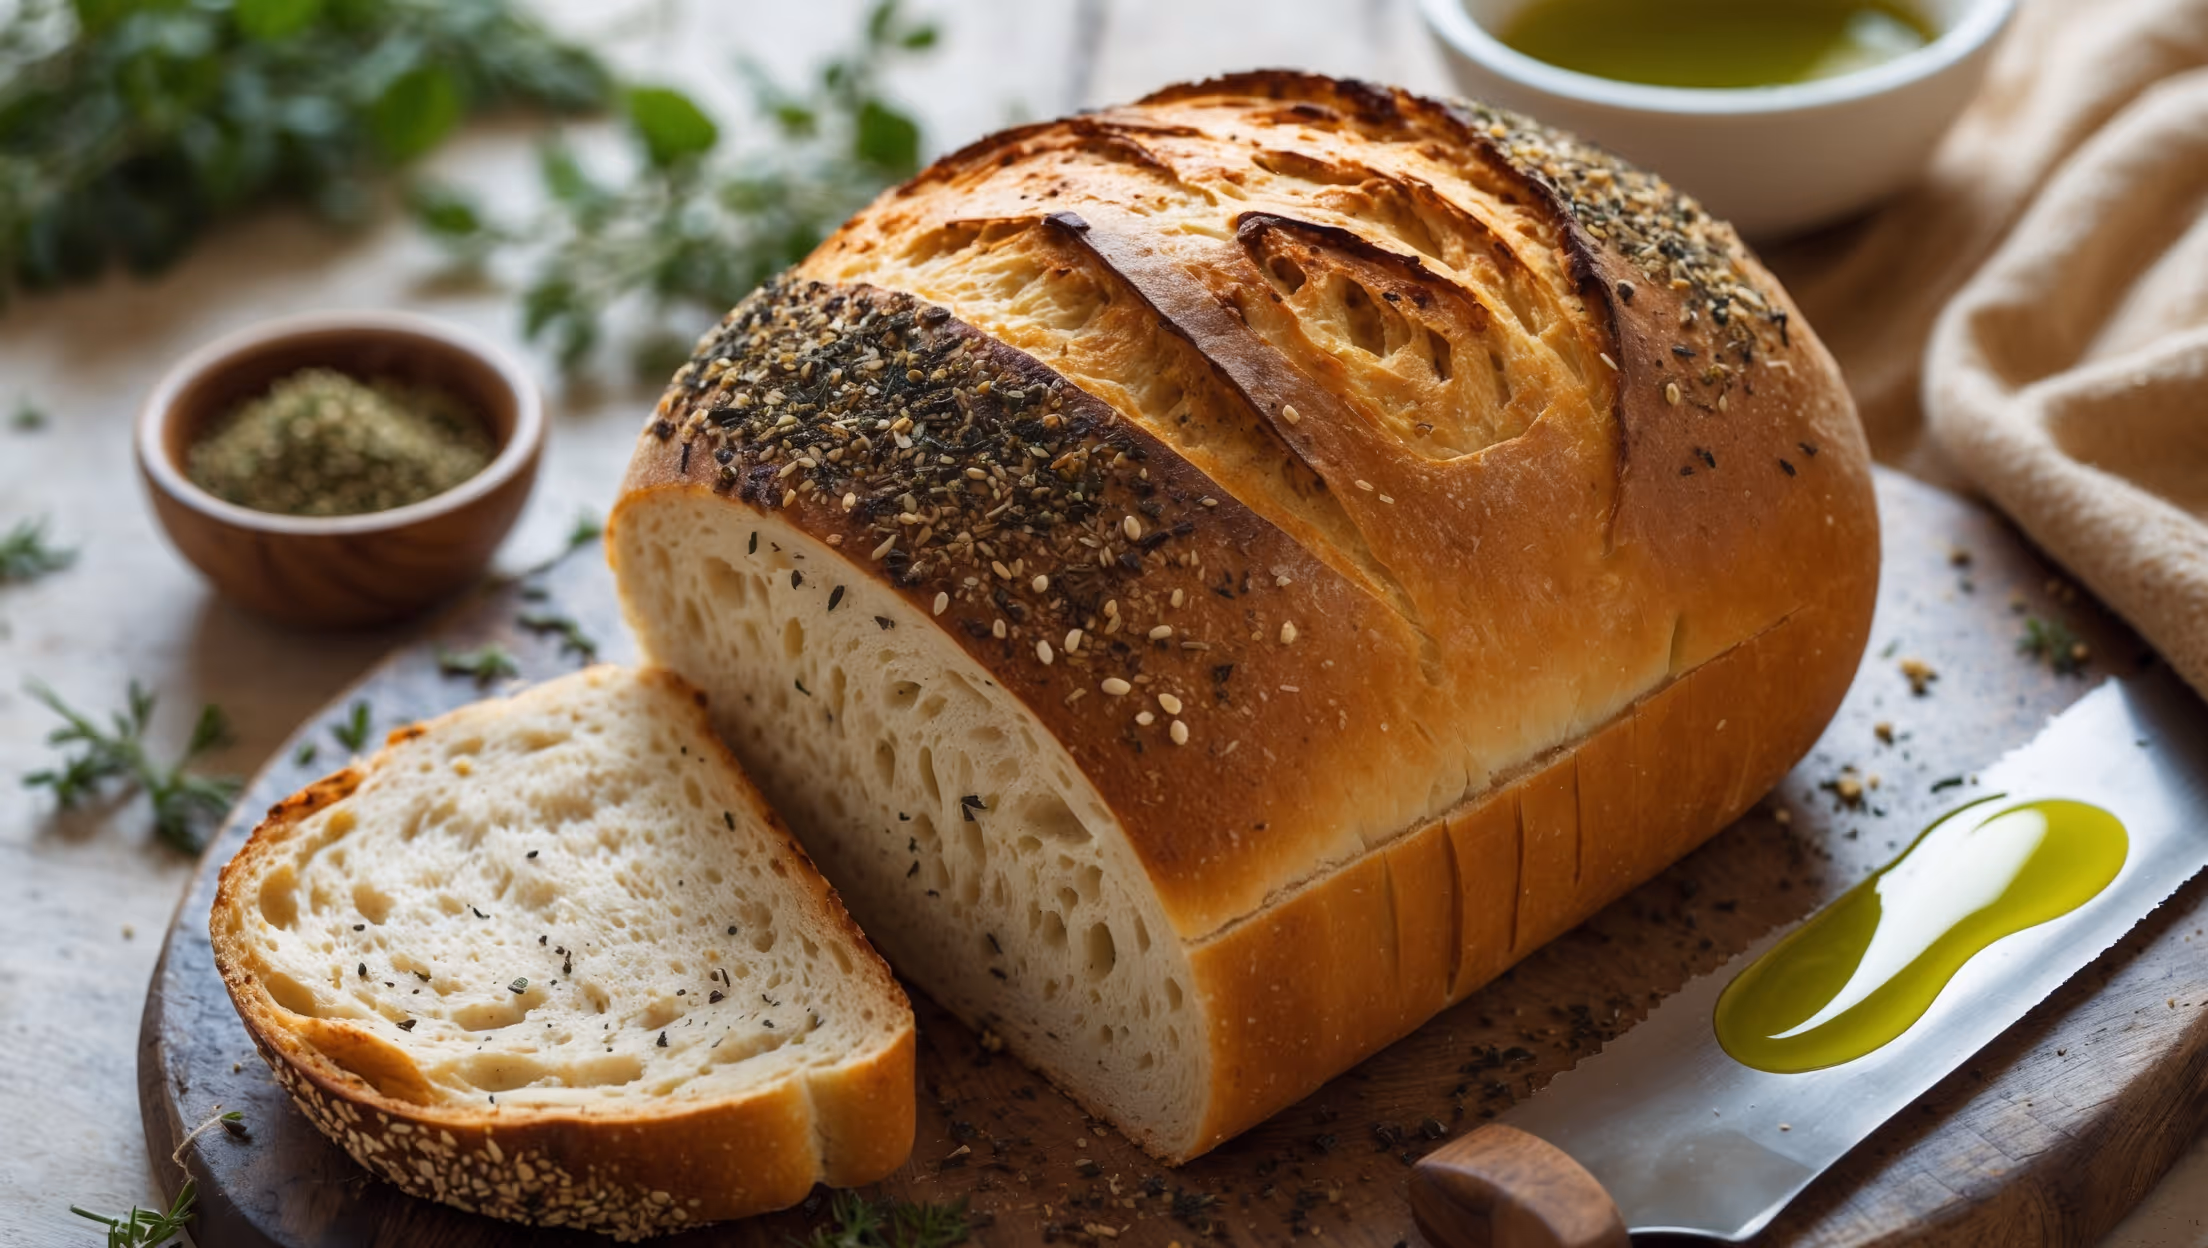
This gluten-free bread uses chickpea flour, tapioca starch, ground flaxseed, psyllium husk powder, yeast, sugar, salt, warm water, olive oil, apple cider vinegar, and eggs (or aquafaba for vegan version). These ingredients create a protein-rich alternative to wheat bread.
Learn how to cook Chickpea Flour Sandwich Bread by activating yeast in warm water, combining with dry ingredients (chickpea flour, tapioca starch, flaxseed, psyllium husk) and wet ingredients (eggs/aquafaba, oil, vinegar), then mixing thoroughly. Let the batter rise in a loaf pan before baking at 180°C for 45-50 minutes until golden and hollow-sounding when tapped.
Psyllium husk powder acts as a binding agent in gluten-free baking, mimicking the structure that gluten would normally provide. It absorbs water to create elasticity, helps trap air bubbles during rising, and prevents the bread from crumbling when sliced. It's essential for proper texture.
Yes, you can make this bread without a stand mixer by using a hand mixer or mixing vigorously by hand with a wooden spoon. The batter is more like cake batter than traditional dough, so it doesn't require kneading, just thorough mixing to incorporate all ingredients properly.
Gummy texture in chickpea flour bread usually results from cutting the bread before it's completely cooled. Always allow at least 2 hours cooling time. Other causes include insufficient baking time, too much moisture in the recipe, or incorrect measurements of binding agents like psyllium husk.
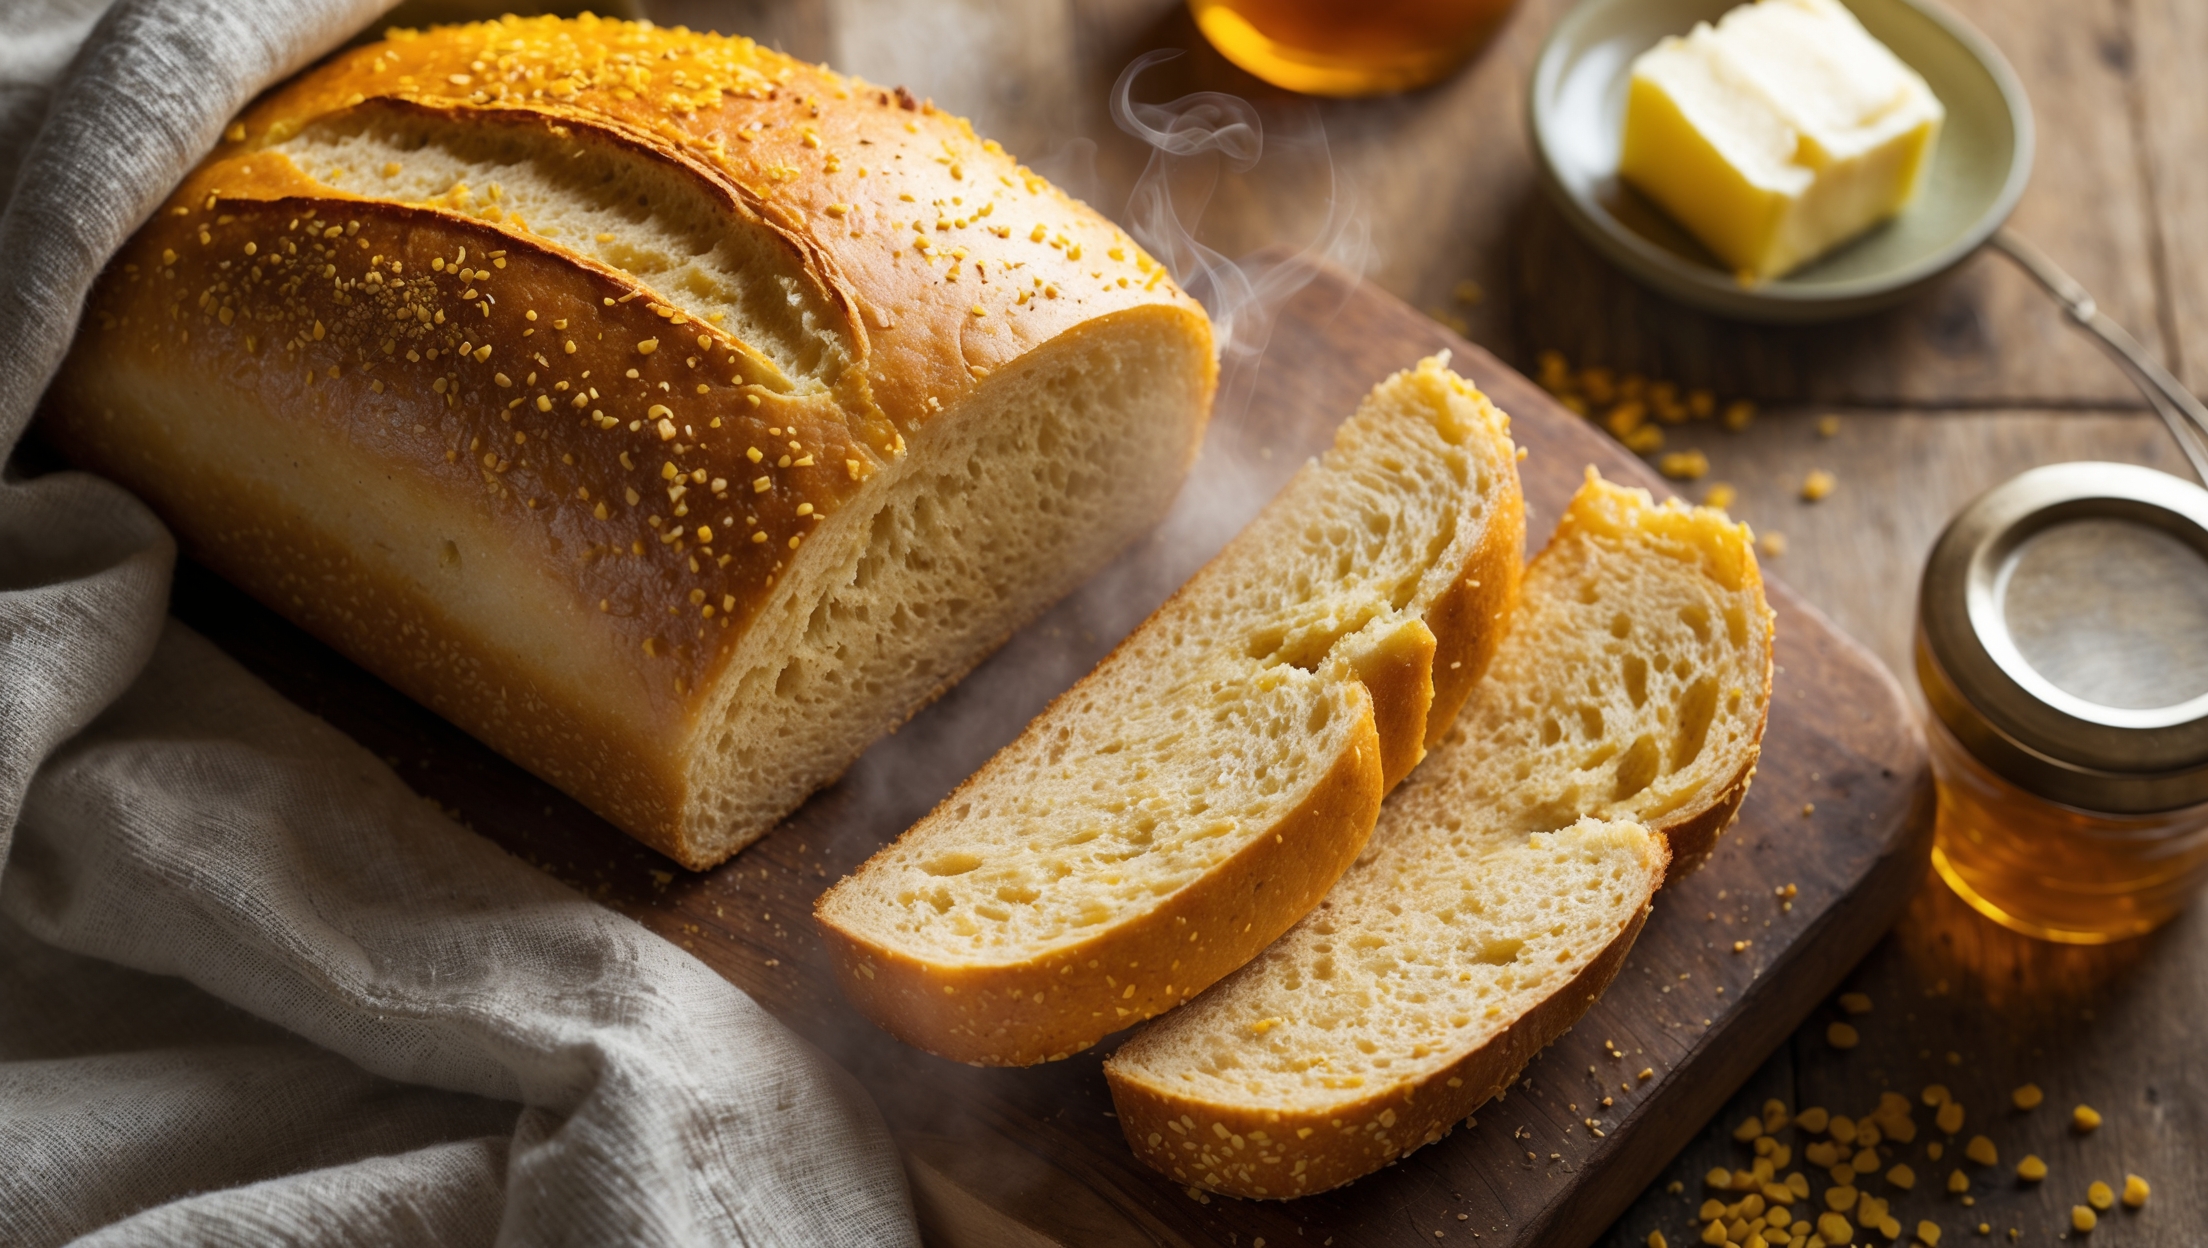
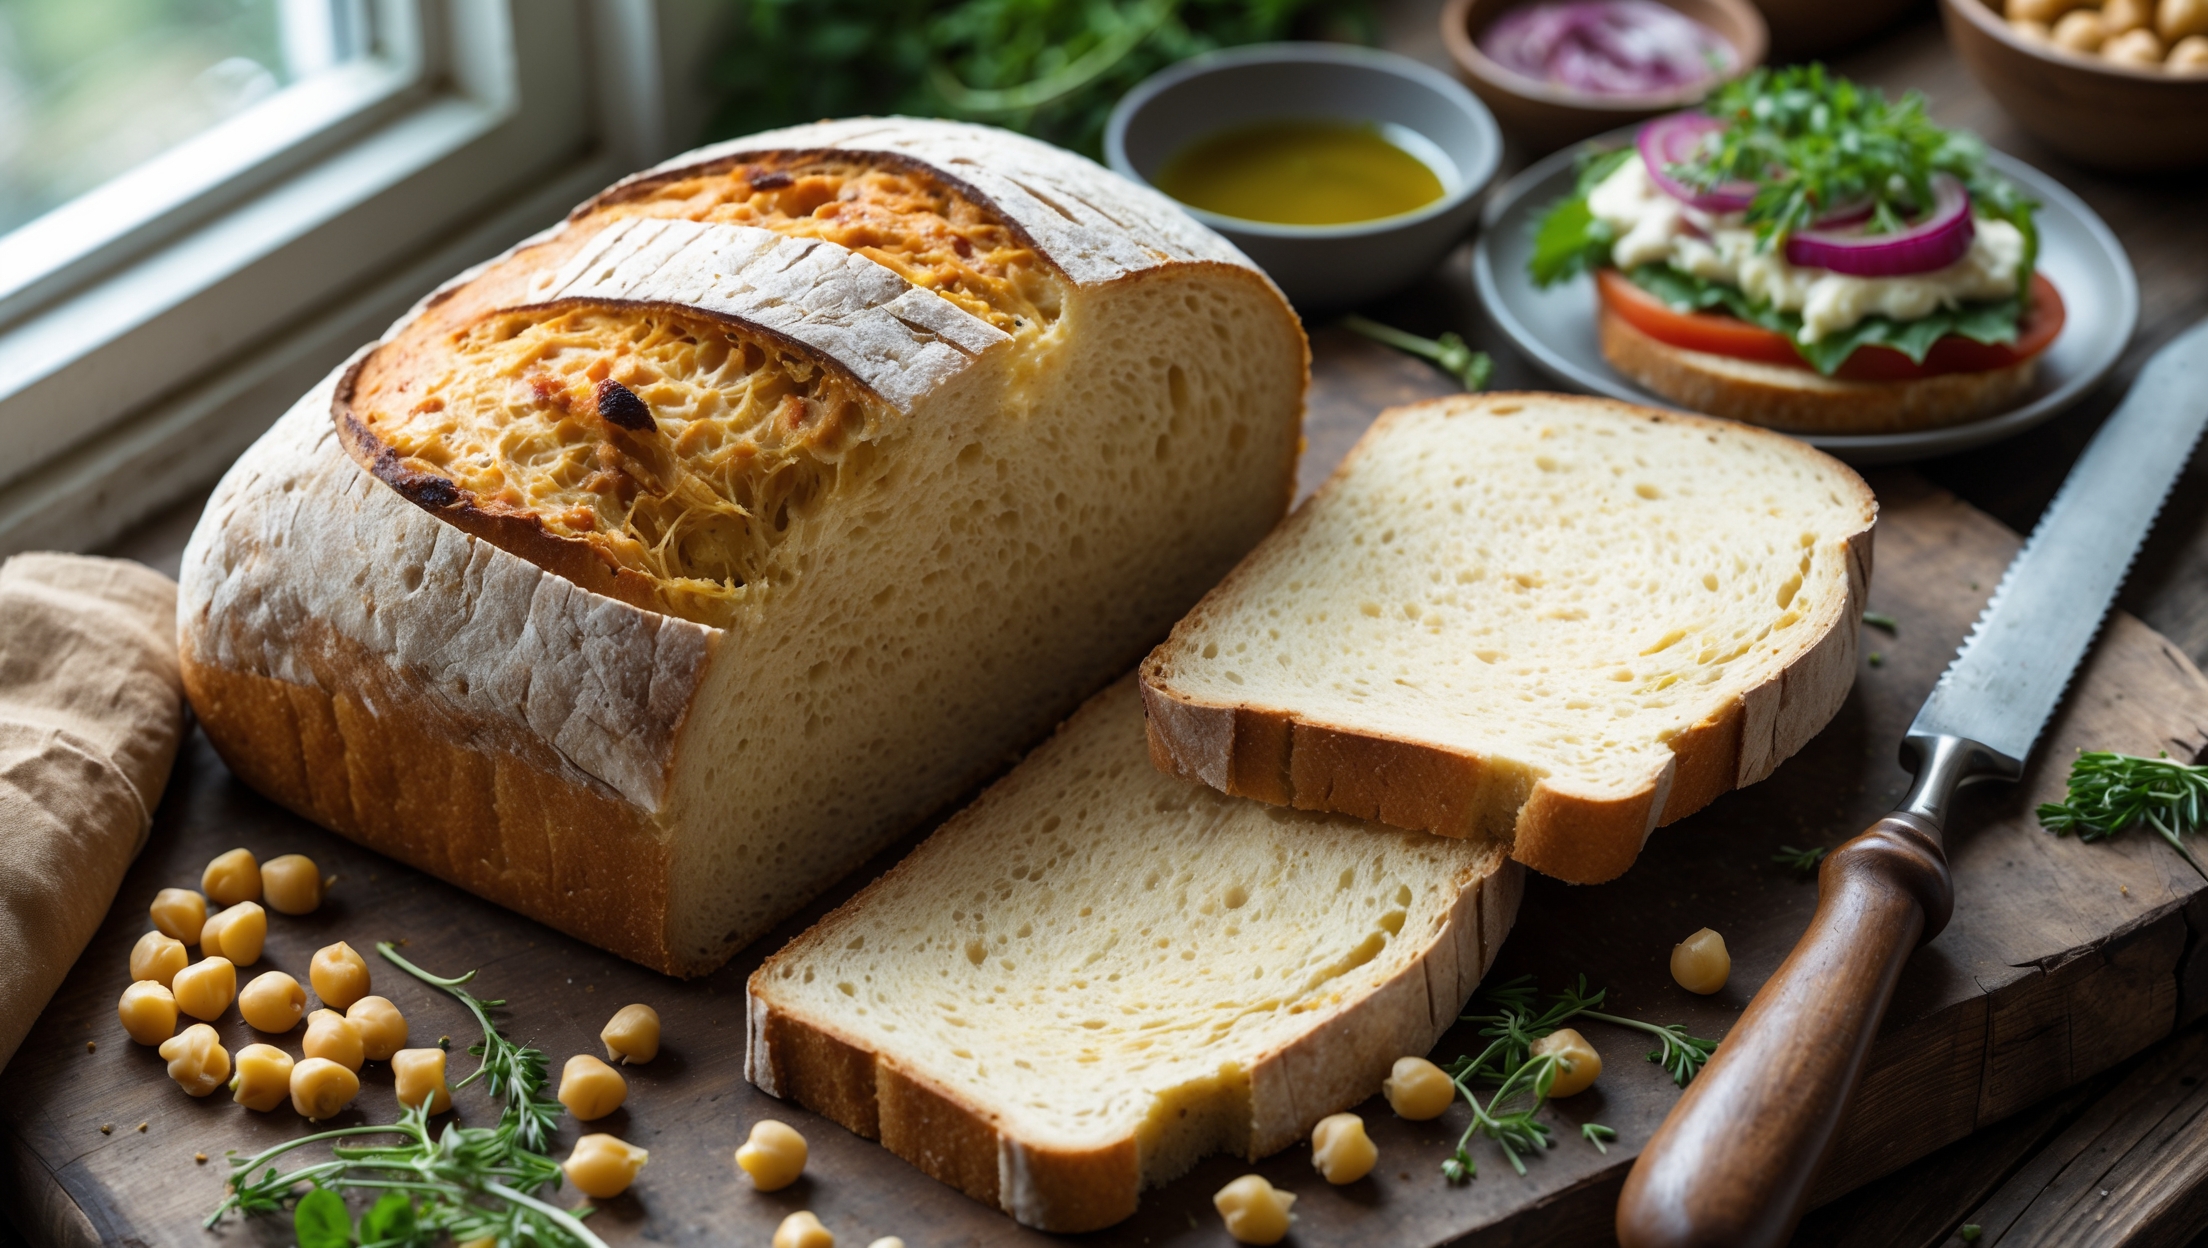
Sandwich Bread
Try following recommended recipes