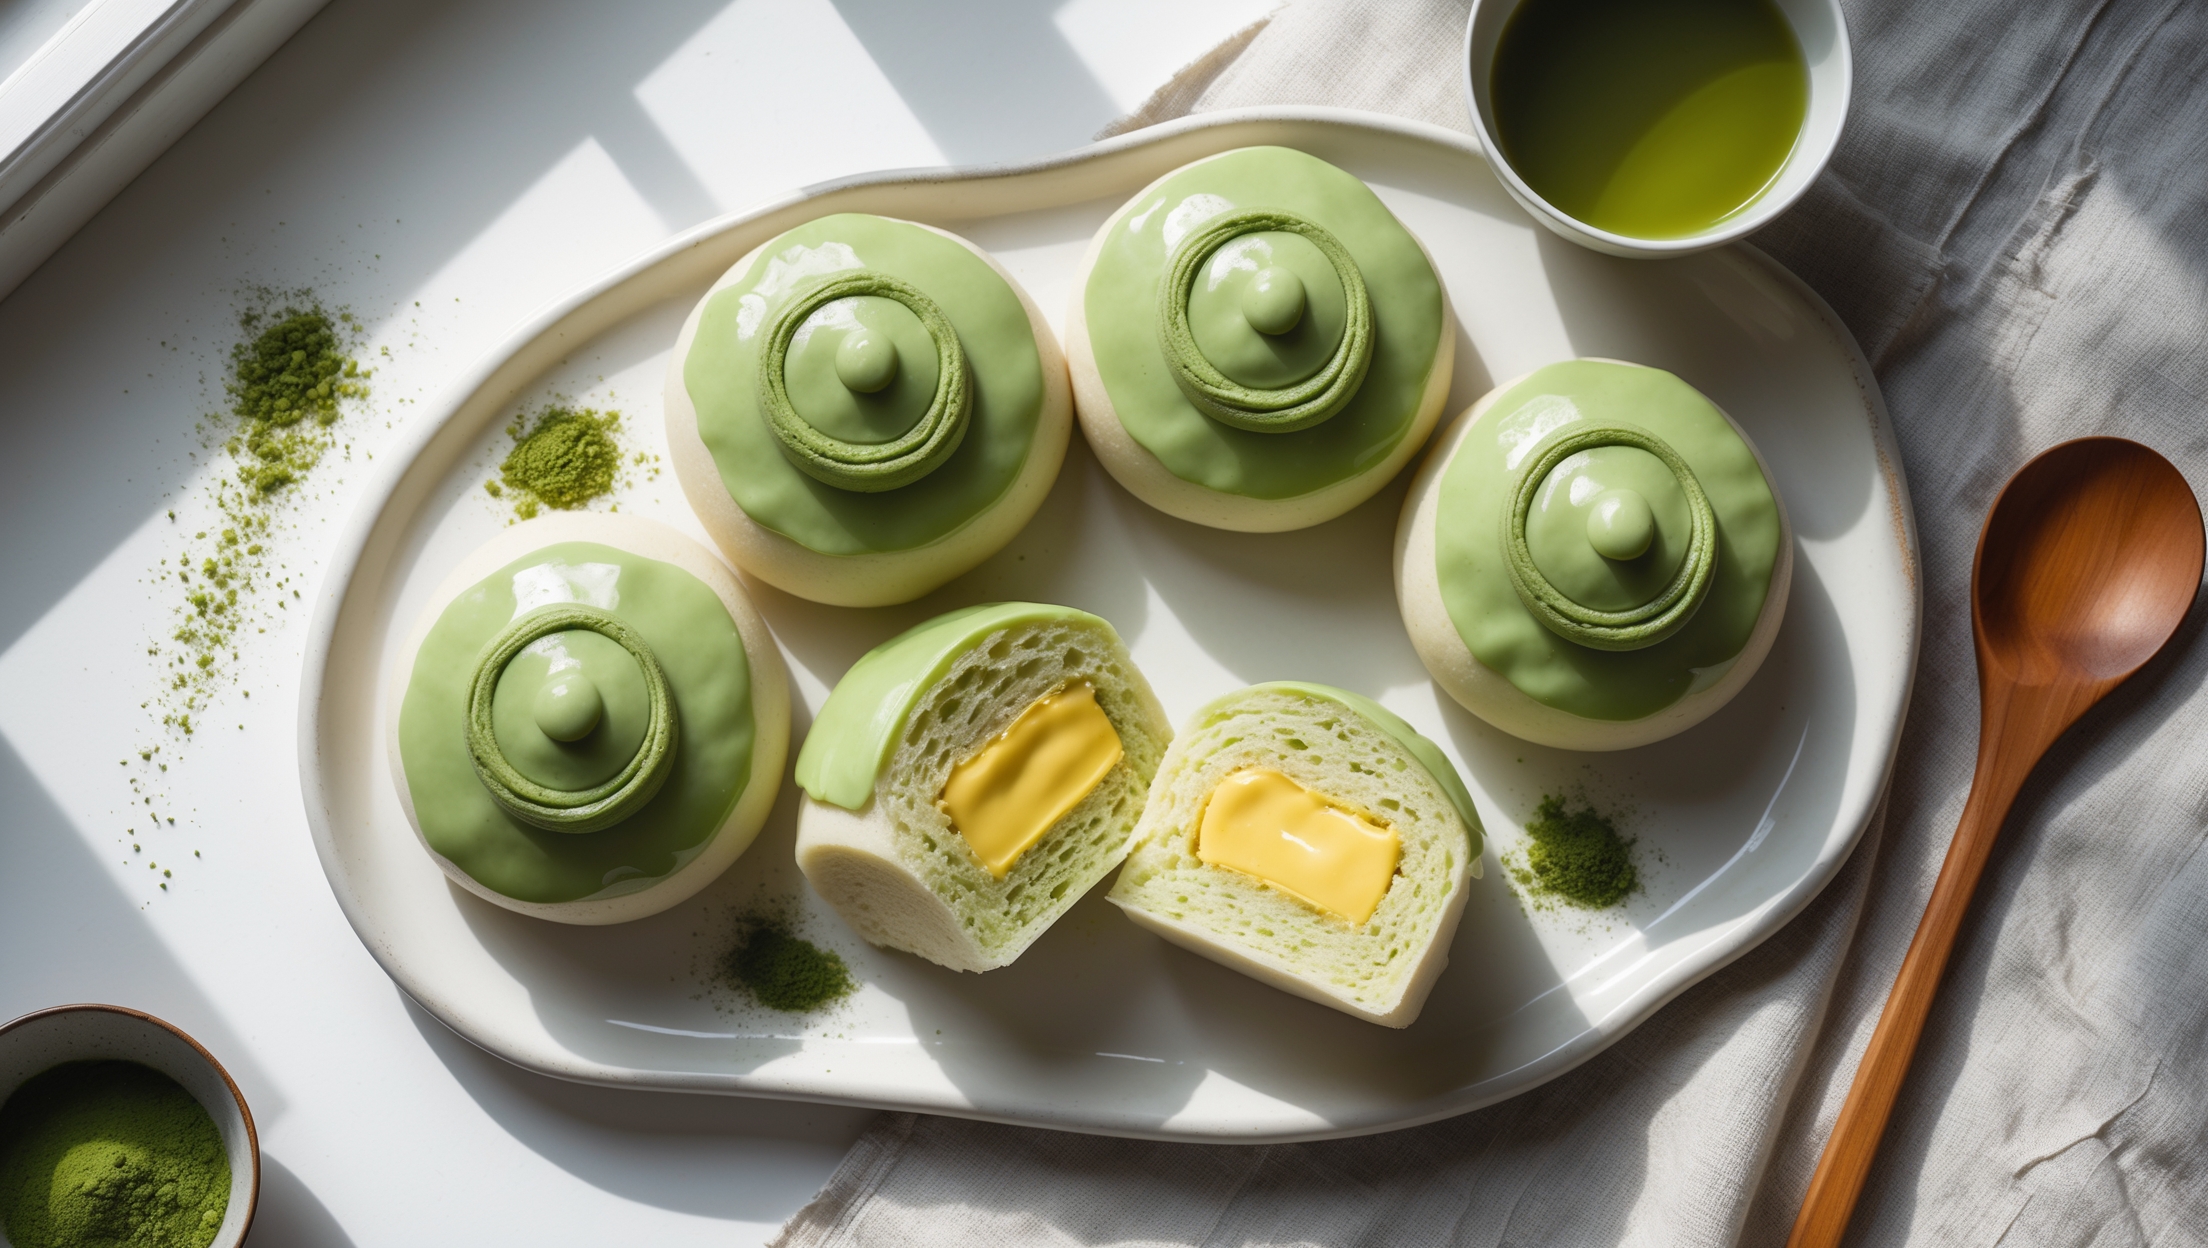
Sweet Matcha Buns Recipe
Ingredients
Equipment
Directions
FAQs
Find answers to your most pressing questions about this delicious recipe right here.
Sweet Matcha Buns require bread flour, matcha powder, milk, eggs, butter, sugar, yeast, and salt for the dough. The custard filling needs milk, sugar, cornstarch, egg yolks, butter, and vanilla. The matcha glaze combines powdered sugar, matcha, milk, and vanilla extract.
Learn how to cook Sweet Matcha Buns by first preparing a custard filling that needs to be chilled. Then create a matcha-infused dough that requires two rises. Shape into balls, bake until golden, cool completely, fill with custard, and finish with a matcha glaze. The process takes about 4 hours total, including rising and cooling times.
Matcha can lose its vibrant green colour during baking due to heat exposure. To maintain the colour, use premium-grade matcha powder, don't overheat your oven, and add a small amount of lemon juice to the dough. The glaze on top also helps reinforce the green colour for visual appeal.
Yes, you can make Japanese-style buns without a stand mixer by kneading the dough by hand for 10-15 minutes. The butter should be incorporated gradually, and you'll need to develop the gluten until the dough passes the windowpane test for that characteristic pillowy texture.
The custard has the right consistency when it thickens to coat the back of a spoon and a line drawn through it remains clear. After refrigeration, it should be firm enough to hold its shape when piped but still creamy. If too loose, recook briefly with a bit more cornstarch.
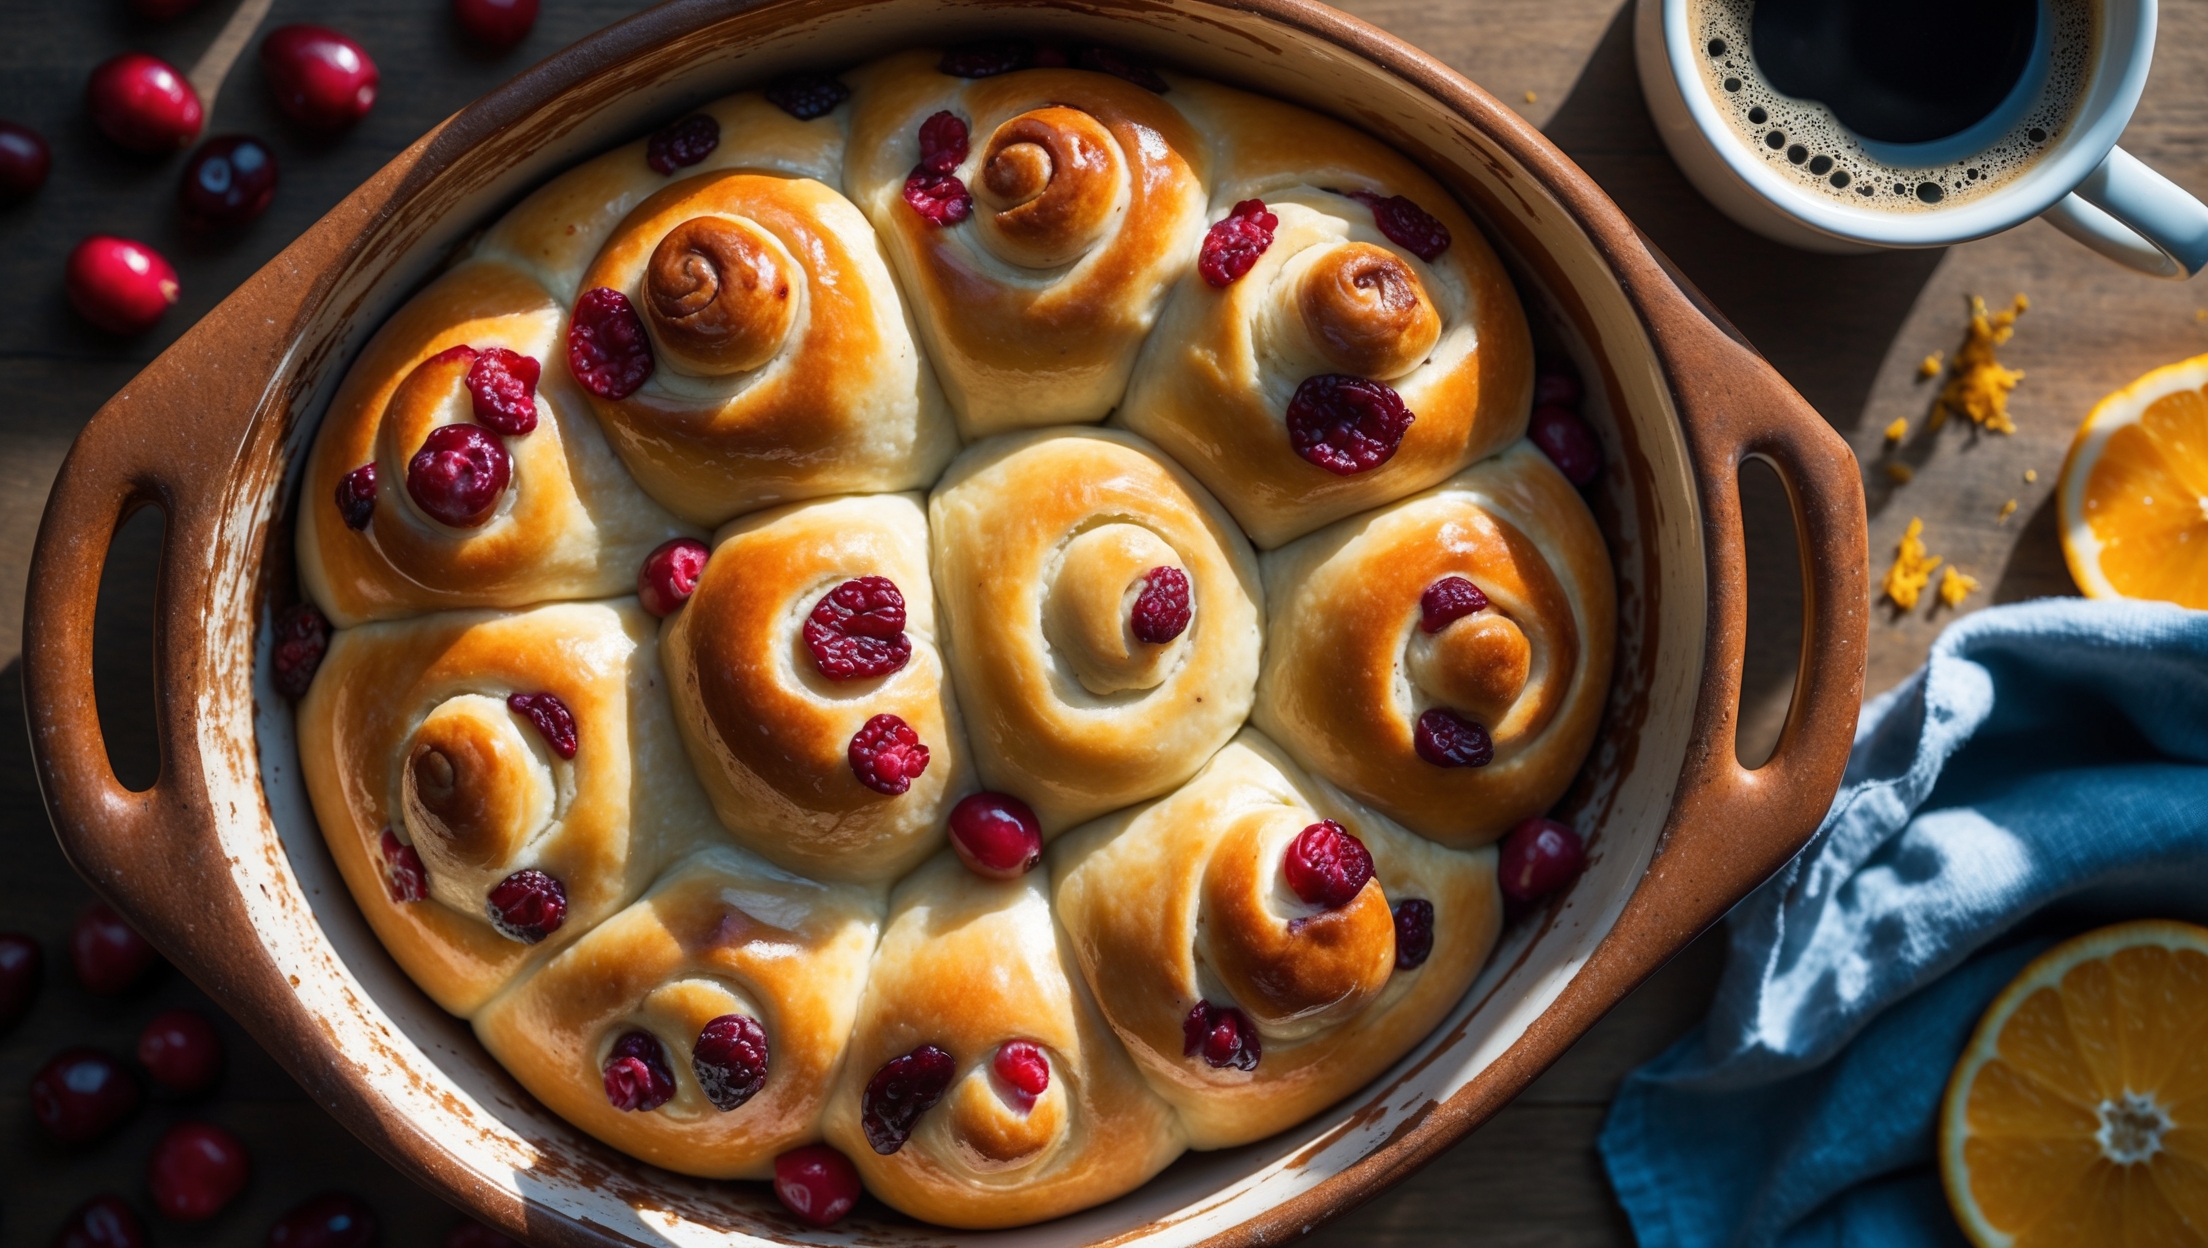
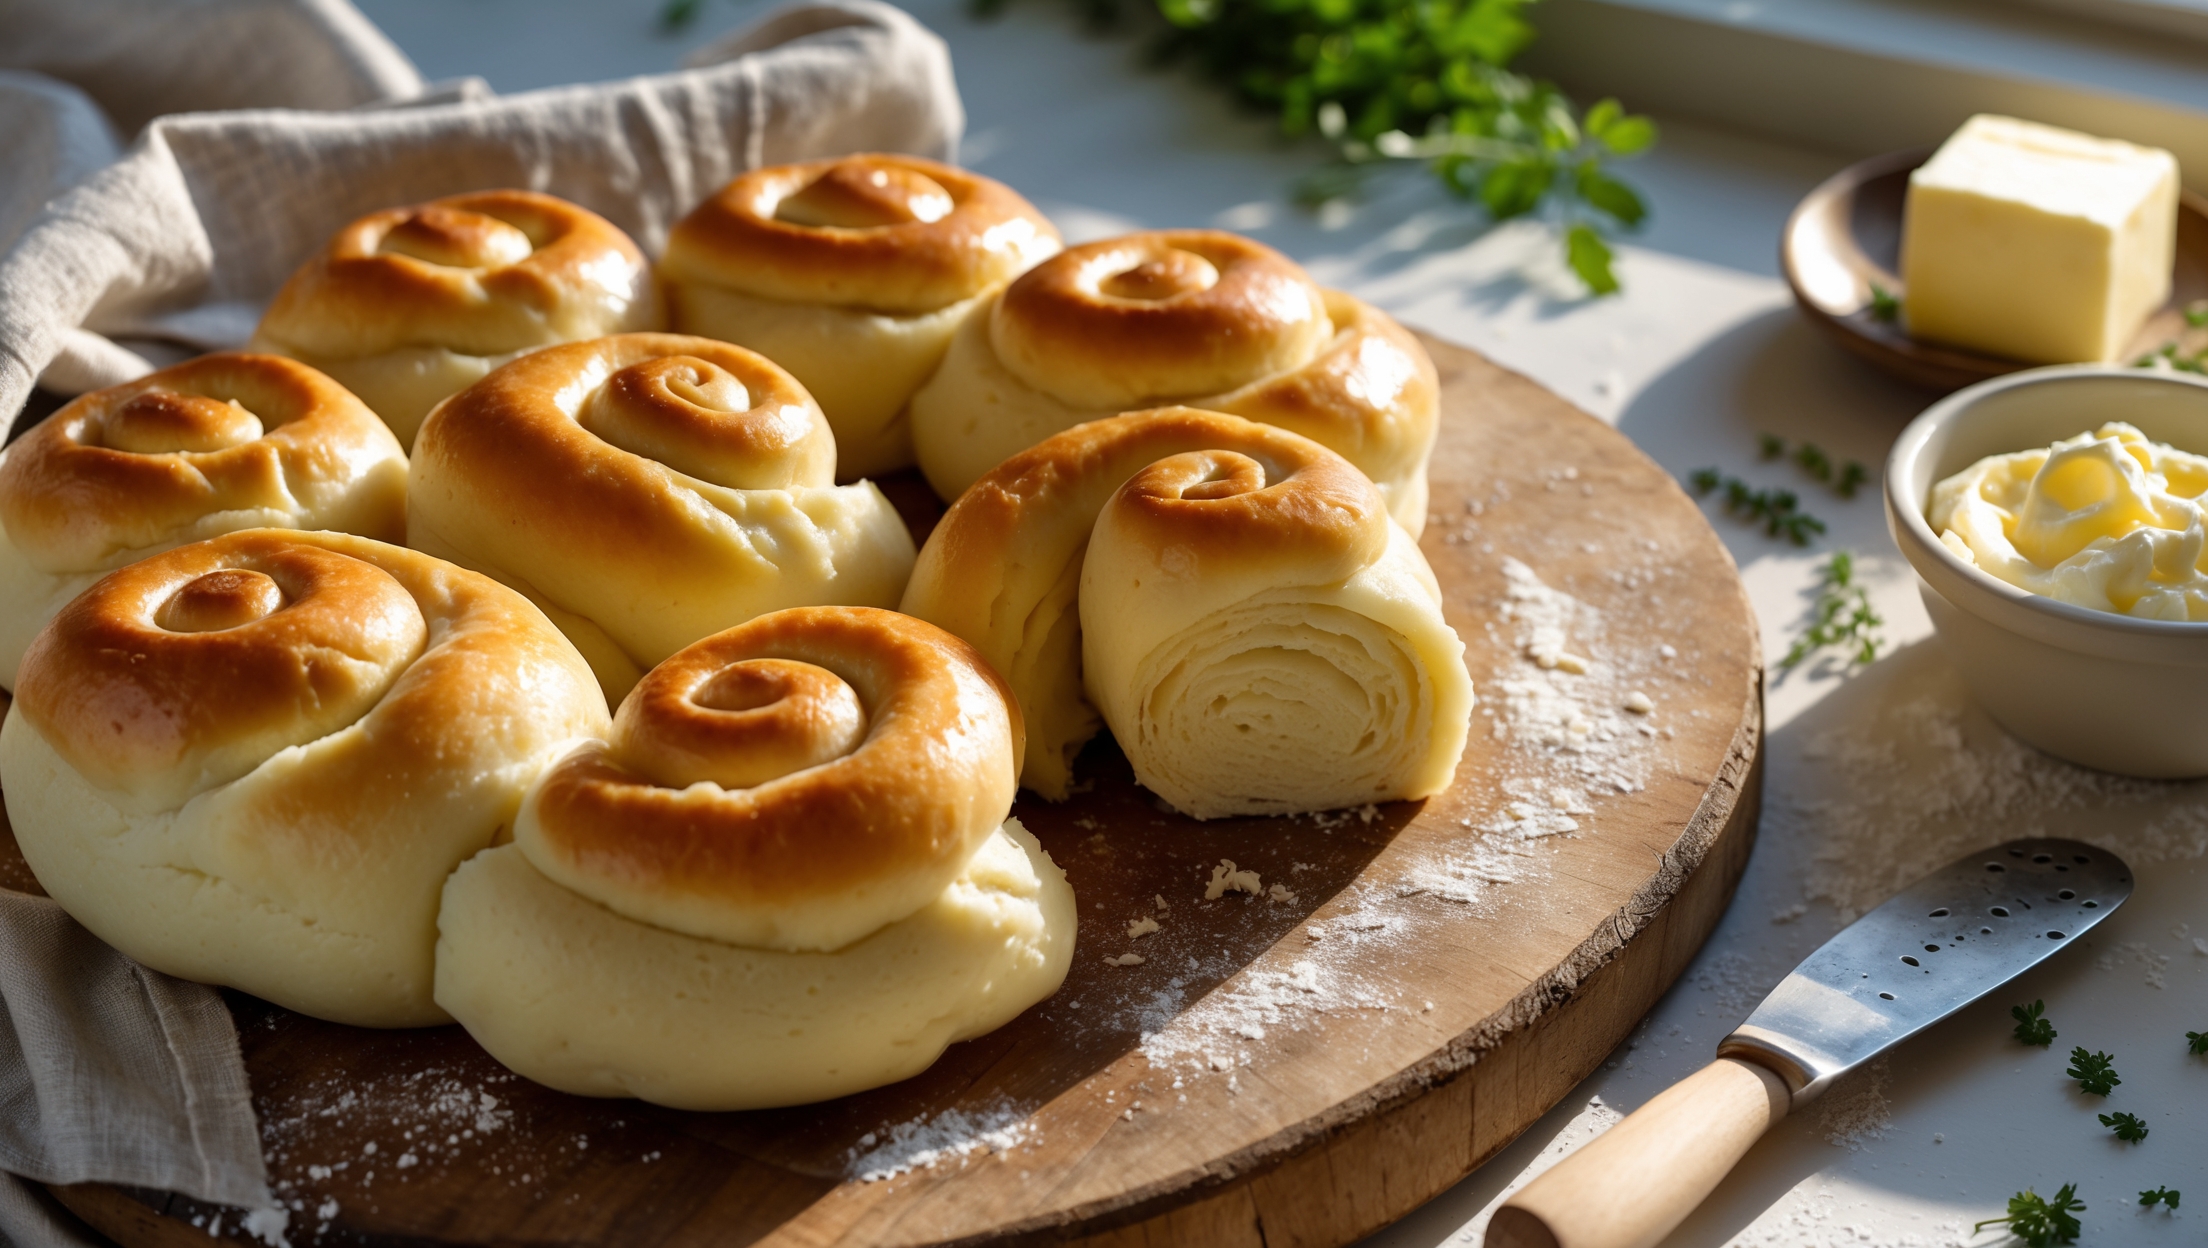
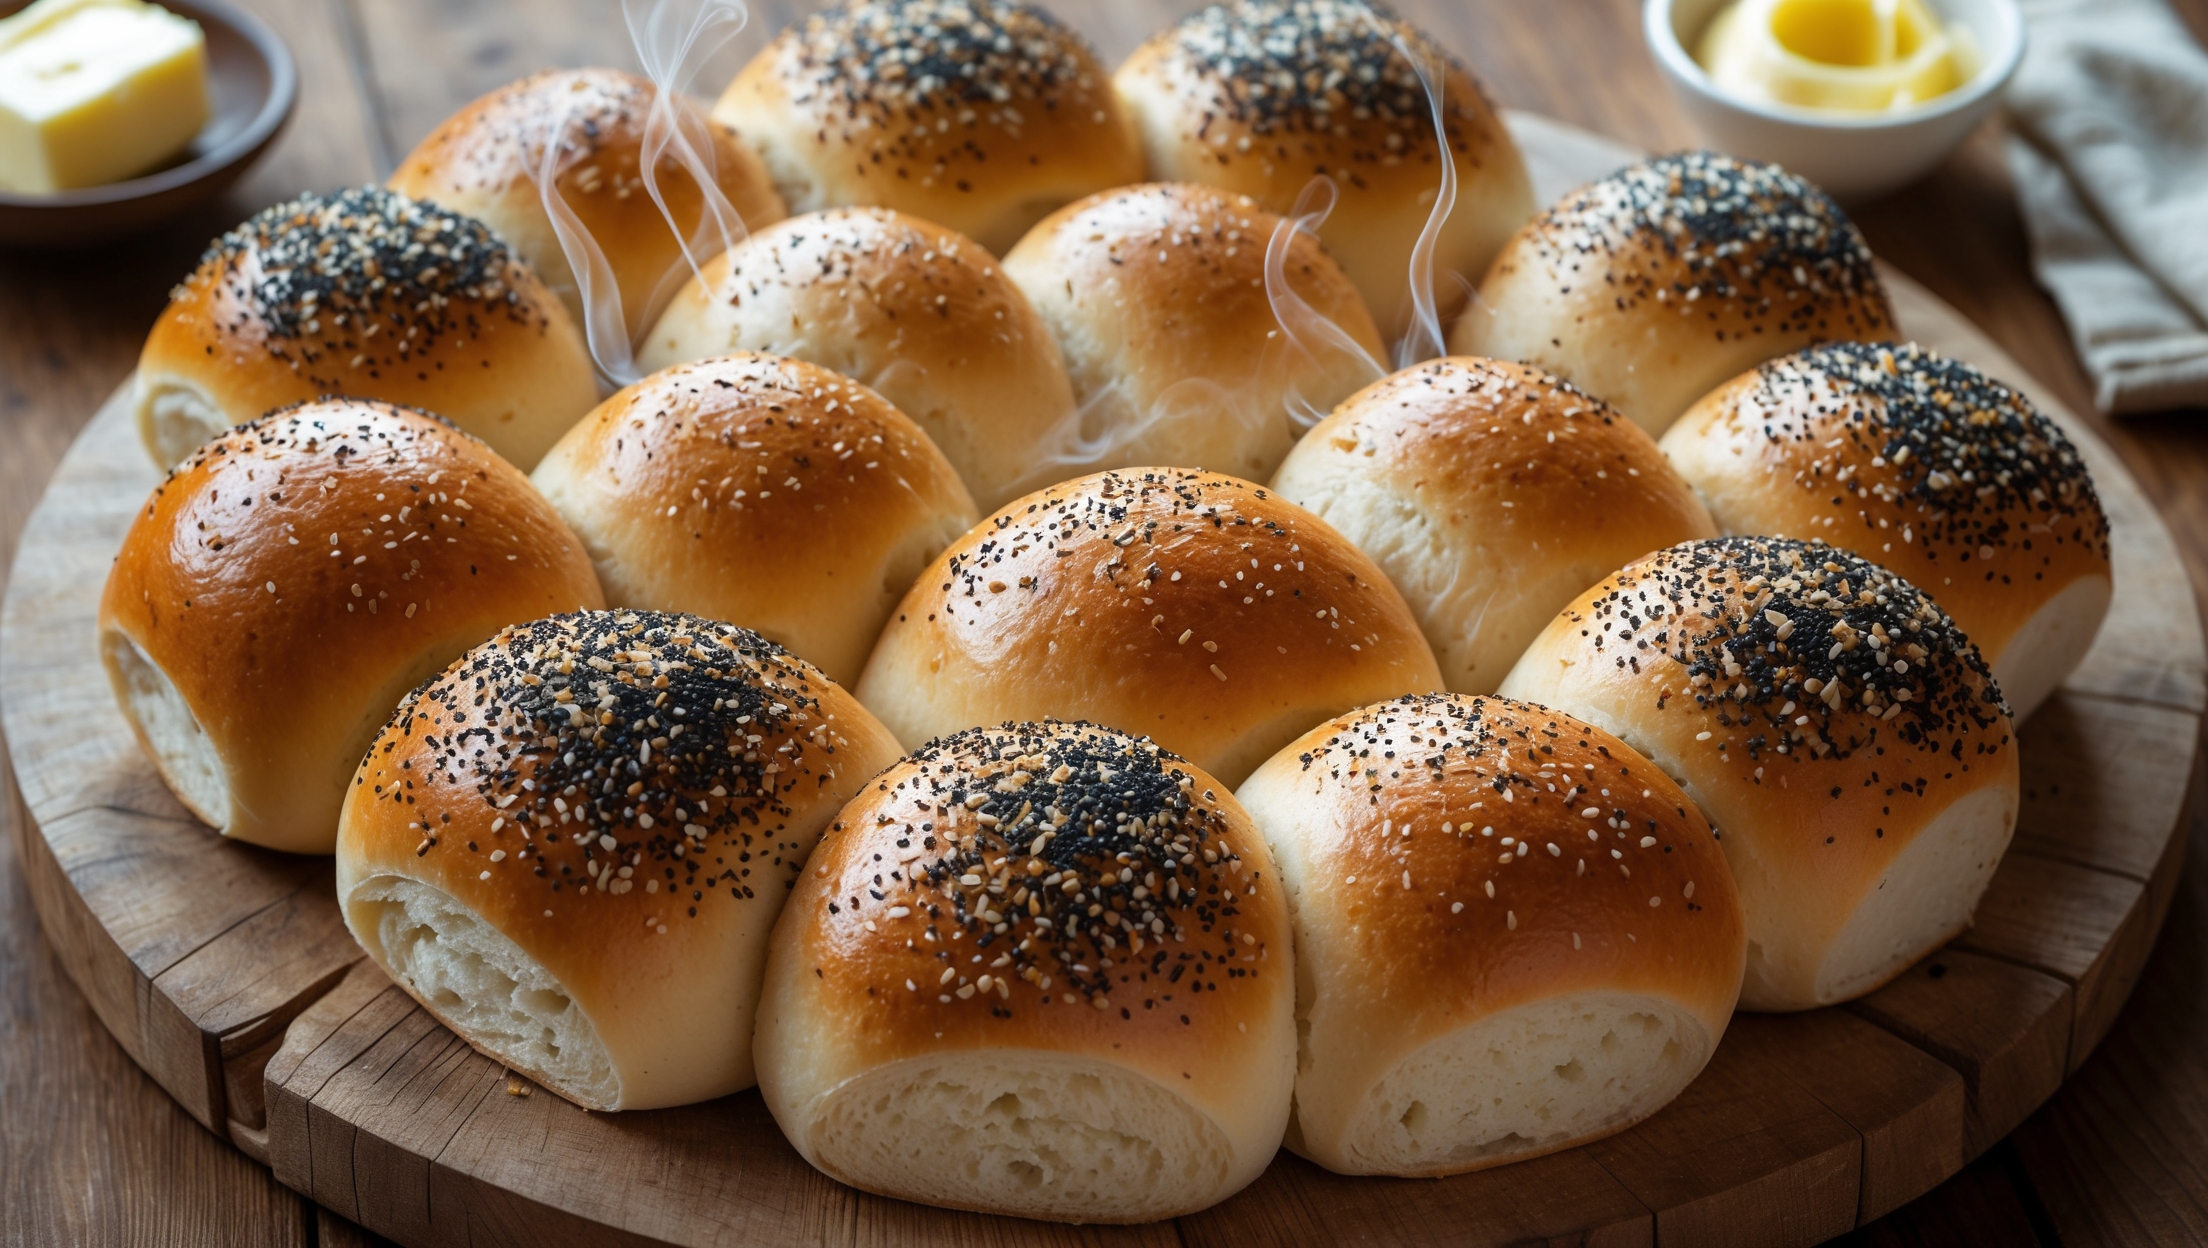
Rolls and Buns
Try following recommended recipes