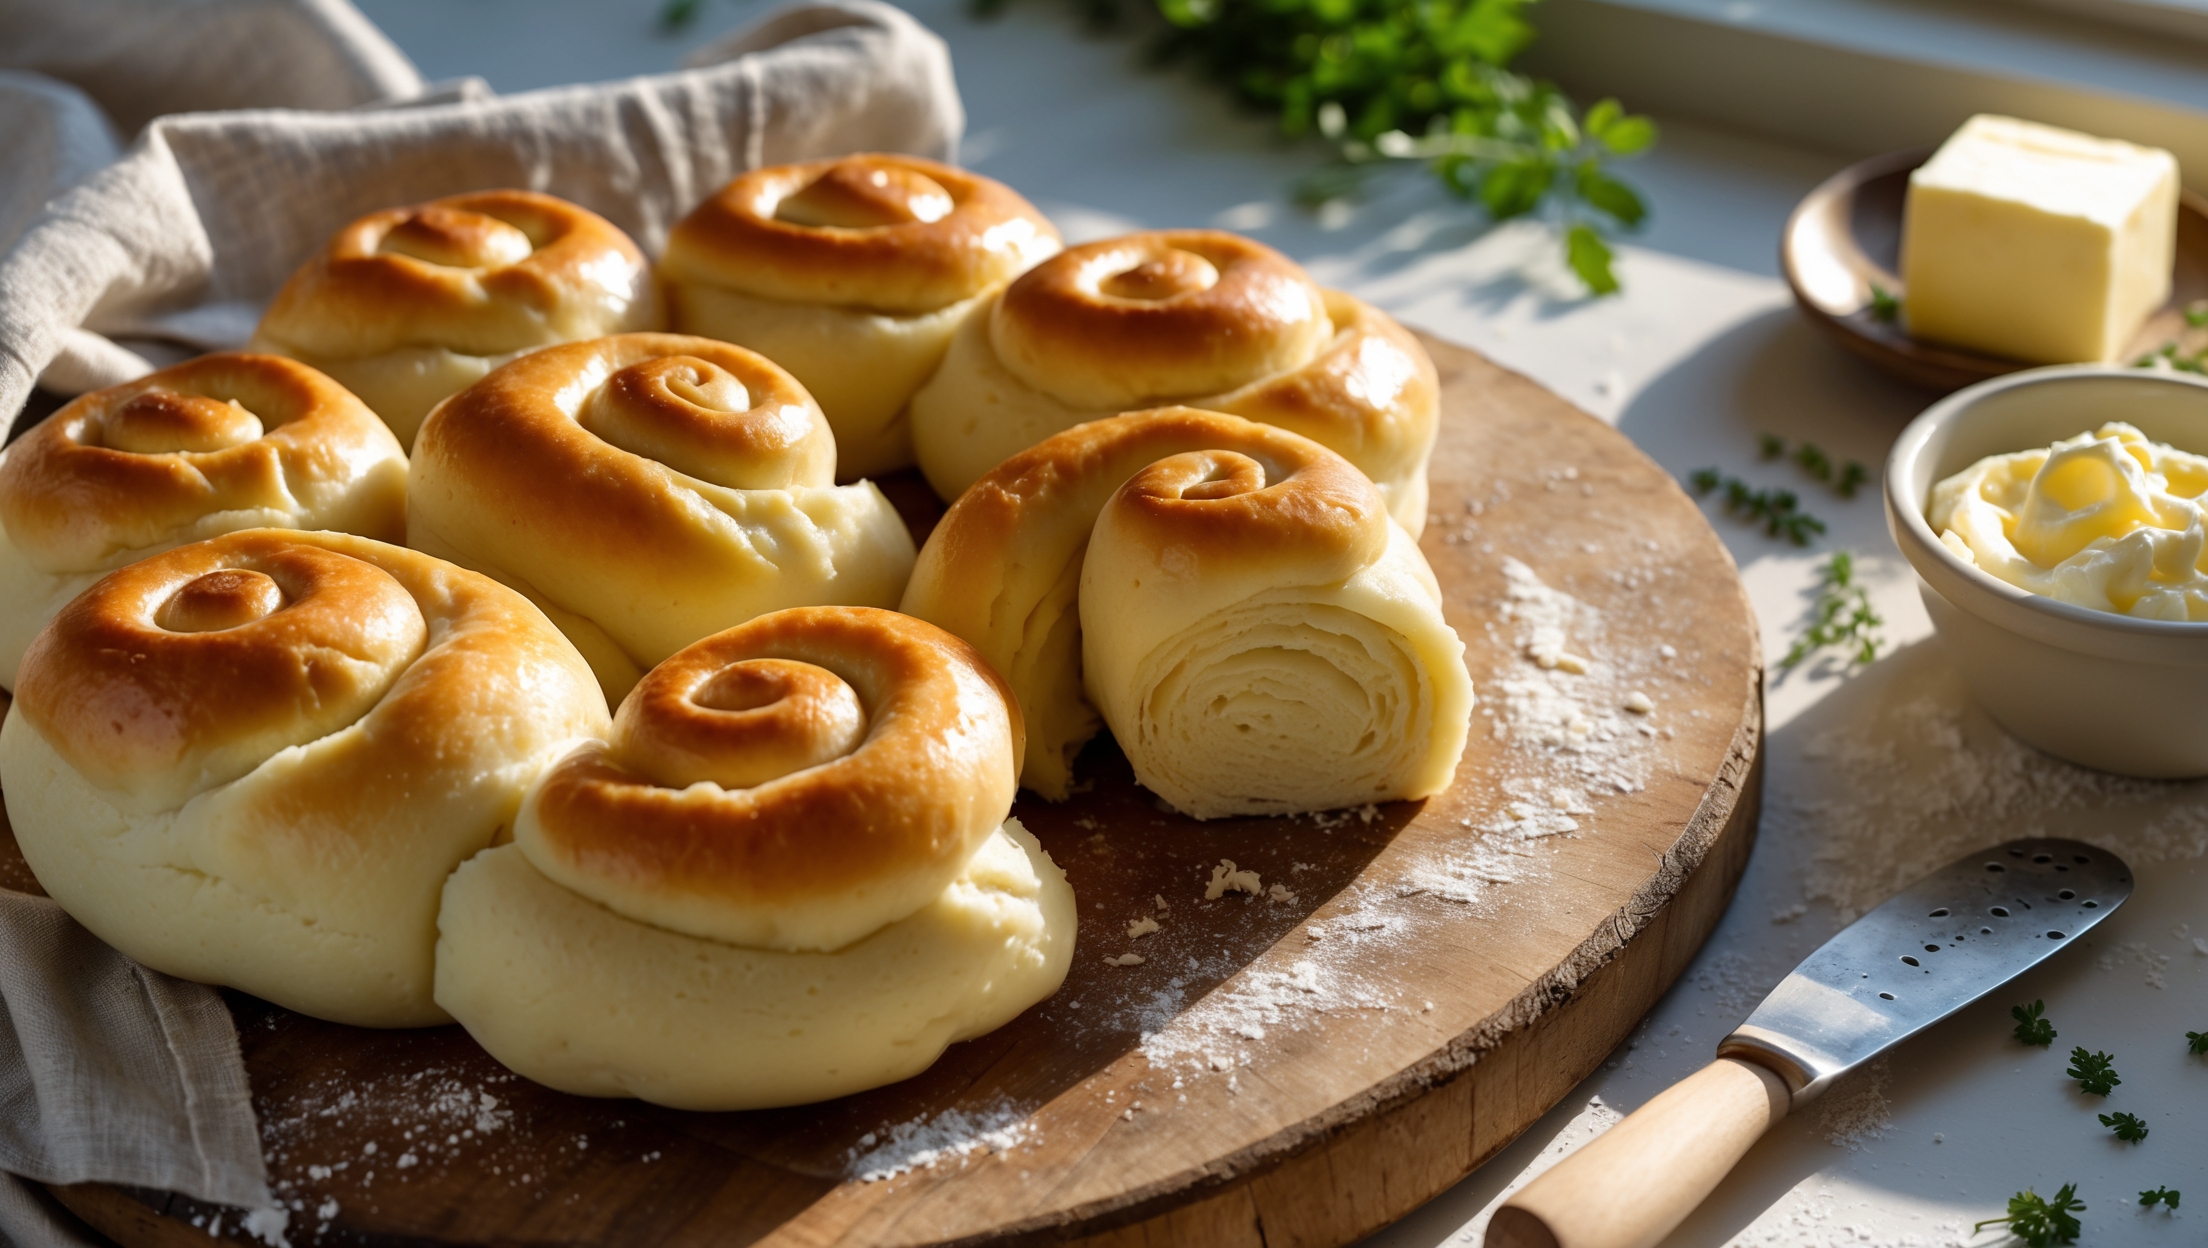
Directions
<ol class="no-list-style"><li class="MethodStepper"><h4 class="step-title">Step 1</h4>Prepare your mashed potatoes by boiling peeled, cubed potatoes until tender, then mash them without adding butter or milk. Allow them to cool to room temperature. The starch in potatoes acts as a natural dough conditioner, helping to create an exceptionally tender texture.</li><li class="MethodStepper"><h4 class="step-title">Step 2</h4>In the bowl of your stand mixer (or a large mixing bowl if working by hand), combine the warm milk (around 40°C/105°F) with the sugar and sprinkle the yeast over the top. Let it sit for 5-10 minutes until foamy and activated. This proofing step ensures your yeast is alive and ready to work.</li><li class="MethodStepper"><h4 class="step-title">Step 3</h4>Add the cooled mashed potatoes, melted butter, egg, and salt to the yeast mixture. Mix until well combined. The potato starches will immediately begin to absorb moisture, creating a cohesive mixture.</li><li class="MethodStepper"><h4 class="step-title">Step 4</h4>Gradually add the bread flour, mixing after each addition, until a soft dough forms. The dough will be slightly tacky but not sticky - the potato content makes this dough moister than traditional bread dough, so resist the temptation to add too much flour.</li><li class="MethodStepper"><h4 class="step-title">Step 5</h4>Knead the dough for 8-10 minutes by machine or 10-12 minutes by hand until smooth and elastic. When properly kneaded, the dough should pass the "window pane test" - a small piece of dough can be stretched thin enough to see light through without tearing.</li><li class="MethodStepper"><h4 class="step-title">Step 6</h4>Place the dough in a lightly oiled bowl, turning once to coat, then cover with plastic wrap or a damp cloth. Allow to rise in a warm place (around 24°C/75°F) for 1-1.5 hours, or until doubled in size. The potato in the dough provides extra food for the yeast, often resulting in a vigorous rise.</li><li class="MethodStepper"><h4 class="step-title">Step 7</h4>After the first rise, gently punch down the dough to release air bubbles. Divide the dough into 12 equal portions (about 60-65g each). For perfectly even rolls, use a kitchen scale to measure each portion.</li><li class="MethodStepper"><h4 class="step-title">Step 8</h4>Shape each portion into a tight ball by pulling the edges toward the center and pinching to seal, then rolling between your palms to create surface tension. This shaping technique ensures an even rise and attractive finished rolls.</li><li class="MethodStepper"><h4 class="step-title">Step 9</h4>Arrange the dough balls in a lightly greased 23cm (9-inch) round cake pan, placing 9 around the edge and 3 in the center. Cover loosely with plastic wrap or a clean kitchen towel and let rise again for 30-45 minutes, or until puffy and nearly doubled. Meanwhile, preheat your oven to 180°C (350°F).</li><li class="MethodStepper"><h4 class="step-title">Step 10</h4>Just before baking, gently brush the tops of the rolls with half of the melted butter. This creates a soft crust and adds flavor. Bake for 18-22 minutes, or until the rolls are golden brown and sound hollow when tapped on the bottom. An instant-read thermometer inserted into the center of a roll should read around 88-93°C (190-200°F).</li><li class="MethodStepper"><h4 class="step-title">Step 11</h4>Remove from the oven and immediately brush with the remaining melted butter. This second butter application keeps the crust soft and adds a beautiful sheen. Allow to cool in the pan for 5 minutes, then transfer to a wire rack to cool slightly.</li><li class="MethodStepper"><h4 class="step-title">Step 12</h4>Serve warm for the ultimate experience! These rolls can be stored in an airtight container at room temperature for up to 3 days (they'll stay softer than traditional rolls thanks to the potato content), or frozen for up to 1 month. To reheat, wrap in foil and warm in a 150°C (300°F) oven for about 10 minutes.</li></ol>