Directions
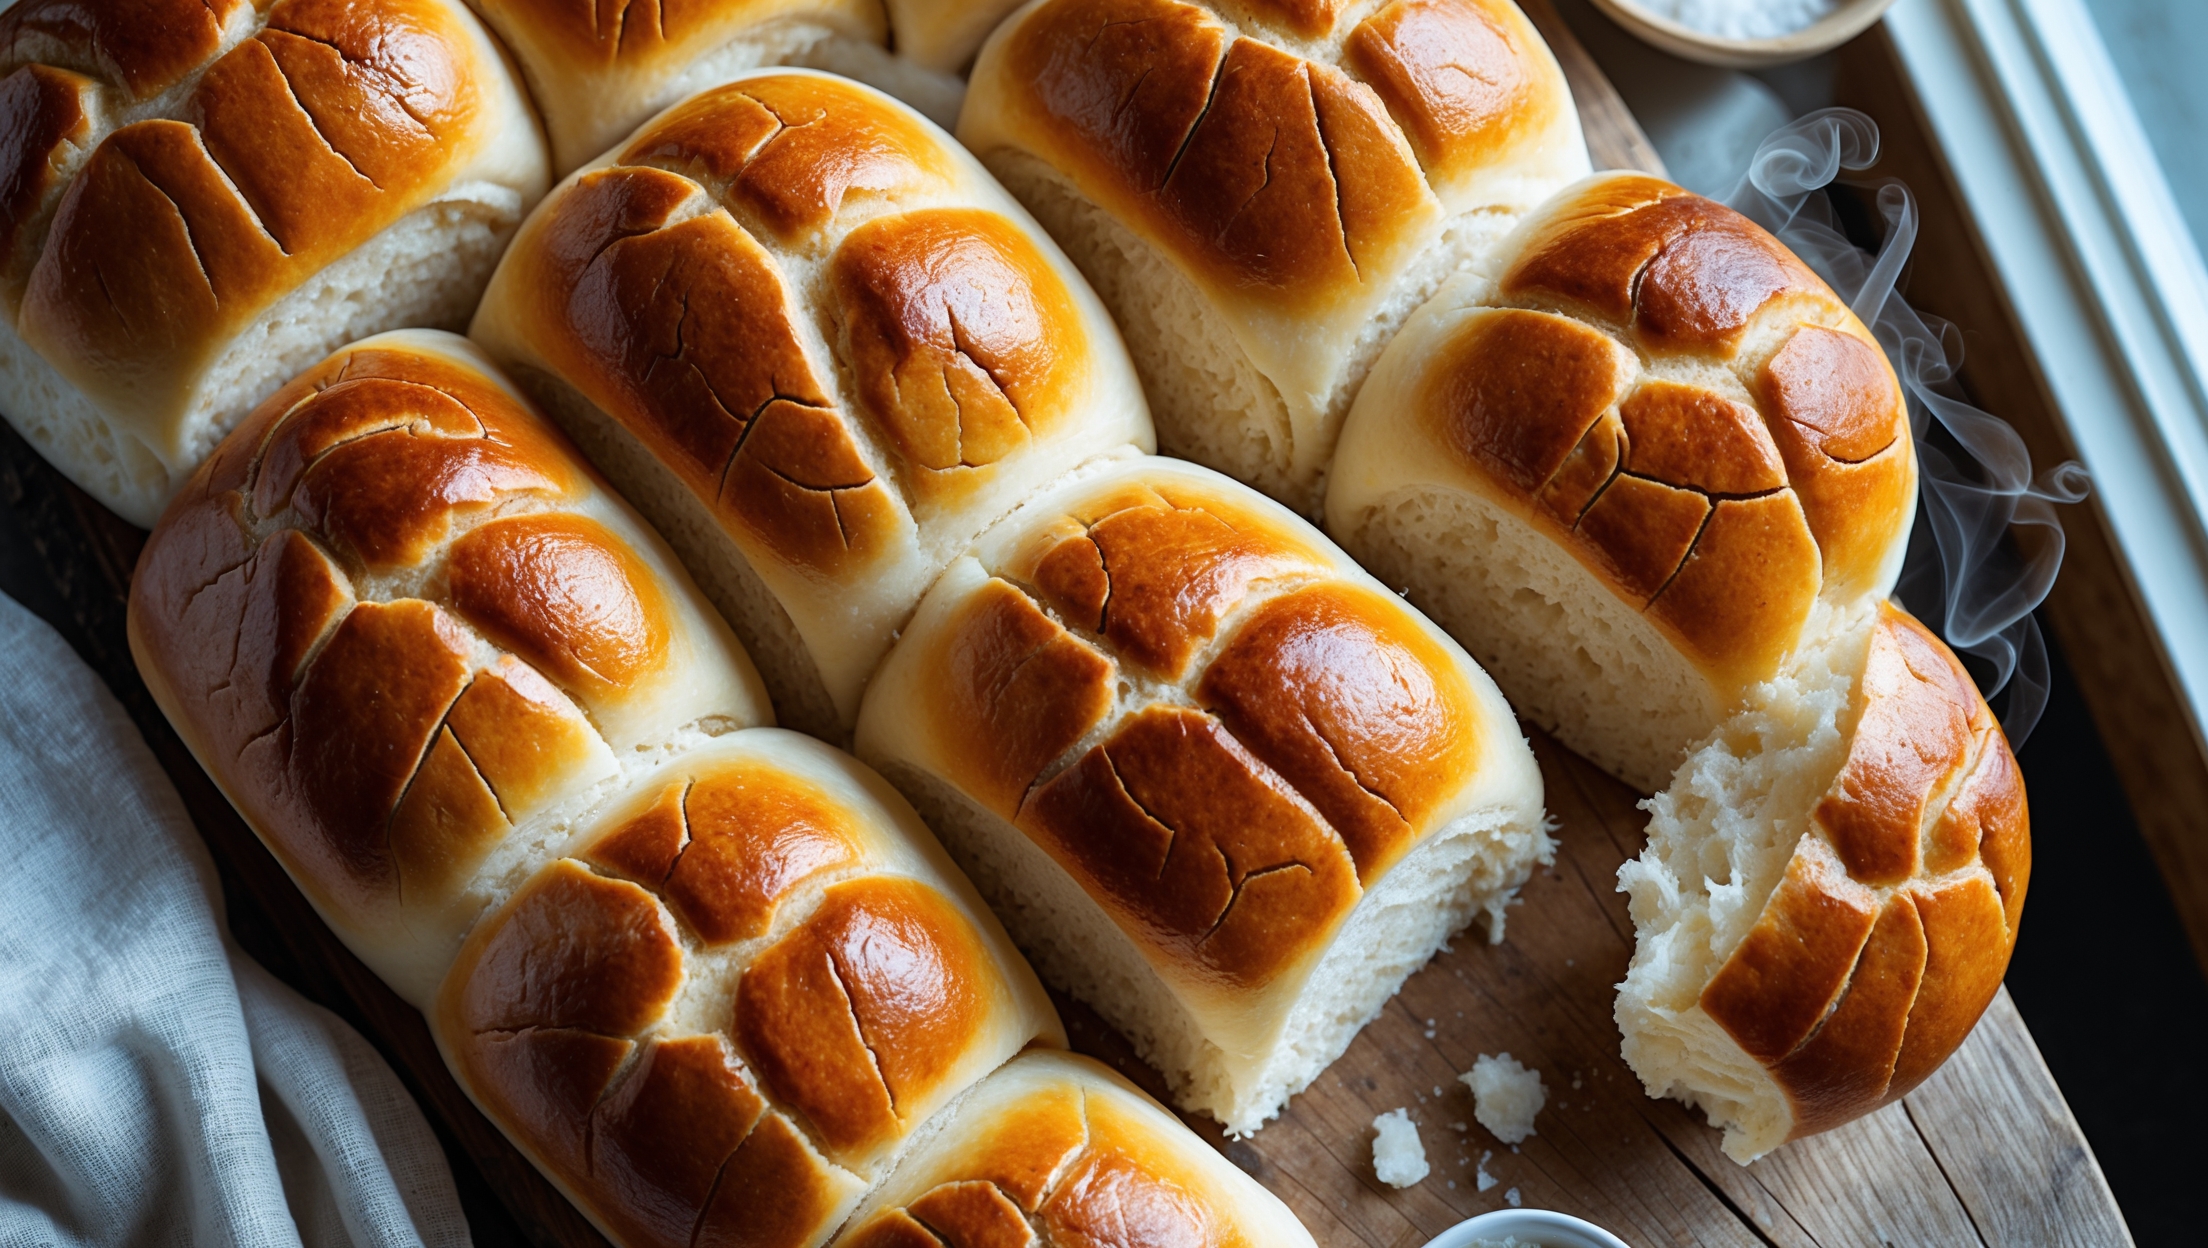
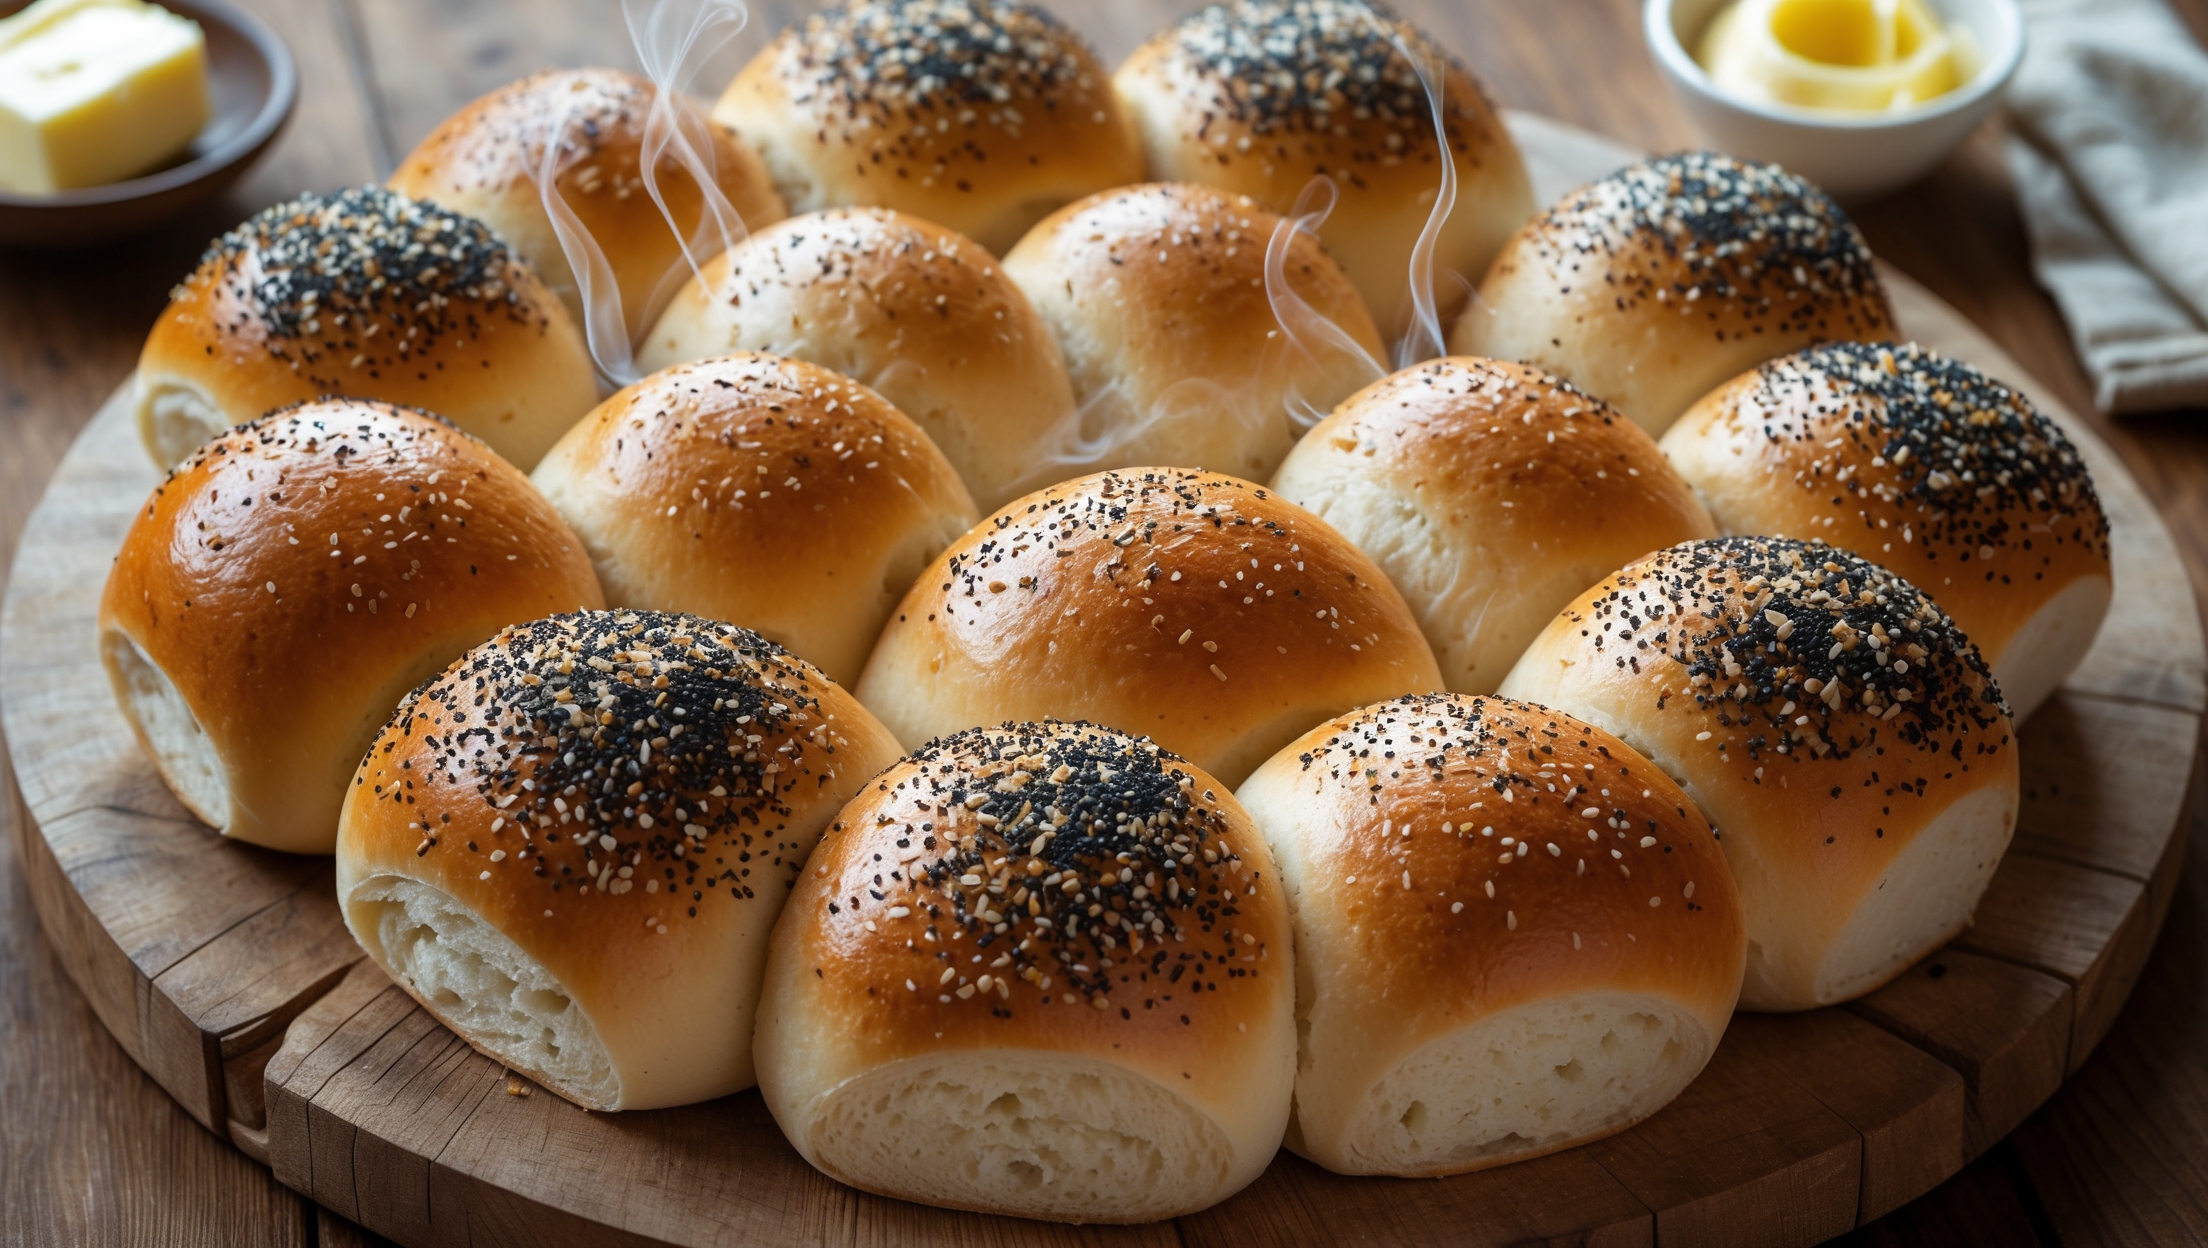
<ol class="no-list-style"><li class="MethodStepper"><h4 class="step-title">Step 1</h4>Begin by making the roll dough. In a large bowl or the bowl of your stand mixer, combine the bread flour and salt. In a separate small bowl, mix the lukewarm water with the sugar until dissolved, then sprinkle the yeast over the top and let it sit for 5 minutes until foamy (this ensures your yeast is active).</li><li class="MethodStepper"><h4 class="step-title">Step 2</h4>Pour the yeast mixture into the flour along with the softened butter. Mix with a wooden spoon or on low speed with a dough hook until the ingredients come together. Then knead by hand on a lightly floured surface for 8-10 minutes or with a stand mixer for 5-6 minutes until you have a smooth, elastic dough that springs back when gently pressed. The dough should pass the "windowpane test" - when stretched, it should form a thin membrane before tearing.</li><li class="MethodStepper"><h4 class="step-title">Step 3</h4>Place the dough in a lightly oiled bowl, cover with a damp cloth or plastic wrap, and let rise in a warm place until doubled in size, about 1-1.5 hours. The slow rise develops flavor and structure, so be patient and look for visual cues rather than strictly following the time.</li><li class="MethodStepper"><h4 class="step-title">Step 4</h4>Once doubled, gently punch down the dough to release excess gas. Turn onto a clean work surface and divide into 8 equal pieces (about 110g each). To shape each roll, fold the edges into the middle, turn over, and using cupped hands, roll in a circular motion on the countertop to create tension across the surface, forming a tight ball with a smooth top. This tension is key for a good rise and shape.</li><li class="MethodStepper"><h4 class="step-title">Step 5</h4>Place the shaped rolls on a parchment-lined baking tray, leaving at least 5cm between each to allow room for expansion. Cover loosely with oiled plastic wrap and let rise again for 30-45 minutes, until they're puffy but not quite doubled in size.</li><li class="MethodStepper"><h4 class="step-title">Step 6</h4>While the rolls are on their second rise, prepare the Dutch crunch topping. Mix the rice flour, yeast, sugar, and salt in a bowl. Add the vegetable oil and enough warm water to form a thick paste with the consistency of thick pancake batter - it should coat the back of a spoon but still be spreadable. Let this mixture rest for 15 minutes; it will thicken slightly and become bubbly as the yeast activates.</li><li class="MethodStepper"><h4 class="step-title">Step 7</h4>Preheat your oven to 200°C (180°C fan/gas mark 6). When the rolls have nearly completed their second rise, gently brush the Dutch crunch topping over each roll, covering the entire top surface with a thick layer (about 3-4mm). The paste must be thick enough to crack during baking rather than sink into the dough.</li><li class="MethodStepper"><h4 class="step-title">Step 8</h4>Bake the rolls in the preheated oven for 20-25 minutes until golden brown, with the characteristic crackled pattern clearly visible on top. If you tap the bottom of a roll, it should sound hollow, indicating it's fully baked. For extra crispness, you can turn off the oven and leave the door slightly ajar with the rolls inside for 5 additional minutes.</li><li class="MethodStepper"><h4 class="step-title">Step 9</h4>Transfer the rolls to a wire rack to cool slightly. Dutch Crunch Rolls are best enjoyed still warm, when the contrast between the crispy, crackled top and the soft, fluffy interior is most pronounced. If storing, keep in an airtight container for up to 2 days, or freeze for longer storage. To refresh, warm in a 160°C oven for 5 minutes before serving.</li></ol>