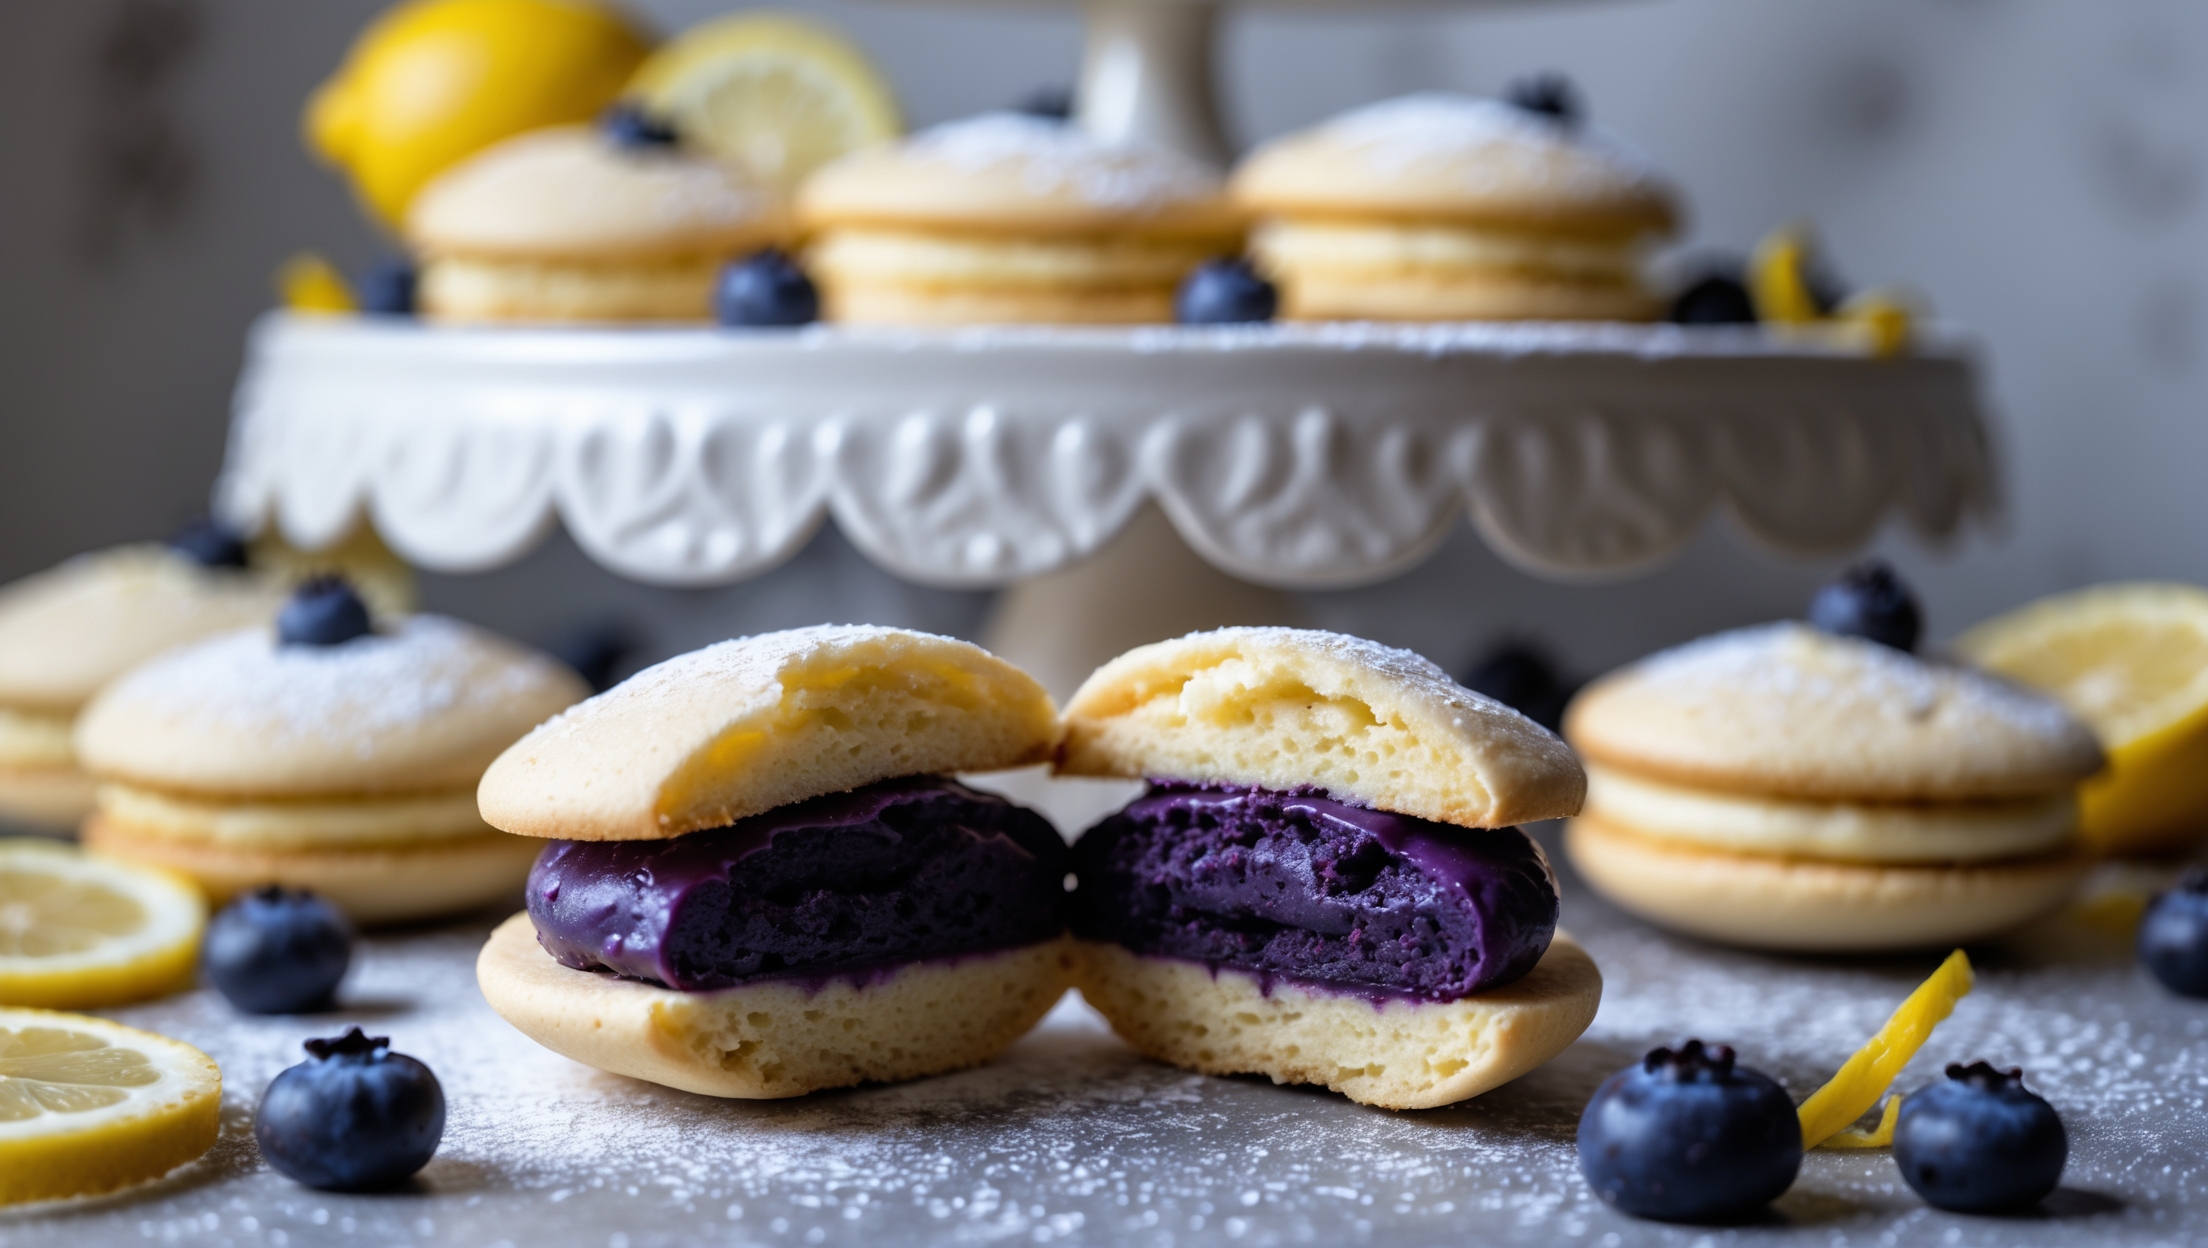
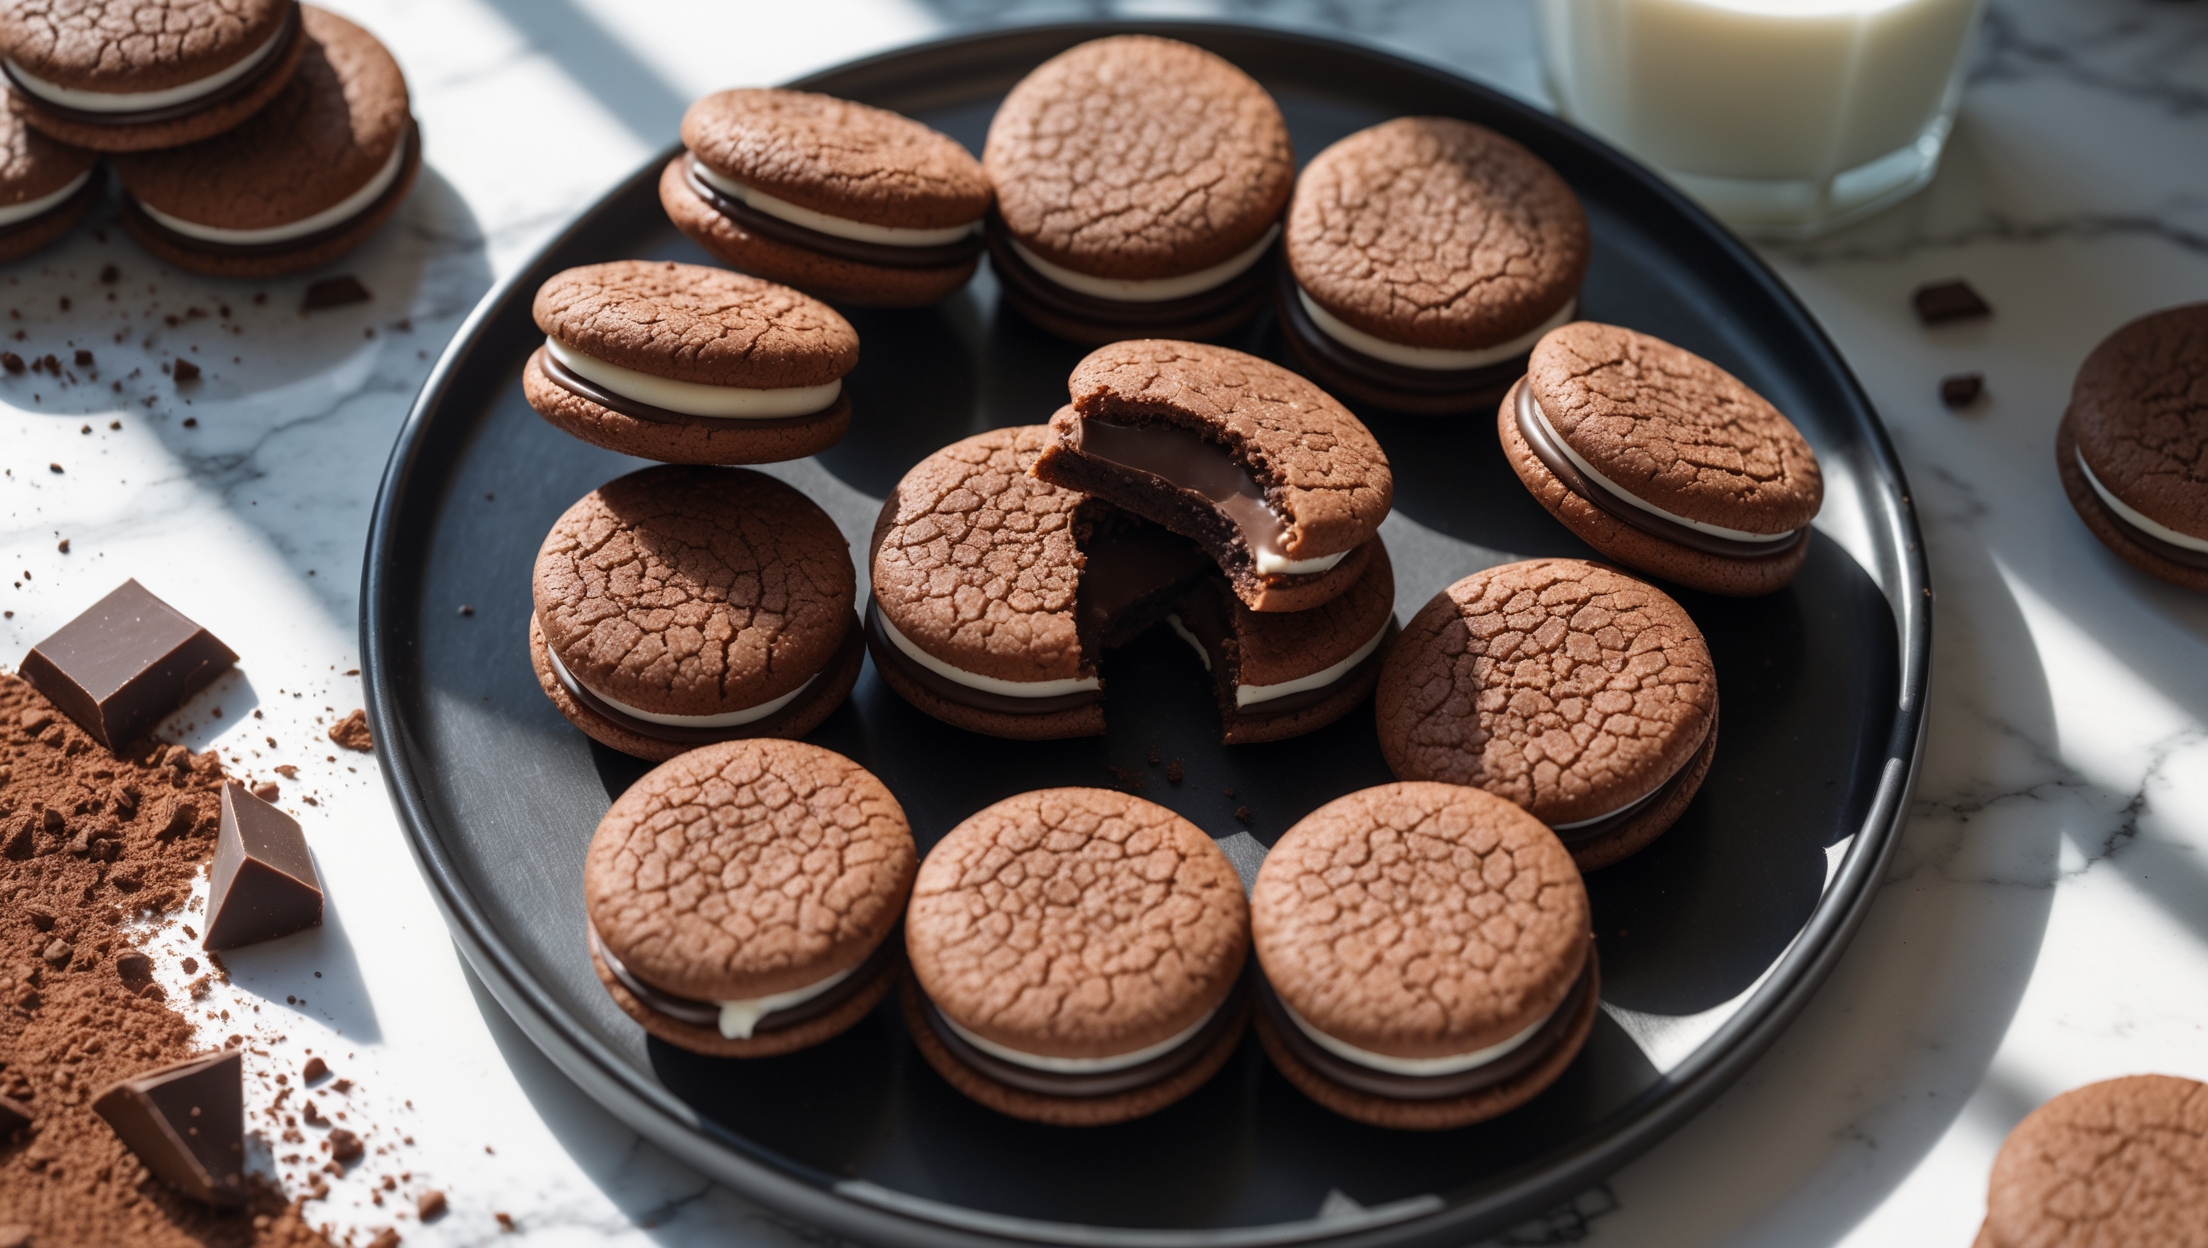
Directions
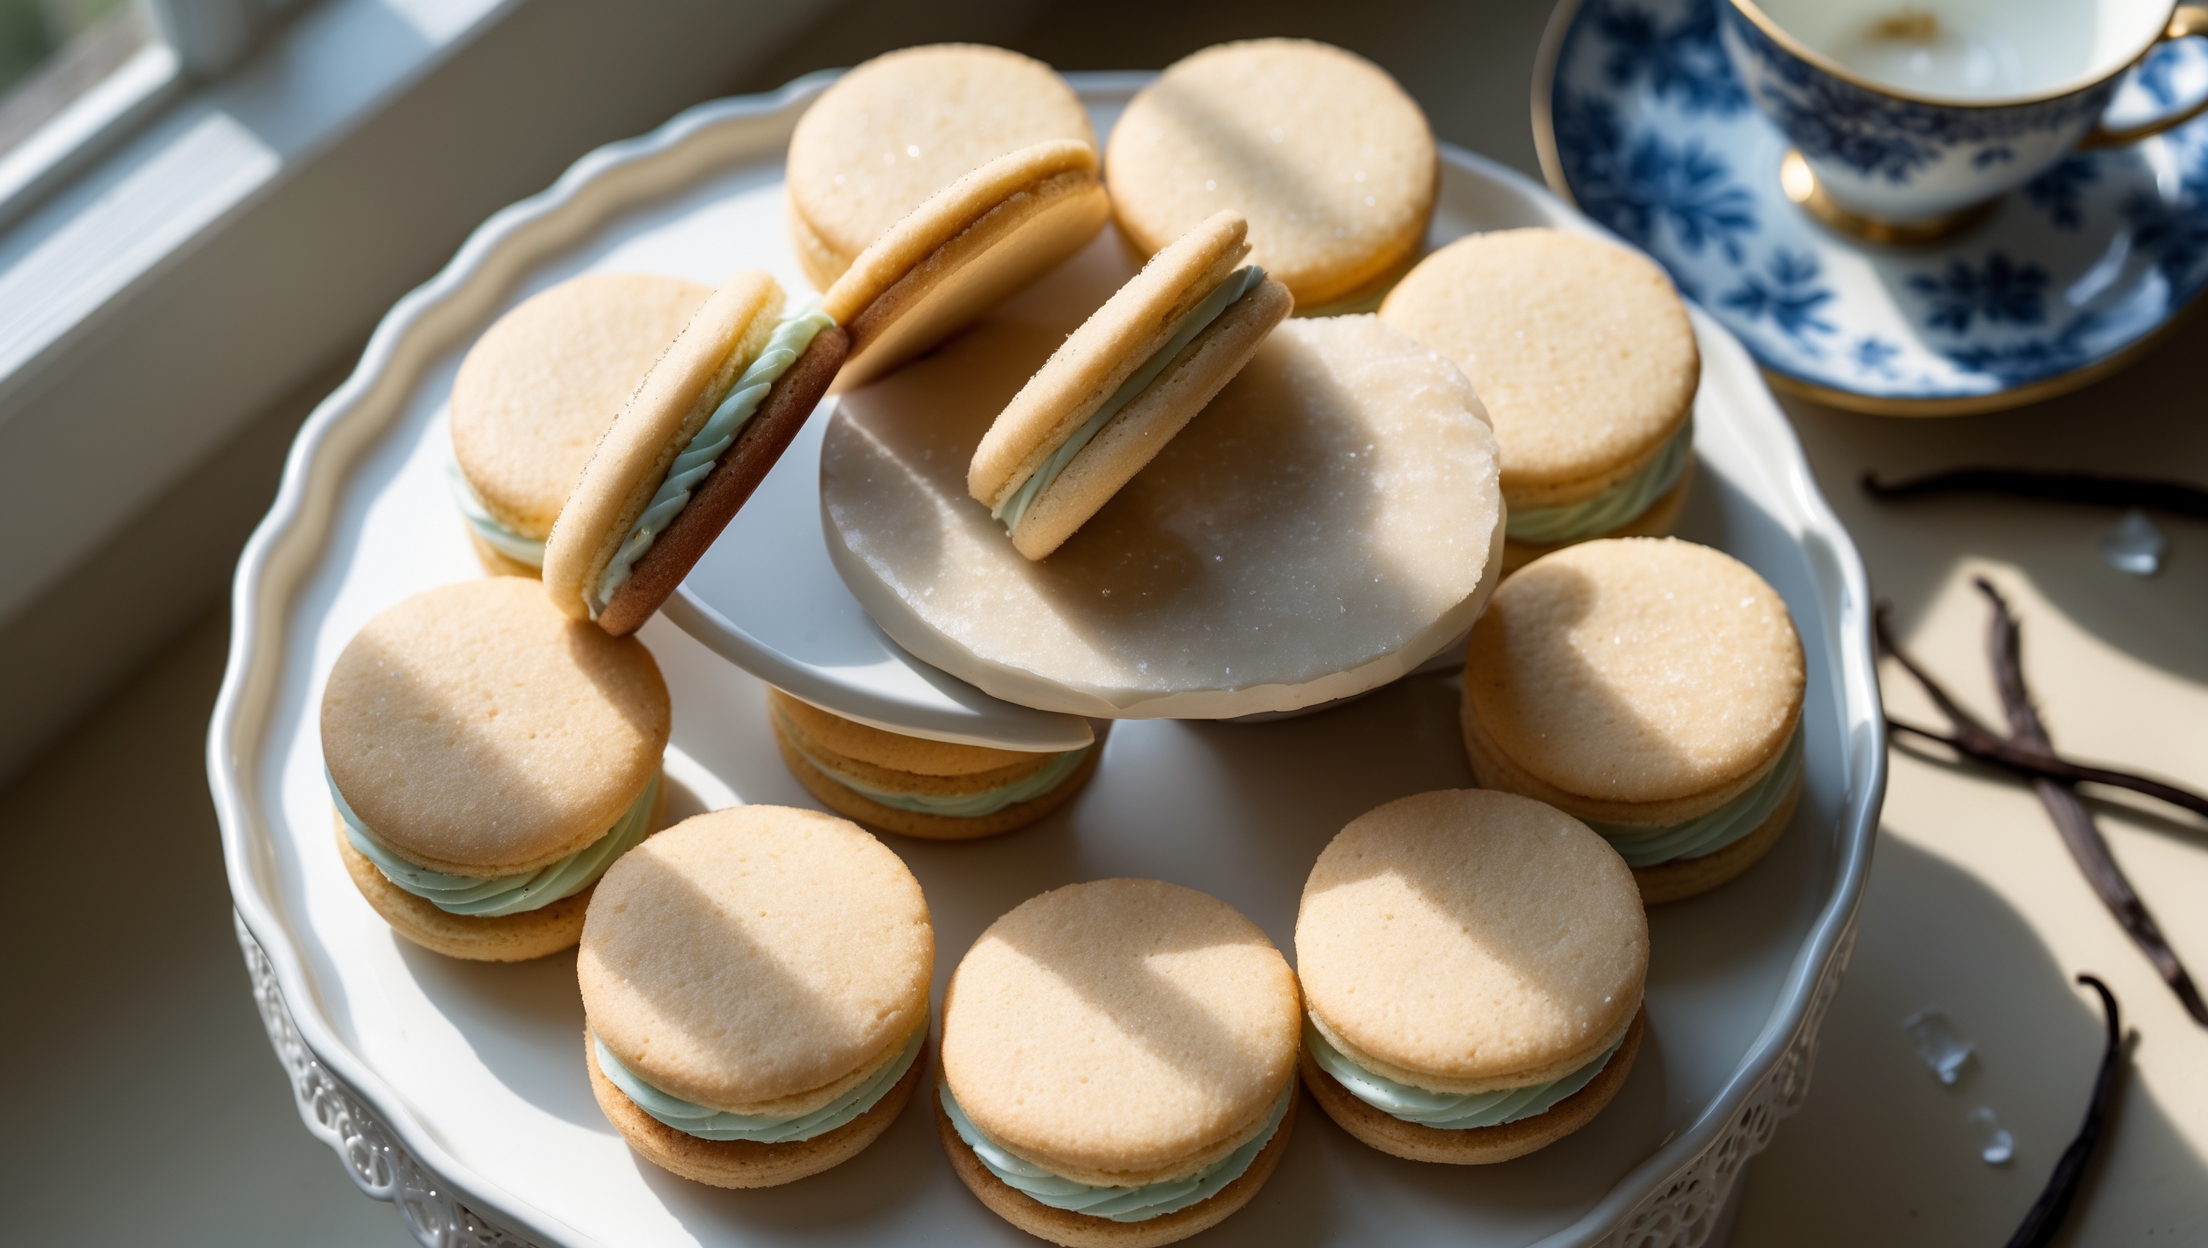
<ol class="no-list-style"><li class="MethodStepper"><h4 class="step-title">Step 1</h4>In a medium bowl, whisk together the flour, baking powder, and salt. This pre-mixing ensures even distribution of the leavening agent throughout your cookies for consistent texture.</li><li class="MethodStepper"><h4 class="step-title">Step 2</h4>In the bowl of your stand mixer fitted with the paddle attachment, or using an electric hand mixer, cream the butter and sugar together on medium-high speed for 3-4 minutes until light and fluffy. This extended creaming creates air pockets that will give your cookies their tender texture.</li><li class="MethodStepper"><h4 class="step-title">Step 3</h4>Add the egg and vanilla extract to the butter mixture, beating until fully incorporated and scraping down the sides of the bowl as needed. The mixture should look smooth and slightly increased in volume.</li><li class="MethodStepper"><h4 class="step-title">Step 4</h4>With the mixer on low speed, gradually add the dry ingredients to the wet ingredients, mixing just until combined. Be careful not to overmix at this stage, as this can develop gluten and result in tough cookies.</li><li class="MethodStepper"><h4 class="step-title">Step 5</h4>Divide the dough in half, form each half into a disk, wrap in plastic wrap, and refrigerate for at least 2 hours or up to overnight. This chilling step is crucial as it solidifies the butter, preventing the cookies from spreading too much during baking.</li><li class="MethodStepper"><h4 class="step-title">Step 6</h4>When ready to bake, preheat your oven to 180°C and line two baking sheets with parchment paper. Remove one dough disk from the refrigerator and let it sit at room temperature for about 5-10 minutes to slightly soften.</li><li class="MethodStepper"><h4 class="step-title">Step 7</h4>On a lightly floured surface, roll the dough to about 5mm thickness. Use your cookie cutter to cut out circles, re-rolling scraps as needed. Place the cut cookies on the prepared baking sheets, spacing them about 2.5cm apart.</li><li class="MethodStepper"><h4 class="step-title">Step 8</h4>Sprinkle the tops of the cookies with the extra granulated sugar for a subtle sparkle and added sweetness. This creates a beautiful contrast with the smooth buttercream filling.</li><li class="MethodStepper"><h4 class="step-title">Step 9</h4>Bake for 10-12 minutes, rotating the pan halfway through, until the edges are just beginning to turn golden. Don't overbake – they should remain pale on top for that classic sugar cookie look.</li><li class="MethodStepper"><h4 class="step-title">Step 10</h4>Allow the cookies to cool on the baking sheet for 5 minutes before transferring to a cooling rack to cool completely. The cookies will firm up as they cool, giving you the perfect texture for sandwich cookies.</li><li class="MethodStepper"><h4 class="step-title">Step 11</h4>While the cookies cool, prepare the buttercream filling. In a clean mixer bowl with paddle attachment, beat the butter on medium-high speed for 2-3 minutes until very light and fluffy. This initial whipping incorporates air for the creamiest texture.</li><li class="MethodStepper"><h4 class="step-title">Step 12</h4>Reduce speed to low and gradually add the sifted powdered sugar, vanilla extract, salt, and 1 tablespoon of heavy cream. Once incorporated, increase speed to medium-high and beat for another 2-3 minutes until light and fluffy. Add more cream if needed to reach a smooth, pipeable consistency.</li><li class="MethodStepper"><h4 class="step-title">Step 13</h4>If using food coloring, add a few drops now and mix until evenly distributed. The color should be pastel and delicate, complementing the golden cookies.</li><li class="MethodStepper"><h4 class="step-title">Step 14</h4>Turn half of the cooled cookies upside down. Using a piping bag with round tip or a knife, add about 1-2 tablespoons of buttercream to each upside-down cookie, leaving a small border around the edge (the filling will spread when sandwiched).</li><li class="MethodStepper"><h4 class="step-title">Step 15</h4>Gently press the remaining cookies on top of the buttercream, right-side up, creating sandwiches. Apply just enough pressure to spread the filling to the edges without squeezing it out.</li><li class="MethodStepper"><h4 class="step-title">Step 16</h4>Allow the sandwich cookies to set at room temperature for about 30 minutes before serving. This resting time lets the buttercream firm up slightly and the flavors meld together. Store in an airtight container at room temperature for up to 3 days or refrigerate for up to a week, bringing to room temperature before serving.</li></ol>