Directions
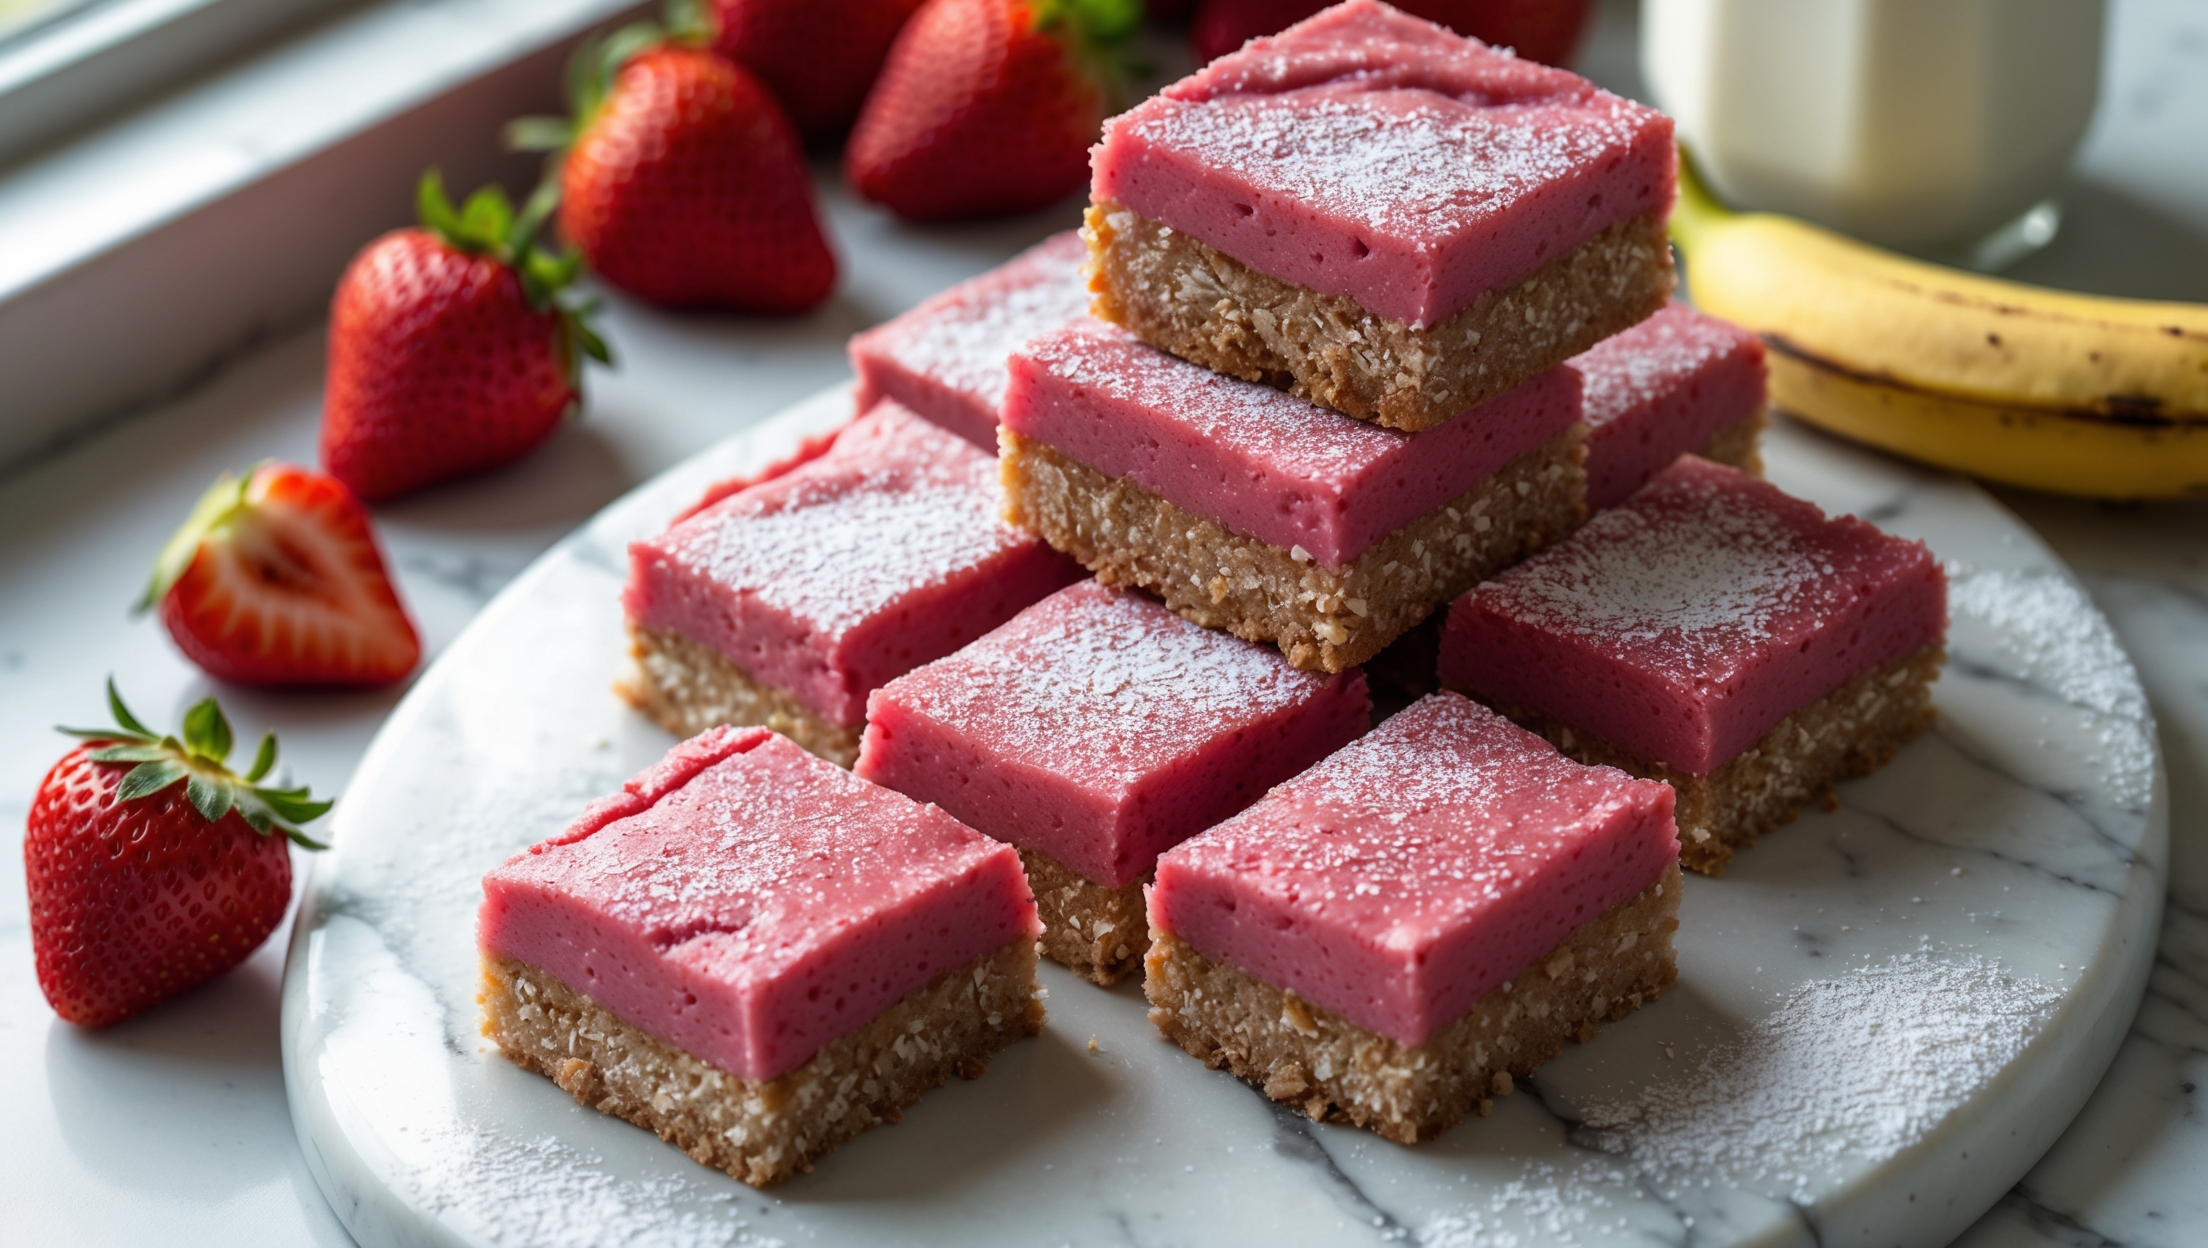
<ol class="no-list-style"><li class="MethodStepper"><h4 class="step-title">Step 1</h4>Preheat your oven to 180°C and line a 23cm square baking pan with parchment paper, leaving some overhang on the sides to help with removal later. This overhang acts as "handles" for your finished bars.</li><li class="MethodStepper"><h4 class="step-title">Step 2</h4>For the crust, combine the rolled oats, whole wheat flour, brown sugar, salt, and cinnamon in a large bowl. Pour in the melted butter and stir until thoroughly combined – the mixture should resemble wet sand and hold together when pinched between your fingers. The melted butter coats the dry ingredients, creating a cohesive mixture that will bake into a firm yet tender base.</li><li class="MethodStepper"><h4 class="step-title">Step 3</h4>Press about 2/3 of the oat mixture firmly and evenly into the bottom of your prepared pan, using the back of a measuring cup to create a smooth, compact layer. This compression is important as it prevents a crumbly crust after baking. Reserve the remaining 1/3 of the mixture for the topping.</li><li class="MethodStepper"><h4 class="step-title">Step 4</h4>Bake the crust for 10 minutes until lightly golden. This pre-baking step helps create a barrier between the filling and the crust, preventing sogginess.</li><li class="MethodStepper"><h4 class="step-title">Step 5</h4>While the crust bakes, prepare your filling. In a blender or food processor, combine the fresh strawberries, ripe bananas, Greek yogurt, eggs, honey, vanilla extract, and cornstarch. Blend until completely smooth and creamy, about 1-2 minutes. The cornstarch is crucial here – it will thicken the fruit mixture during baking, transforming it from a liquid smoothie into a sliceable filling.</li><li class="MethodStepper"><h4 class="step-title">Step 6</h4>Pour the strawberry-banana mixture over the par-baked crust, spreading it evenly with a spatula. Sprinkle the reserved oat mixture over the top, creating a generous but not solid layer of crumble.</li><li class="MethodStepper"><h4 class="step-title">Step 7</h4>Bake for 25-30 minutes, until the filling has set and no longer jiggles in the center, and the crumble topping becomes golden brown. You'll notice the edges might begin to pull away slightly from the sides of the pan – this is a good indicator of doneness.</li><li class="MethodStepper"><h4 class="step-title">Step 8</h4>Remove from the oven and allow to cool completely in the pan on a wire rack. This cooling time is essential – the filling will continue to set as it cools, moving from a soft custard consistency to a firmer, sliceable texture.</li><li class="MethodStepper"><h4 class="step-title">Step 9</h4>Once completely cool, refrigerate for at least 2 hours or overnight for the cleanest cuts. Use the parchment overhang to lift the bars from the pan, then slice into 16 equal squares with a sharp knife. For the neatest edges, wipe the knife clean between cuts.</li><li class="MethodStepper"><h4 class="step-title">Step 10</h4>Store bars covered in the refrigerator for up to 4 days, or freeze them individually wrapped for up to 3 months – they make wonderful grab-and-go breakfast treats! Allow frozen bars to thaw in the refrigerator overnight before enjoying.</li></ol>