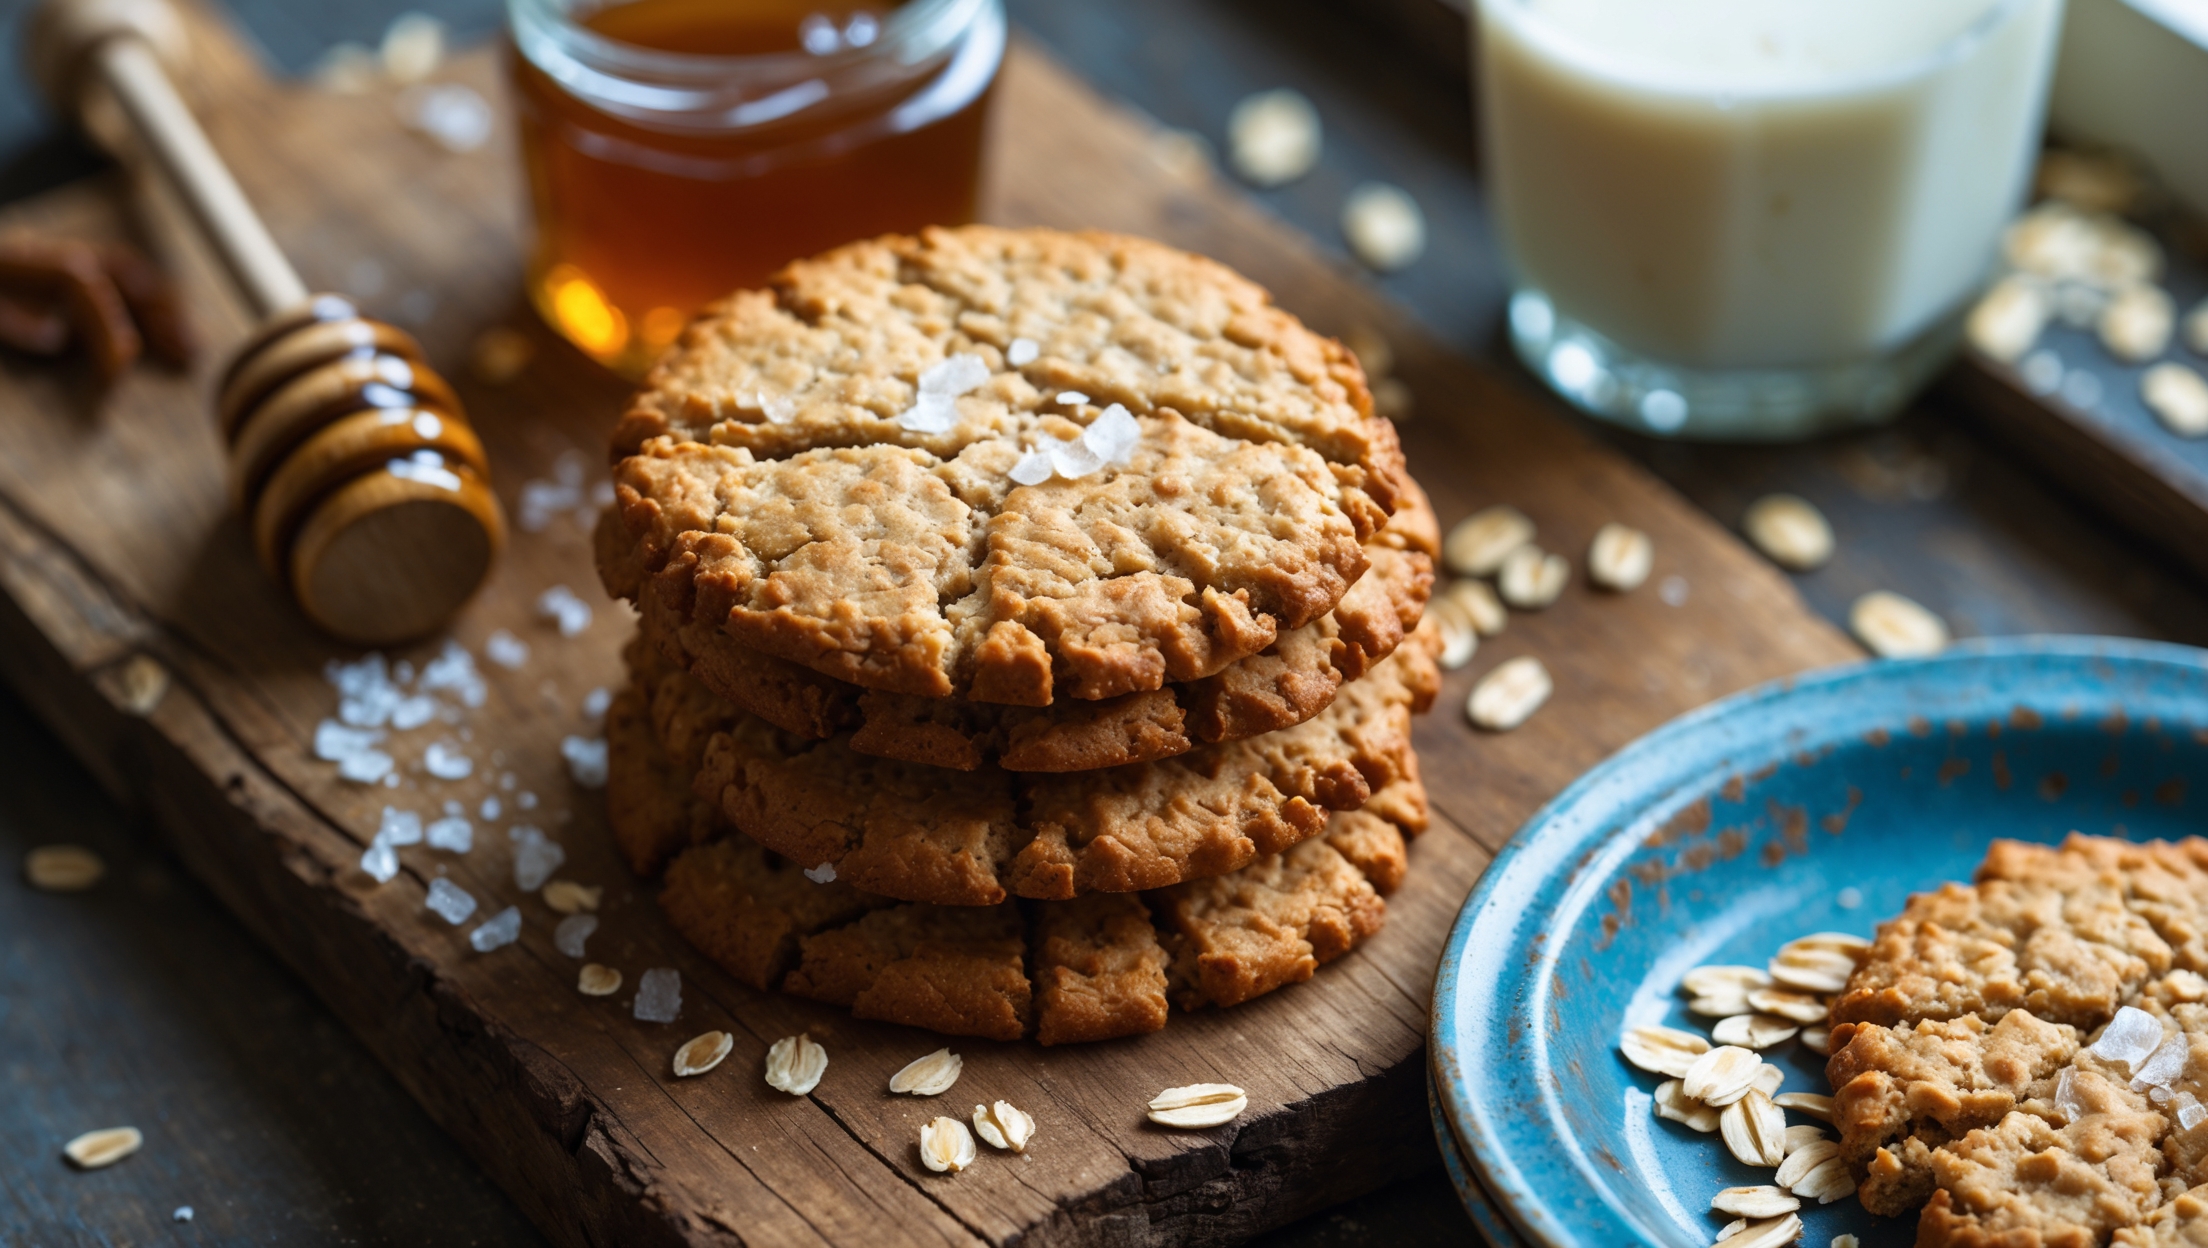
Directions
<ol class="no-list-style"><li class="MethodStepper"><h4 class="step-title">Step 1</h4>Begin by soaking your steel cut oats. In a medium bowl, combine the steel cut oats with water, ensuring all oats are submerged. Cover with plastic wrap and refrigerate for at least 8 hours or overnight. This crucial soaking step softens the tough oat groats, allowing them to become pleasantly chewy rather than hard in your cookies.</li><li class="MethodStepper"><h4 class="step-title">Step 2</h4>After soaking, drain the steel cut oats thoroughly using a fine-mesh sieve. Press gently with a spoon to remove excess water, then pat dry with paper towels. The oats should feel tender but still maintain their structure. This moisture balance is essential for the final cookie texture.</li><li class="MethodStepper"><h4 class="step-title">Step 3</h4>Preheat your oven to 180°C. Line two baking sheets with parchment paper. Position oven racks in the upper and lower thirds of your oven for even baking.</li><li class="MethodStepper"><h4 class="step-title">Step 4</h4>In a medium bowl, whisk together the flour, baking soda, salt, and cinnamon until well combined. Setting these dry ingredients aside ensures they'll be evenly incorporated later without overmixing the dough.</li><li class="MethodStepper"><h4 class="step-title">Step 5</h4>In the bowl of a stand mixer fitted with the paddle attachment (or using a hand mixer), cream together the butter, granulated sugar, and brown sugar on medium-high speed until light and fluffy, about 3-4 minutes. This extended creaming time creates air pockets that help give the cookies structure and a tender crumb.</li><li class="MethodStepper"><h4 class="step-title">Step 6</h4>Add the egg and egg yolk one at a time, beating well after each addition until fully incorporated. Scrape down the sides of the bowl as needed. The additional yolk adds richness and creates a more chewy texture in the finished cookies.</li><li class="MethodStepper"><h4 class="step-title">Step 7</h4>Beat in the vanilla extract until combined. Reduce the mixer speed to low and gradually add the flour mixture, mixing just until no dry streaks remain. Overmixing at this stage can develop too much gluten, resulting in tough cookies.</li><li class="MethodStepper"><h4 class="step-title">Step 8</h4>Using a rubber spatula, fold in the soaked steel cut oats, ensuring they're evenly distributed throughout the dough. If using, gently fold in the chopped walnuts and dried cranberries. The dough will be somewhat sticky but should hold together well.</li><li class="MethodStepper"><h4 class="step-title">Step 9</h4>Using a cookie scoop or tablespoon, portion the dough into balls approximately 30g each. Place them on your prepared baking sheets spacing them about 5cm apart as they will spread during baking. For a more polished appearance, roll each portion between your palms to create smooth balls.</li><li class="MethodStepper"><h4 class="step-title">Step 10</h4>If desired, sprinkle a few flakes of sea salt on top of each cookie dough ball. The salt enhances the nutty flavor of the oats and creates a sophisticated sweet-savory balance.</li><li class="MethodStepper"><h4 class="step-title">Step 11</h4>Bake for 12-15 minutes, rotating the pans halfway through, until the edges are golden brown but the centers still look slightly underdone. This ensures your cookies will have that perfect chewy texture once cooled. Look for cookies that have spread and settled with a crinkly top.</li><li class="MethodStepper"><h4 class="step-title">Step 12</h4>Remove from the oven and let the cookies cool on the baking sheets for 5 minutes. They'll continue to set up during this time, so resist the temptation to move them too early. Then transfer to wire racks to cool completely. As they cool, the cookies will develop the ideal balance of crisp edges and chewy centers.</li></ol>