Sourdough Sandwich Bread Recipe

Ingredients
Equipment
Directions
FAQs
Find answers to your most pressing questions about this delicious recipe right here.
This artisanal bread requires active sourdough starter (100% hydration), bread flour, whole wheat flour, filtered water, salt, honey or maple syrup, and unsalted butter. This combination creates a perfect balance of tenderness and structure ideal for sandwiches.
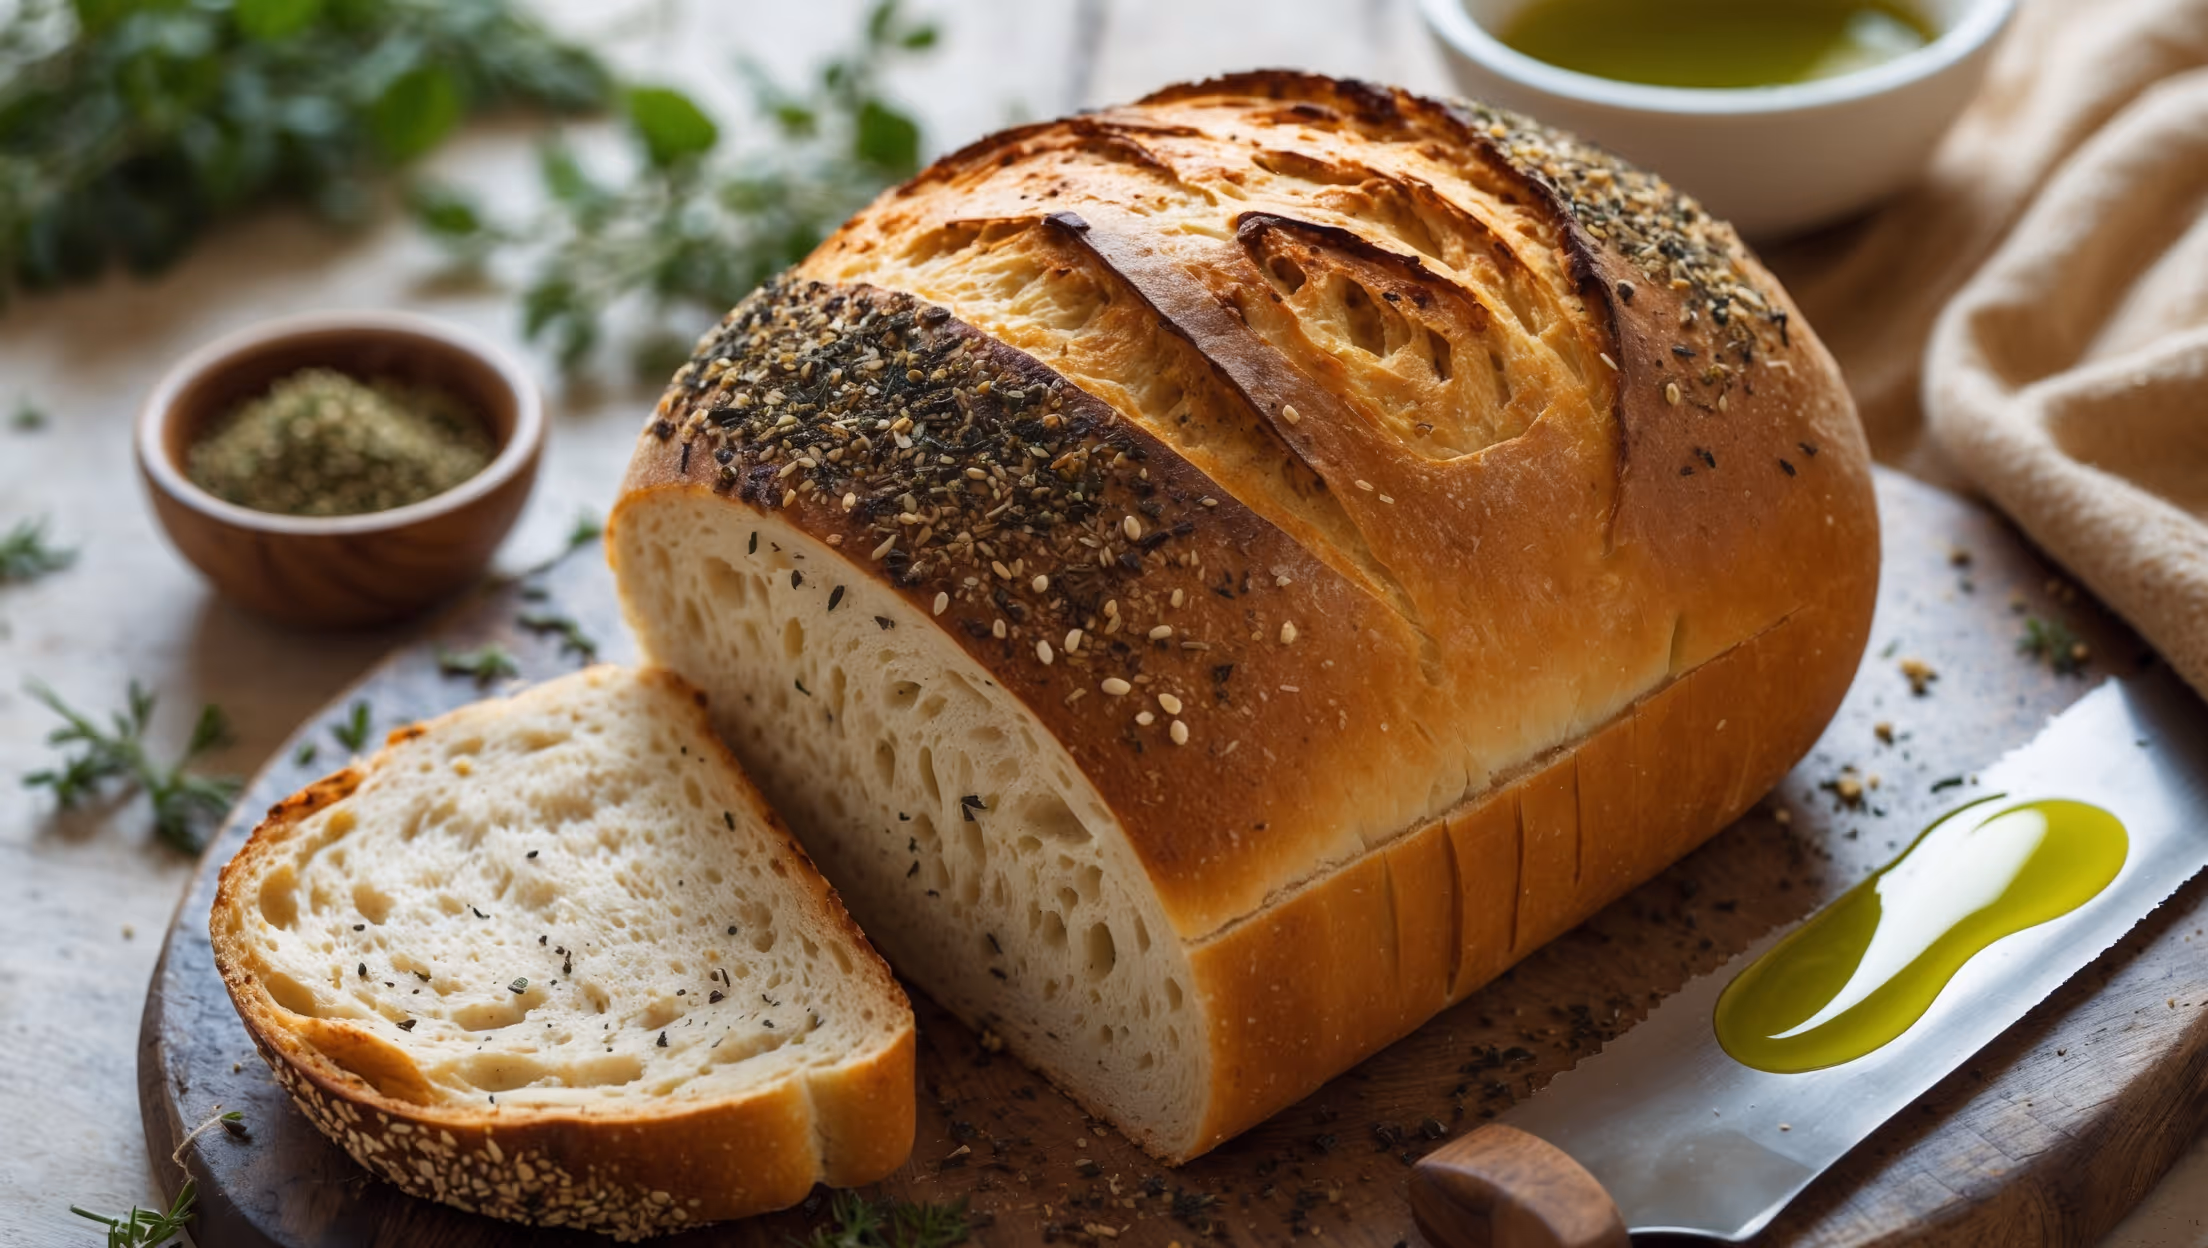
Learn how to cook Sourdough Sandwich Bread by mixing your starter with water and honey, incorporating flours for an autolyse period, then adding salt and butter. After bulk fermentation with stretch-and-folds, shape into a log, proof in a Pullman pan, and bake at 230°C for 20 minutes, then 200°C for another 20 minutes until golden and hollow-sounding.
The cooling period of at least 2 hours allows the internal structure to set properly and moisture to redistribute throughout the loaf. Cutting too soon results in a gummy texture and squashed slices that won't hold up well for sandwiches.
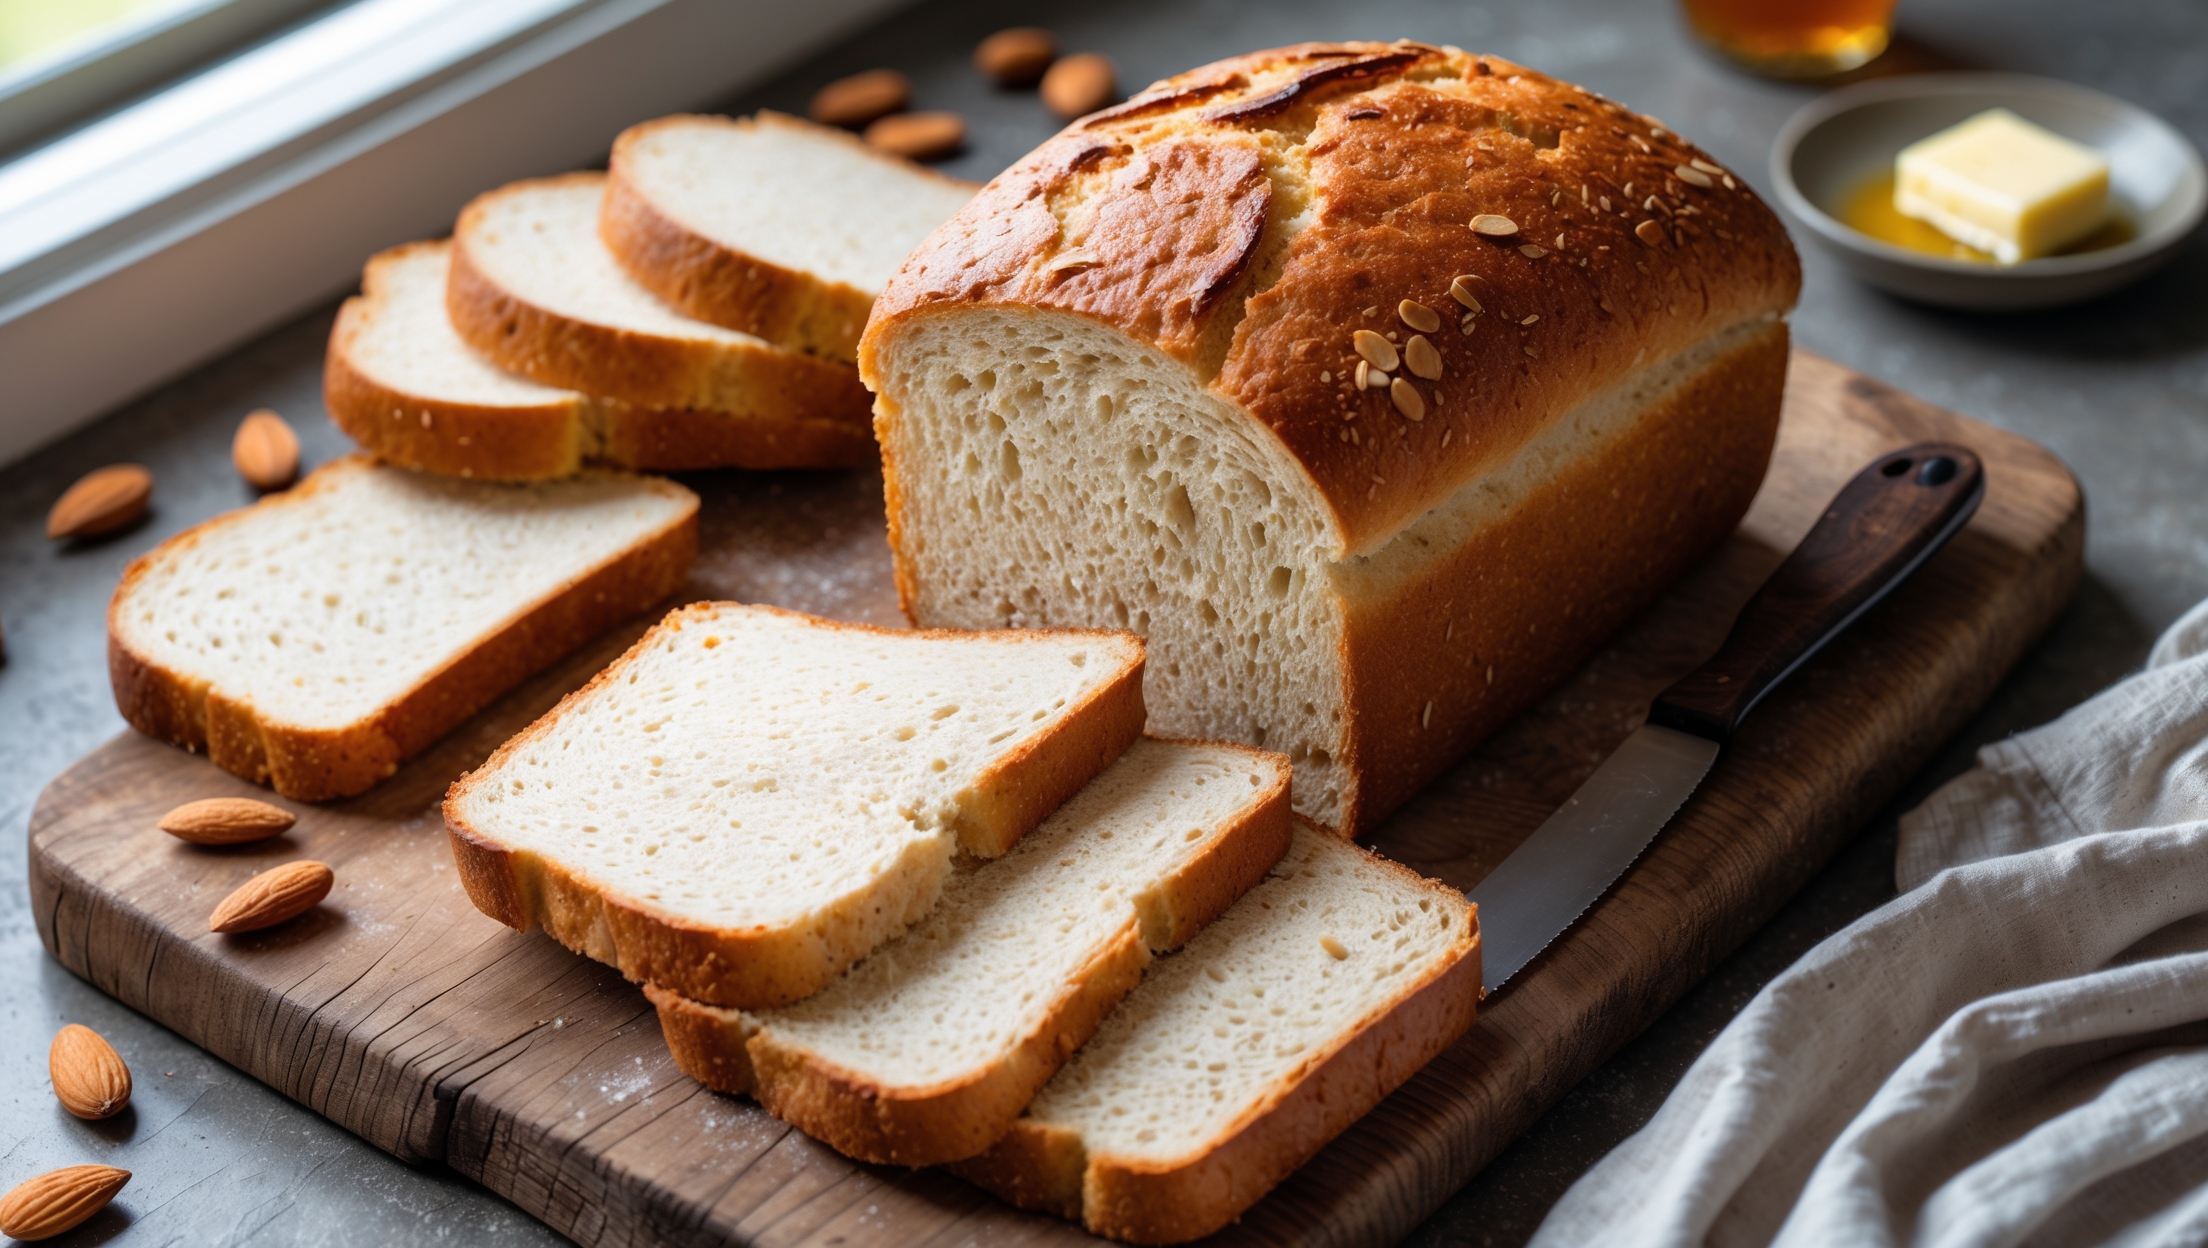
Traditional sourdough typically has a more open, irregular crumb with large holes and a thicker crust. Sandwich-style sourdough features a finer, more even crumb structure, softer texture, and thinner crust while maintaining that distinctive sourdough flavour, making it ideal for sandwiches.
For a tangier loaf, use a mature starter (fed 8-12 hours before baking), extend the bulk fermentation time at room temperature, or refrigerate the shaped dough overnight. The longer fermentation allows more acid development, enhancing the signature sourdough tang.
Sandwich Bread
Try following recommended recipes