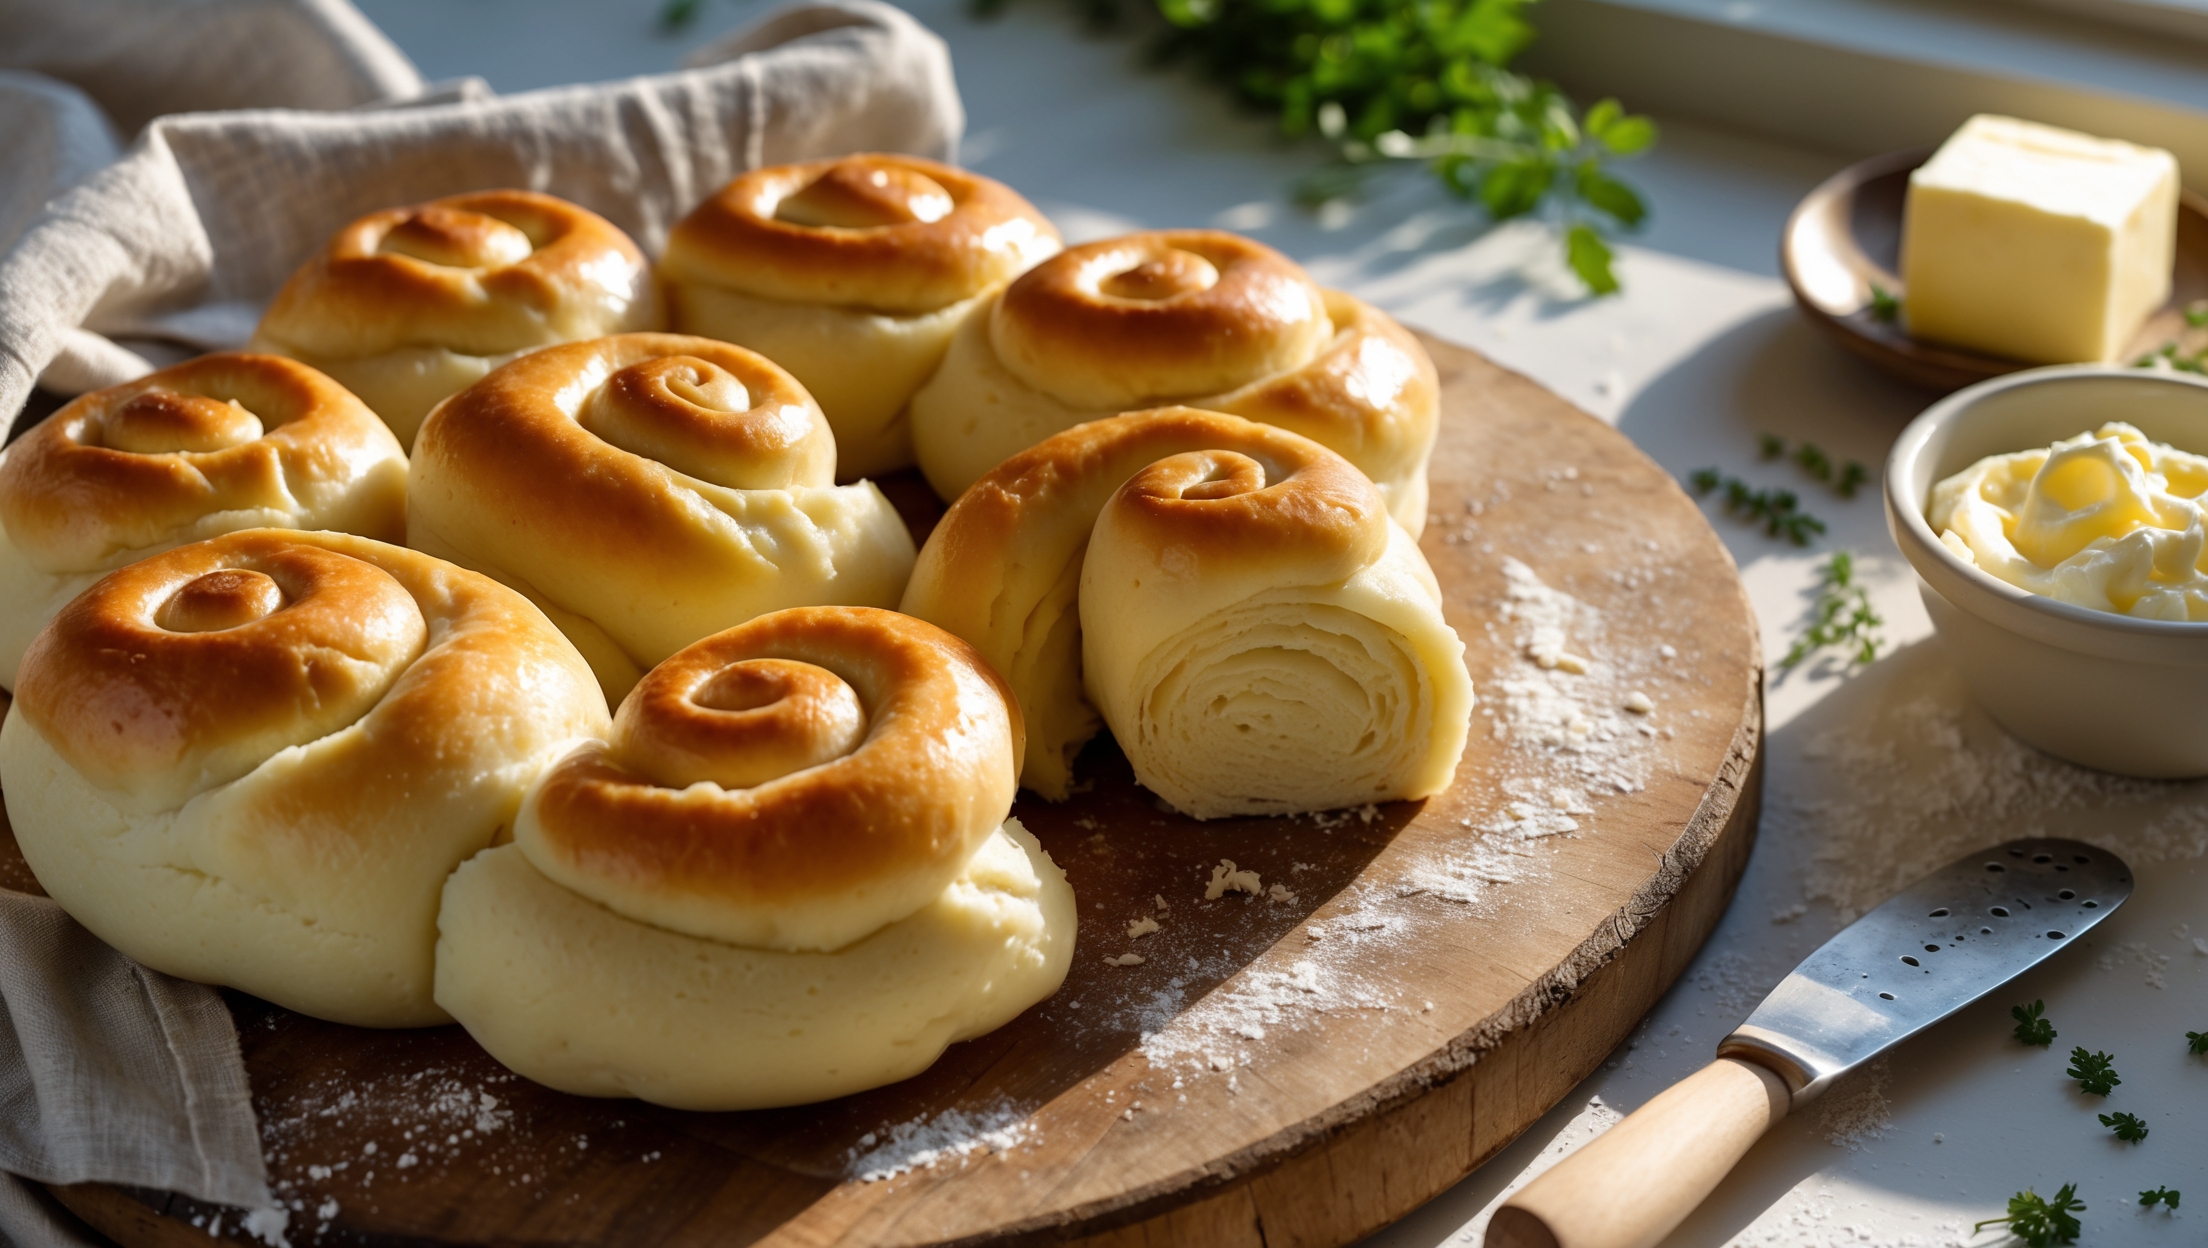
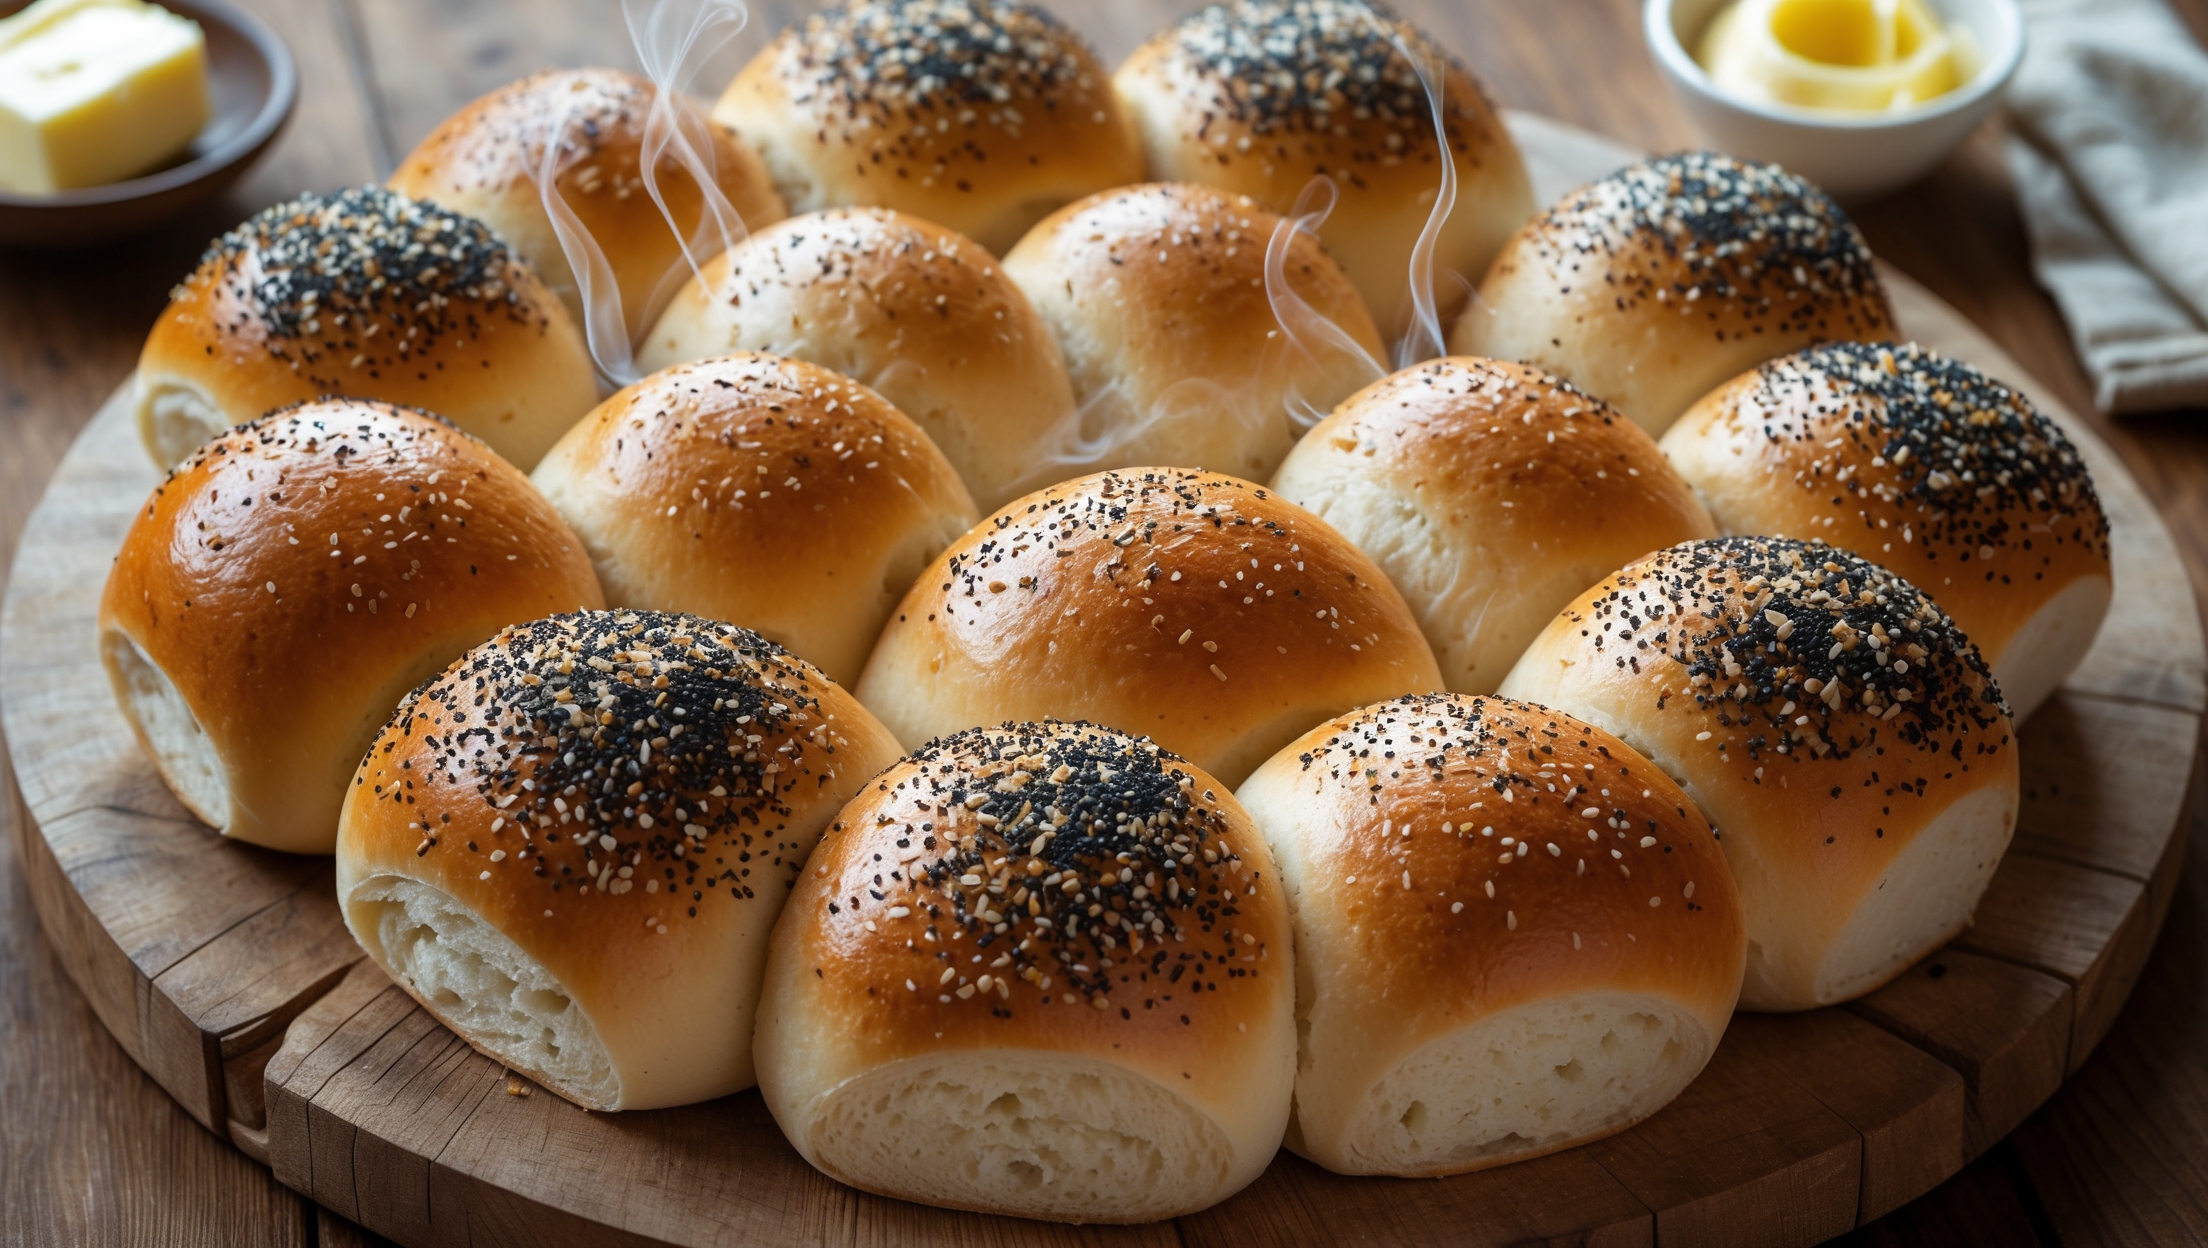
Directions
<ol class="no-list-style"><li class="MethodStepper"><h4 class="step-title">Step 1</h4>Begin by preparing your mashed potato. Peel, cube, and boil a medium potato until fork-tender, about 15 minutes. Drain thoroughly and mash until completely smooth without any lumps. Allow it to cool until just warm to the touch (excess heat can kill the yeast). The starch in potatoes helps retain moisture in the dough, resulting in exceptionally soft rolls with extended freshness.</li><li class="MethodStepper"><h4 class="step-title">Step 2</h4>In a stand mixer bowl, combine the lukewarm milk (around 38°C), sugar, and yeast. Let this mixture sit for 5-10 minutes until it becomes foamy, which confirms your yeast is active. If it doesn't foam, your yeast may be dead and you'll need to start with fresh yeast.</li><li class="MethodStepper"><h4 class="step-title">Step 3</h4>Add the mashed potato, softened butter, egg, and salt to the yeast mixture. Mix on low speed until combined. Gradually add the flour while mixing, about 100g at a time, allowing each addition to be incorporated before adding more. This prevents flour from flying everywhere and ensures even hydration.</li><li class="MethodStepper"><h4 class="step-title">Step 4</h4>Once all flour is incorporated, increase the mixer speed to medium and knead for 7-8 minutes until the dough is smooth, elastic, and pulls away from the sides of the bowl. The dough will be slightly sticky due to the potato content – this is normal and contributes to the rolls' final texture. If it's excessively sticky, add 1 tablespoon of flour at a time, but resist the urge to add too much as it will make your rolls dense.</li><li class="MethodStepper"><h4 class="step-title">Step 5</h4>Lightly oil a large bowl with vegetable oil. Transfer the dough to the bowl, turning once to coat with oil. Cover with a clean kitchen towel or plastic wrap and let rise in a warm, draft-free place until doubled in size, about 1-1.5 hours. The ideal rising temperature is 24-27°C. The potato in the dough helps activate the yeast, often resulting in an impressive rise.</li><li class="MethodStepper"><h4 class="step-title">Step 6</h4>Once doubled, gently punch down the dough to release excess air. Turn out onto a lightly floured surface and divide into 12 equal portions (about 55-60g each for perfect consistency). For perfectly uniform rolls, use a kitchen scale to weigh each portion.</li><li class="MethodStepper"><h4 class="step-title">Step 7</h4>Shape each piece into a tight ball by pulling the edges toward the center and pinching them together, then rolling between your palms on the counter to create surface tension. This technique creates that characteristic smooth top and helps the rolls rise upward rather than outward.</li><li class="MethodStepper"><h4 class="step-title">Step 8</h4>Arrange the dough balls in a lightly greased 23cm x 33cm baking pan, spacing them evenly to allow for expansion. Cover again with a kitchen towel and let rise for another 30-45 minutes until puffy and nearly doubled. Meanwhile, preheat your oven to 180°C.</li><li class="MethodStepper"><h4 class="step-title">Step 9</h4>Just before baking, gently brush the tops with half of the melted butter. The butter creates a soft, golden crust while adding flavor. Bake in the preheated oven for 20-25 minutes, or until the tops are golden brown and the internal temperature reaches 88-90°C on a digital thermometer.</li><li class="MethodStepper"><h4 class="step-title">Step 10</h4>Remove from the oven and immediately brush with the remaining melted butter. This second butter coating keeps the crust soft and adds a beautiful shine. Allow the rolls to cool in the pan for 5 minutes, then transfer to a wire rack. These rolls are best served warm but will remain soft and fresh for up to 3 days when stored in an airtight container at room temperature. For longer storage, freeze for up to 1 month and reheat wrapped in foil at 150°C for 10 minutes.</li></ol>