Soft Italian Bread Recipe
Ingredients
Equipment
Directions
FAQs
Find answers to your most pressing questions about this delicious recipe right here.
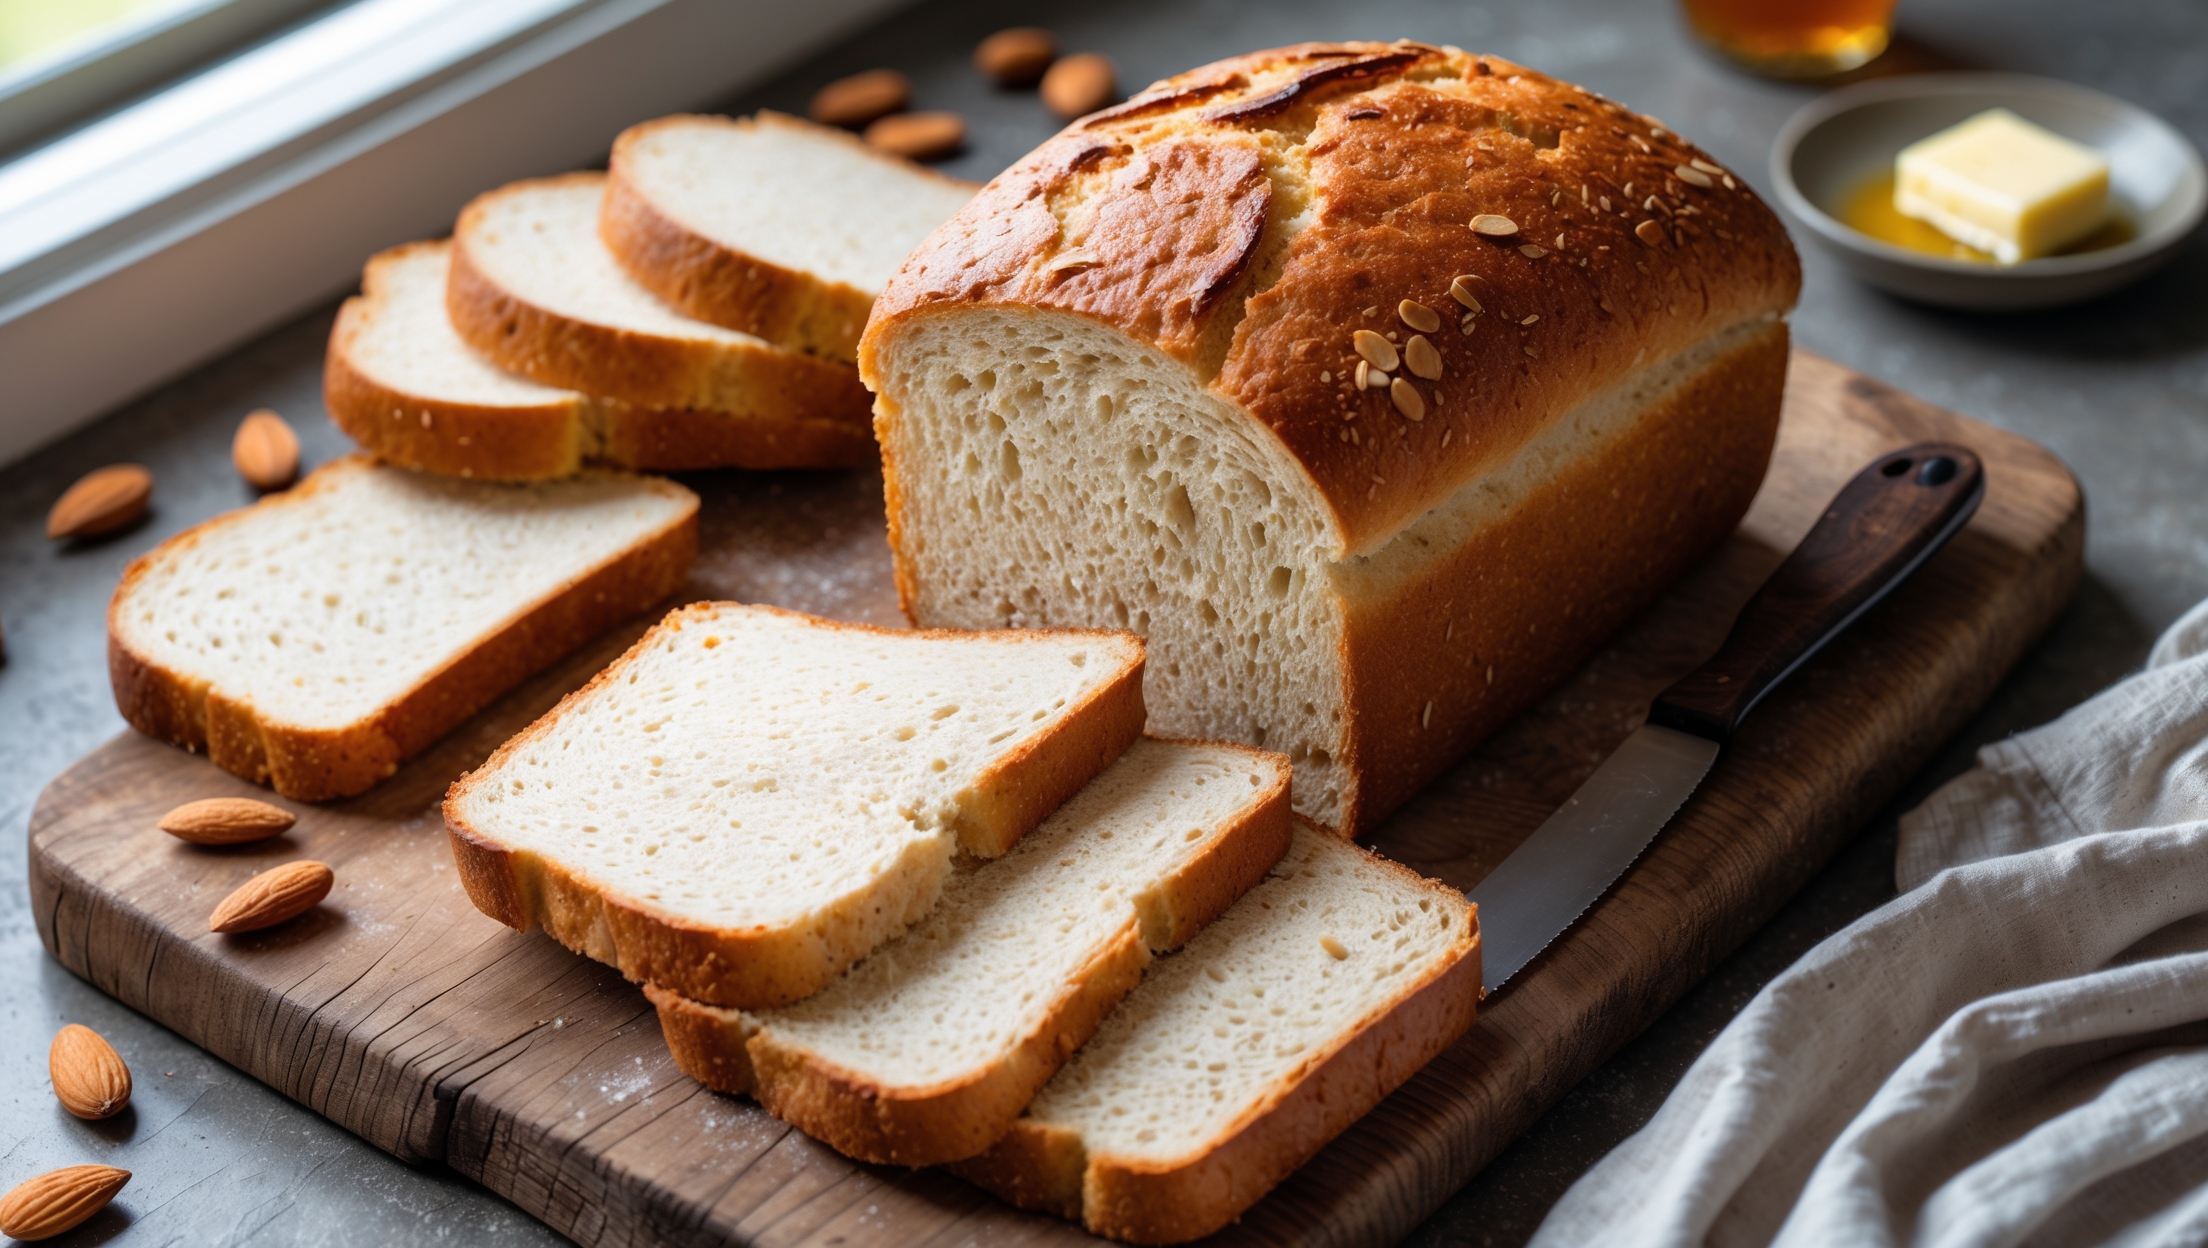
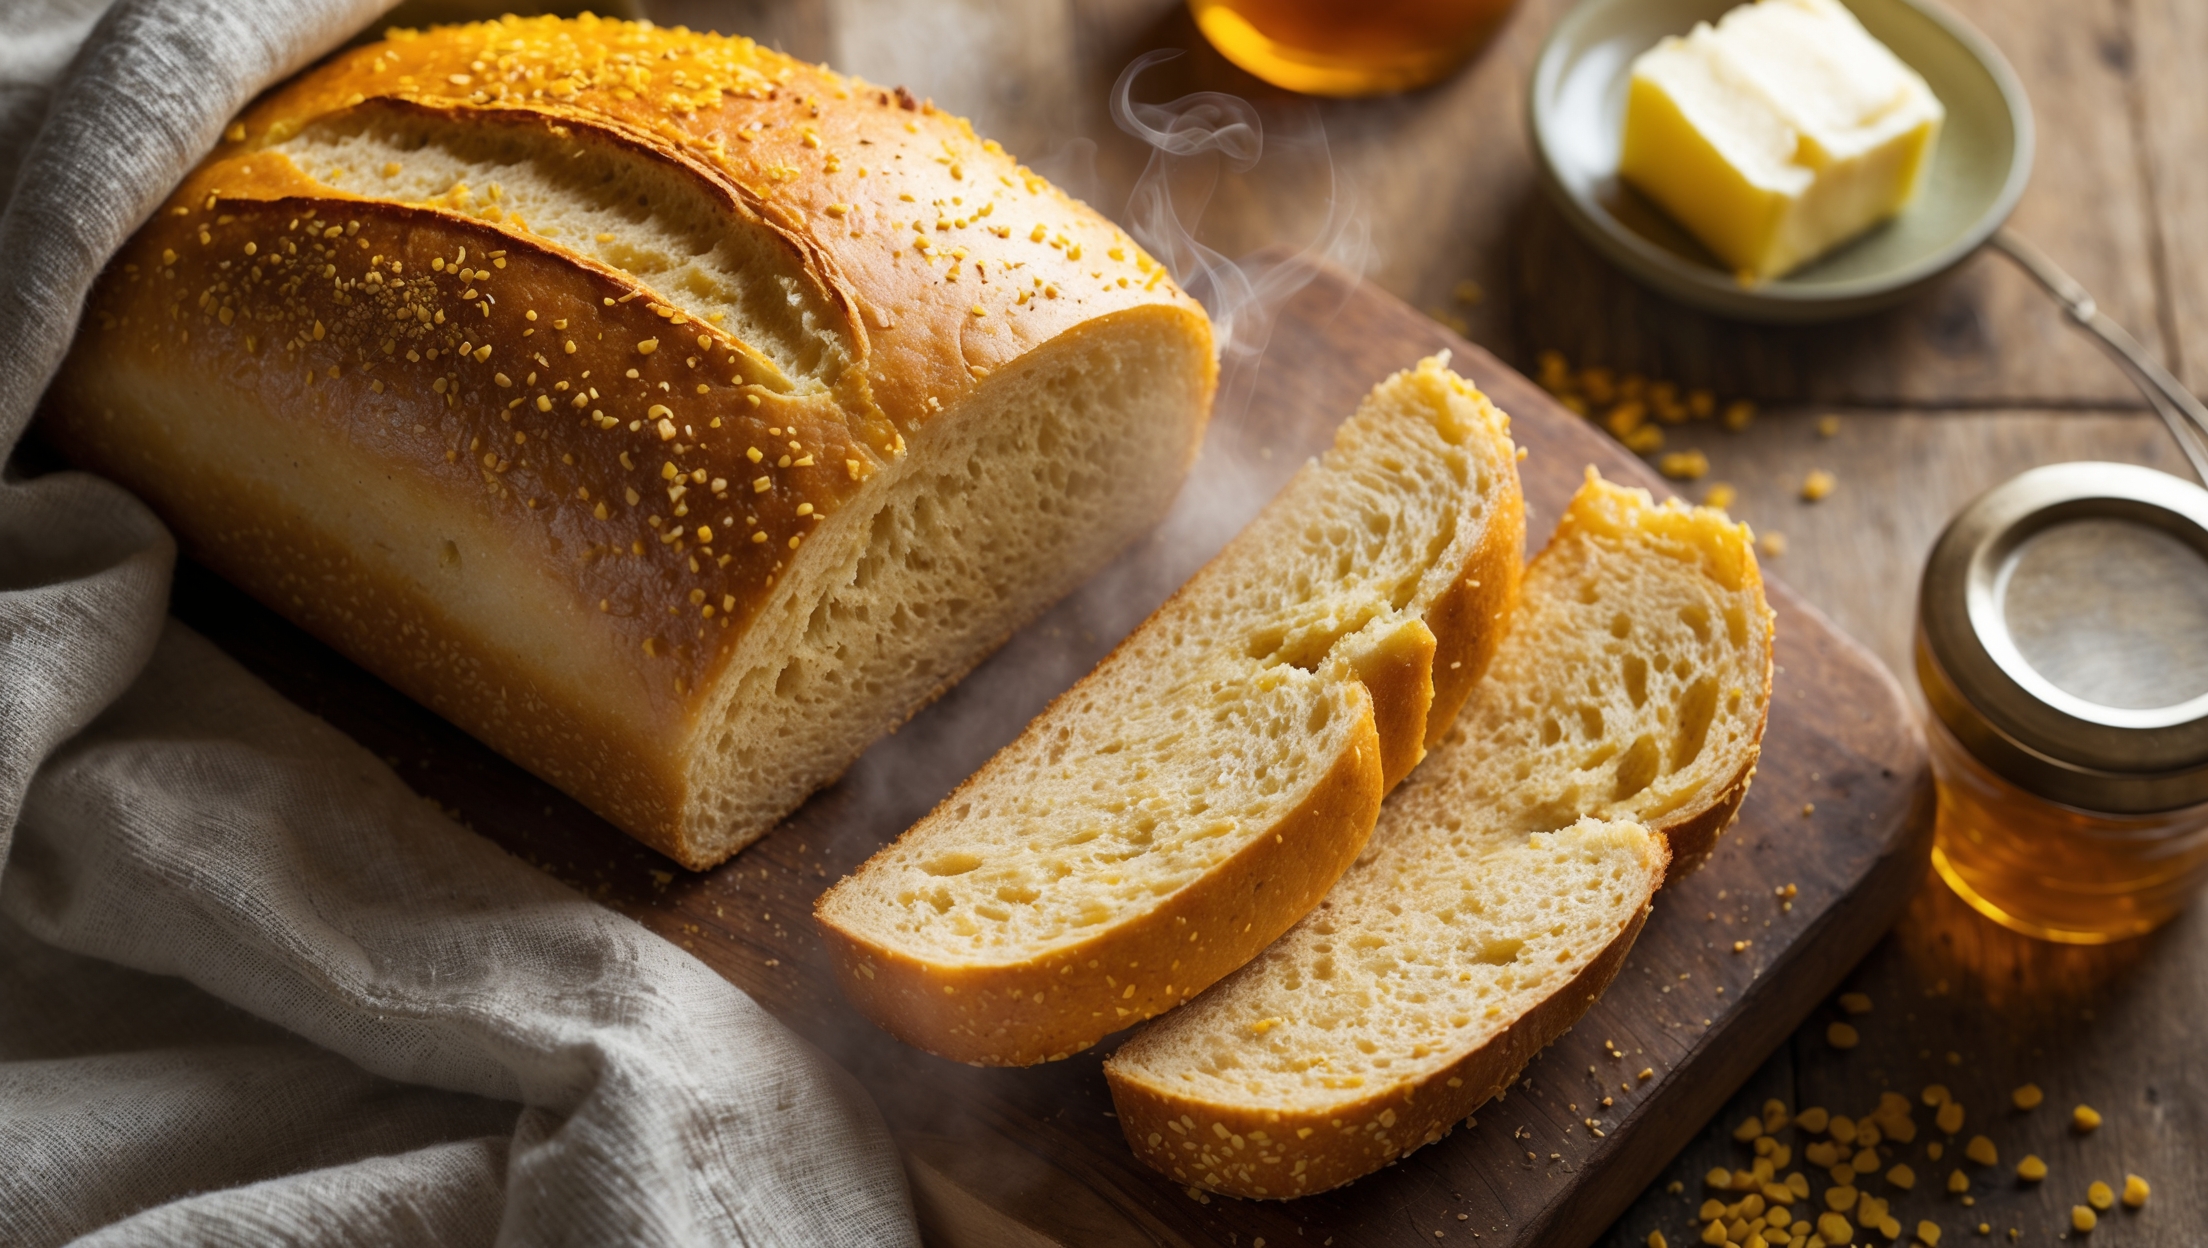
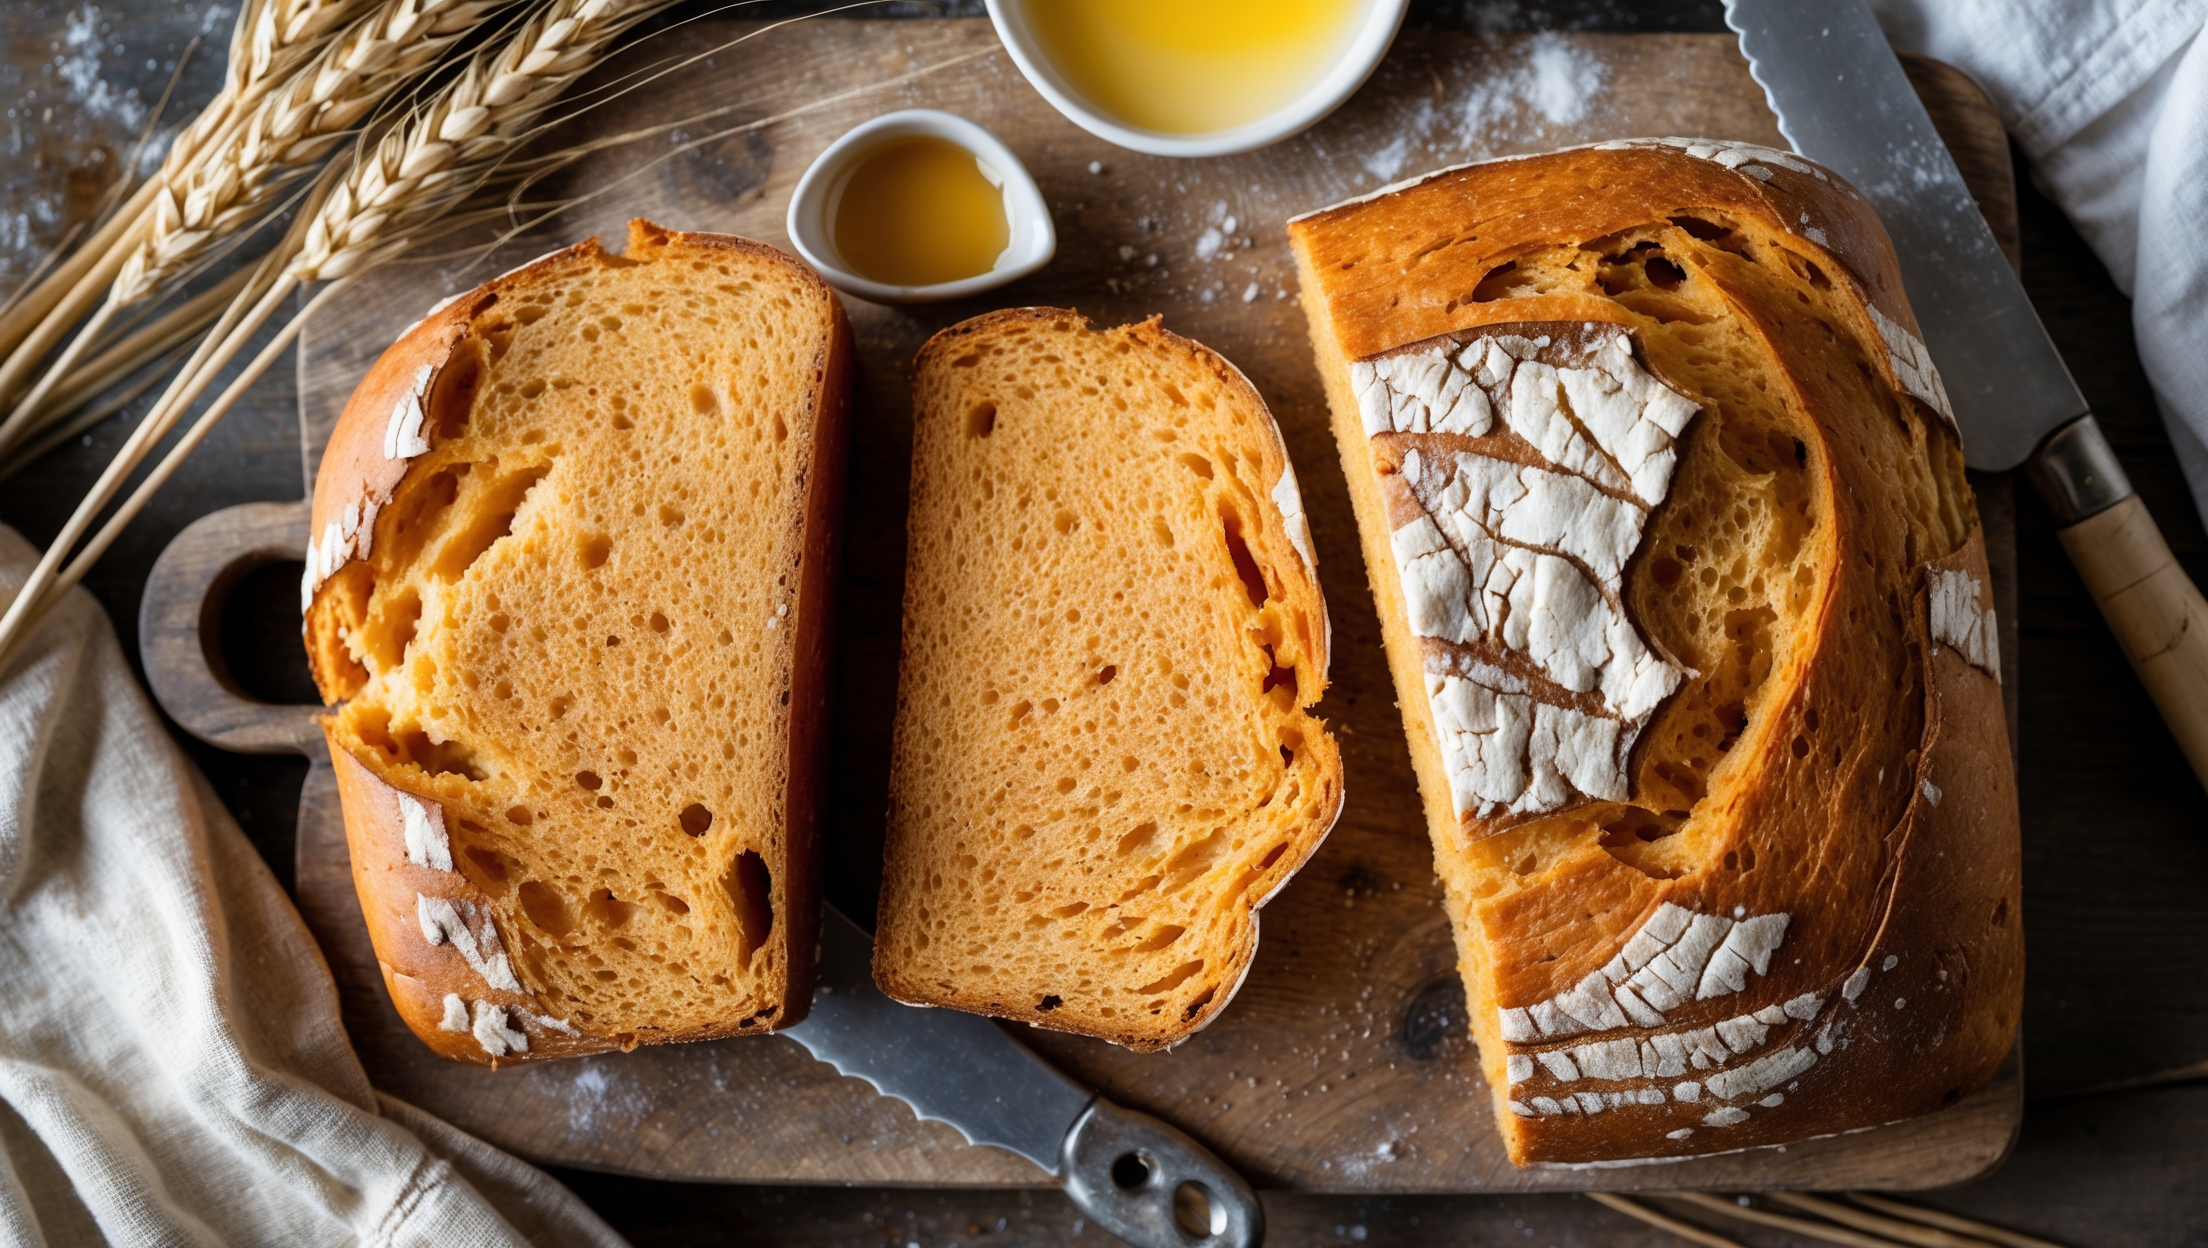
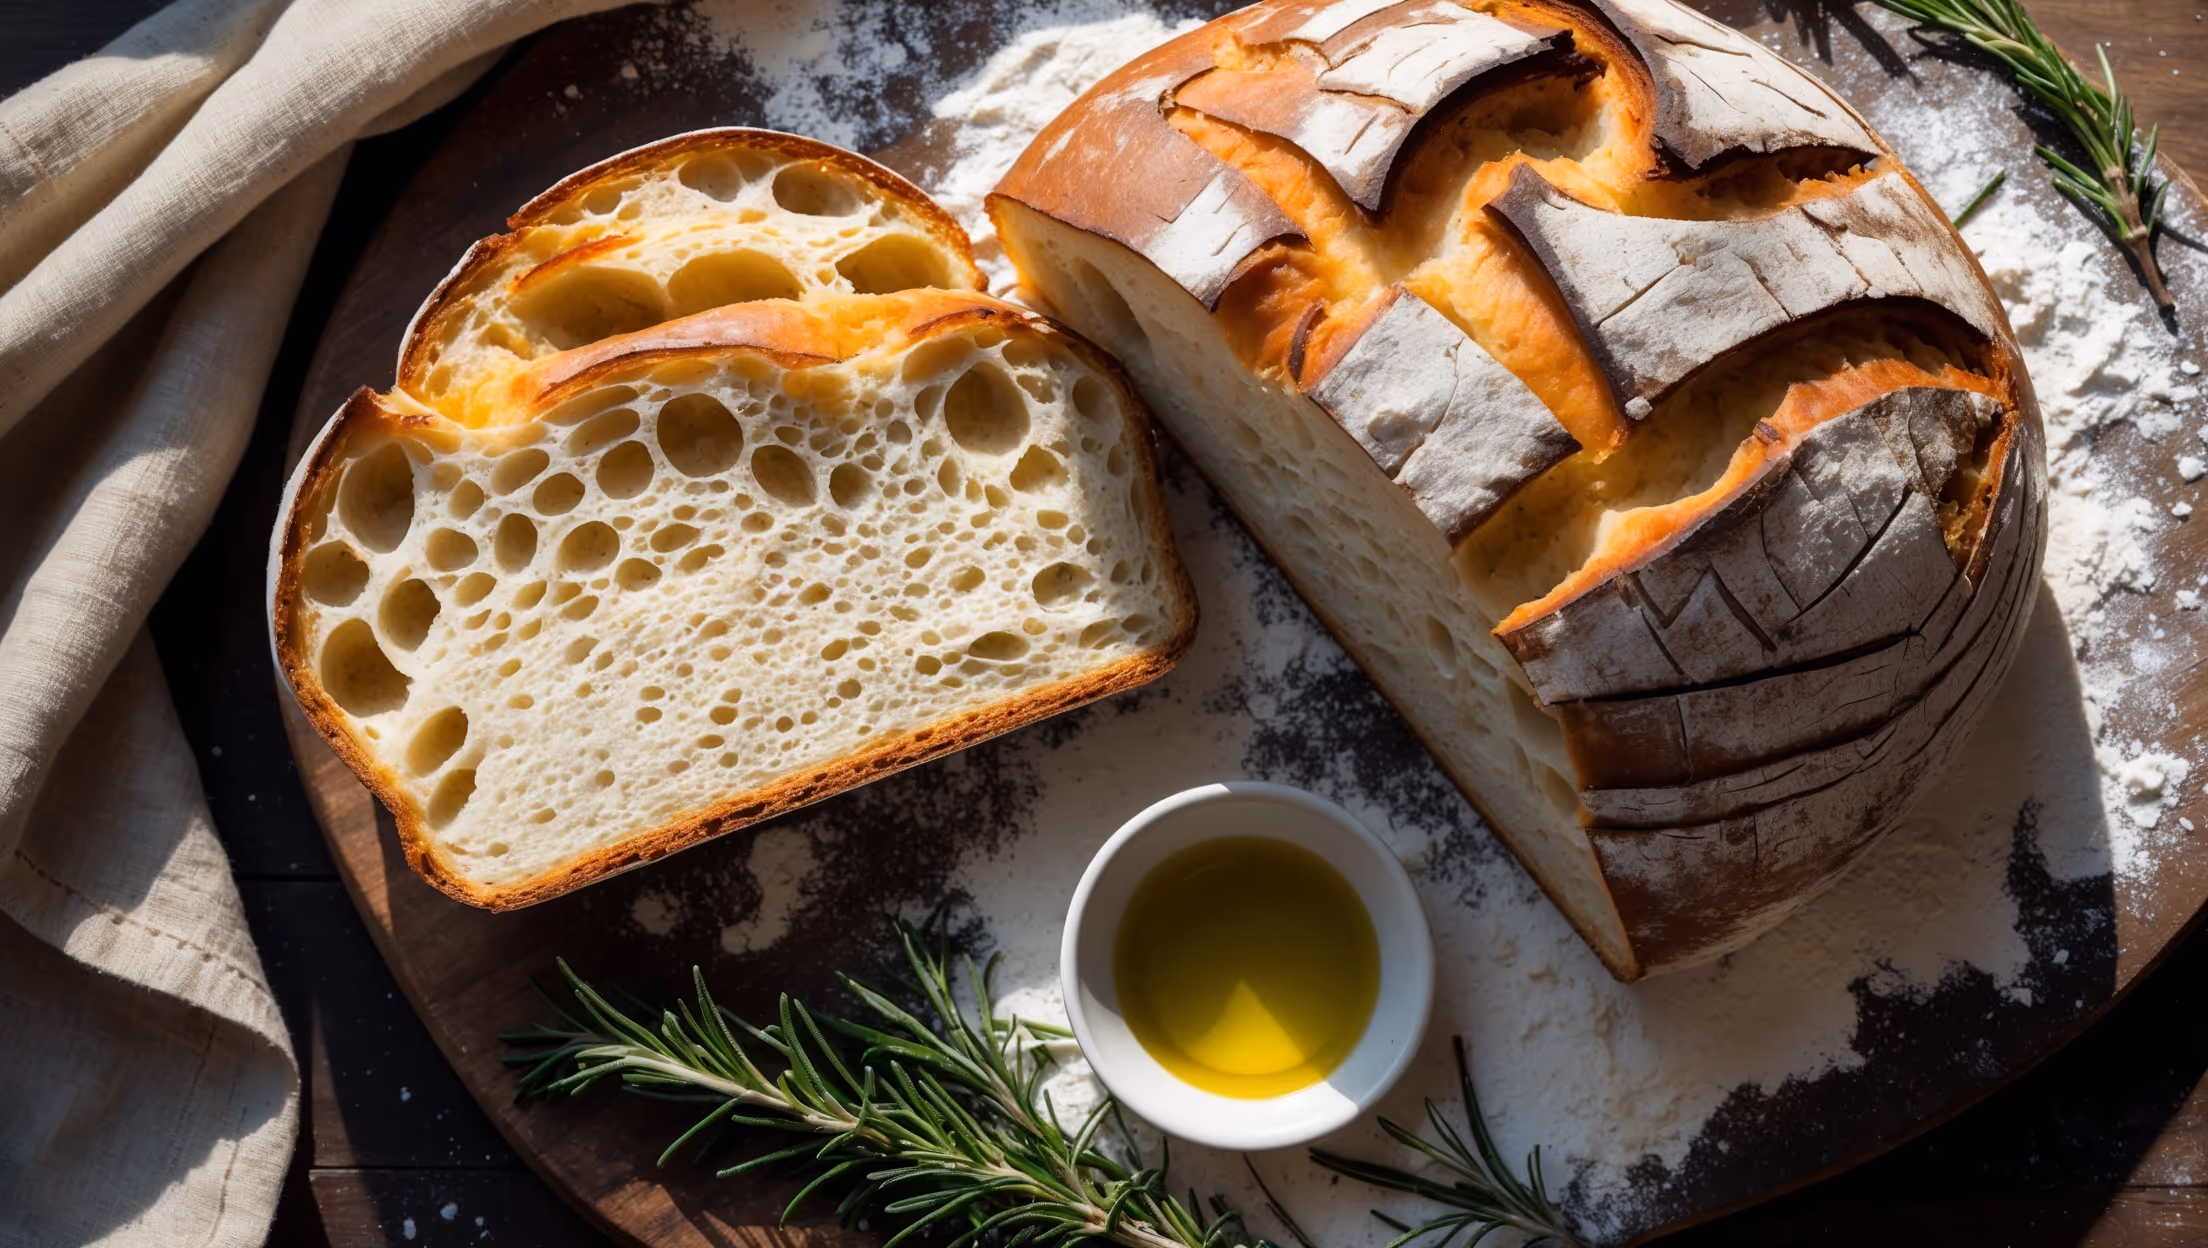
Soft Italian Bread requires simple pantry staples: bread flour, salt, instant dry yeast, sugar, extra virgin olive oil, lukewarm water and a bit of butter for brushing. This combination creates that perfect tender crumb and delicate crust characteristic of authentic Italian bread.
Learn how to cook Soft Italian Bread Recipe by activating yeast in warm water, mixing with flour, salt and olive oil, then kneading until elastic. After two rises (including an optional overnight fermentation for better flavour), shape the dough, score it, and bake in a steamy oven at 220°C for 25-30 minutes until golden. Brush with butter for an extra soft crust.
Refrigerating Italian bread dough overnight (cold fermentation) significantly enhances flavour development through slow yeast activity. This process allows enzymes more time to convert starches to sugars, resulting in a more complex, slightly sweet taste and improved texture with that signature honeycomb crumb structure.
The pillowy interior comes from proper hydration (64% in this recipe), adequate gluten development through kneading, gentle handling during shaping, and creating steam in the oven. The overnight fermentation also breaks down proteins and develops flavour compounds that contribute to that distinctive soft crumb.
Absolutely! While a baking stone helps create an authentic crust, a heavy baking sheet works well as an alternative. The key is generating steam in your oven (using a spray bottle or water-filled pan) and proper dough development. For best results, preheat your baking sheet thoroughly before adding the dough.
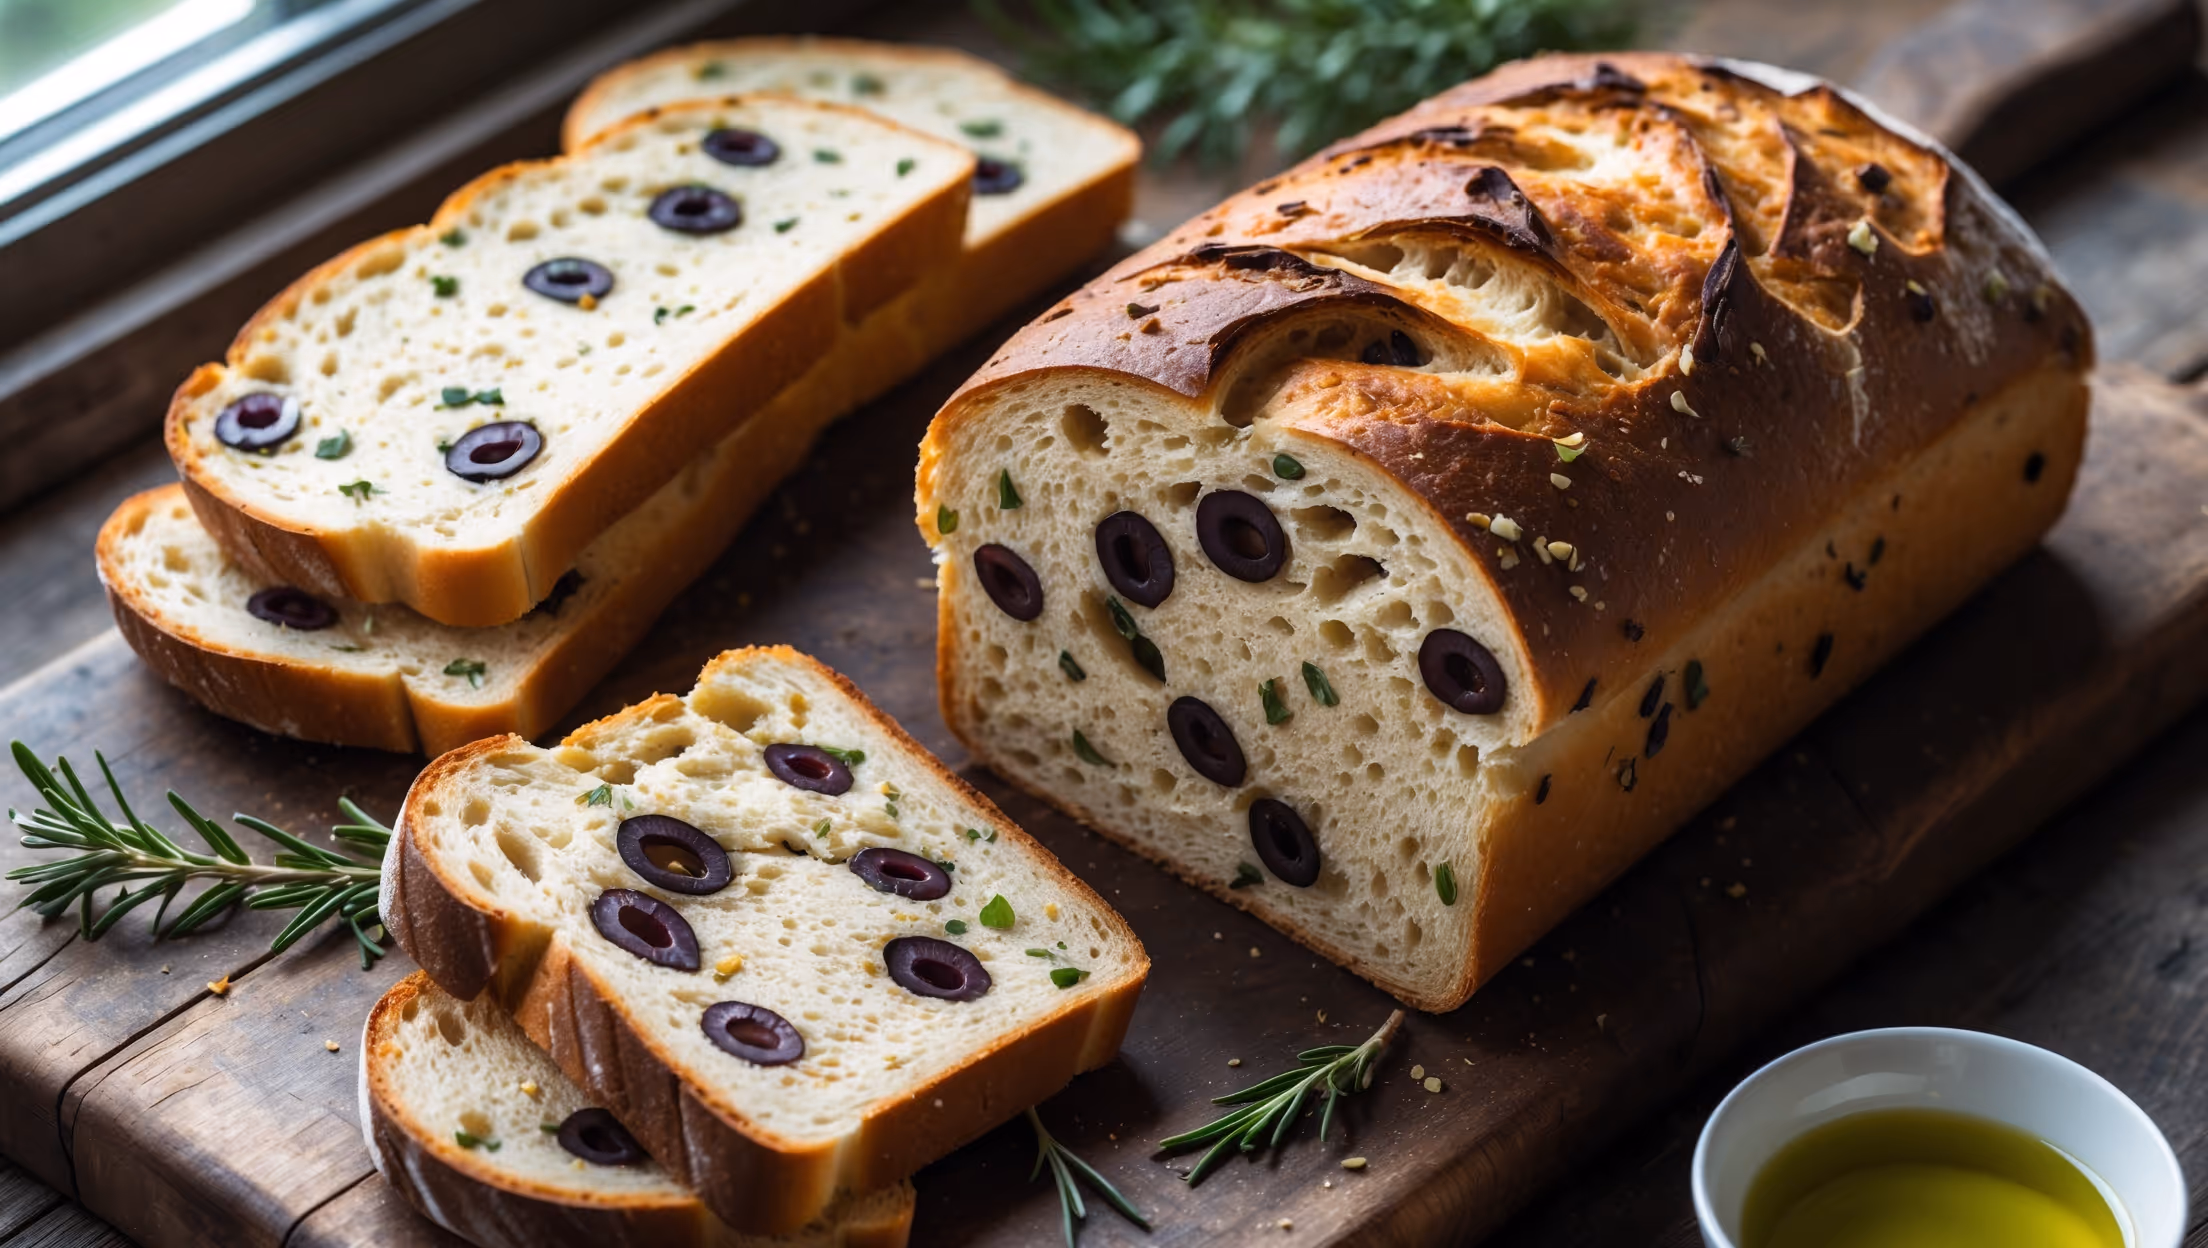
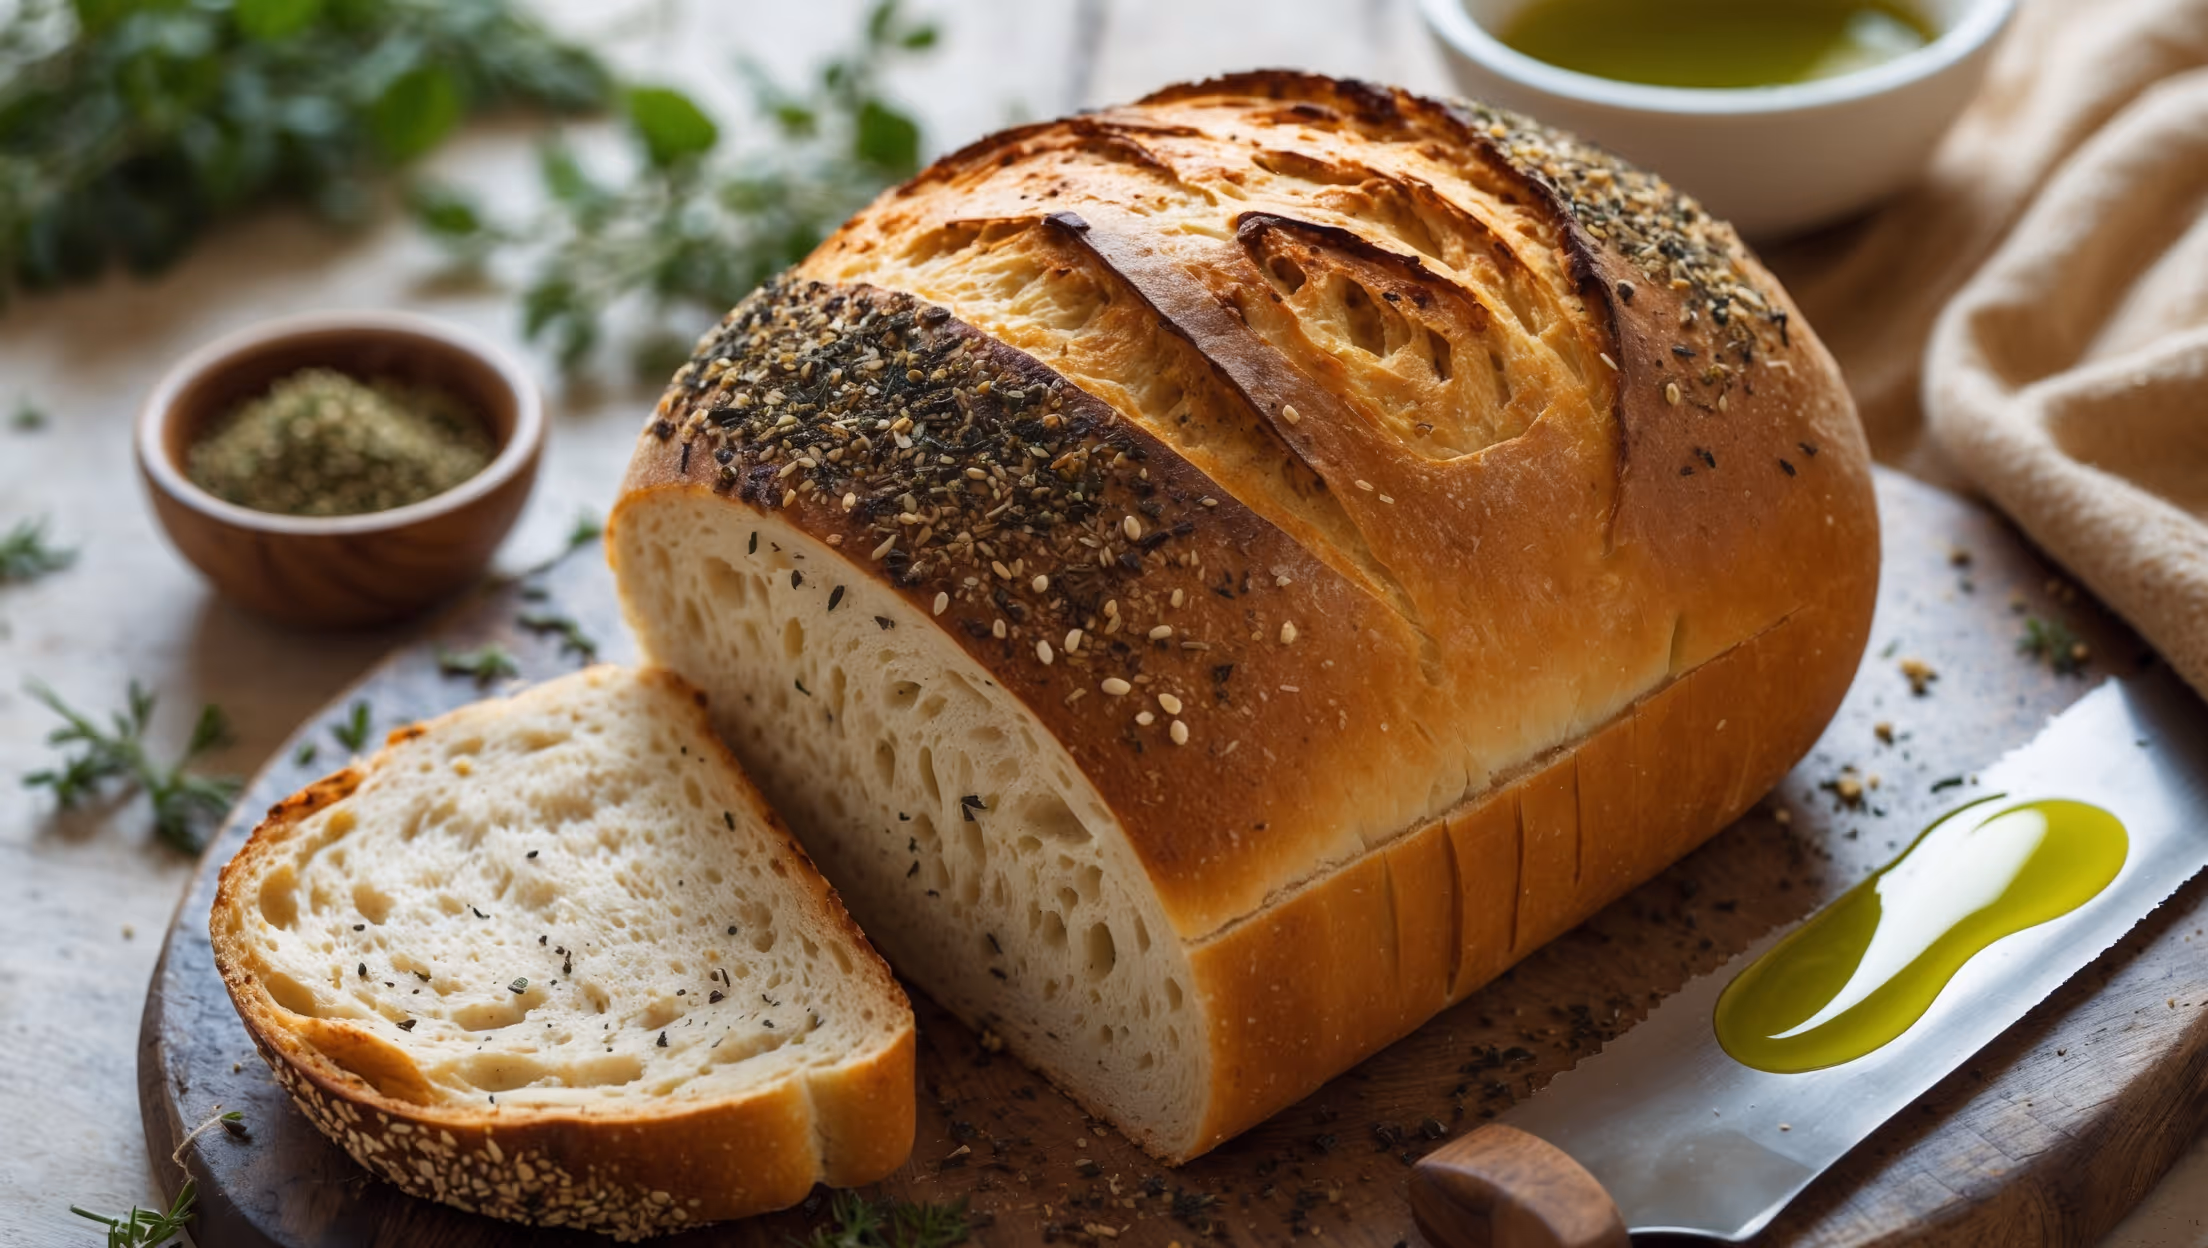
Sandwich Bread
Try following recommended recipes