Rustic Porridge Bread with Ancient Grains Recipe
Ingredients
Equipment
Directions
FAQs
Find answers to your most pressing questions about this delicious recipe right here.
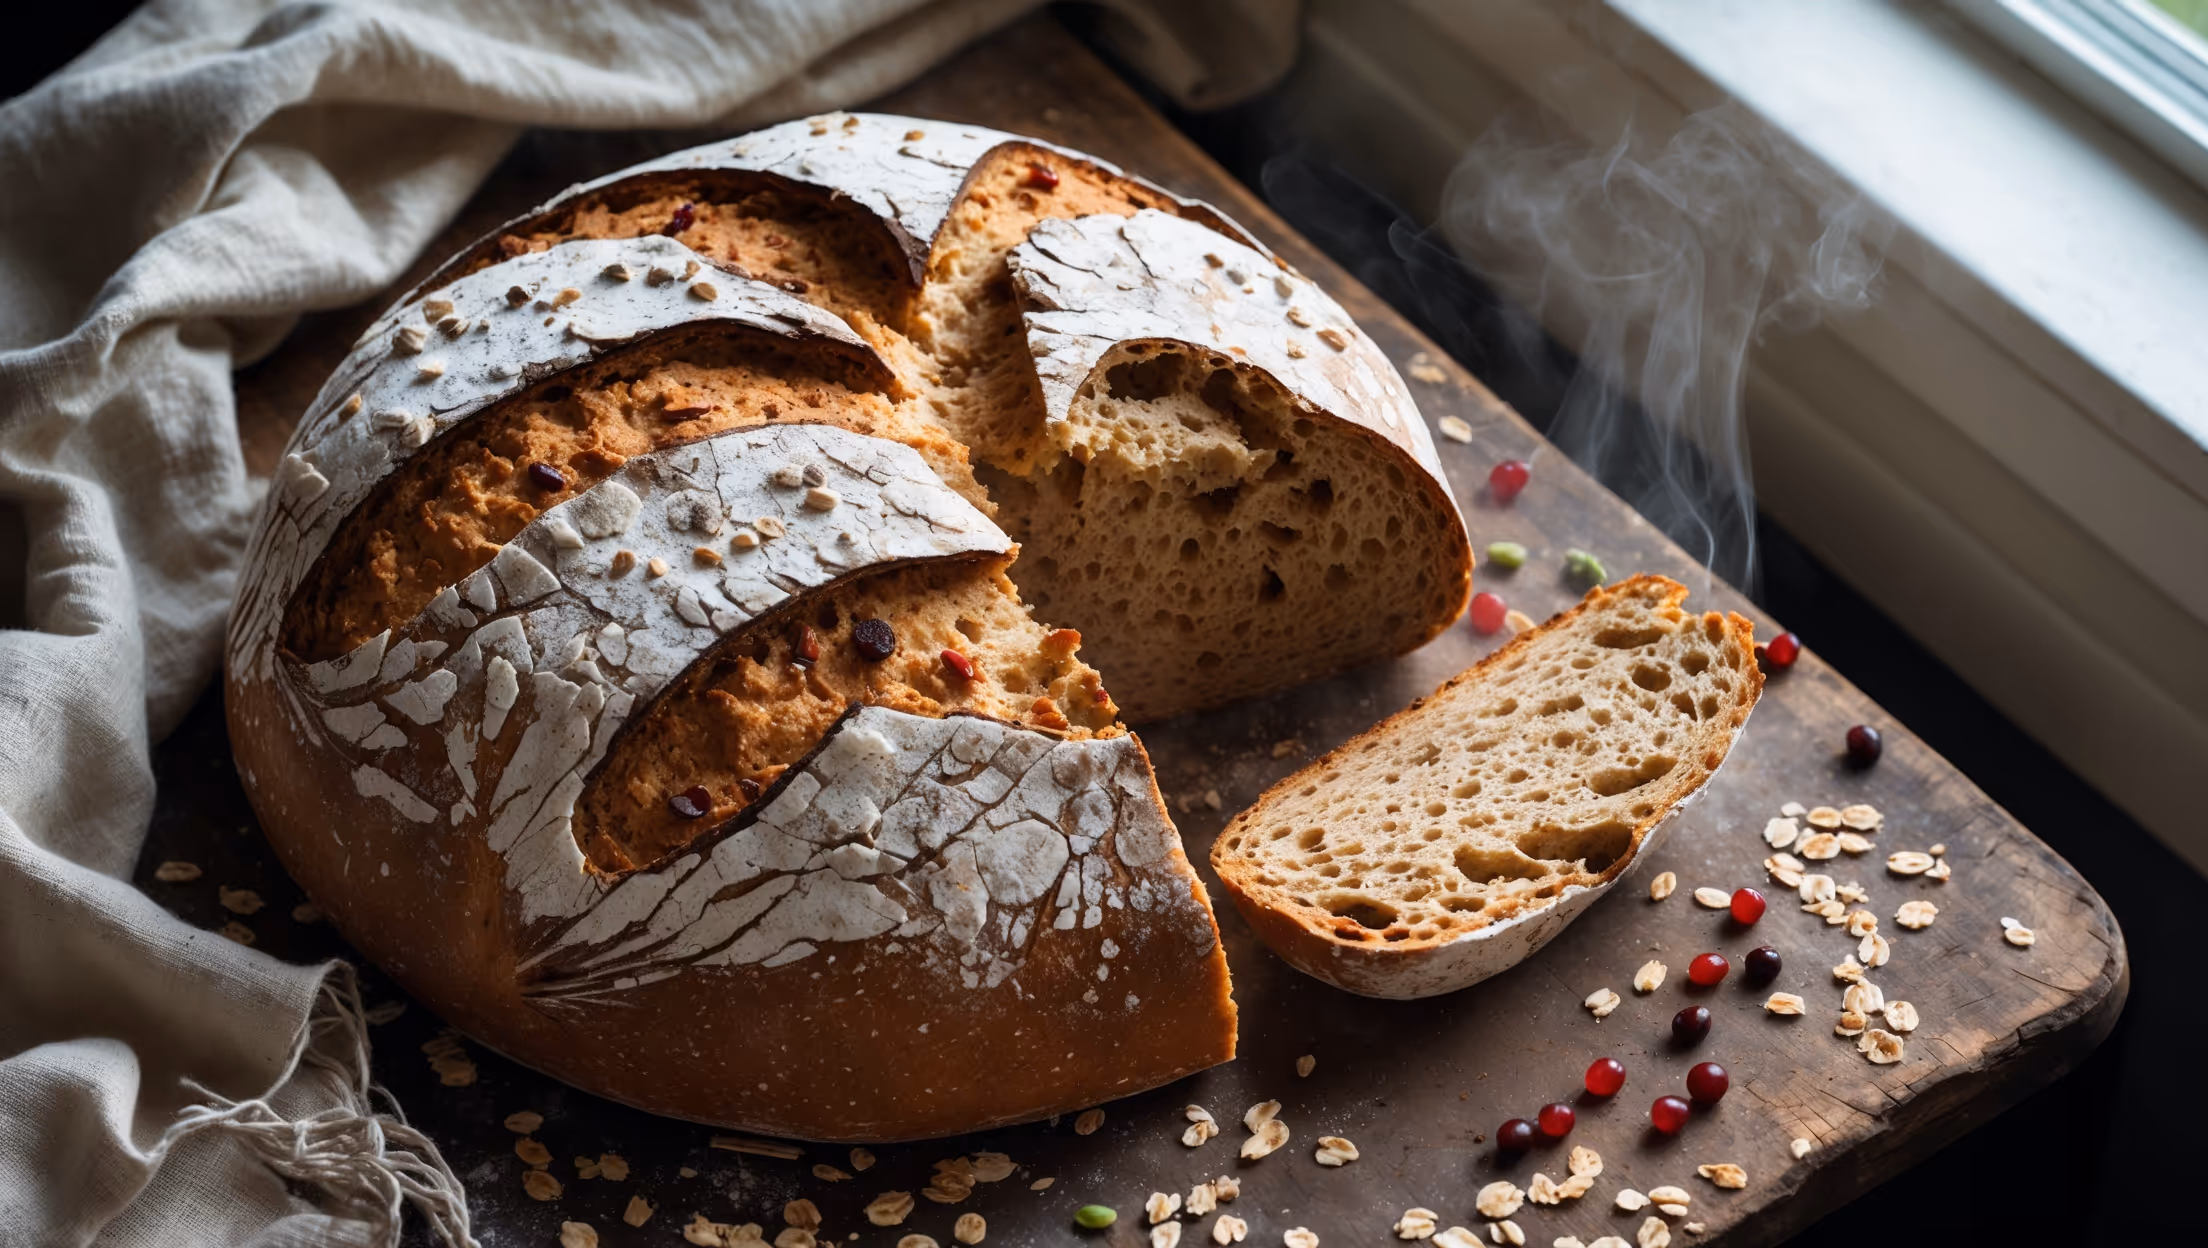
The main ingredients include rolled oats, mixed ancient grains (amaranth, spelt berries, kamut, einkorn, or quinoa), bread flour, whole wheat flour, instant dried yeast, honey, olive oil, salt, and water. These combine to create a hearty, nutritious loaf with exceptional texture and flavour.
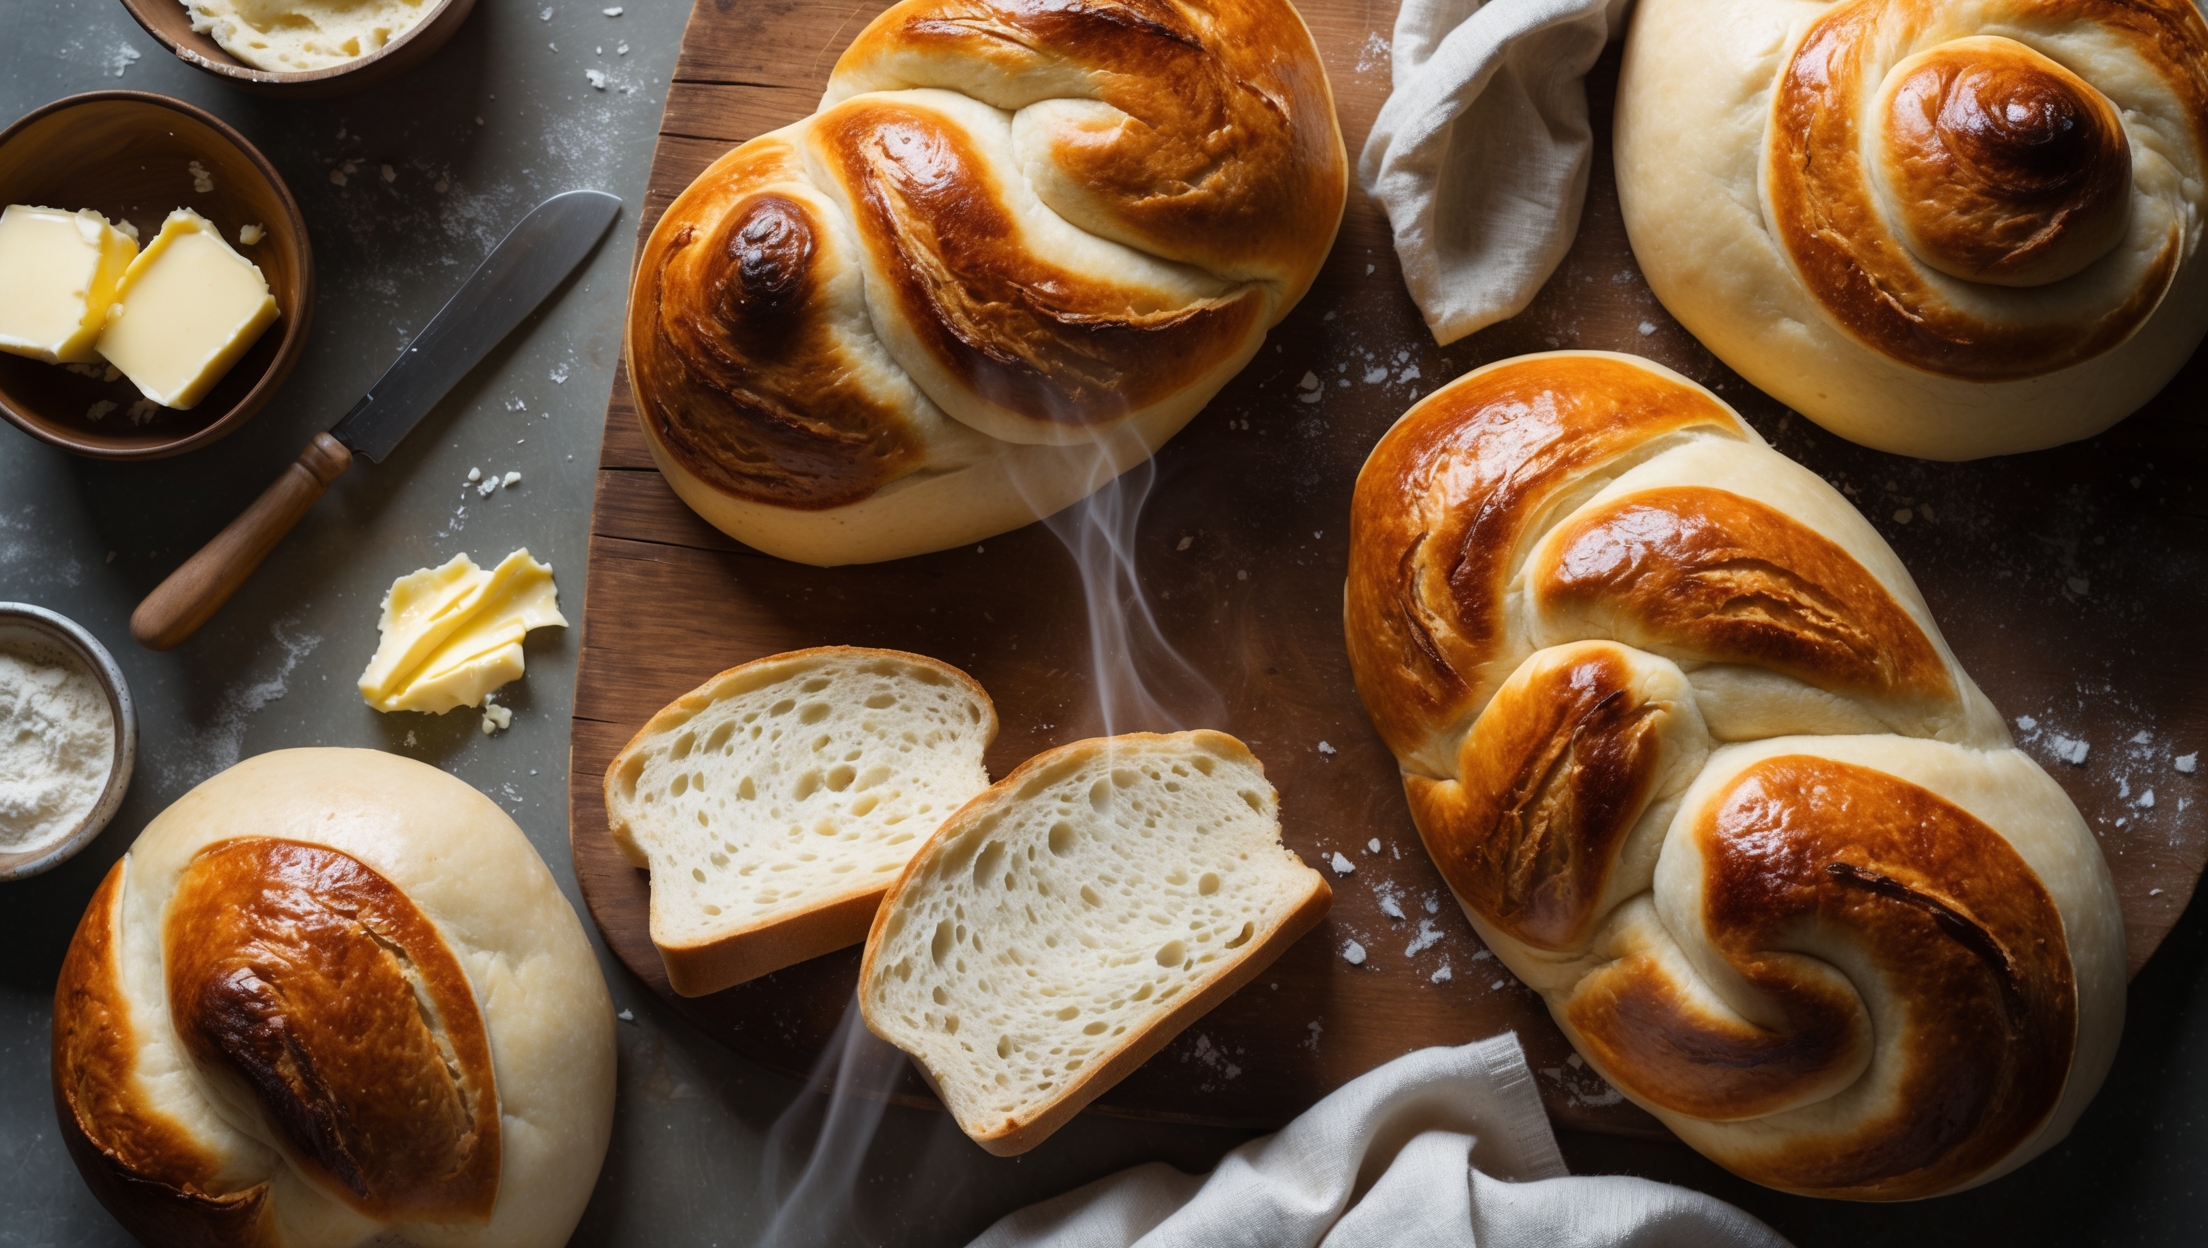
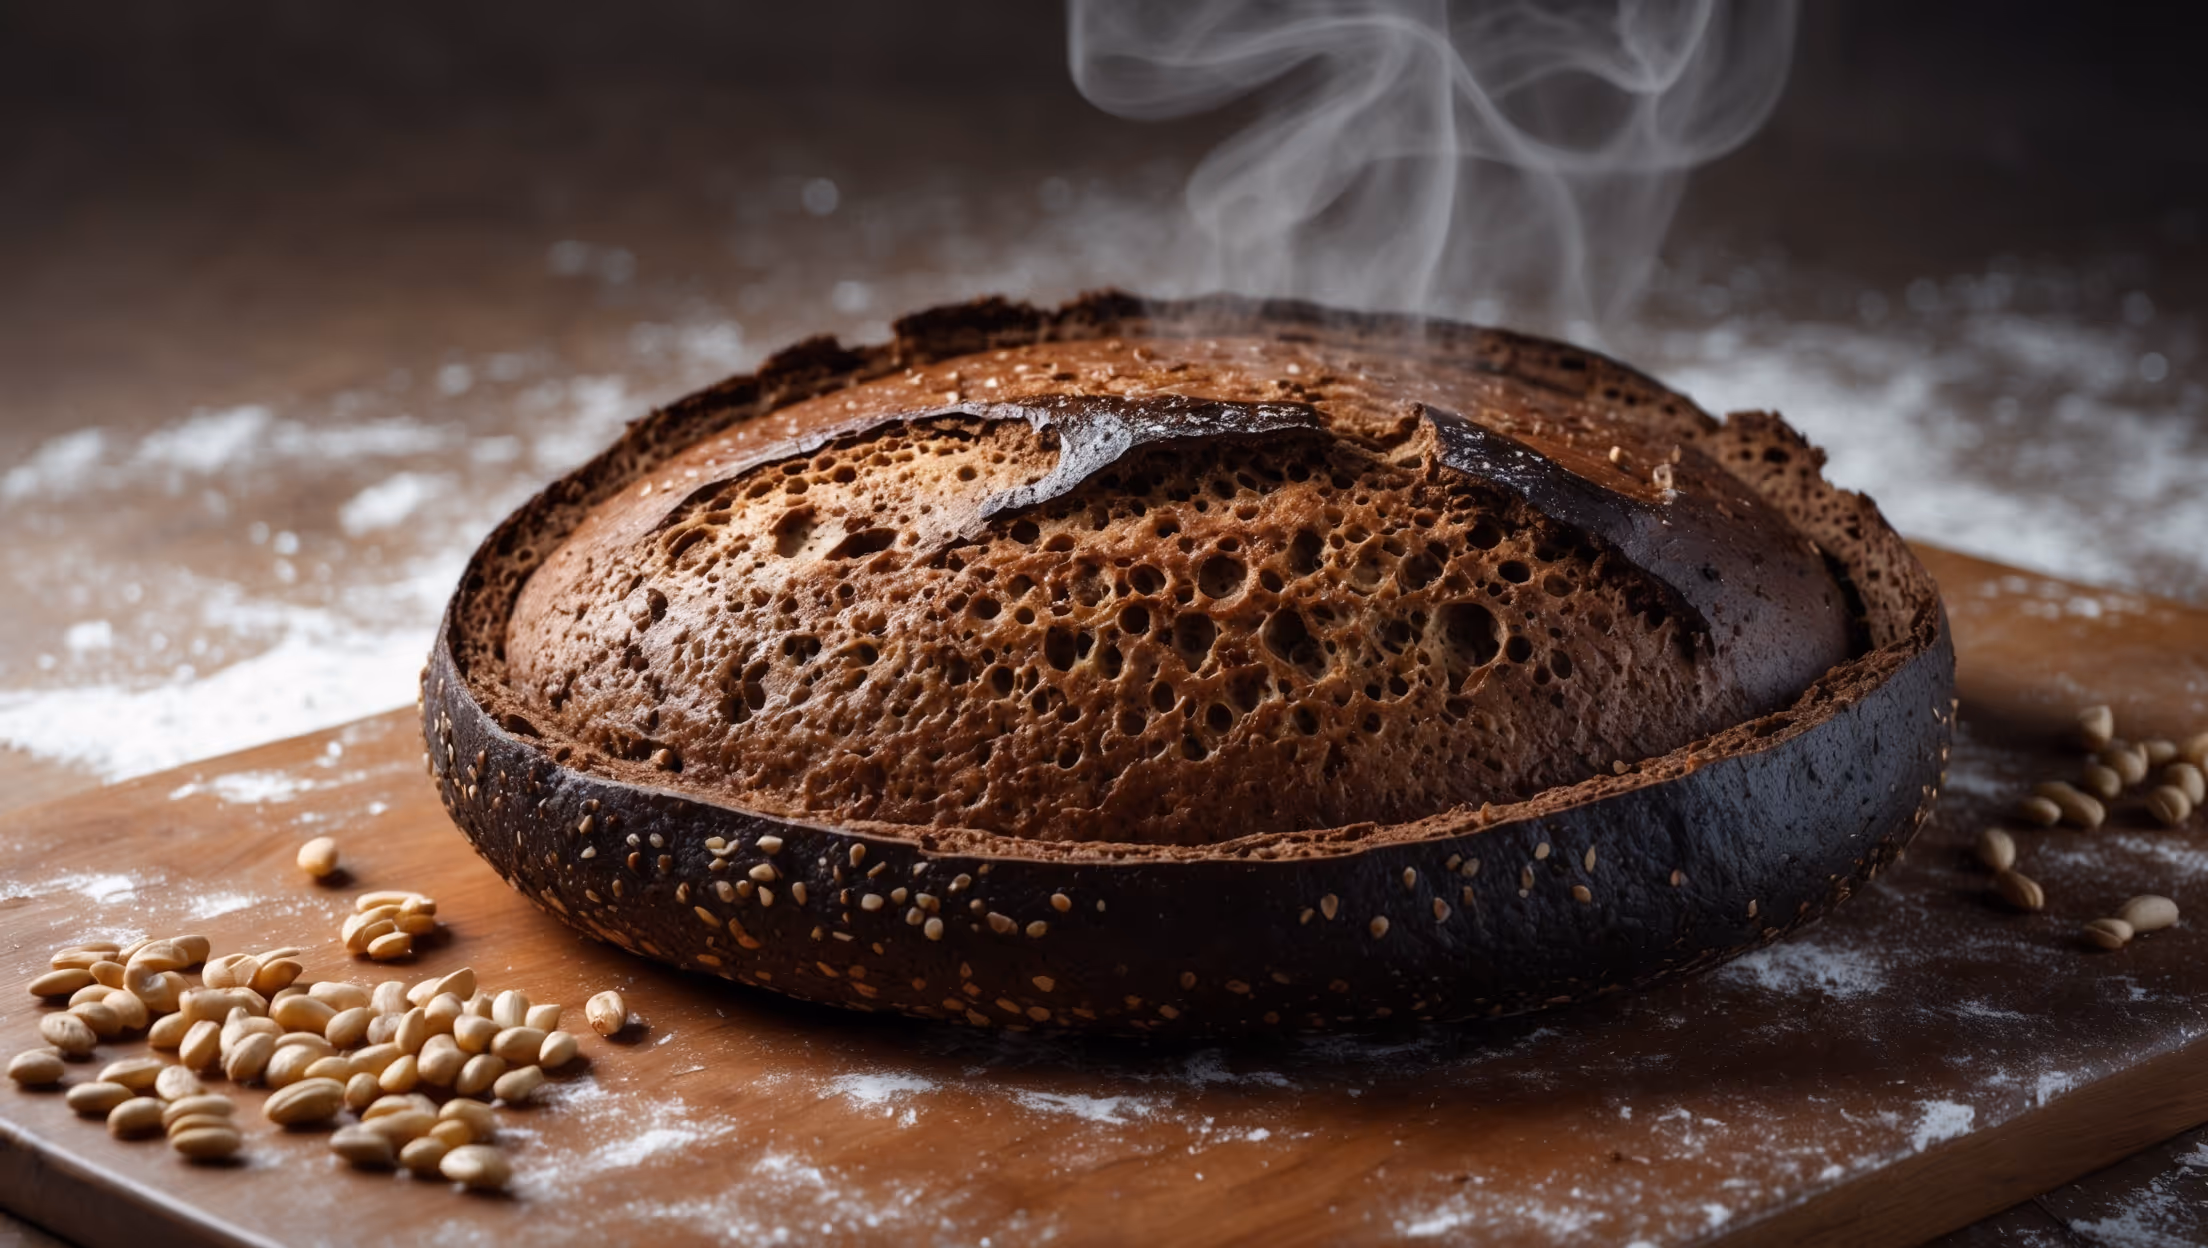
Learn how to cook Rustic Porridge Bread with Ancient Grains by first creating a porridge base with ancient grains, then combining it with flour, yeast, honey and oil. After a series of stretch-and-fold sessions and overnight fermentation, the dough is shaped, proofed, and baked in a preheated Dutch oven for a perfect artisanal loaf with a crackling crust.
Overnight cold fermentation develops complex flavours, improves digestibility, and enhances the bread's texture. The slow, low-temperature process allows enzymes to break down starches into sugars, creating deeper taste notes while strengthening the gluten network for better structure and a more open crumb.
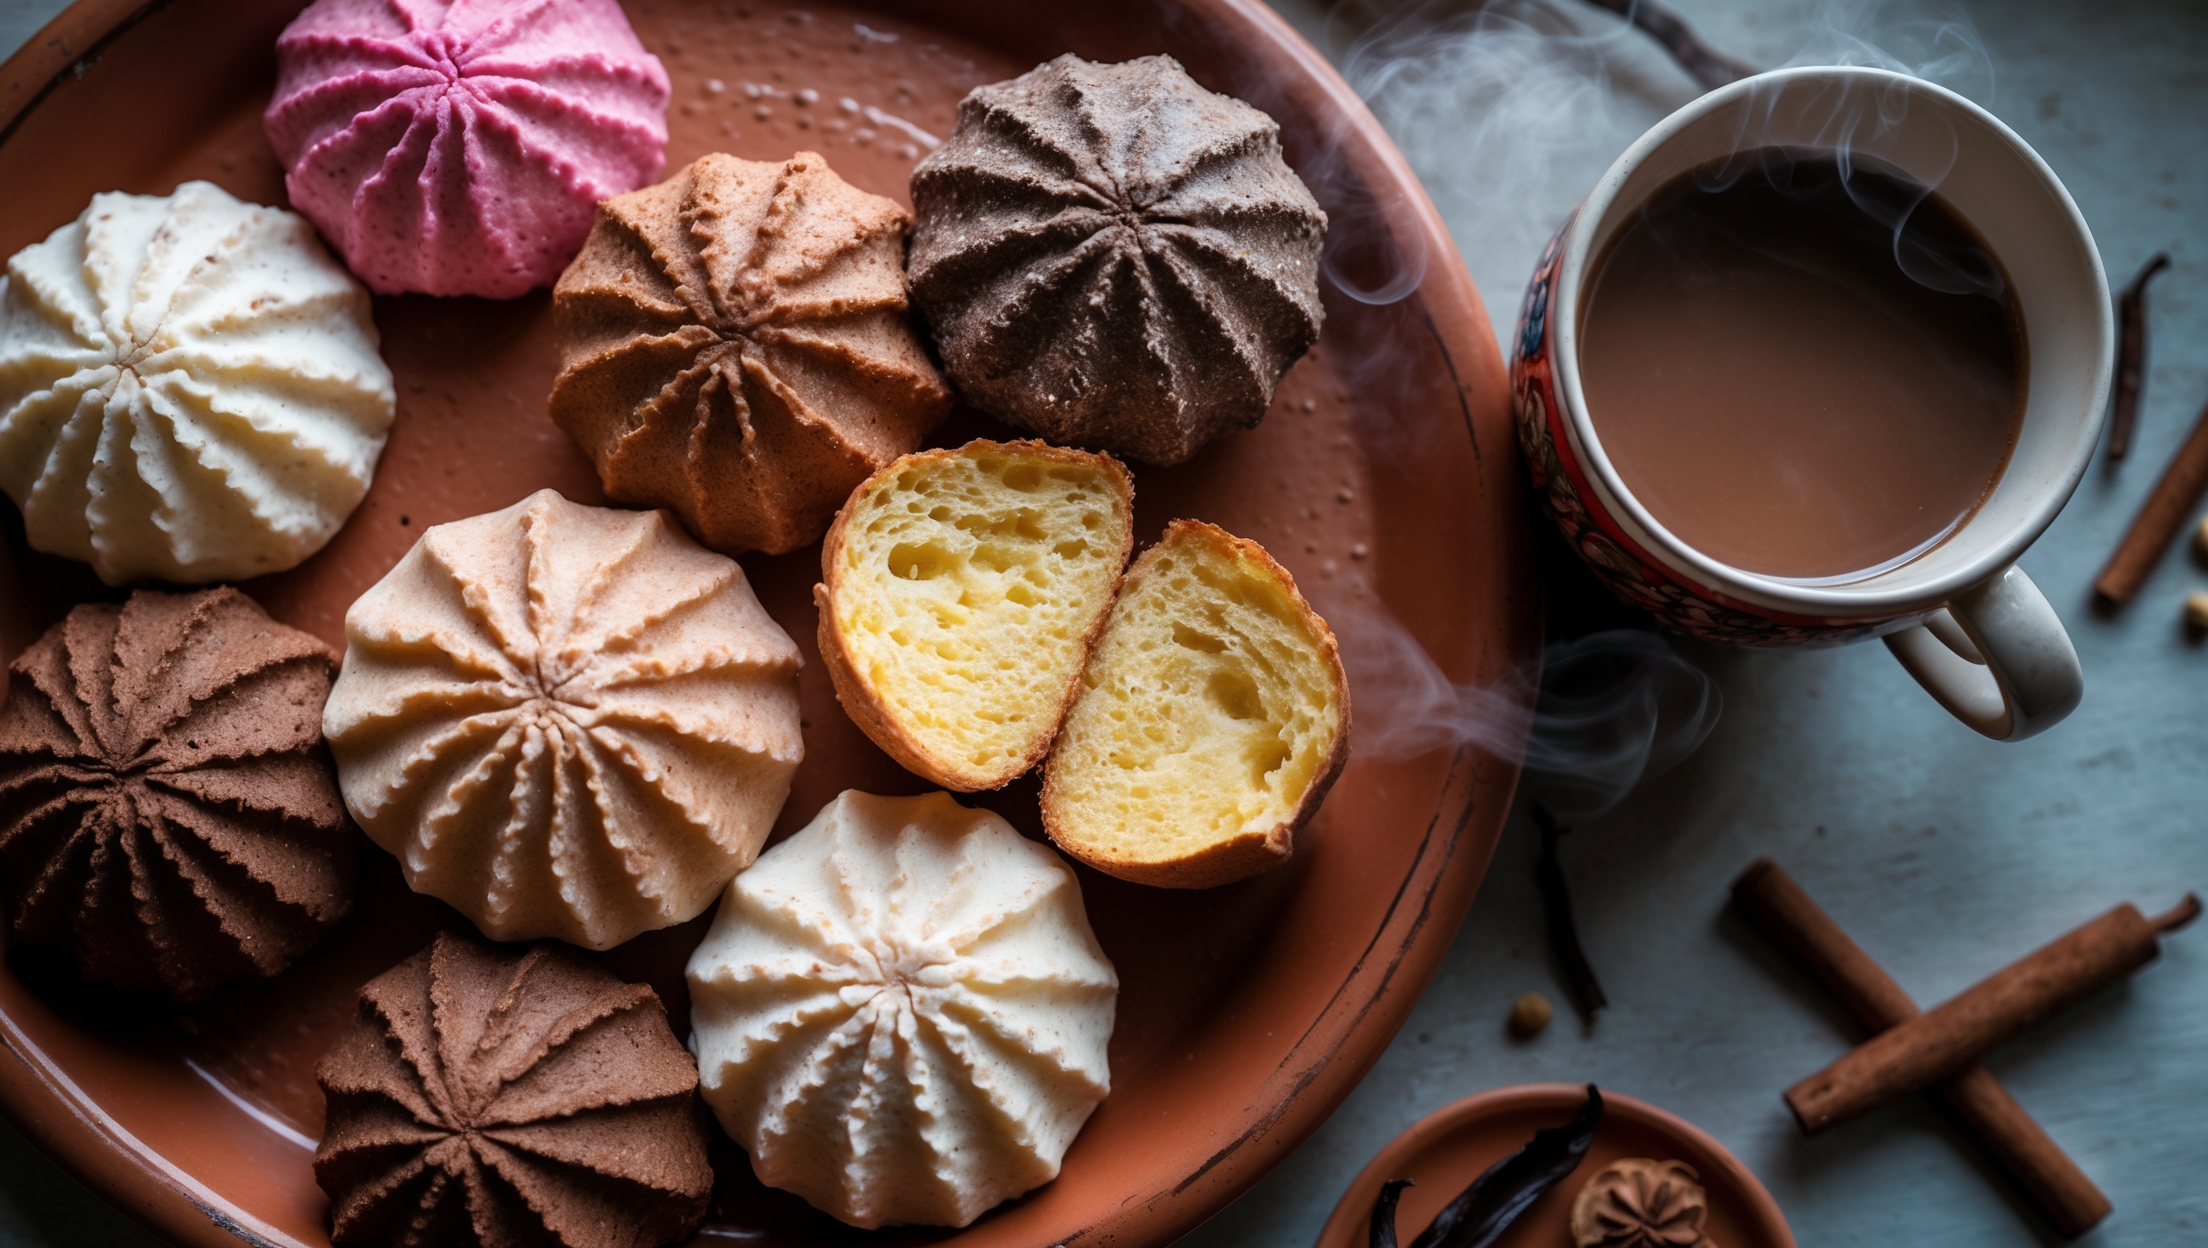
Yes, you can customise the ancient grain mixture based on what's available. Try farro, barley, millet, rye berries, or buckwheat. Maintain the same total weight (50g) to ensure proper hydration. Each grain offers unique flavours and textures, allowing you to create a personalised artisan loaf.
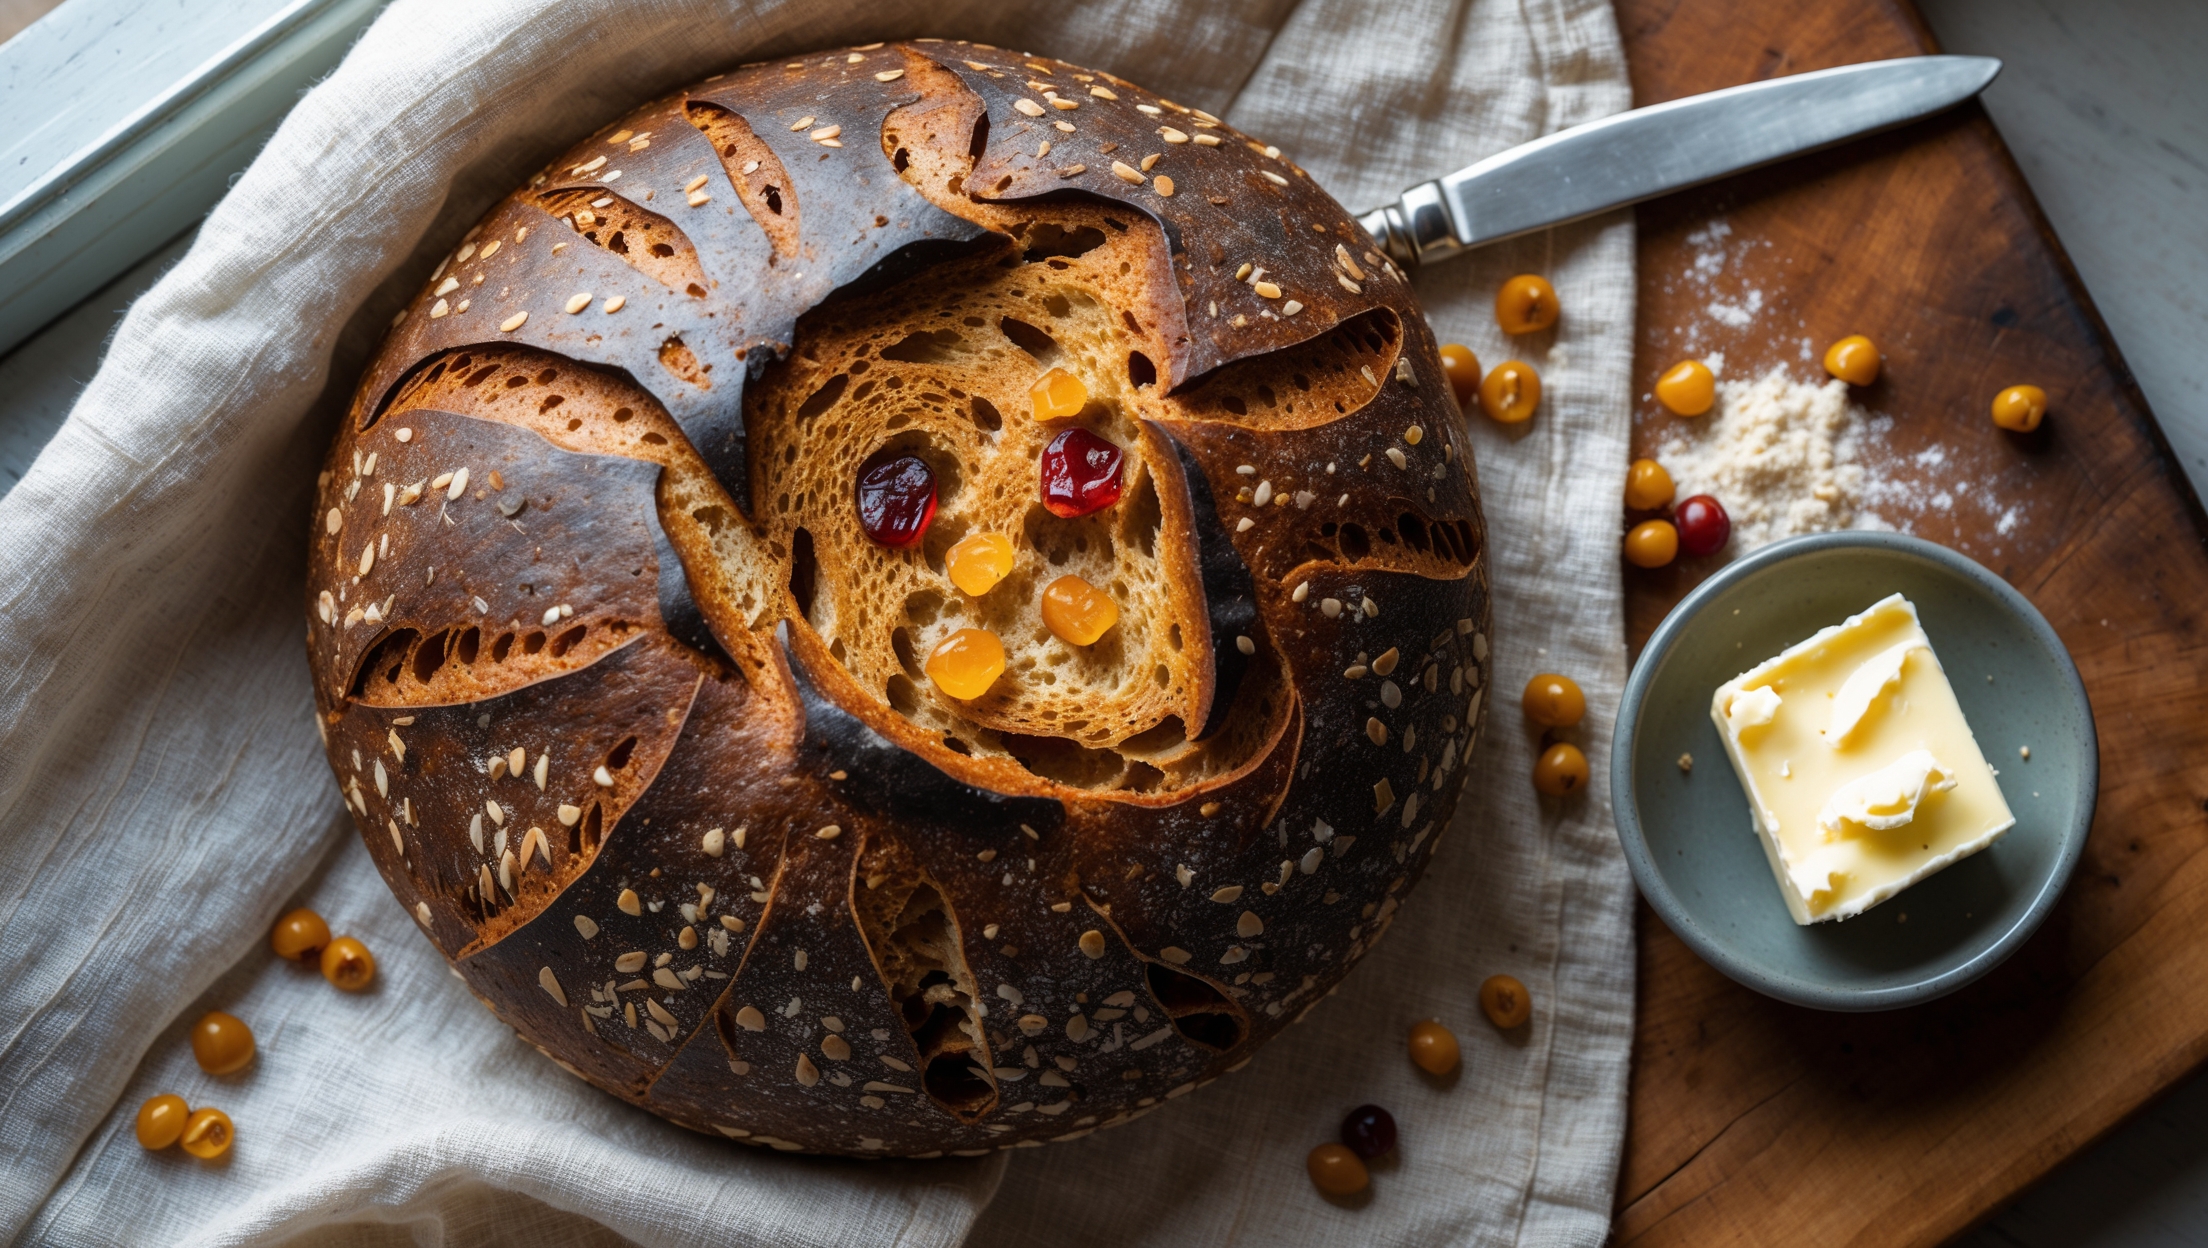
Store ancient grain bread at room temperature in a paper bag or bread box for 2-3 days. For longer storage, slice the completely cooled loaf and freeze in an airtight container for up to 3 months. Avoid refrigeration as it accelerates staling. Refresh the bread by warming in a 180°C oven for 5-10 minutes.
Artisan Bread
Try following recommended recipes