Classic Mexican Concha Recipe
Ingredients
Equipment
Directions
FAQs
Find answers to your most pressing questions about this delicious recipe right here.
The key ingredients include bread flour, granulated sugar, instant dry yeast, eggs, milk, butter, and vanilla for the dough. The distinctive topping requires butter, powdered sugar, all-purpose flour, vanilla, and optional cocoa powder or food colouring for variations.
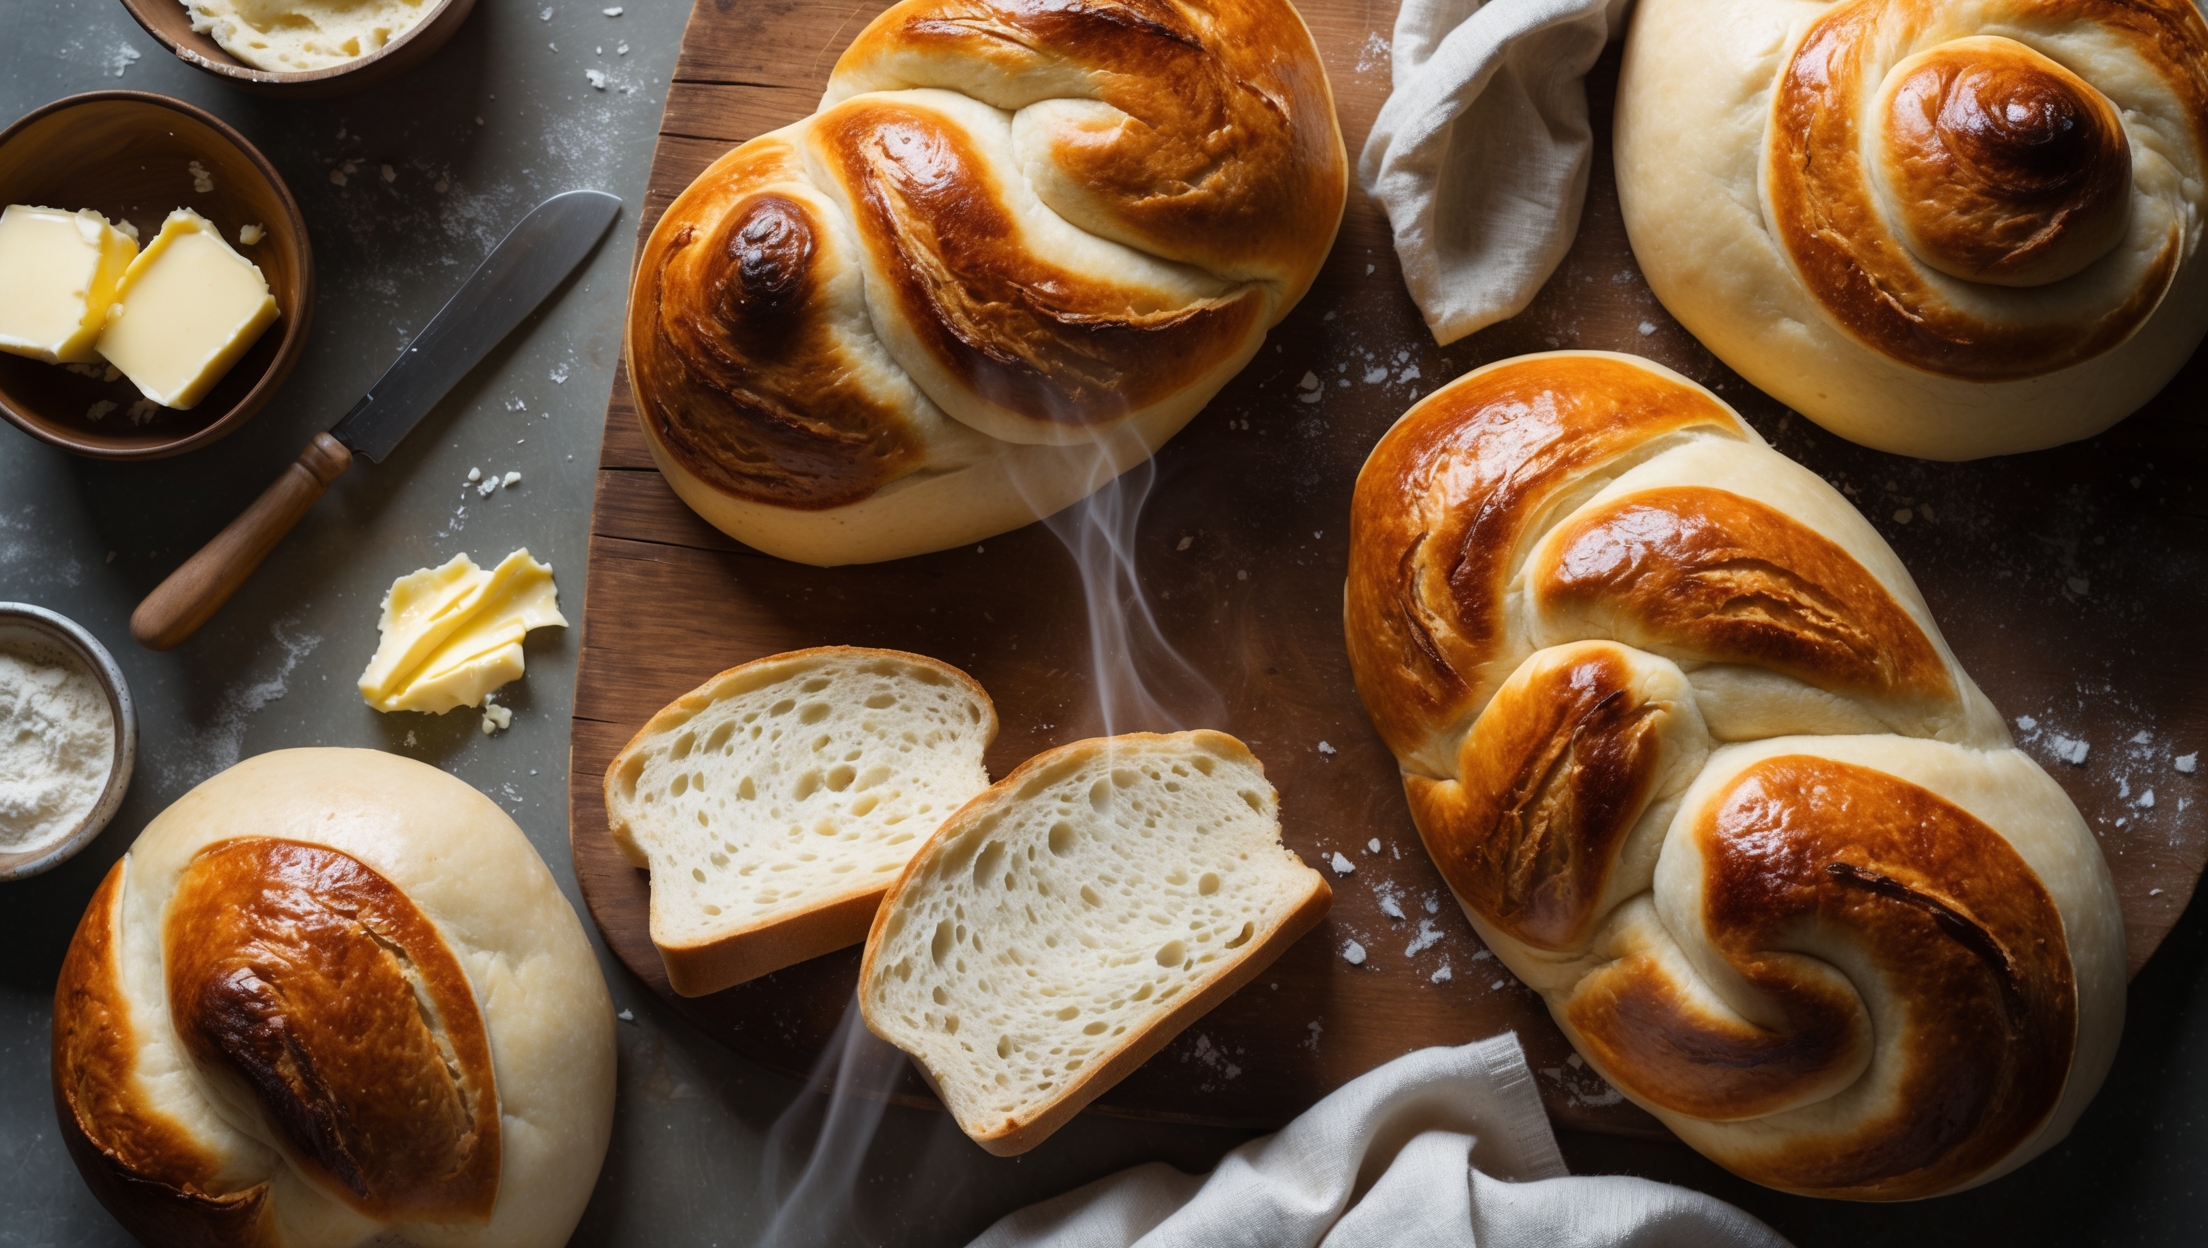
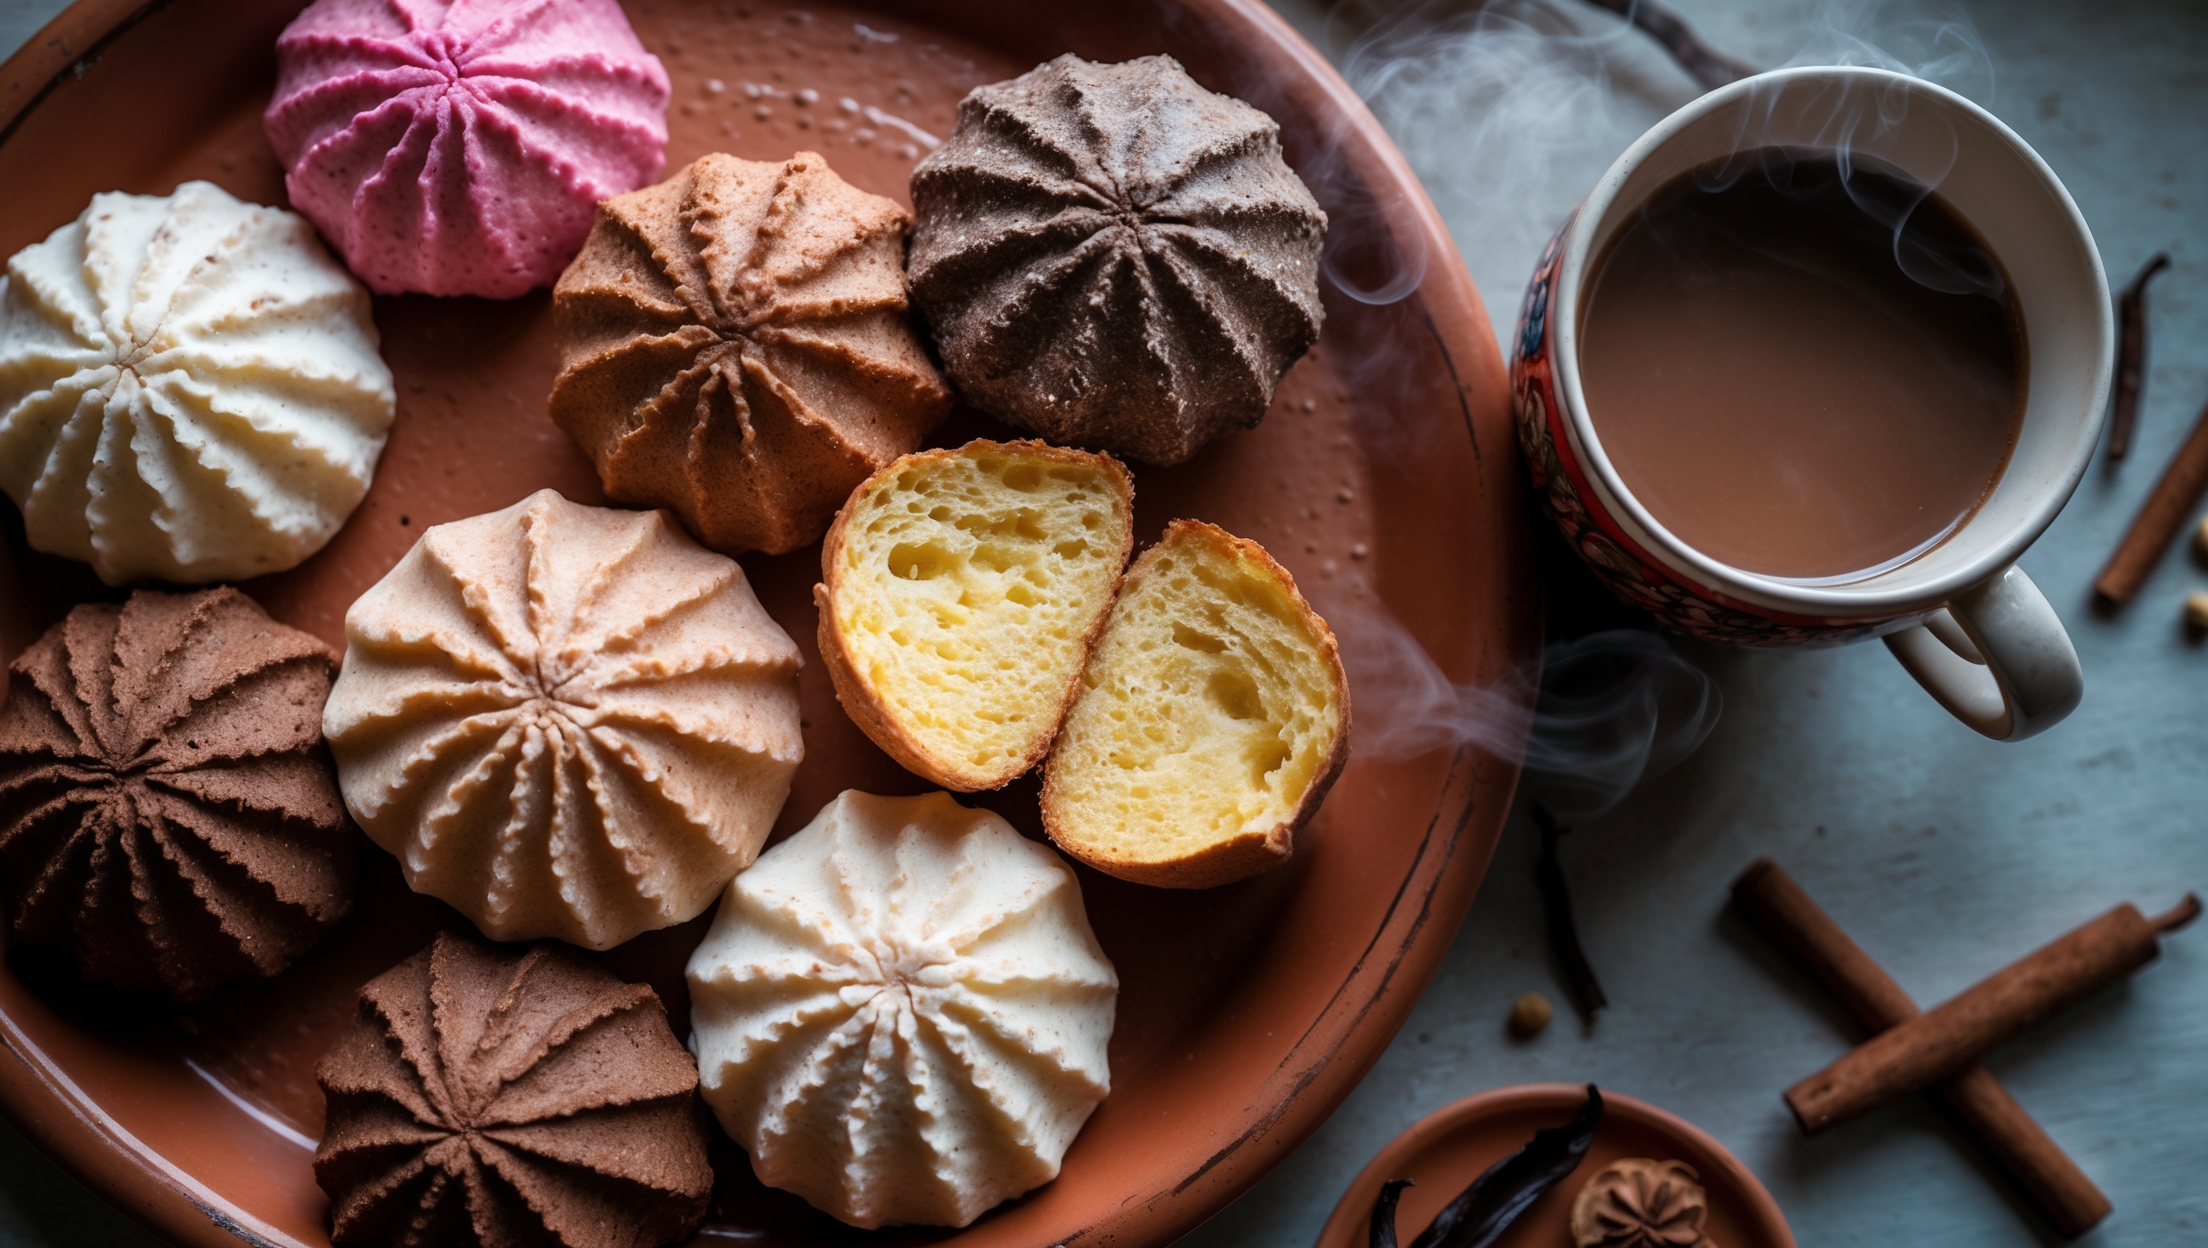
Learn how to cook Classic Mexican Concha Recipe by first making an enriched dough with flour, sugar, yeast, eggs, and butter. While it rises, prepare the sugar topping. Shape the dough into balls, top with the sugar mixture, score the distinctive shell pattern, and bake at 180°C for 18-20 minutes until golden brown with the characteristic cracked topping.
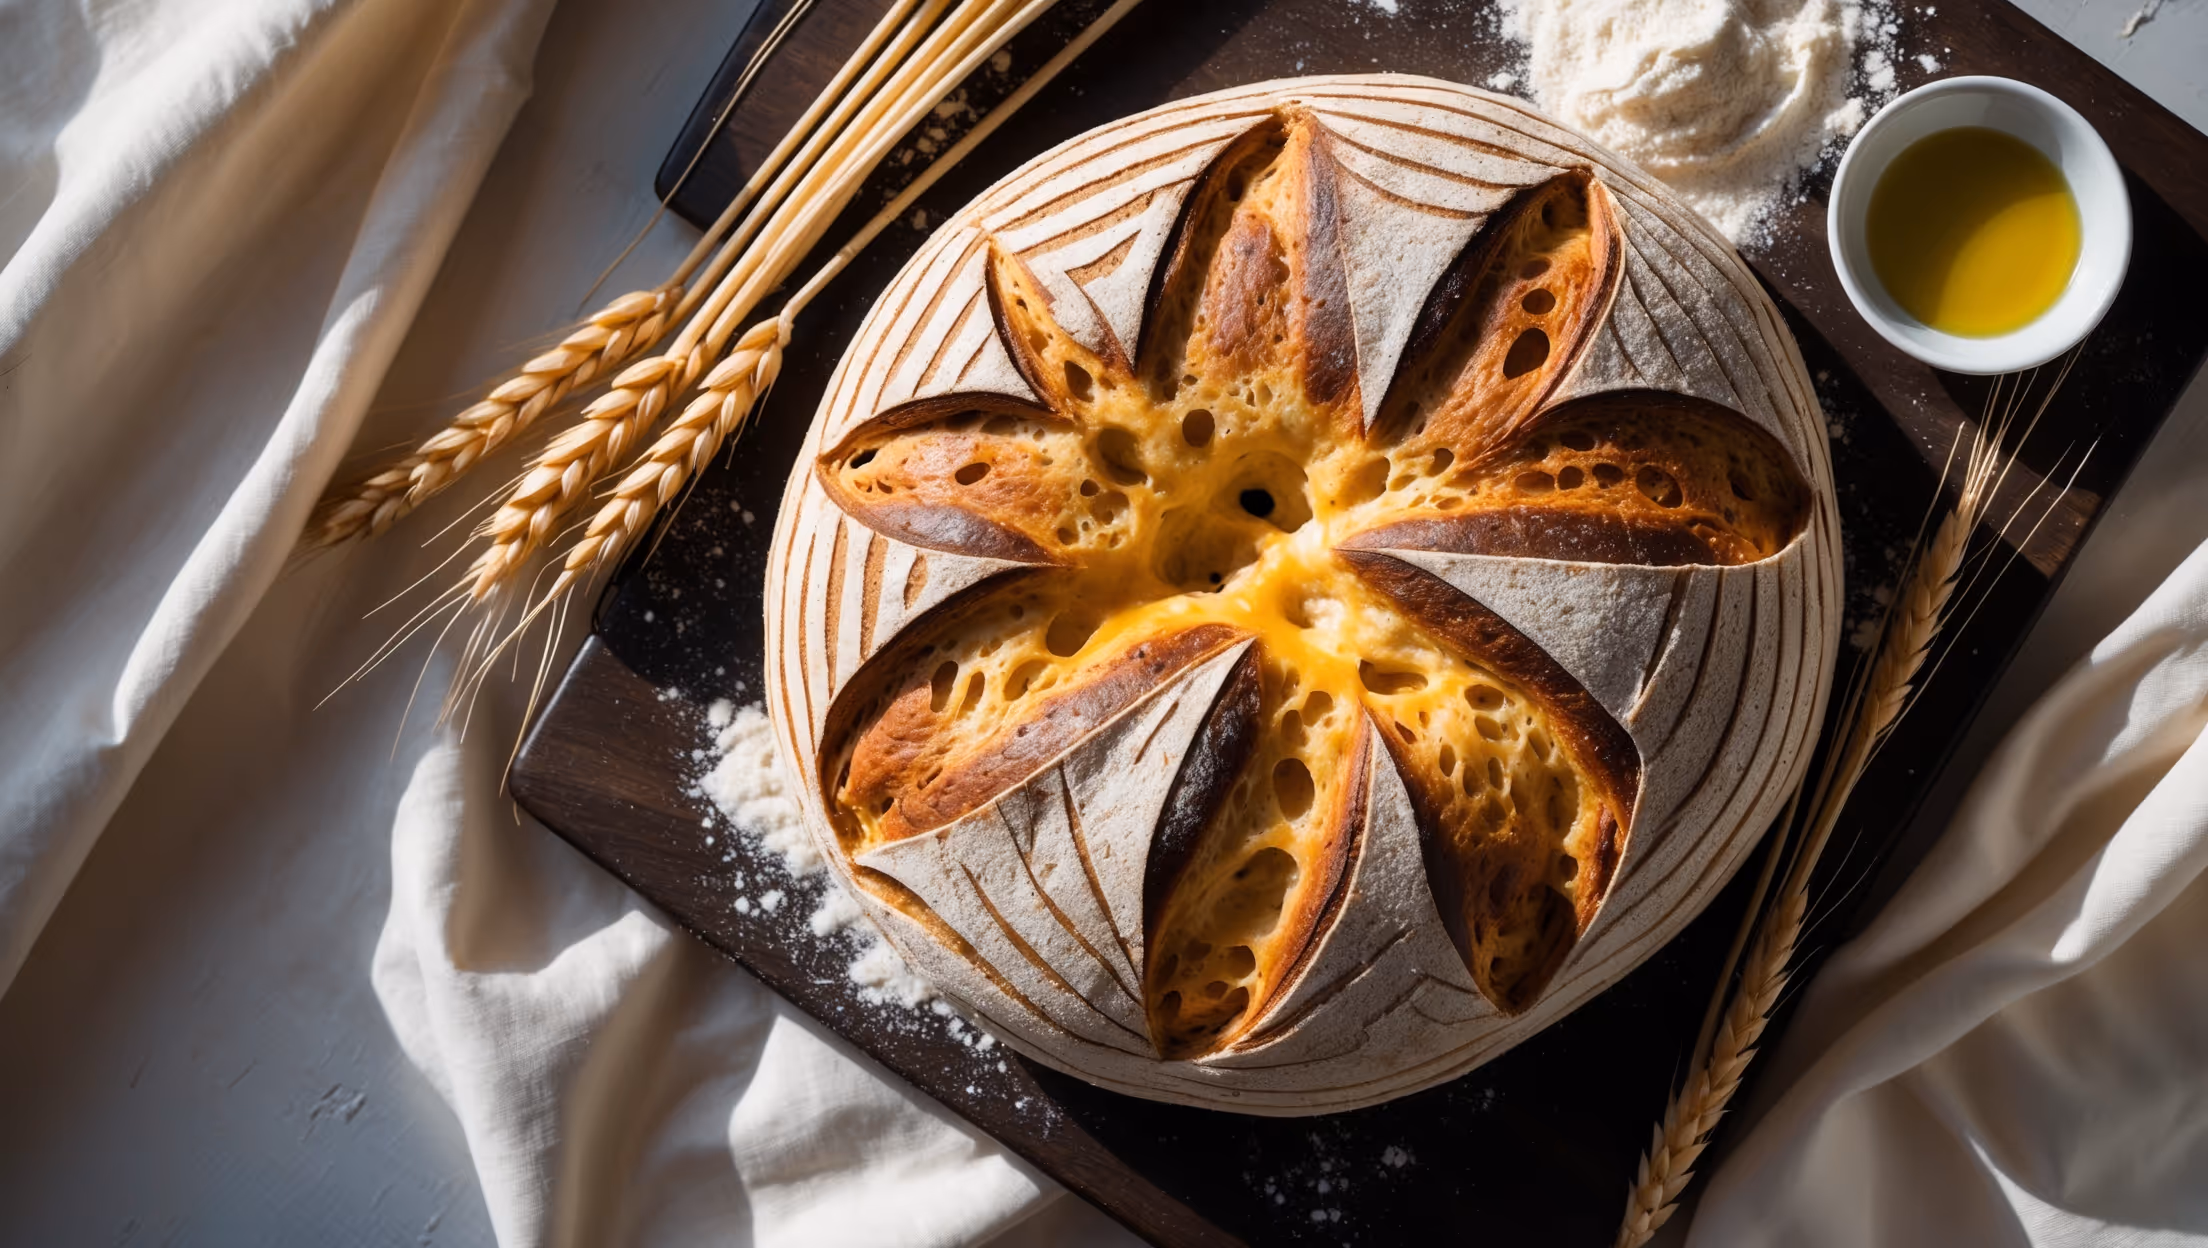
The iconic shell pattern comes from scoring the sugar topping before baking. Use a concha cutter (a special tool designed for this purpose), or simply score with a sharp knife in a criss-cross or radiating pattern. As the bread bakes and expands, these scores create the distinctive cracked pattern.
Topping slides off when it's too thick, not properly adhered, or if the dough was overproofed. Ensure your topping is about 3mm thick, press it gently onto the dough, and don't let the shaped conchas proof too long before baking. A properly prepared topping should crack beautifully, not slide off.
Traditional Mexican bakeries create various coloured toppings by dividing the basic sugar paste and adding natural colourings. Chocolate conchas use cocoa powder, pink ones use natural food colouring or traditional ingredients like ground jamaica (hibiscus), and yellow versions often incorporate egg yolk or anatto seed.
Artisan Bread
Try following recommended recipes