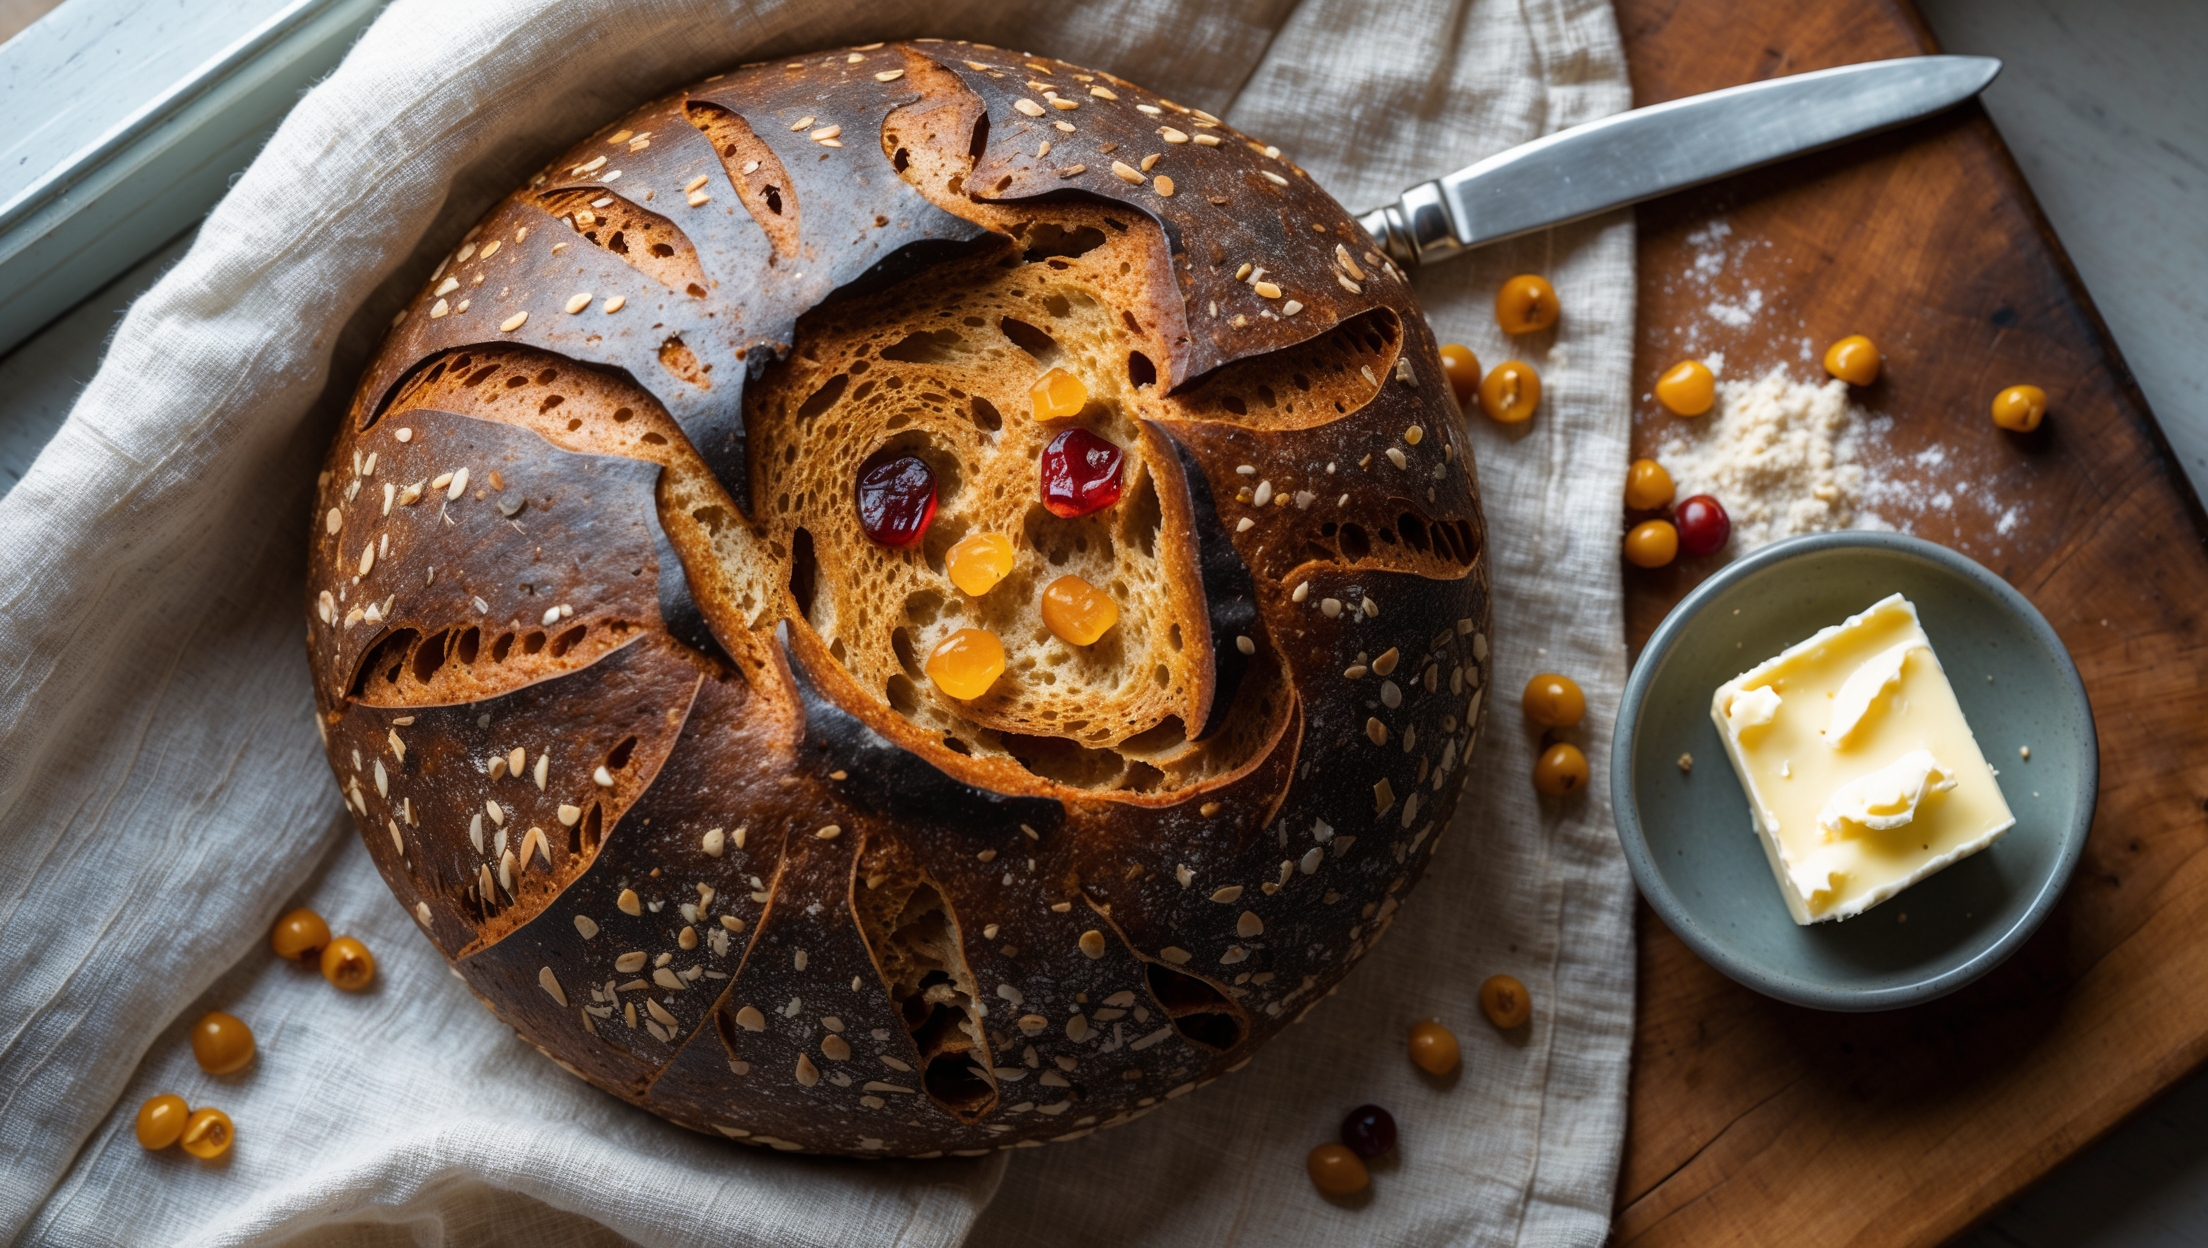
Directions
<ol class="no-list-style"><li class="MethodStepper"><h4 class="step-title">Step 1</h4>Begin your fermentation journey by ensuring your sourdough starter is active and bubbly. Feed it 12 hours before beginning the dough if necessary. A ripe starter should double in size and pass the float test (a small amount should float when dropped in water).</li><li class="MethodStepper"><h4 class="step-title">Step 2</h4>In a large mixing bowl, combine the active starter with the filtered water and molasses (if using), stirring until fully dissolved. The water temperature is crucial here – aim for 28-30°C to kickstart fermentation in this dense dough.</li><li class="MethodStepper"><h4 class="step-title">Step 3</h4>Add the dark rye flour, bread flour, and malted barley flour to the bowl. Mix thoroughly with your hands or a wooden spoon until no dry spots remain. This will be notably stickier and denser than a typical wheat dough – this is expected with high-percentage rye breads. Cover with a damp cloth and allow to autolyse (rest) for 1 hour, allowing the flours to fully hydrate.</li><li class="MethodStepper"><h4 class="step-title">Step 4</h4>After the autolyse, add the salt and caraway seeds (if using) by sprinkling them over the dough, then incorporate by folding the dough over itself repeatedly. Add the sunflower oil and work it into the dough. Rye contains less gluten than wheat, so you won't develop the same extensibility, but proper mixing ensures even distribution of ingredients.</li><li class="MethodStepper"><h4 class="step-title">Step 5</h4>Cover the bowl with a damp cloth or plastic wrap and begin the bulk fermentation at room temperature (21-23°C) for 4-6 hours. During this time, perform 3-4 gentle stretch and folds at 45-minute intervals, being careful not to deflate the dough. The high rye content means the dough will remain somewhat dense and won't rise dramatically.</li><li class="MethodStepper"><h4 class="step-title">Step 6</h4>After the initial bulk fermentation, shape the dough into a tight ball. Rye dough is notably sticky, so use wet hands and a generous dusting of rye flour. Place the shaped dough seam-side up in a well-floured banneton or cloth-lined bowl. Dust the exposed surface liberally with rye flour to prevent sticking.</li><li class="MethodStepper"><h4 class="step-title">Step 7</h4>Cover the banneton and place it in the refrigerator for the extended cold fermentation period of 24-30 hours. This prolonged fermentation develops the complex flavors and acidity that characterize traditional rye breads, while also improving digestibility by breaking down complex carbohydrates and phytic acid.</li><li class="MethodStepper"><h4 class="step-title">Step 8</h4>About 1 hour before baking, place your Dutch oven or baking stone in the oven and preheat to 250°C. Remove the dough from the refrigerator and let it sit at room temperature for 30-45 minutes – not much longer, as rye dough can become overly slack.</li><li class="MethodStepper"><h4 class="step-title">Step 9</h4>When ready to bake, carefully turn the dough out onto a piece of parchment paper. Score the loaf with your lame or sharp knife – traditional patterns for rye include a simple cross or square pattern. Rye dough won't expand dramatically during baking, so scoring can be more decorative than functional.</li><li class="MethodStepper"><h4 class="step-title">Step 10</h4>Transfer the dough on the parchment paper into your preheated Dutch oven, cover with the lid, and bake at 250°C for 20 minutes. This creates the steam environment crucial for proper crust development. After 20 minutes, reduce the temperature to 230°C, remove the lid, and continue baking for 25-30 minutes until the crust is deep mahogany brown and the internal temperature reaches at least 96°C.</li><li class="MethodStepper"><h4 class="step-title">Step 11</h4>Remove the bread from the oven and place on a wire rack to cool completely – this will take at least 4 hours, preferably overnight. Rye bread contains complex starches that need time to set; cutting too soon will result in a gummy texture. The patience required here is rewarded with proper texture development.</li><li class="MethodStepper"><h4 class="step-title">Step 12</h4>Once completely cooled, store the bread wrapped in a clean kitchen towel or beeswax wrap. Unlike wheat breads, rye improves over the first 2-3 days as the flavors continue to develop and the crumb stabilizes. This bread will keep for up to a week at room temperature due to its natural acidity, and it freezes exceptionally well for longer storage.</li></ol>