Directions
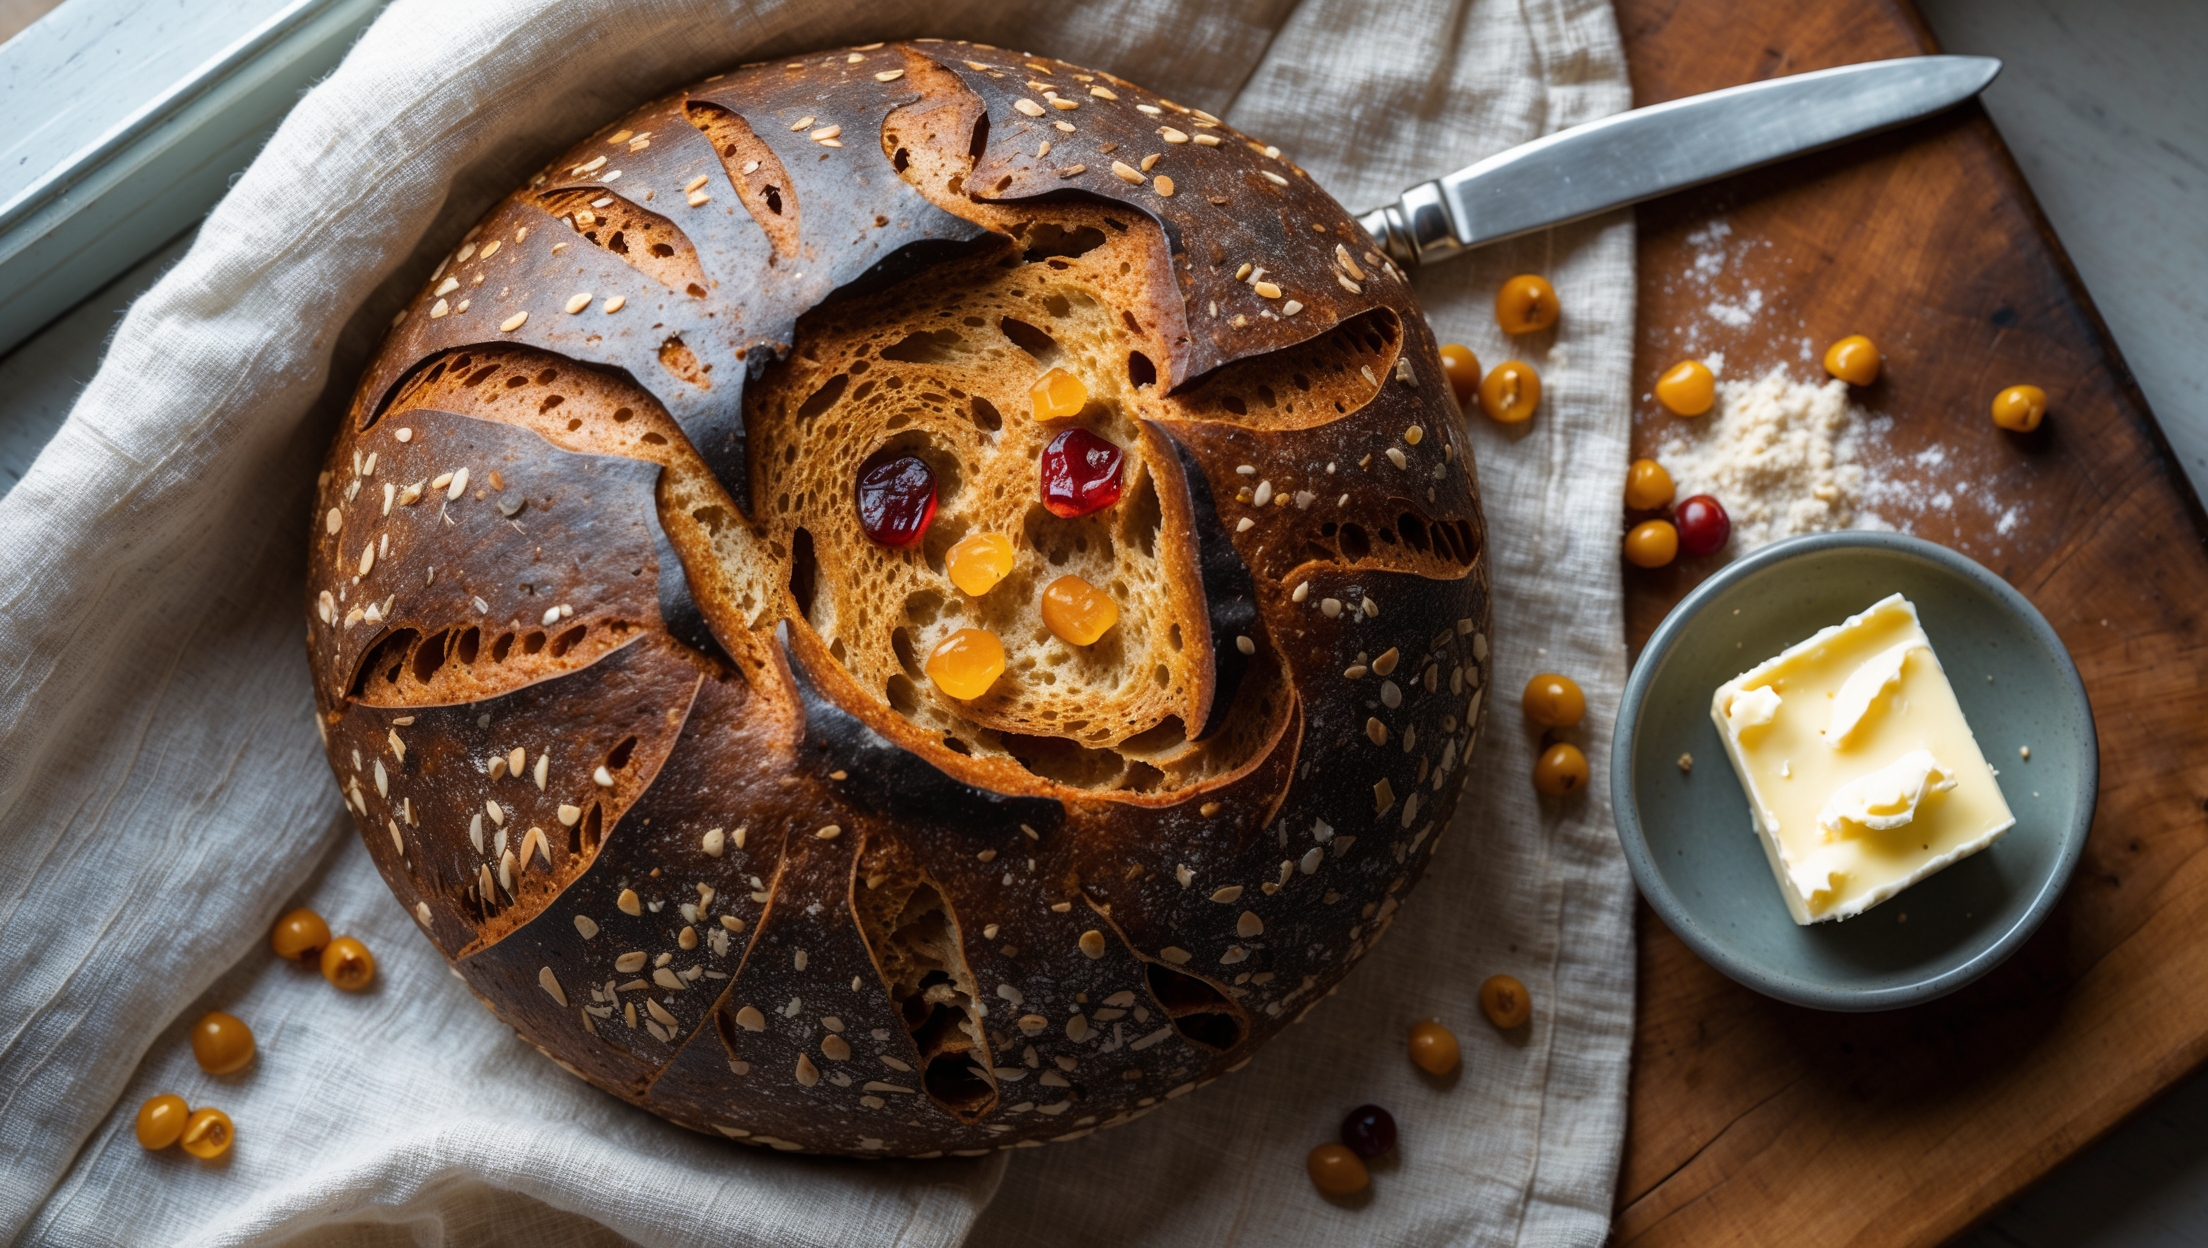
<ol class="no-list-style"><li class="MethodStepper"><h4 class="step-title">Step 1</h4>Begin by roasting the einkorn berries. Preheat your oven to 180°C and spread the berries on a baking sheet. Roast for 15-20 minutes until they turn golden brown and develop a nutty aroma. Allow to cool completely, then coarsely chop them (or pulse briefly in a food processor). This roasting process caramelizes the natural sugars in the grains, adding depth of flavor to your final loaf.</li><li class="MethodStepper"><h4 class="step-title">Step 2</h4>In a large bowl, combine both flours and salt. In a separate container, mix 350ml of the water (reserve the rest), honey, and sprinkle the yeast on top. Let this mixture sit for 5-10 minutes until foamy, which indicates your yeast is active and ready to work.</li><li class="MethodStepper"><h4 class="step-title">Step 3</h4>Make a well in the center of your flour mixture and pour in the yeast mixture and olive oil. Using a wooden spoon or your hands, mix until a shaggy dough forms. Add the chopped roasted einkorn berries and the remaining water as needed - spelt absorbs water differently than regular wheat flour, so you may need slightly more or less depending on your specific flour.</li><li class="MethodStepper"><h4 class="step-title">Step 4</h4>Turn the dough onto a lightly floured surface and knead for 8-10 minutes until smooth and elastic. Spelt has less gluten than regular wheat, so your dough will feel slightly different - softer and less stretchy. Don't overwork it, as spelt gluten is more delicate. The dough should be tacky but not sticky.</li><li class="MethodStepper"><h4 class="step-title">Step 5</h4>Form the dough into a ball and place in a lightly oiled bowl. Cover with plastic wrap or a damp cloth and let it rest at room temperature for 1 hour or until it begins to show signs of fermentation (slight puffiness).</li><li class="MethodStepper"><h4 class="step-title">Step 6</h4>After the initial rise, refrigerate the dough for at least 8 hours, preferably 12-24 hours. This cold fermentation slows down yeast activity while allowing beneficial enzymes and bacteria to develop flavor compounds, improving both taste and digestibility of the bread.</li><li class="MethodStepper"><h4 class="step-title">Step 7</h4>The next day, remove the dough from the refrigerator and let it come to room temperature for about 1-2 hours. On a lightly floured surface, gently shape the dough into a round or oval loaf without deflating it too much. The cold fermentation has developed gluten structure, so minimal handling is needed.</li><li class="MethodStepper"><h4 class="step-title">Step 8</h4>Place the shaped dough in a proofing basket or bowl lined with a well-floured cloth, seam side up. Cover and let proof at room temperature for 1-2 hours, or until the dough has increased in size by about 50% and slowly springs back when gently poked with a finger.</li><li class="MethodStepper"><h4 class="step-title">Step 9</h4>While the dough is proofing, preheat your oven to 230°C with the Dutch oven or baking stone inside. You want both extremely hot to create the steam needed for a crisp crust.</li><li class="MethodStepper"><h4 class="step-title">Step 10</h4>When ready to bake, gently turn out the dough onto a piece of parchment paper. Brush lightly with olive oil and score the top with a sharp knife or razor blade. These cuts allow the bread to expand in a controlled way during baking.</li><li class="MethodStepper"><h4 class="step-title">Step 11</h4>Carefully transfer the dough with the parchment paper to your preheated Dutch oven or baking stone. Cover with the lid (or place a metal bowl over your dough on the baking stone). Bake covered for 25 minutes - this traps steam inside, helping create a beautiful crust.</li><li class="MethodStepper"><h4 class="step-title">Step 12</h4>Remove the lid or covering and reduce the temperature to 200°C. Continue baking for 15-20 minutes until the bread is a deep golden brown and sounds hollow when tapped on the bottom. The internal temperature should reach about 96°C.</li><li class="MethodStepper"><h4 class="step-title">Step 13</h4>Transfer to a wire rack and resist the temptation to cut into it immediately! Allow the bread to cool completely, at least 1 hour. This resting period is crucial as it allows the crumb to set and flavors to develop. Your patience will be rewarded with a loaf that has exceptional texture and flavor.</li></ol>