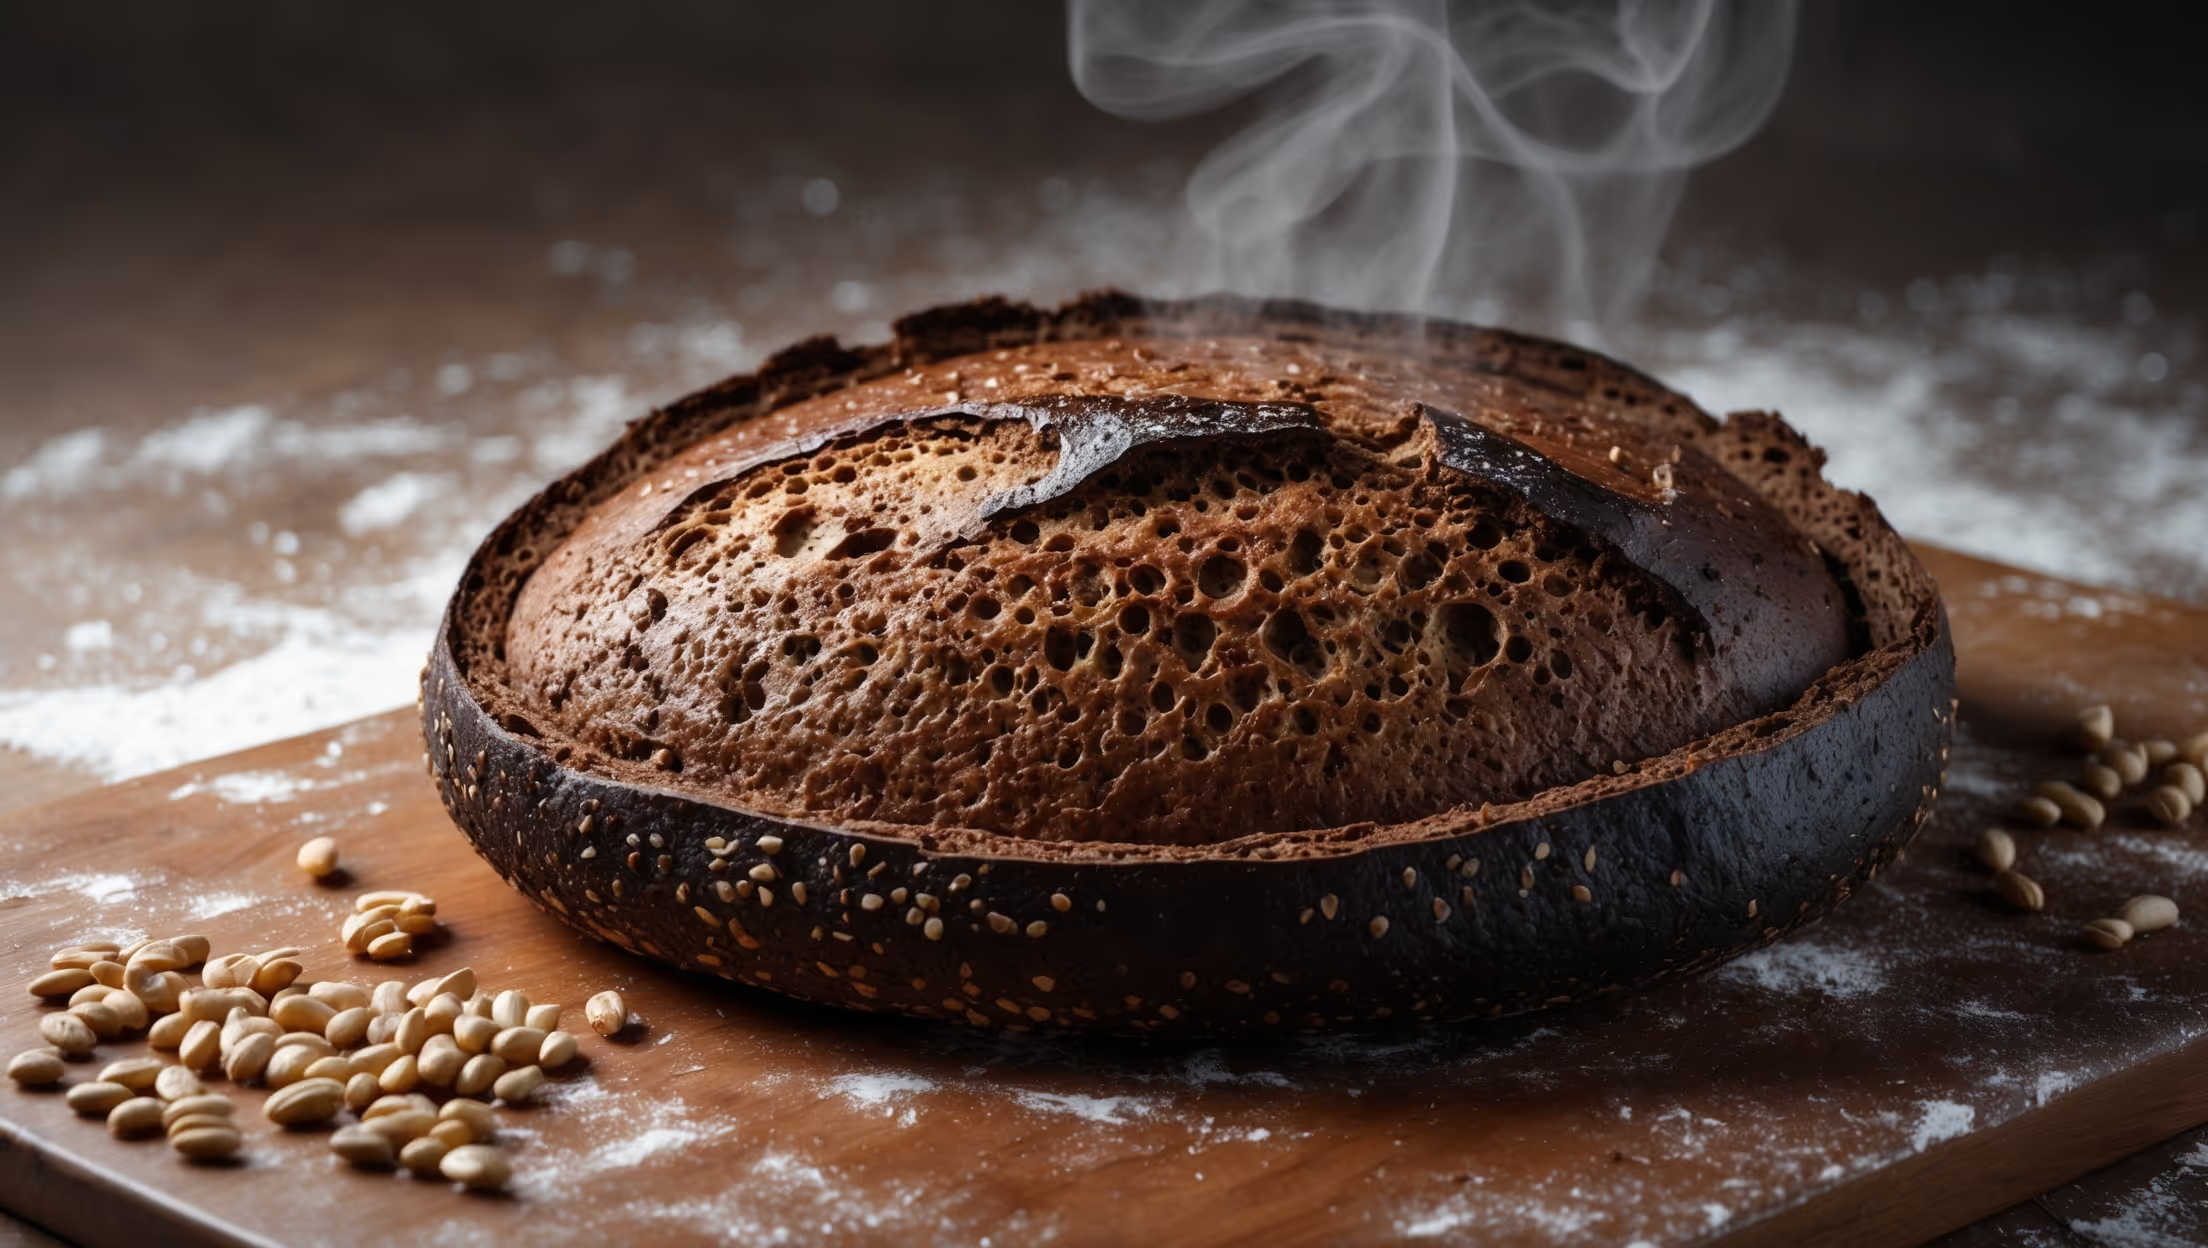
Cocoa Nib and Black Garlic Bread with Sprouted Wheat Recipe
Learn how to make this homemade artisan cocoa nib and black garlic bread with nutritious sprouted wheat. This easy baking recipe combines sophisticated flavors with straightforward technique for the best savory-sweet loaf that's perfect for special occasions or everyday enjoyment.
Difficulty:
Advanced
Prep Time:
30 mins (plus 12 hours sprouting time)
Cook Time:
45 mins
Serves:
1 loaf (12 slices)
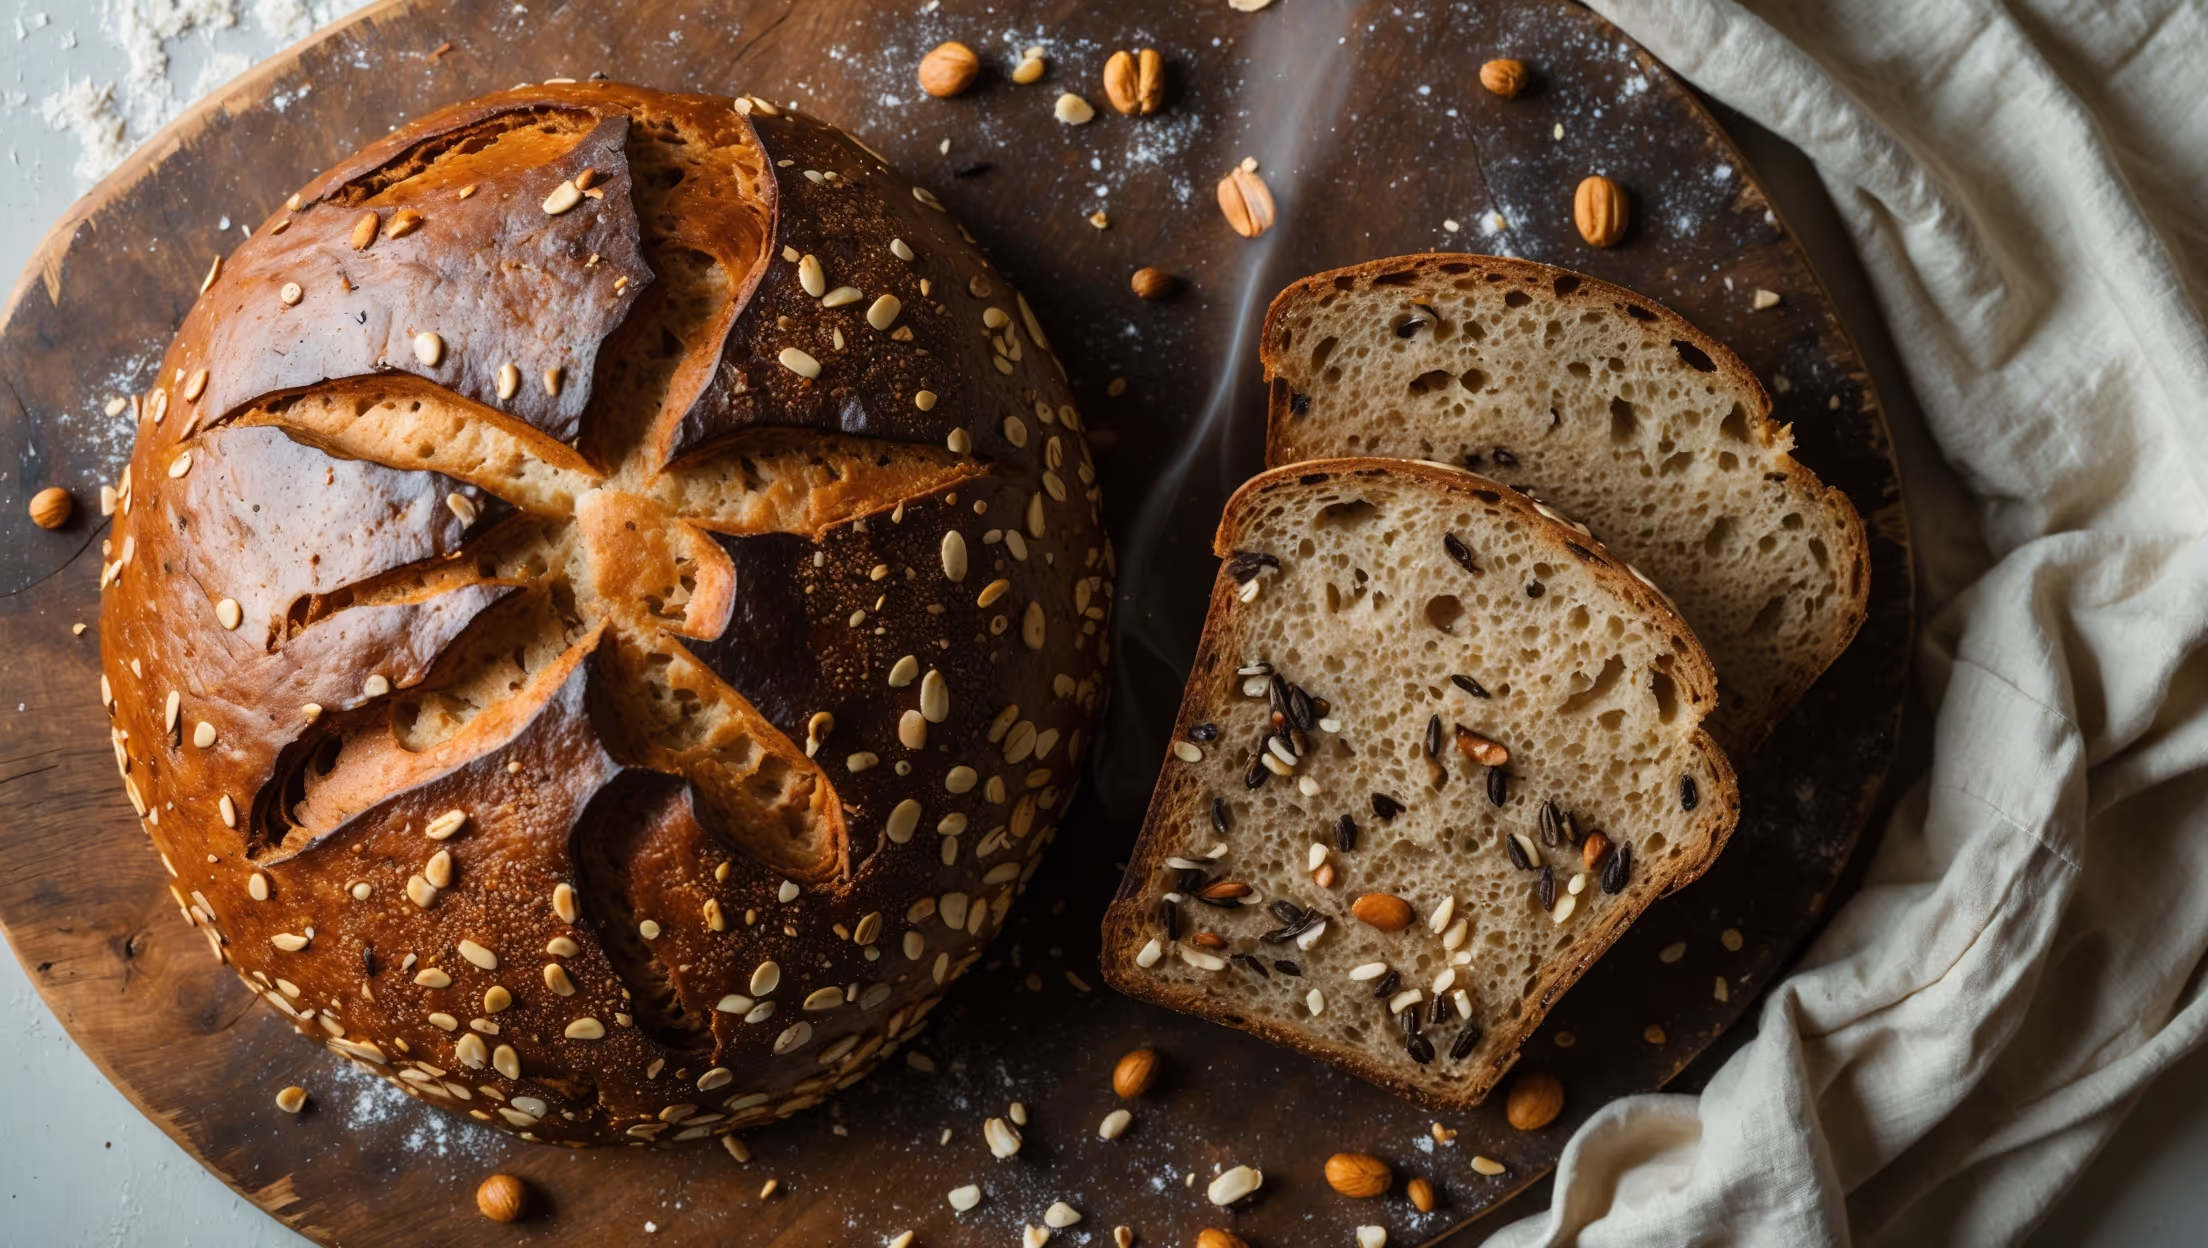
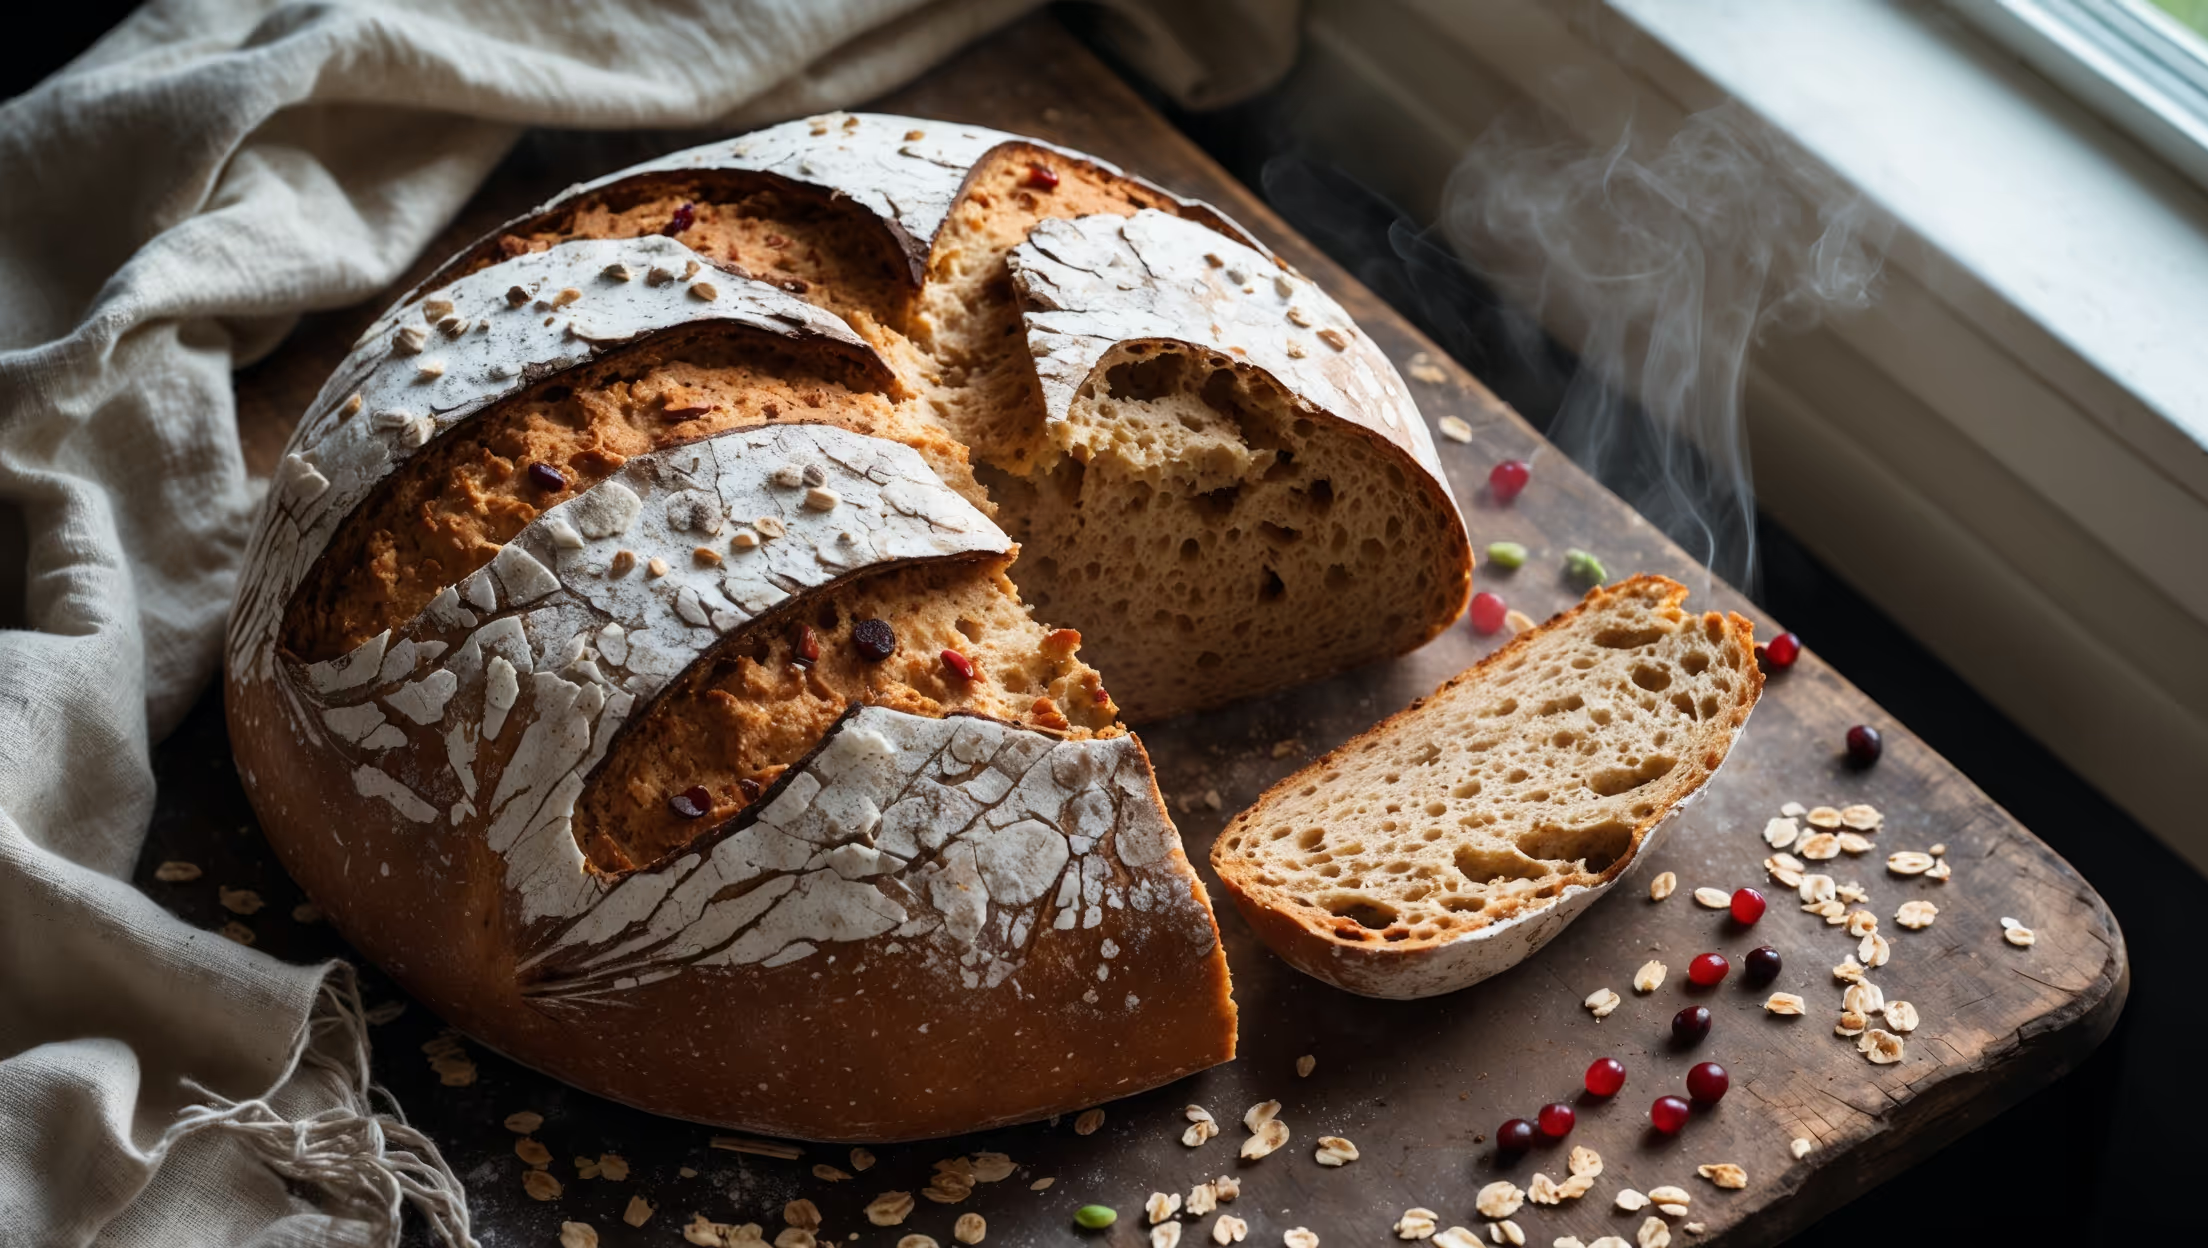
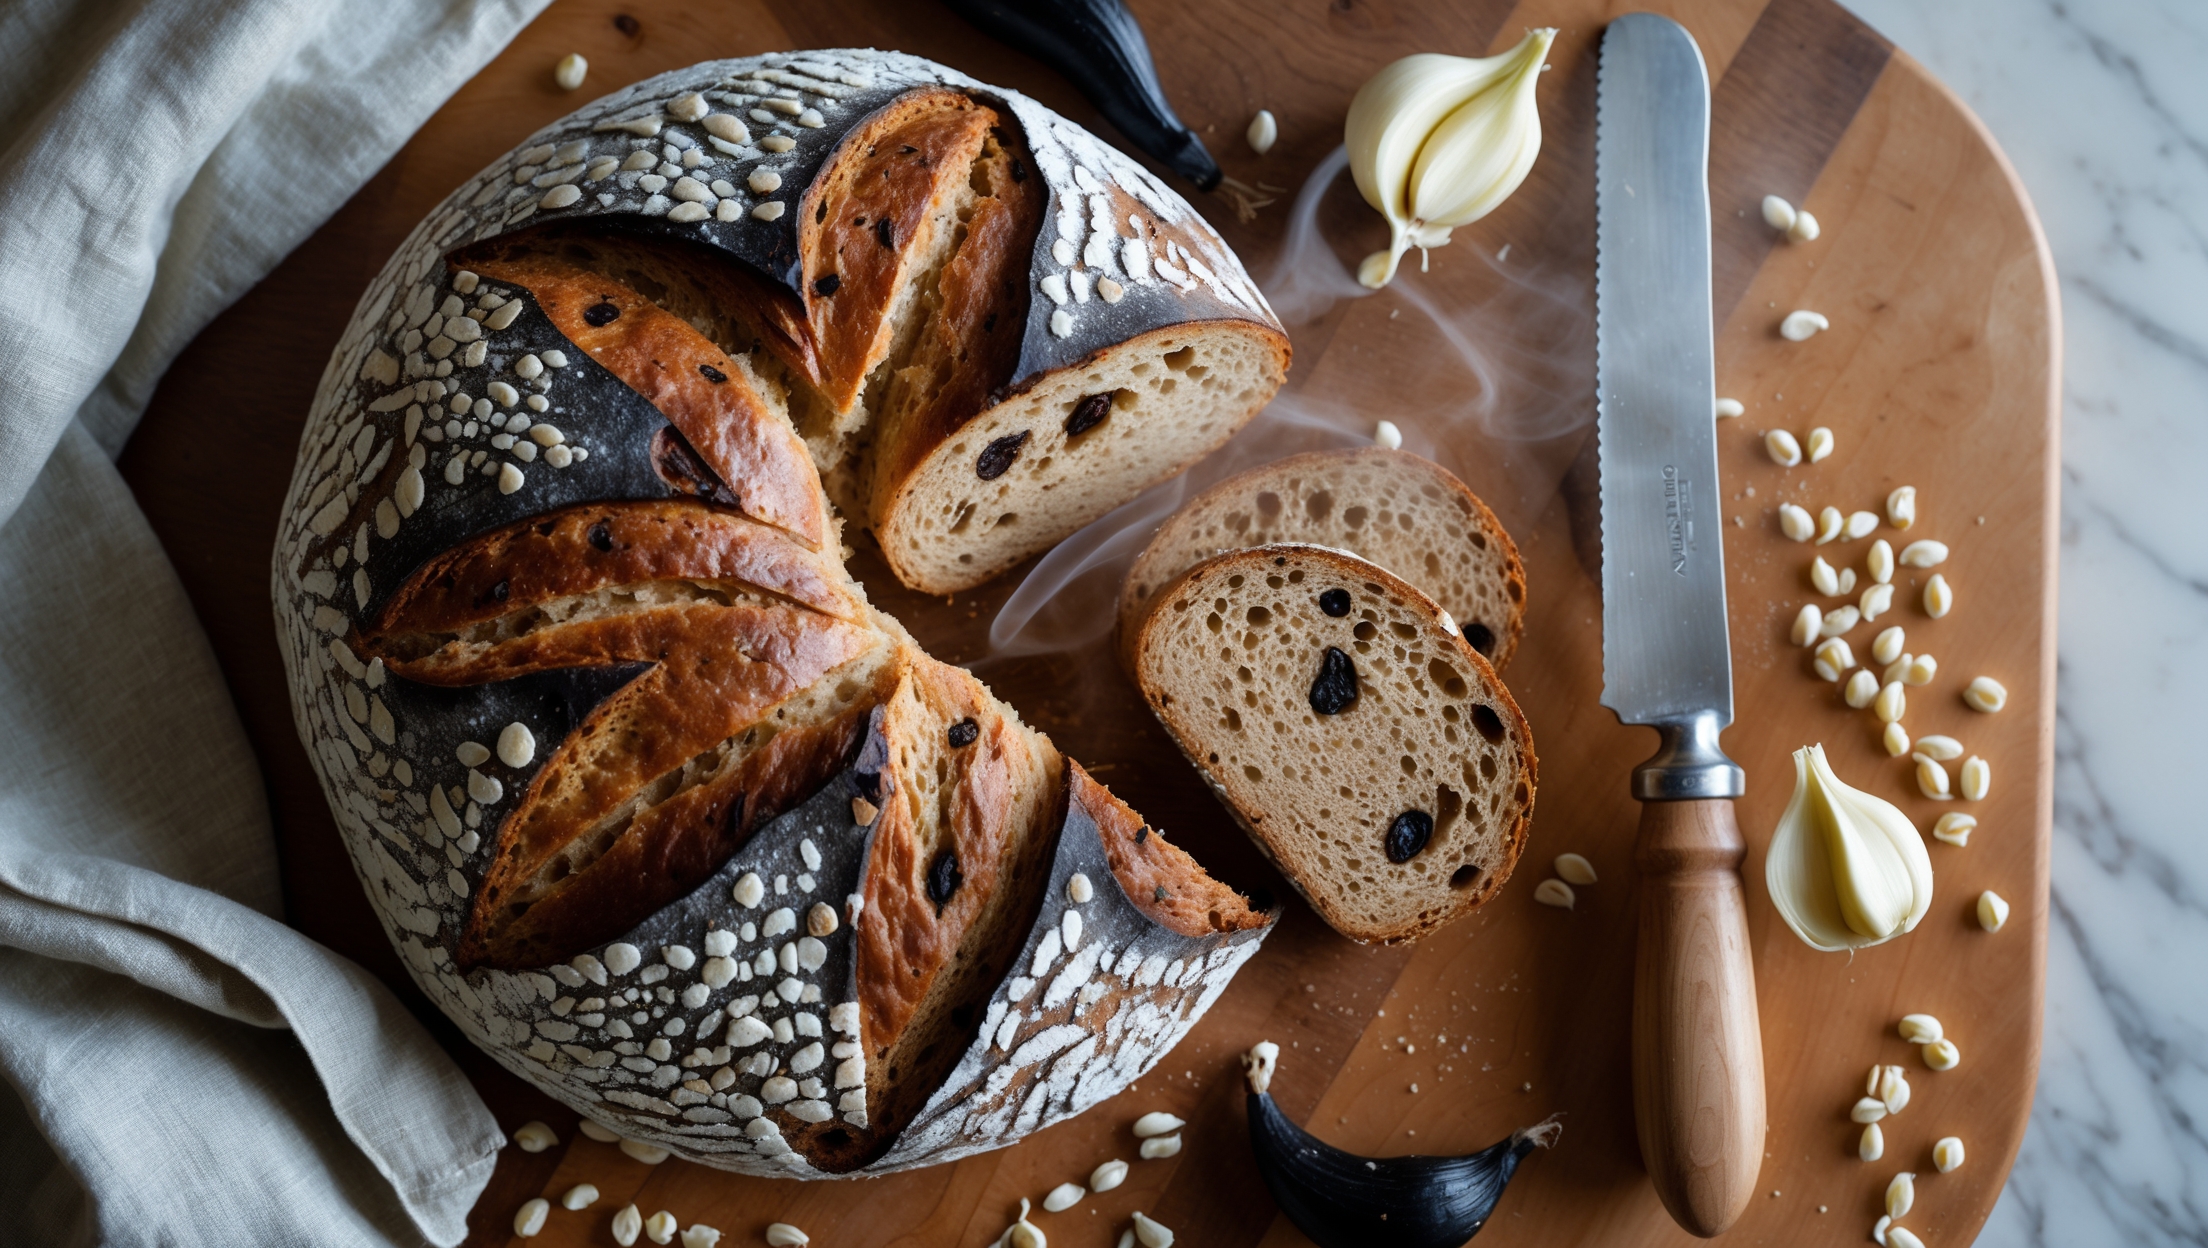
Overhead shot of a rustic round loaf with a deep burnished crust, captured in soft natural light on a wooden bread board. A cross-section reveals a tender crumb with visible specks of dark cocoa nibs and caramelized black garlic cloves distributed throughout the wheaty interior. Scattered around the base are a few sprouted wheat berries and whole black garlic cloves, with a light dusting of flour creating beautiful contrast. A linen napkin and vintage bread knife rest nearby, while steam wisps suggest the bread has just been sliced, releasing its complex aroma of chocolate, garlic, and grain.

Ingredients

<ul class="ingredients-main-list"><li class="ingredients-single-item">200g sprouted wheat berries (or sprouted wheat flour)</li><li class="ingredients-single-item">300g strong bread flour</li><li class="ingredients-single-item">200g whole wheat flour</li><li class="ingredients-single-item">350ml warm water</li><li class="ingredients-single-item">10g active dry yeast</li><li class="ingredients-single-item">15g salt</li><li class="ingredients-single-item">20g honey</li><li class="ingredients-single-item">50g cocoa nibs</li><li class="ingredients-single-item">40g black garlic cloves, roughly chopped (or roasted garlic with a touch of molasses)</li><li class="ingredients-single-item">15ml olive oil</li><li class="ingredients-single-item">Rice flour or cornmeal for dusting</li></ul>

Nutrition Facts (per serving)

🍽️ Serving Size: 1 slice
🔥 Calories: 185 calories
🥑 Fat: 4 g
🧈 Saturated Fat: 1.5 g
🍞 Carbohydrates: 32 g
🍭 Sugar: 2 g
🍗 Protein: 6 g
🫀 Cholesterol: 0 mg
🧂 Sodium: 290 mg

Equipment

<ul class="equipment-main-list"><li class="equipment-single-item">Dutch oven or heavy covered pot</li><li class="equipment-single-item">Proofing basket or bowl lined with cloth</li><li class="equipment-single-item">Bread lame or sharp knife for scoring</li><li class="equipment-single-item">Stand mixer with dough hook (optional)</li></ul>

Directions

<ol class="no-list-style"><li class="MethodStepper"><h4 class="step-title">Step 1</h4>If using wheat berries instead of sprouted wheat flour, begin by sprouting them: soak 200g wheat berries in cold water for 8-12 hours, drain, then rinse twice daily until tiny sprouts appear (about 2-3 days). Dry slightly, then grind in a food processor to a coarse flour.</li><li class="MethodStepper"><h4 class="step-title">Step 2</h4>In a large bowl, combine warm water (350ml) with honey and yeast. Let stand for 5-10 minutes until foamy. This activates the yeast and ensures your bread will rise properly.</li><li class="MethodStepper"><h4 class="step-title">Step 3</h4>Mix the sprouted wheat flour (or processed sprouted berries), bread flour, and whole wheat flour in a separate bowl. Add salt and whisk to distribute evenly – proper salt distribution is crucial for both flavor and controlling fermentation rate.</li><li class="MethodStepper"><h4 class="step-title">Step 4</h4>Gradually add the flour mixture to the yeast mixture, stirring until a shaggy dough forms. Add olive oil and continue mixing. At this point, you can either knead by hand for 8-10 minutes or use a stand mixer with a dough hook on medium-low speed for 5-6 minutes, until the dough becomes smooth and elastic.</li><li class="MethodStepper"><h4 class="step-title">Step 5</h4>Gently fold in the cocoa nibs and chopped black garlic until evenly distributed. The nibs will provide textural contrast and subtle bitterness, while the black garlic adds complex sweetness and umami notes. Be careful not to overmix, which would damage the dough structure.</li><li class="MethodStepper"><h4 class="step-title">Step 6</h4>Place the dough in a lightly oiled bowl, cover with a damp cloth or plastic wrap, and let rise in a warm place for 1-2 hours, or until doubled in size. The sprouted wheat contains active enzymes that will help your dough rise more efficiently than regular wheat.</li><li class="MethodStepper"><h4 class="step-title">Step 7</h4>After the first rise, gently deflate the dough on a lightly floured surface. Shape into a tight ball by pulling the edges toward the center and pinching to seal. Place seam-side up in a proofing basket or cloth-lined bowl that's been dusted with rice flour or cornmeal.</li><li class="MethodStepper"><h4 class="step-title">Step 8</h4>Cover and let rise again for 45-60 minutes, or until the dough springs back slowly when gently poked with your finger. Meanwhile, place your Dutch oven with the lid on in the oven and preheat to 230°C (450°F) for at least 30 minutes.</li><li class="MethodStepper"><h4 class="step-title">Step 9</h4>When ready to bake, carefully remove the hot Dutch oven. Turn your dough out onto a piece of parchment paper (seam-side down), then score the top with a bread lame or sharp knife. This isn't just decorative – it allows the bread to expand properly during baking.</li><li class="MethodStepper"><h4 class="step-title">Step 10</h4>Using the parchment paper, lower the dough into the hot Dutch oven, cover with the lid, and return to the oven. Bake covered for 30 minutes – the lid traps steam, creating a beautiful crust. Then remove the lid and bake for an additional 15 minutes until the crust is deep golden brown and the internal temperature reaches 95-98°C (203-208°F).</li><li class="MethodStepper"><h4 class="step-title">Step 11</h4>Transfer the bread to a wire rack and let cool completely before slicing – at least 1 hour. This cooling period is crucial as it allows the crumb structure to set and flavors to develop. Don't be tempted to cut it too soon!</li></ol>

FAQs

Find answers to your most pressing questions about this delicious recipe right here.

What ingredients are used in Cocoa Nib and Black Garlic Bread with Sprouted Wheat?

The key ingredients include sprouted wheat berries (or flour), bread flour, whole wheat flour, yeast, salt, honey, cocoa nibs, black garlic cloves, olive oil, and water. The cocoa nibs add a bittersweet note while black garlic provides complex umami flavour.

How to cook Cocoa Nib and Black Garlic Bread with Sprouted Wheat at home?

Learn how to cook Cocoa Nib and Black Garlic Bread with Sprouted Wheat by first activating yeast in warm water with honey, then combining with flours and salt. After kneading, fold in cocoa nibs and black garlic, allow to rise twice, then bake in a preheated Dutch oven at 230°C for 30 minutes covered and 15 minutes uncovered.

Can I substitute black garlic if I can't find it locally?

Yes, you can substitute black garlic with roasted garlic mixed with a touch of molasses to mimic the sweet, complex umami flavour. Alternatively, try fermented garlic or even caramelised onions with a splash of balsamic vinegar for a similar depth of flavour.

How do I properly sprout wheat berries for artisan bread?

Soak wheat berries in cold water for 8-12 hours, then drain and rinse twice daily until tiny sprouts appear (2-3 days). The sprouted berries should be just barely sprouted - when the white sprout is about the same length as the berry itself. Dry slightly before grinding.

Why is baking bread in a Dutch oven better than a regular baking tray?

A Dutch oven traps steam released from the dough during baking, creating the perfect humid environment for a crisp, crackly crust and proper oven spring. The heavy cast iron also distributes heat evenly, resulting in consistent baking and better overall bread structure.

Want to try something else in ...

Artisan Bread

Try following recommended recipes

No items found.

{ "@context": "http://schema.org/", "@type": "Recipe", "name": "Cocoa Nib and Black Garlic Bread with Sprouted Wheat Recipe", "author": { "@type": "Person", "name": "Gurbir Aujla", "brand": "What's Baking?", "jobTitle": "Baker" }, "datePublished": "2024-10-03", "description": "Learn how to make this homemade artisan cocoa nib and black garlic bread with nutritious sprouted wheat. This easy baking recipe combines sophisticated flavors with straightforward technique for the best savory-sweet loaf that's perfect for special occasions or everyday enjoyment.", "prepTime": "PT30M", "cookTime": "PT45M", "totalTime": "PT13H15M", "keywords": "black garlic bread, cocoa nib bread, sprouted wheat bread, artisan bread, umami bread", "recipeYield": "12", "recipeCategory": "Bread", "recipeCuisine": "Artisan", "nutrition": { "@type": "NutritionInformation", "calories": "185 calories", "carbohydrateContent": "32 g", "proteinContent": "6 g", "fatContent": "4 g", "saturatedFatContent": "1.5 g", "cholesterolContent": "0 mg", "sodiumContent": "290 mg", "sugarContent": "2 g", "servingSize": "1 slice" }, "recipeIngredient": [ "200g sprouted wheat berries (or sprouted wheat flour)", "300g strong bread flour", "200g whole wheat flour", "350ml warm water", "10g active dry yeast", "15g salt", "20g honey", "50g cocoa nibs", "40g black garlic cloves, roughly chopped (or roasted garlic with a touch of molasses)", "15ml olive oil", "Rice flour or cornmeal for dusting" ], "recipeInstructions": [ { "@type": "HowToStep", "name": "Sprout wheat berries", "text": "If using wheat berries instead of sprouted wheat flour, begin by sprouting them: soak 200g wheat berries in cold water for 8-12 hours, drain, then rinse twice daily until tiny sprouts appear (about 2-3 days). Dry slightly, then grind in a food processor to a coarse flour." }, { "@type": "HowToStep", "name": "Activate yeast", "text": "In a large bowl, combine warm water (350ml) with honey and yeast. Let stand for 5-10 minutes until foamy. This activates the yeast and ensures your bread will rise properly." }, { "@type": "HowToStep", "name": "Mix dry ingredients", "text": "Mix the sprouted wheat flour (or processed sprouted berries), bread flour, and whole wheat flour in a separate bowl. Add salt and whisk to distribute evenly – proper salt distribution is crucial for both flavor and controlling fermentation rate." }, { "@type": "HowToStep", "name": "Form dough", "text": "Gradually add the flour mixture to the yeast mixture, stirring until a shaggy dough forms. Add olive oil and continue mixing. At this point, you can either knead by hand for 8-10 minutes or use a stand mixer with a dough hook on medium-low speed for 5-6 minutes, until the dough becomes smooth and elastic." }, { "@type": "HowToStep", "name": "Add flavor elements", "text": "Gently fold in the cocoa nibs and chopped black garlic until evenly distributed. The nibs will provide textural contrast and subtle bitterness, while the black garlic adds complex sweetness and umami notes. Be careful not to overmix, which would damage the dough structure." }, { "@type": "HowToStep", "name": "First rise", "text": "Place the dough in a lightly oiled bowl, cover with a damp cloth or plastic wrap, and let rise in a warm place for 1-2 hours, or until doubled in size. The sprouted wheat contains active enzymes that will help your dough rise more efficiently than regular wheat." }, { "@type": "HowToStep", "name": "Shape loaf", "text": "After the first rise, gently deflate the dough on a lightly floured surface. Shape into a tight ball by pulling the edges toward the center and pinching to seal. Place seam-side up in a proofing basket or cloth-lined bowl that's been dusted with rice flour or cornmeal." }, { "@type": "HowToStep", "name": "Second rise", "text": "Cover and let rise again for 45-60 minutes, or until the dough springs back slowly when gently poked with your finger. Meanwhile, place your Dutch oven with the lid on in the oven and preheat to 230°C (450°F) for at least 30 minutes." }, { "@type": "HowToStep", "name": "Prepare for baking", "text": "When ready to bake, carefully remove the hot Dutch oven. Turn your dough out onto a piece of parchment paper (seam-side down), then score the top with a bread lame or sharp knife. This isn't just decorative – it allows the bread to expand properly during baking." }, { "@type": "HowToStep", "name": "Bake bread", "text": "Using the parchment paper, lower the dough into the hot Dutch oven, cover with the lid, and return to the oven. Bake covered for 30 minutes – the lid traps steam, creating a beautiful crust. Then remove the lid and bake for an additional 15 minutes until the crust is deep golden brown and the internal temperature reaches 95-98°C (203-208°F)." }, { "@type": "HowToStep", "name": "Cool and serve", "text": "Transfer the bread to a wire rack and let cool completely before slicing – at least 1 hour. This cooling period is crucial as it allows the crumb structure to set and flavors to develop. Don't be tempted to cut it too soon!" } ], "aggregateRating": { "@type": "AggregateRating", "ratingValue": "5", "ratingCount": "178" }, "review": [ { "@type": "Review", "author": "Marcela Guzman", "datePublished": "2024-09-25", "reviewBody": "Perfect balance of savory and sweet! The black garlic adds such a unique depth of flavor that pairs wonderfully with the slight bitterness from the cocoa nibs. This is now my go-to recipe for impressing dinner guests.", "name": "Impressive Flavor Combination", "reviewRating": { "@type": "Rating", "ratingValue": "5" } }, { "@type": "Review", "author": "Akira Tanaka", "datePublished": "2024-09-18", "reviewBody": "My new favorite weekend project! The sprouted wheat adds such a wonderful nutritional profile and earthy flavor. I've made this three times now and it gets better each time as I perfect my technique.", "name": "Worth Every Minute", "reviewRating": { "@type": "Rating", "ratingValue": "5" } }, { "@type": "Review", "author": "Olivia Richardson", "datePublished": "2024-09-30", "reviewBody": "Guests begged for the recipe after I served this with a cheese board! The complex flavors in this bread complement aged cheeses perfectly. I particularly love how the cocoa nibs add little bursts of flavor without making the bread sweet.", "name": "Show-Stopping Bread", "reviewRating": { "@type": "Rating", "ratingValue": "5" } }, { "@type": "Review", "author": "Henrik Svensson", "datePublished": "2024-09-22", "reviewBody": "Incredible with aged cheeses! I served this bread alongside some aged Gouda and it was an incredible pairing. The sprouted wheat gives it such a great texture and nutritional boost. Will definitely make again.", "name": "Perfect Cheese Companion", "reviewRating": { "@type": "Rating", "ratingValue": "5" } }, { "@type": "Review", "author": "Priya Sharma", "datePublished": "2024-10-01", "reviewBody": "Worth sprouting the wheat yourself! I took the time to sprout my own wheat berries and the difference in flavor was remarkable. The bread has a wonderful complexity and the black garlic adds such a beautiful umami note. This recipe is definitely a keeper!", "name": "Exceptional Artisan Bread", "reviewRating": { "@type": "Rating", "ratingValue": "5" } } ]}

{ "@context": "https://schema.org", "@type": "FAQPage", "mainEntity": [ { "@type": "Question", "name": "What ingredients are used in Cocoa Nib and Black Garlic Bread with Sprouted Wheat?", "acceptedAnswer": { "@type": "Answer", "text": "The key ingredients include sprouted wheat berries (or flour), bread flour, whole wheat flour, yeast, salt, honey, cocoa nibs, black garlic cloves, olive oil, and water. The cocoa nibs add a bittersweet note while black garlic provides complex umami flavour." } }, { "@type": "Question", "name": "How to cook Cocoa Nib and Black Garlic Bread with Sprouted Wheat at home?", "acceptedAnswer": { "@type": "Answer", "text": "Learn how to cook Cocoa Nib and Black Garlic Bread with Sprouted Wheat by first activating yeast in warm water with honey, then combining with flours and salt. After kneading, fold in cocoa nibs and black garlic, allow to rise twice, then bake in a preheated Dutch oven at 230°C for 30 minutes covered and 15 minutes uncovered." } }, { "@type": "Question", "name": "Can I substitute black garlic if I can't find it locally?", "acceptedAnswer": { "@type": "Answer", "text": "Yes, you can substitute black garlic with roasted garlic mixed with a touch of molasses to mimic the sweet, complex umami flavour. Alternatively, try fermented garlic or even caramelised onions with a splash of balsamic vinegar for a similar depth of flavour." } }, { "@type": "Question", "name": "How do I properly sprout wheat berries for artisan bread?", "acceptedAnswer": { "@type": "Answer", "text": "Soak wheat berries in cold water for 8-12 hours, then drain and rinse twice daily until tiny sprouts appear (2-3 days). The sprouted berries should be just barely sprouted - when the white sprout is about the same length as the berry itself. Dry slightly before grinding." } }, { "@type": "Question", "name": "Why is baking bread in a Dutch oven better than a regular baking tray?", "acceptedAnswer": { "@type": "Answer", "text": "A Dutch oven traps steam released from the dough during baking, creating the perfect humid environment for a crisp, crackly crust and proper oven spring. The heavy cast iron also distributes heat evenly, resulting in consistent baking and better overall bread structure." } } ]}