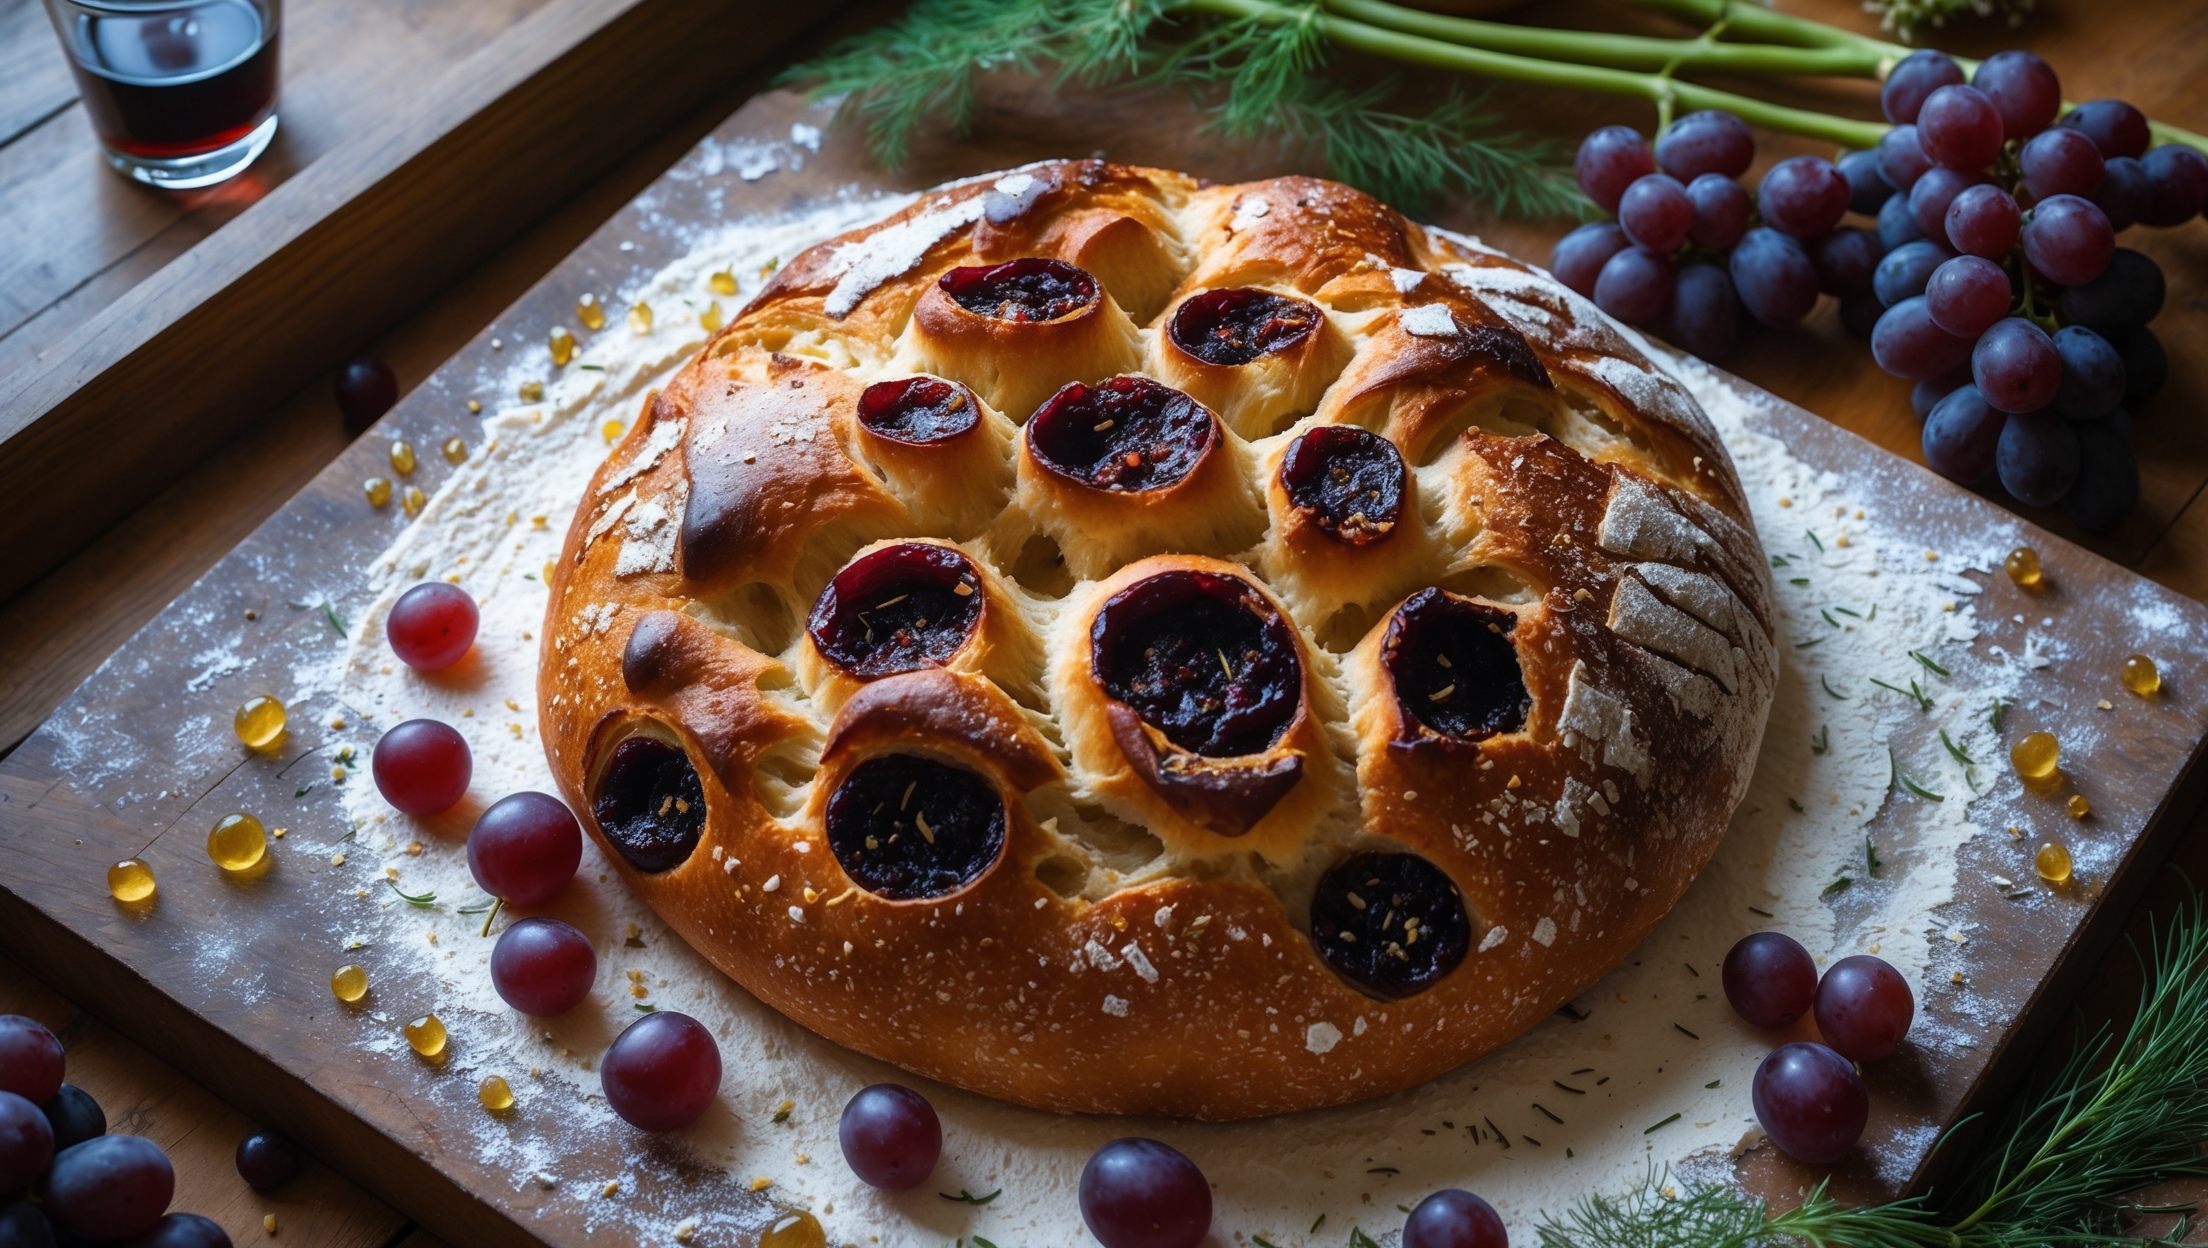
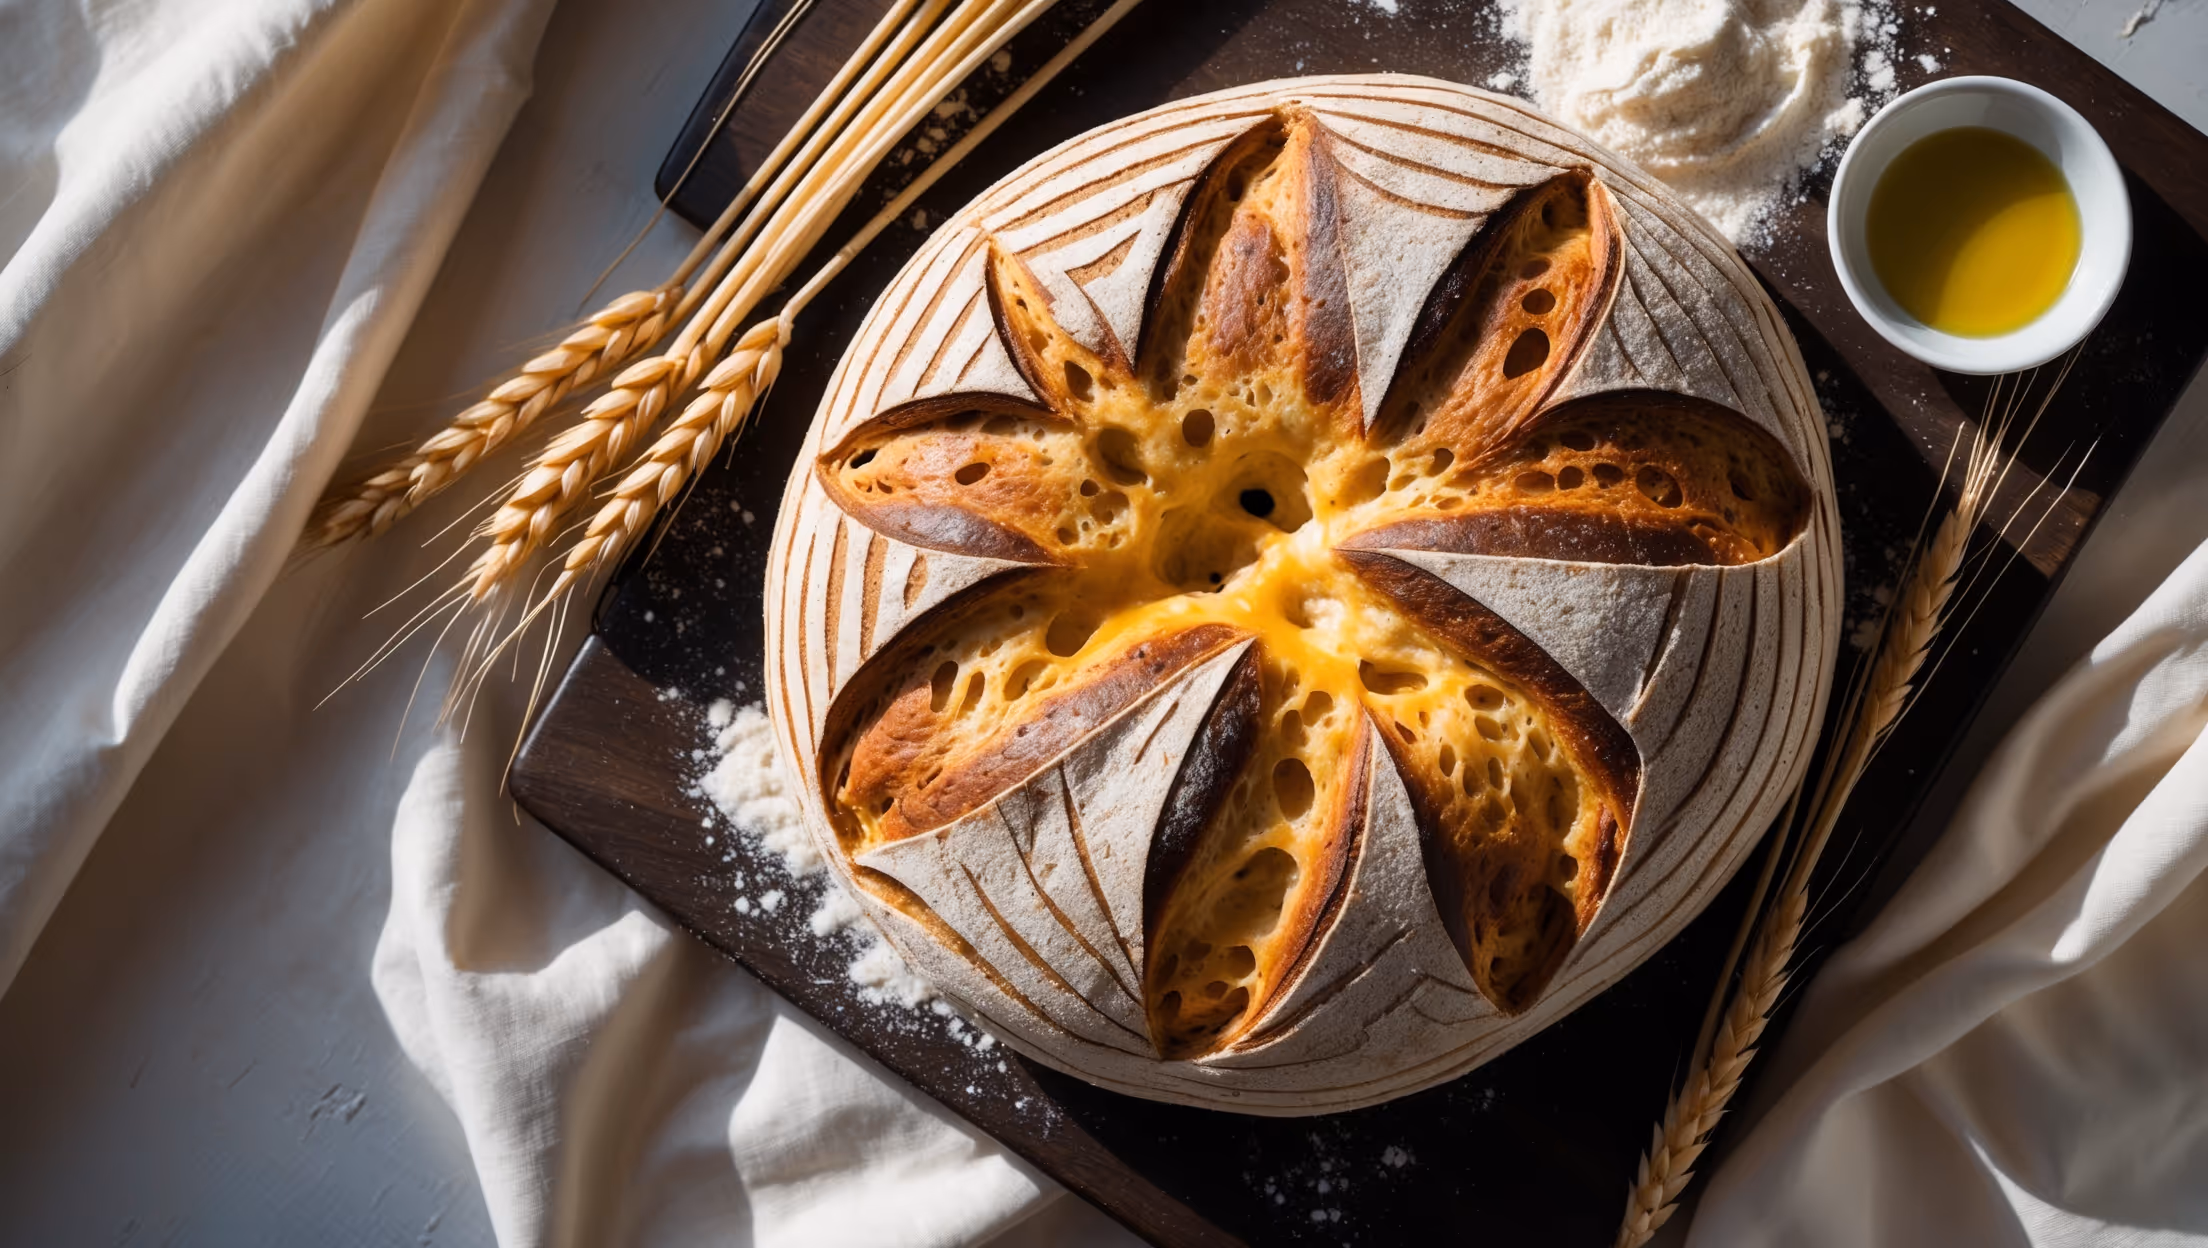
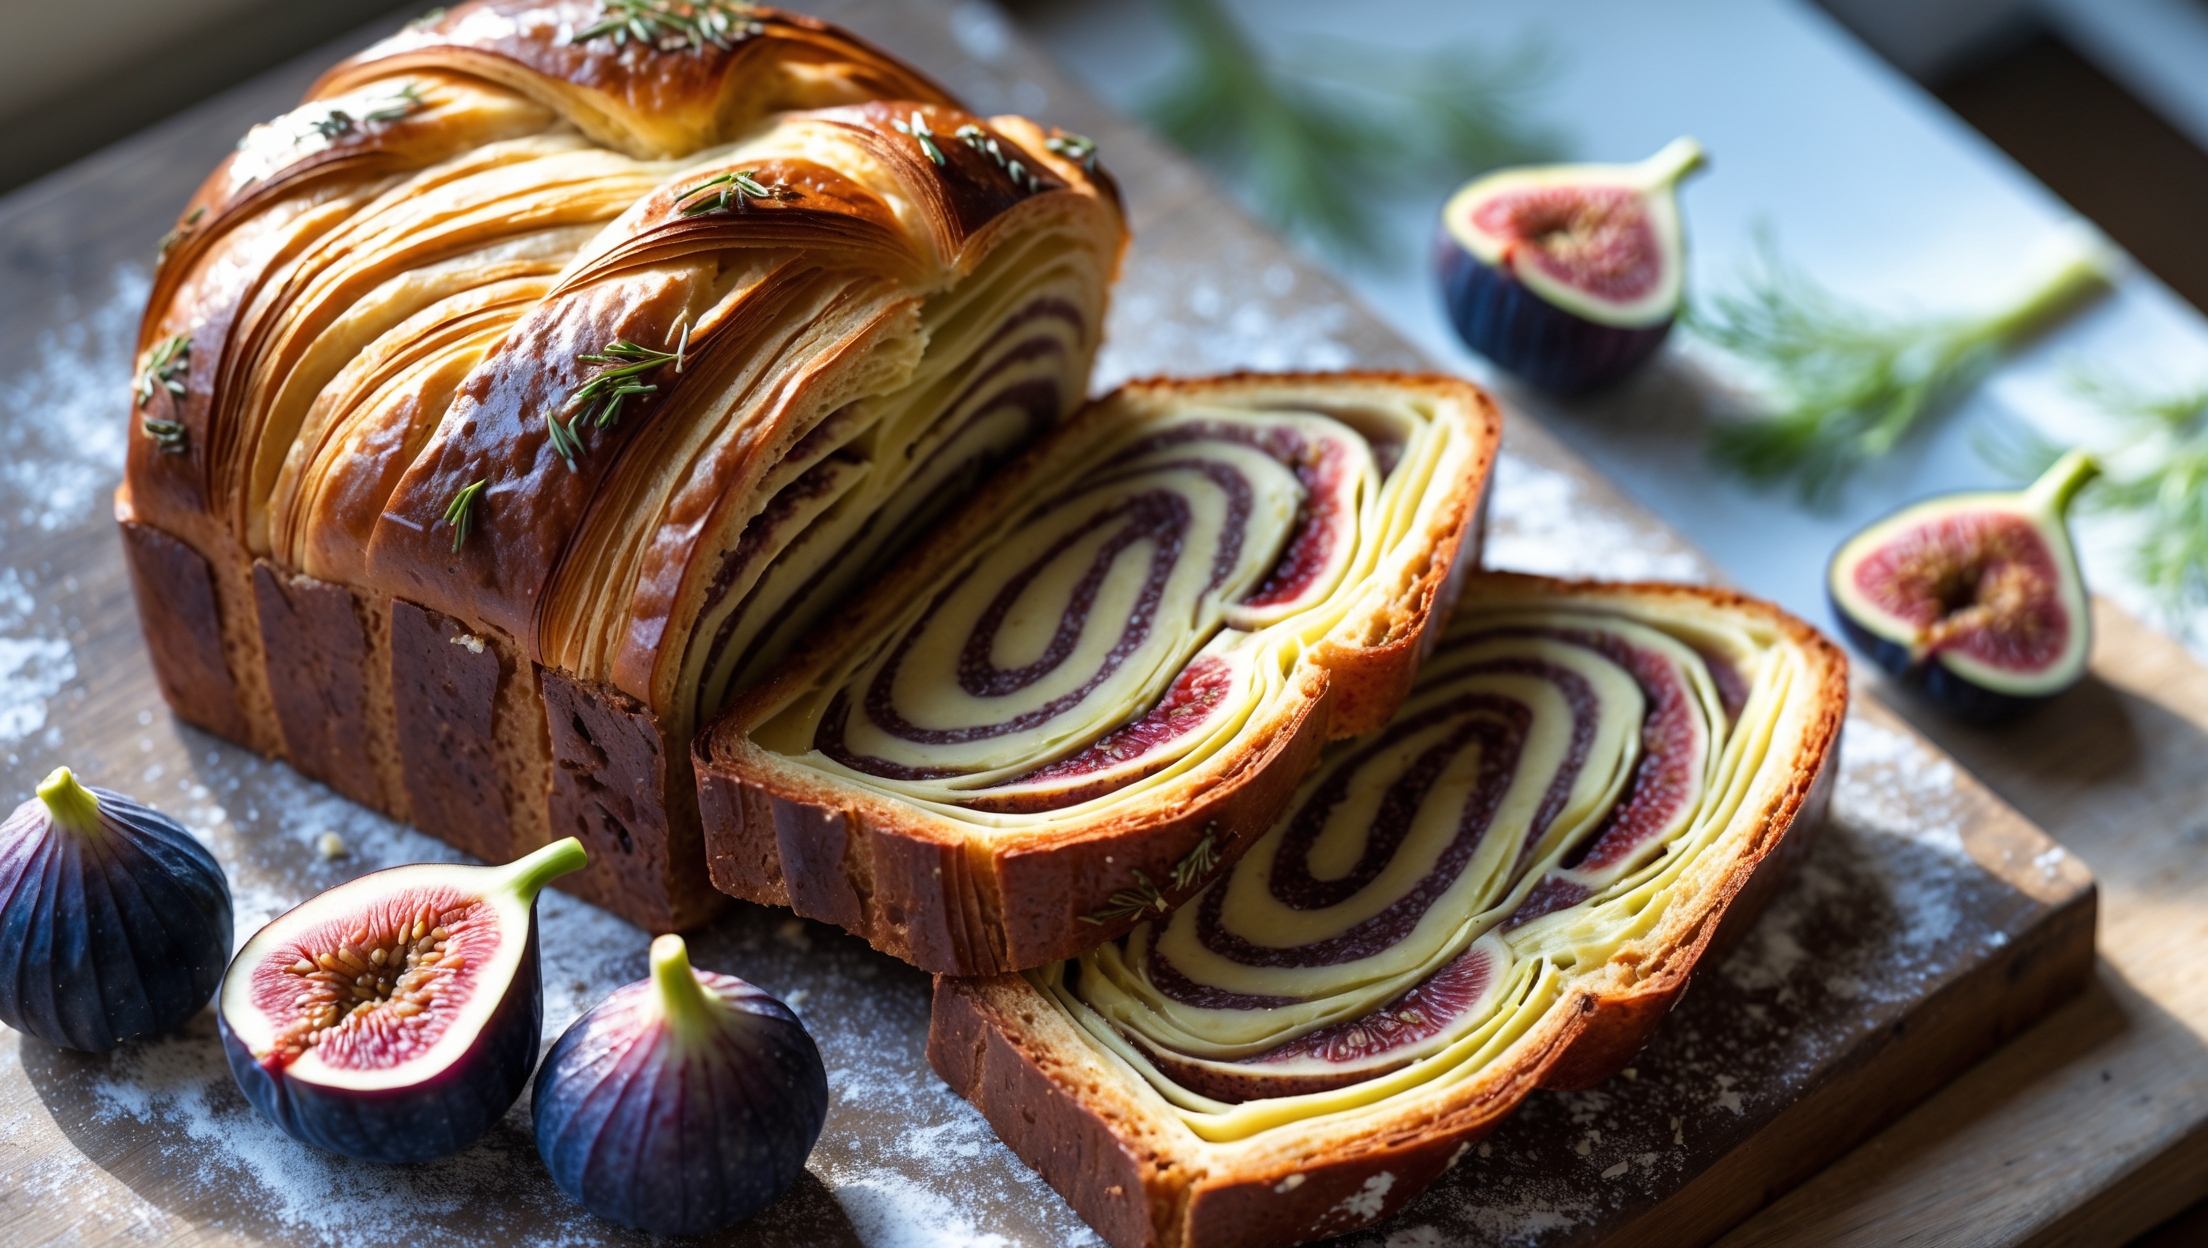
Rustic Italian Bread Recipe

Ingredients
Equipment
Directions
FAQs
Find answers to your most pressing questions about this delicious recipe right here.
This authentic bread requires just 6 simple ingredients: bread flour (500g), lukewarm water (360ml), active dry yeast (7g), salt (10g), extra virgin olive oil (15ml), and sugar (5g). The minimal ingredient list showcases the traditional approach to Italian breadmaking.
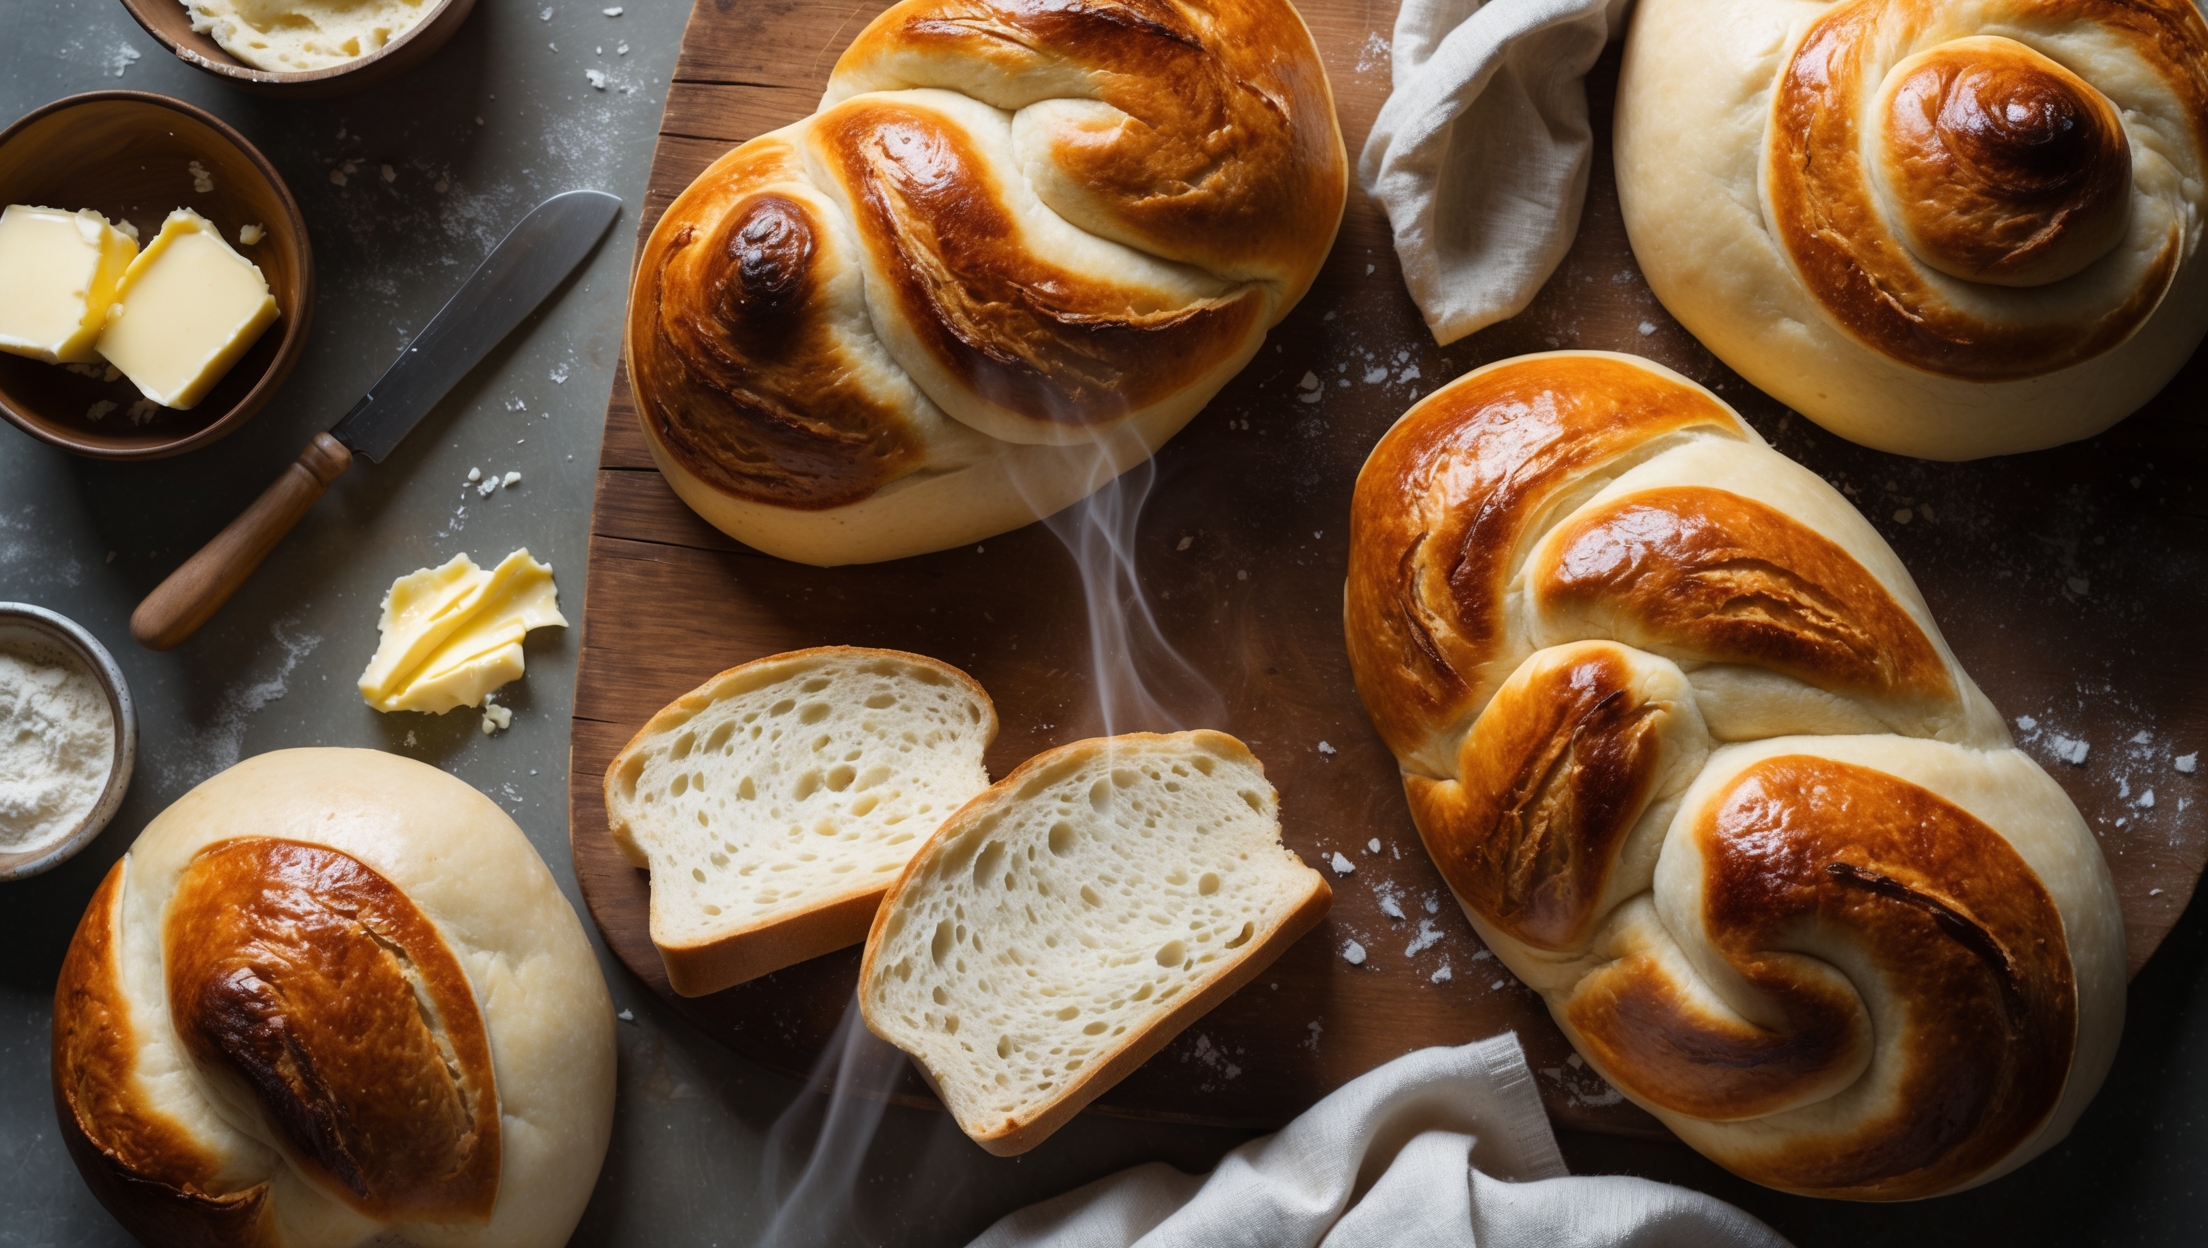
Learn how to cook Rustic Italian Bread by first activating your yeast in warm water with sugar, then mixing with flour, salt and olive oil to form a dough. After kneading and rising, shape the loaf and refrigerate overnight. Bake in a preheated Dutch oven at 230°C with the lid on for 25 minutes, then another 15 minutes uncovered until golden brown.
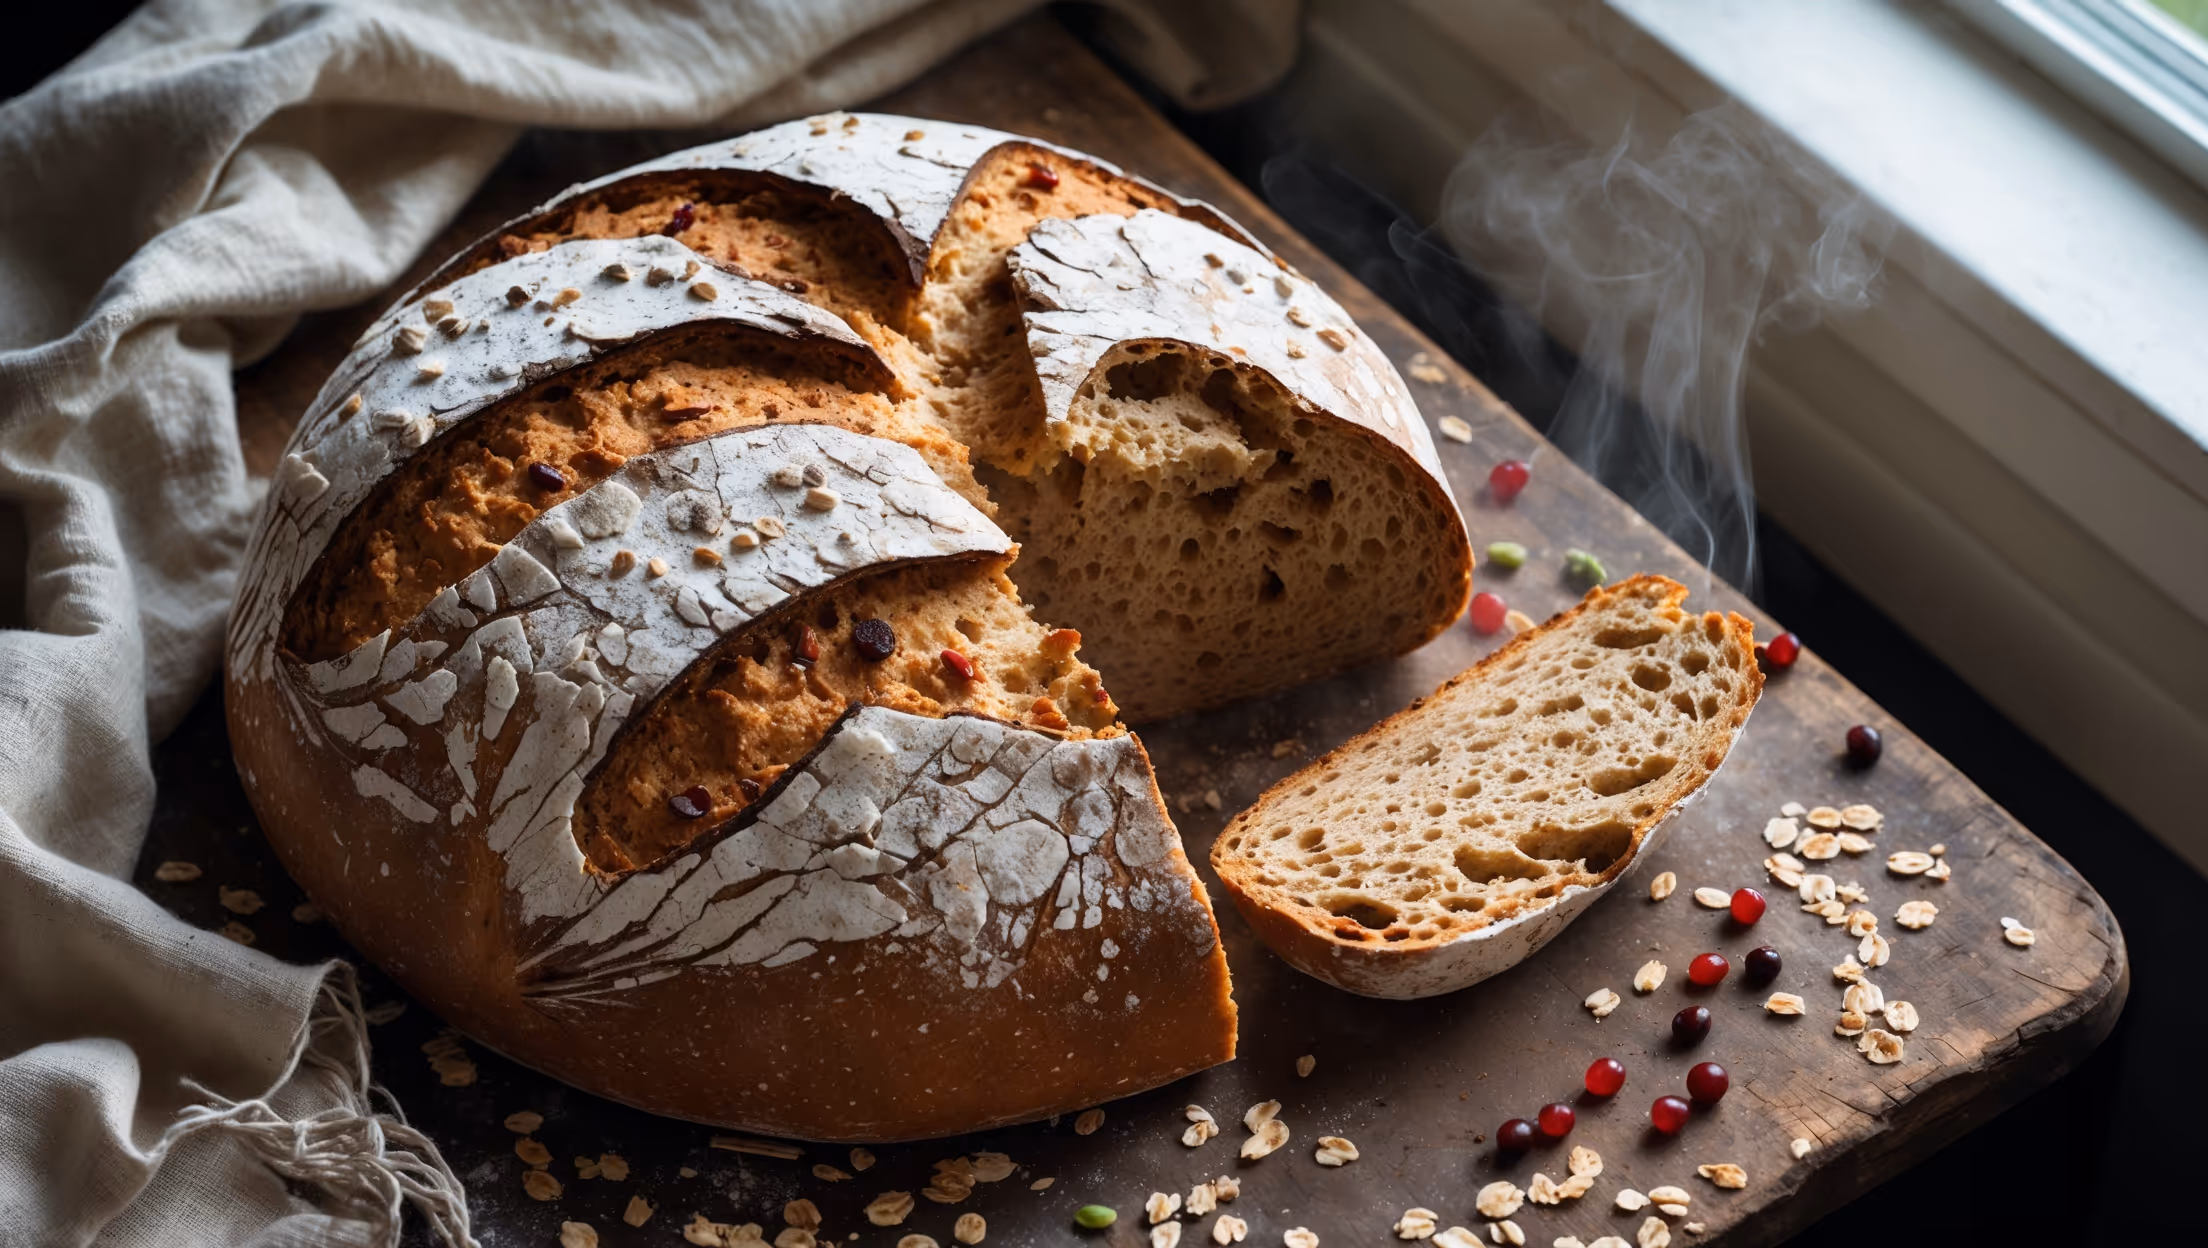
Overnight cold fermentation is crucial for developing complex flavour and proper texture. During this slow process, enzymes break down starches into sugars, yeast produces flavour compounds, and gluten relaxes. This results in that signature tangy taste, better crust formation, and those beautiful air pockets.
Yes! While a Dutch oven creates ideal steam conditions for a crackling crust, alternatives include: using a baking stone with a metal pan of water beneath, an overturned metal bowl as a dome, a pizza stone with water sprays, or even a regular baking tray with strategic steam creation.
To preserve your bread's texture, allow it to cool completely before storage. For 1-2 days, store cut-side down on a cutting board. For longer storage, wrap in a clean tea towel then place in a paper bag. Avoid plastic which traps moisture. To refresh, sprinkle with water and warm in a 180°C oven for 5-10 minutes.
Artisan Bread
Try following recommended recipes