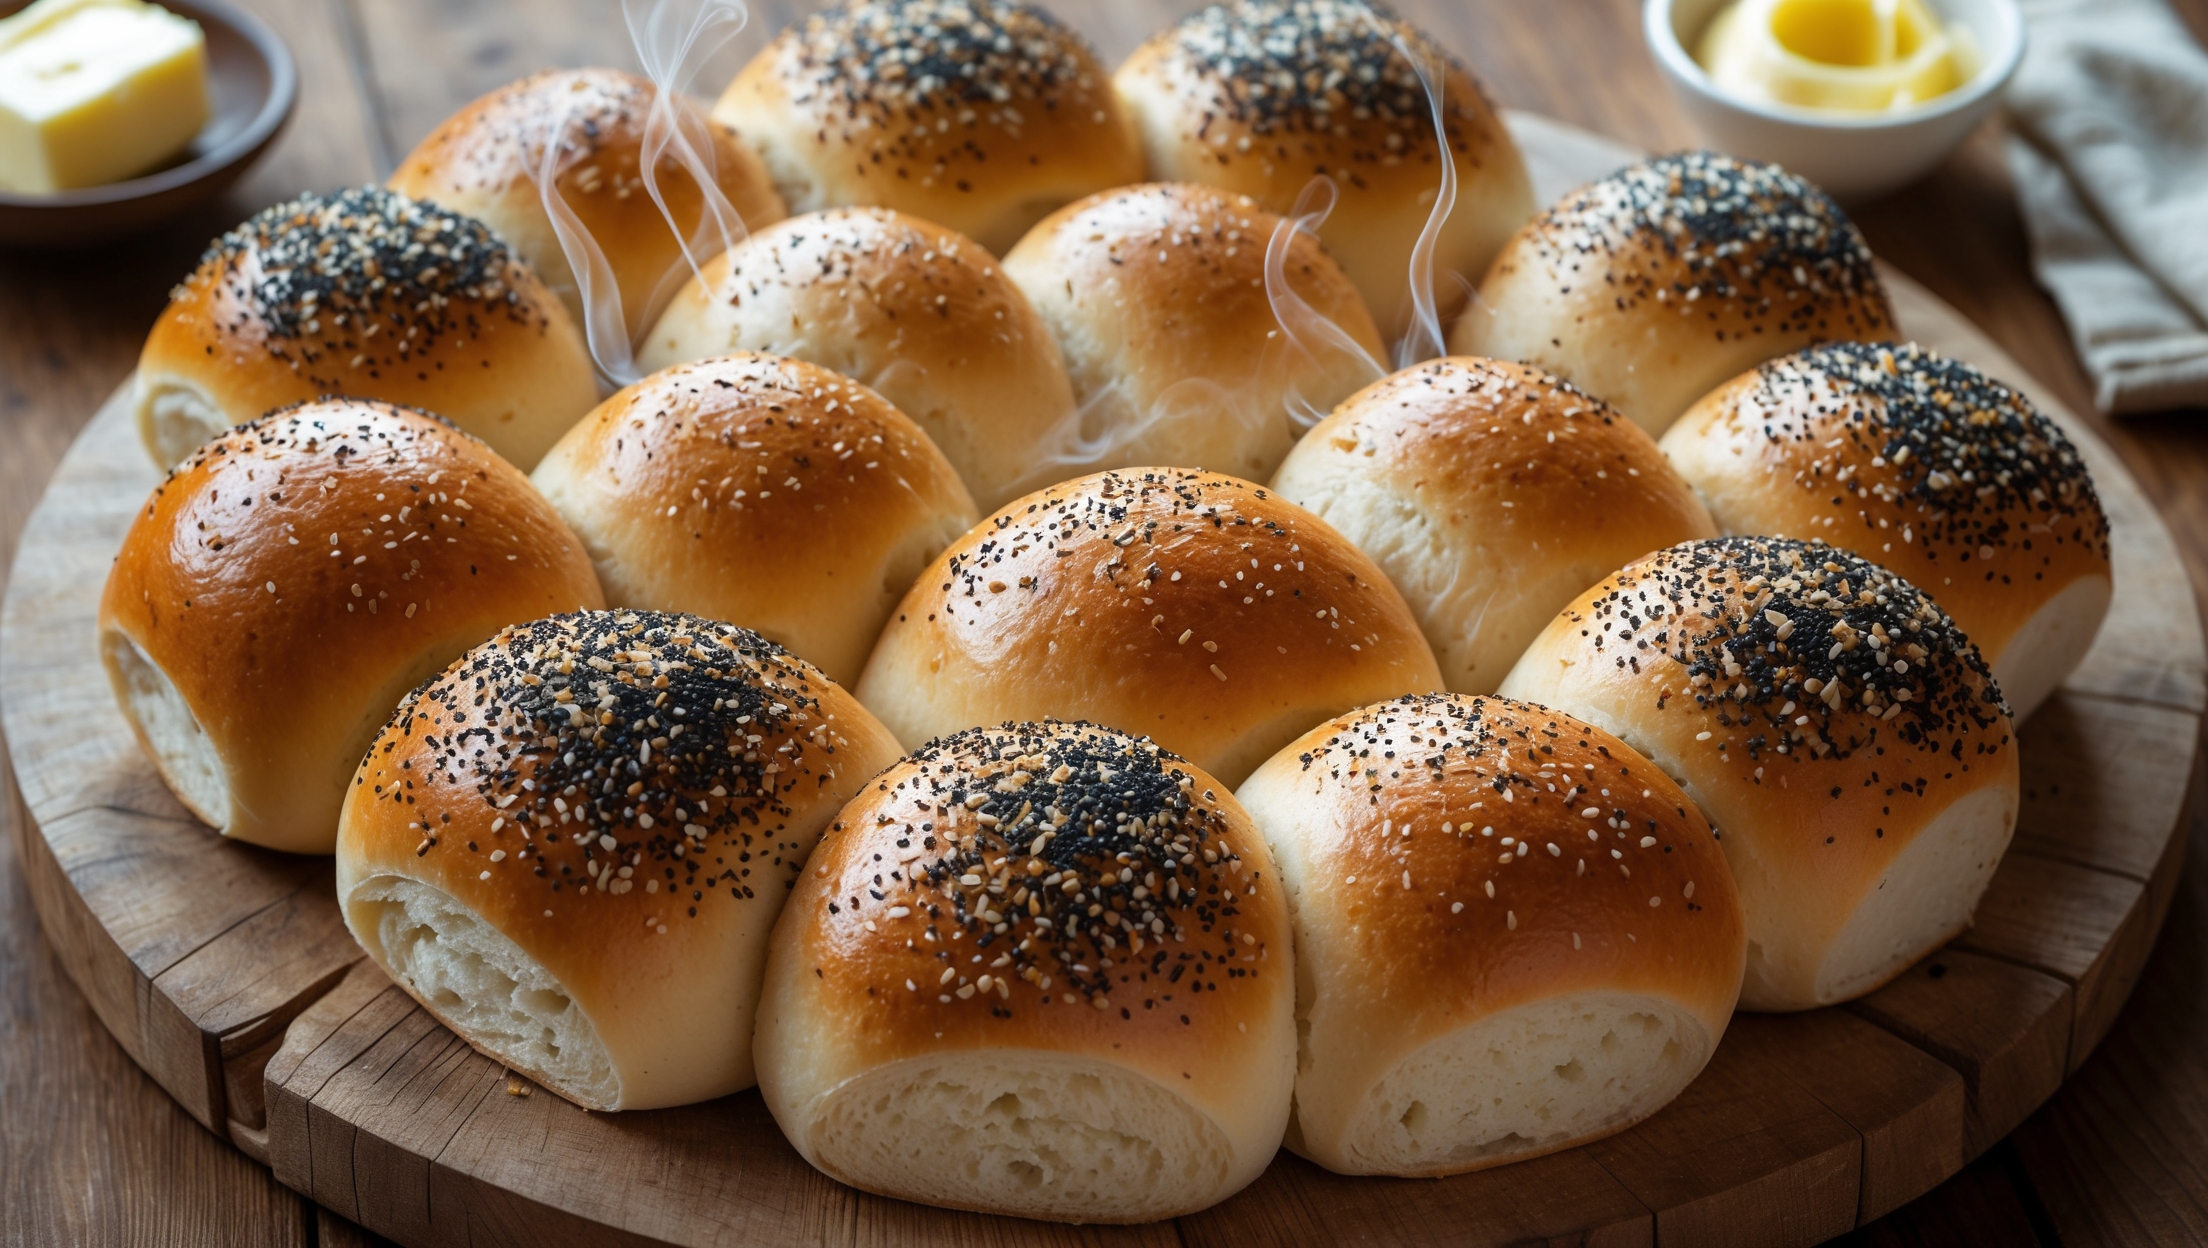
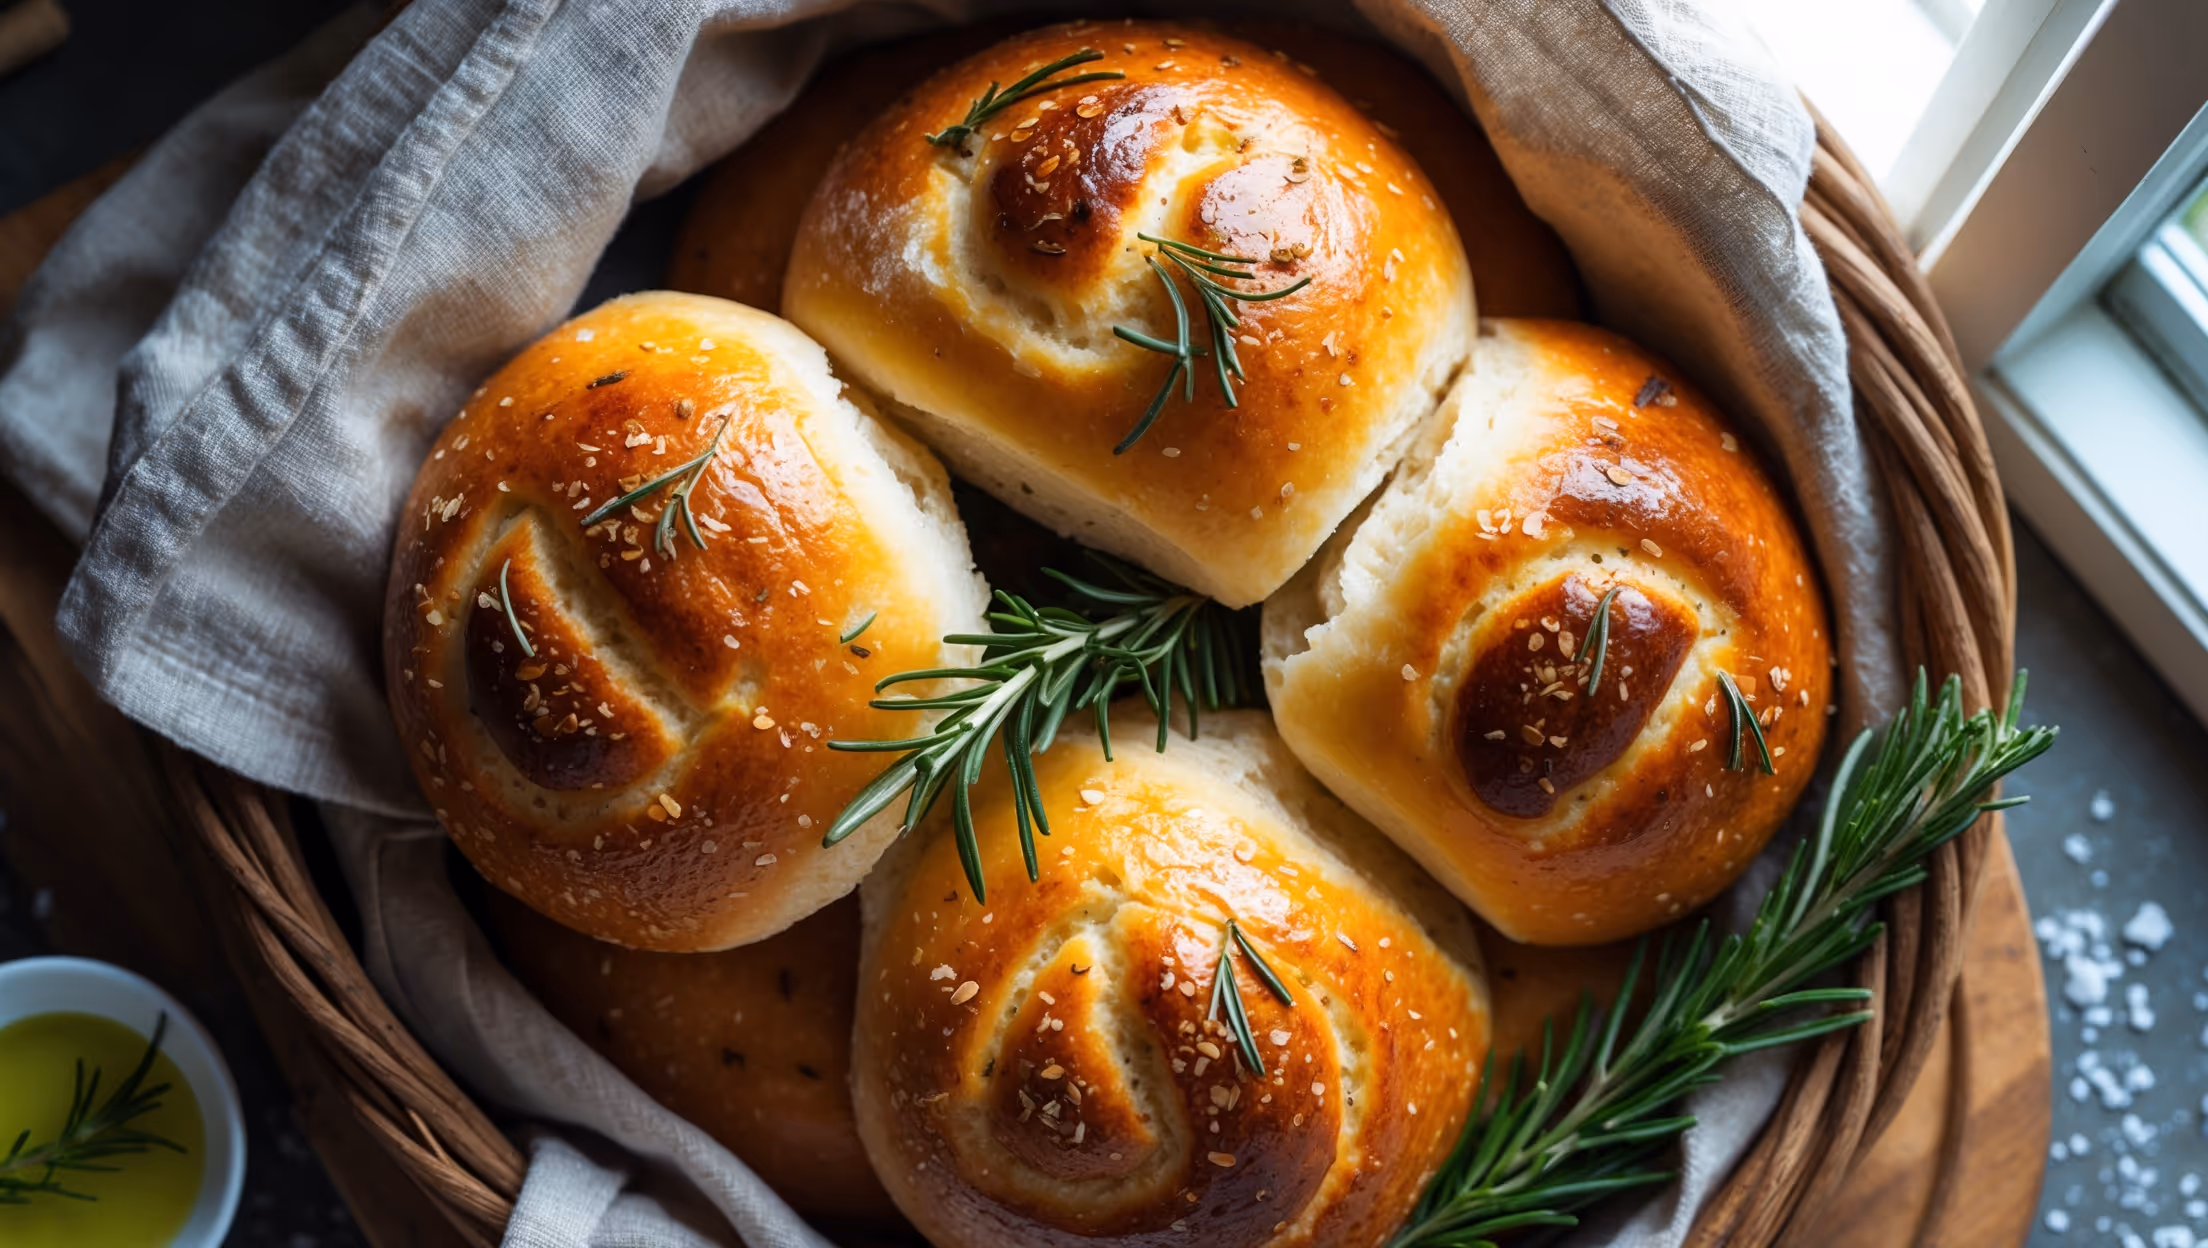
Rosemary Olive Oil Rolls Recipe
Ingredients
Equipment
Directions
FAQs
Find answers to your most pressing questions about this delicious recipe right here.
These rolls require bread flour, instant dry yeast, salt, fresh rosemary, high-quality extra virgin olive oil, warm water, honey or sugar, and optional flaky sea salt for topping. The key to their distinctive flavour is using good quality olive oil and fresh rosemary.
Learn how to cook Rosemary Olive Oil Rolls by creating an enriched dough with olive oil and rosemary, kneading until elastic, allowing for two rises (bulk fermentation and proofing), then baking at 200°C for about 18-20 minutes until golden brown. The double brushing with olive oil—before and after baking—is essential for maximum flavour.
Homemade dinner rolls offer fresher ingredients, no preservatives, and customizable flavours. The aroma that fills your kitchen while baking is unmatched, and the texture—crisp exterior with a pillowy interior—surpasses most commercial versions. Plus, you can control the salt content and olive oil quality.
Yes! These rolls freeze beautifully for up to one month. Cool completely, then wrap individually in cling film and place in a freezer bag. Thaw at room temperature and refresh in a 180°C oven for 5 minutes to restore their crisp crust and soft interior.
The secret lies in proper gluten development through thorough kneading, allowing adequate rising time, and not skimping on the second proof. The olive oil enriches the dough, creating tenderness, while ensuring your yeast is fresh and active helps achieve those desirable air pockets.
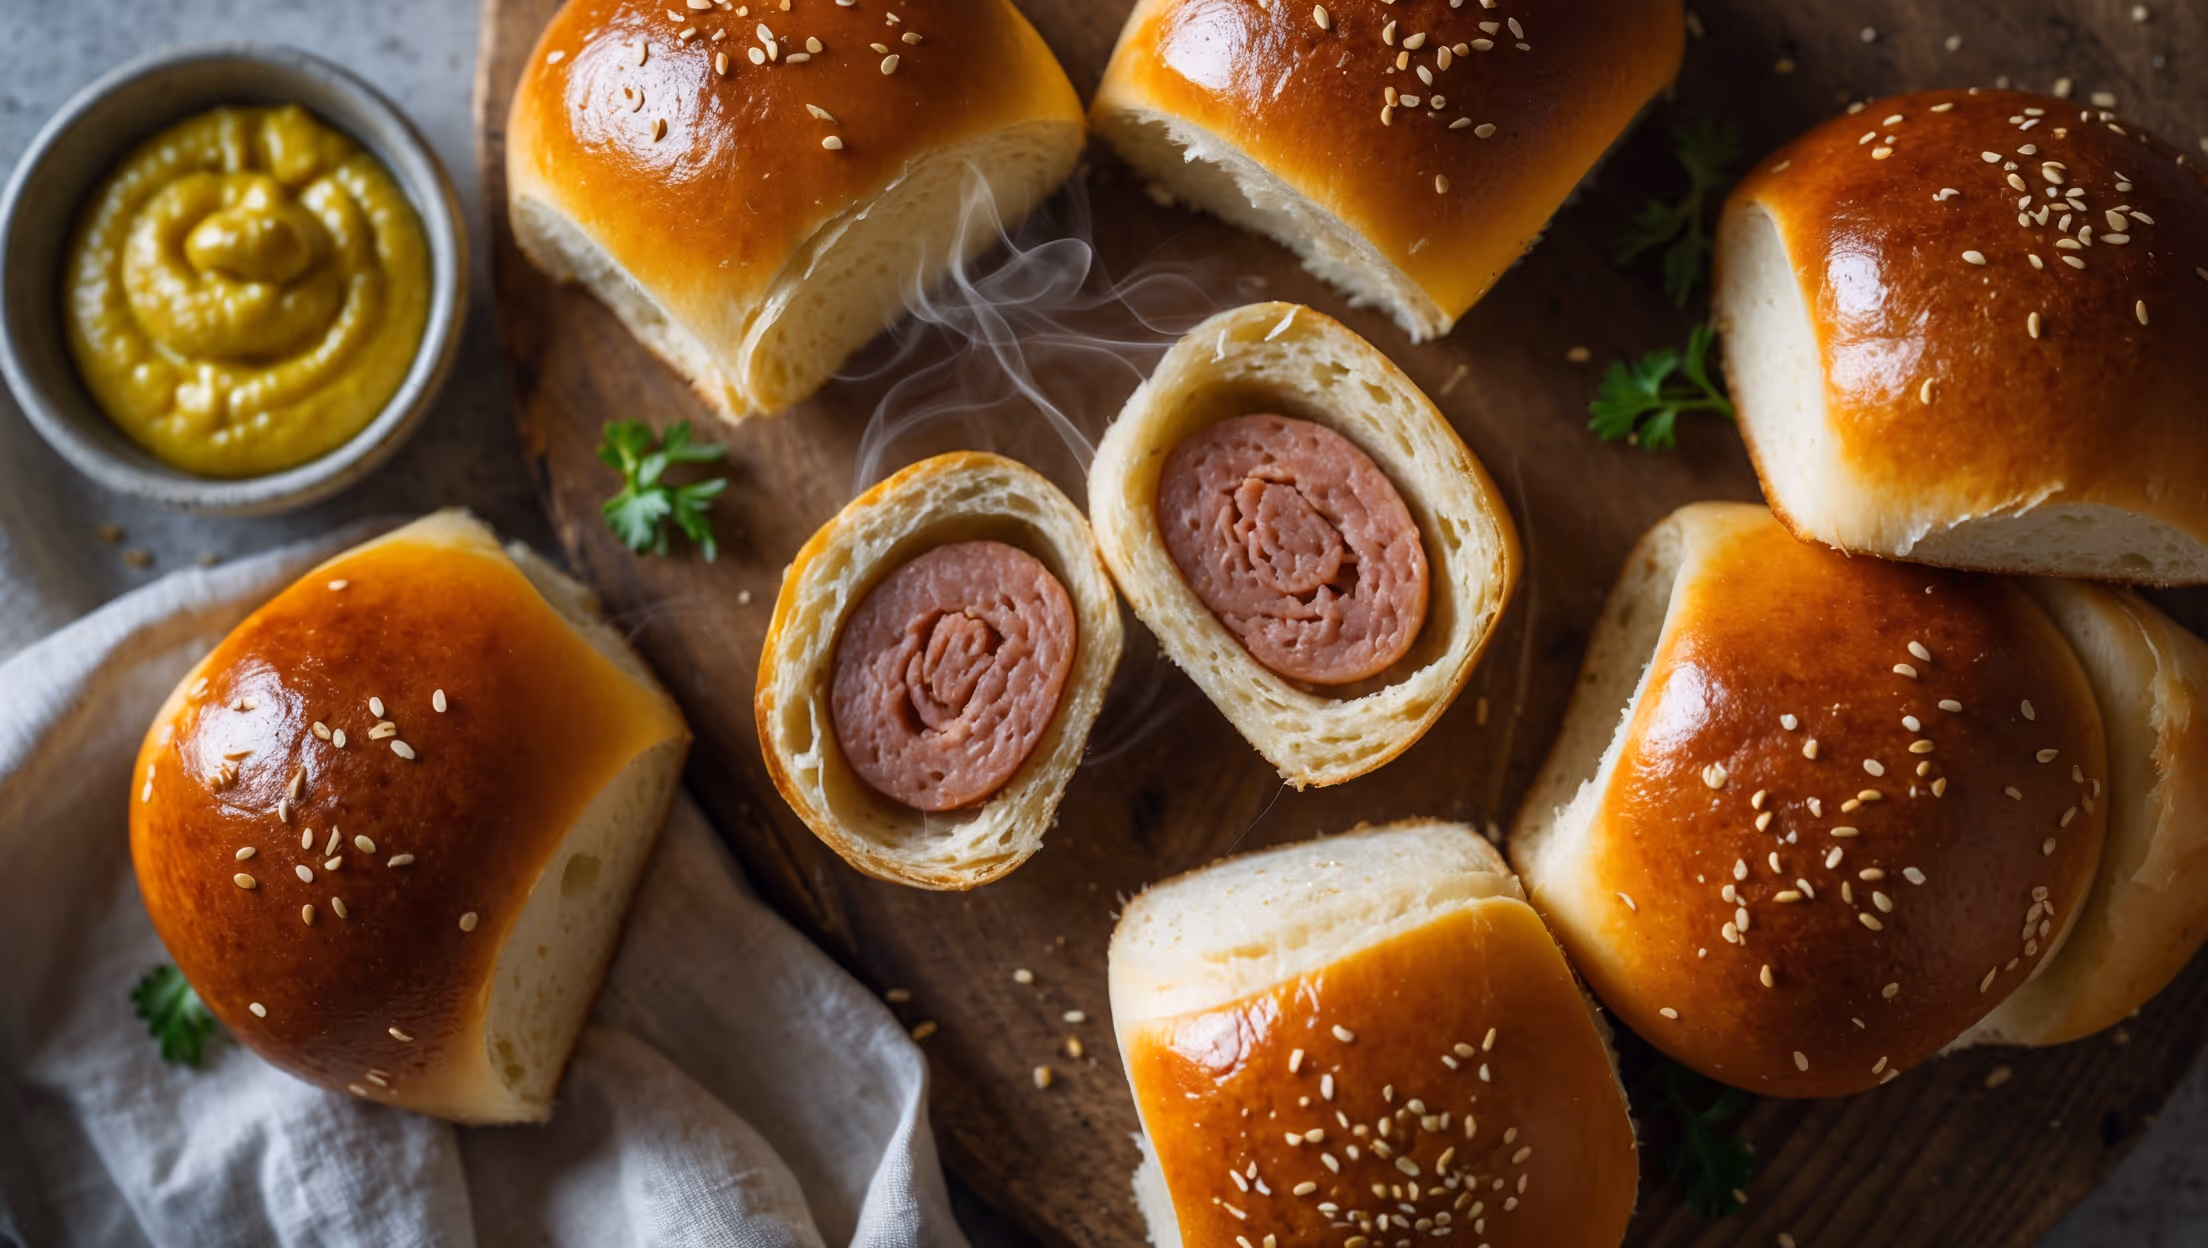
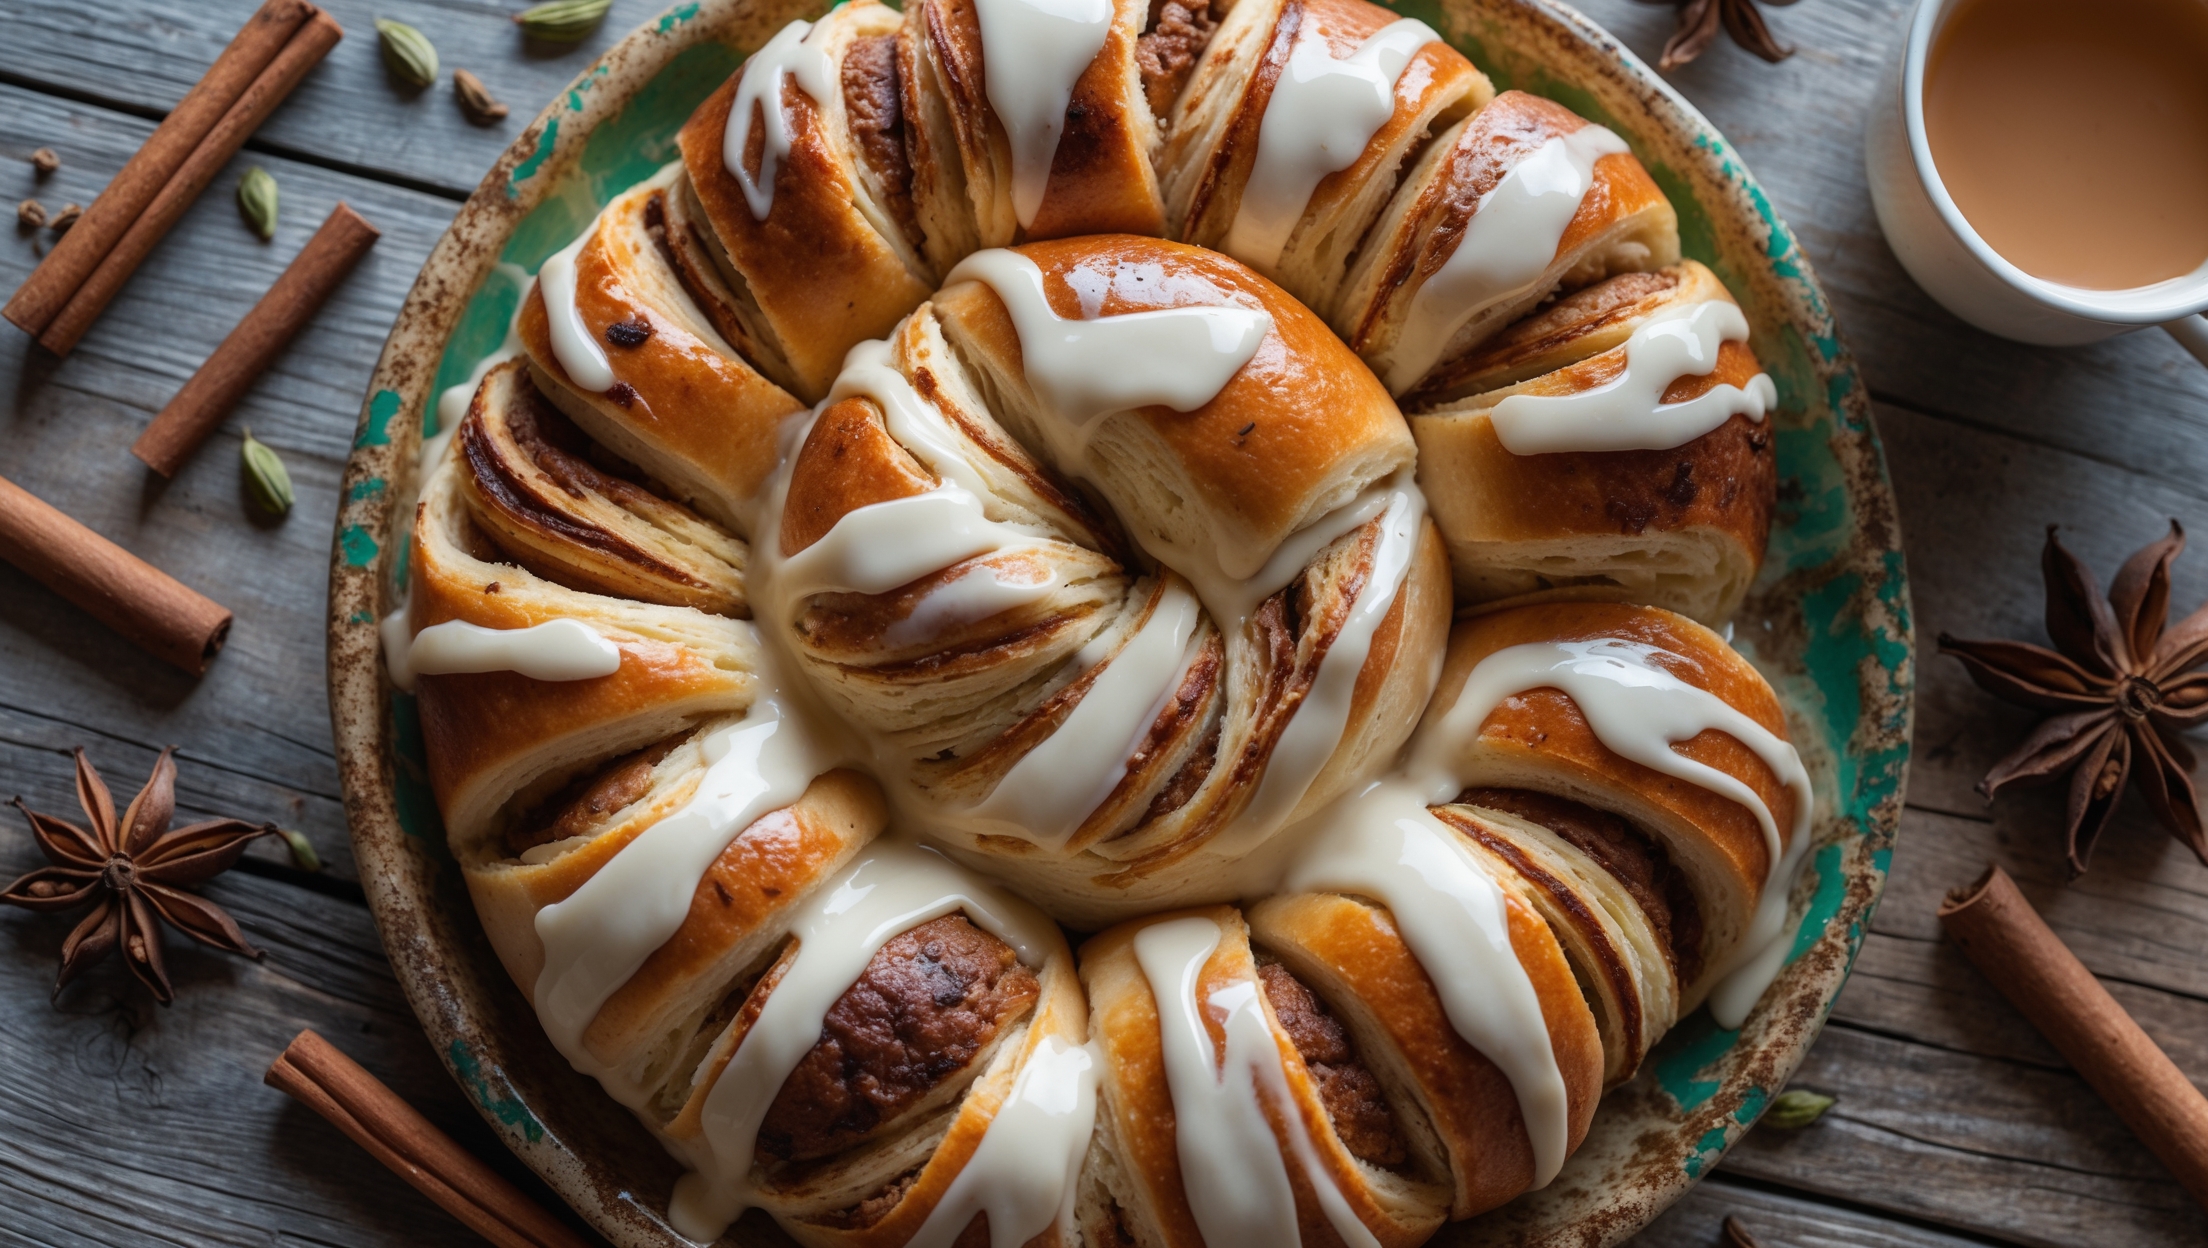
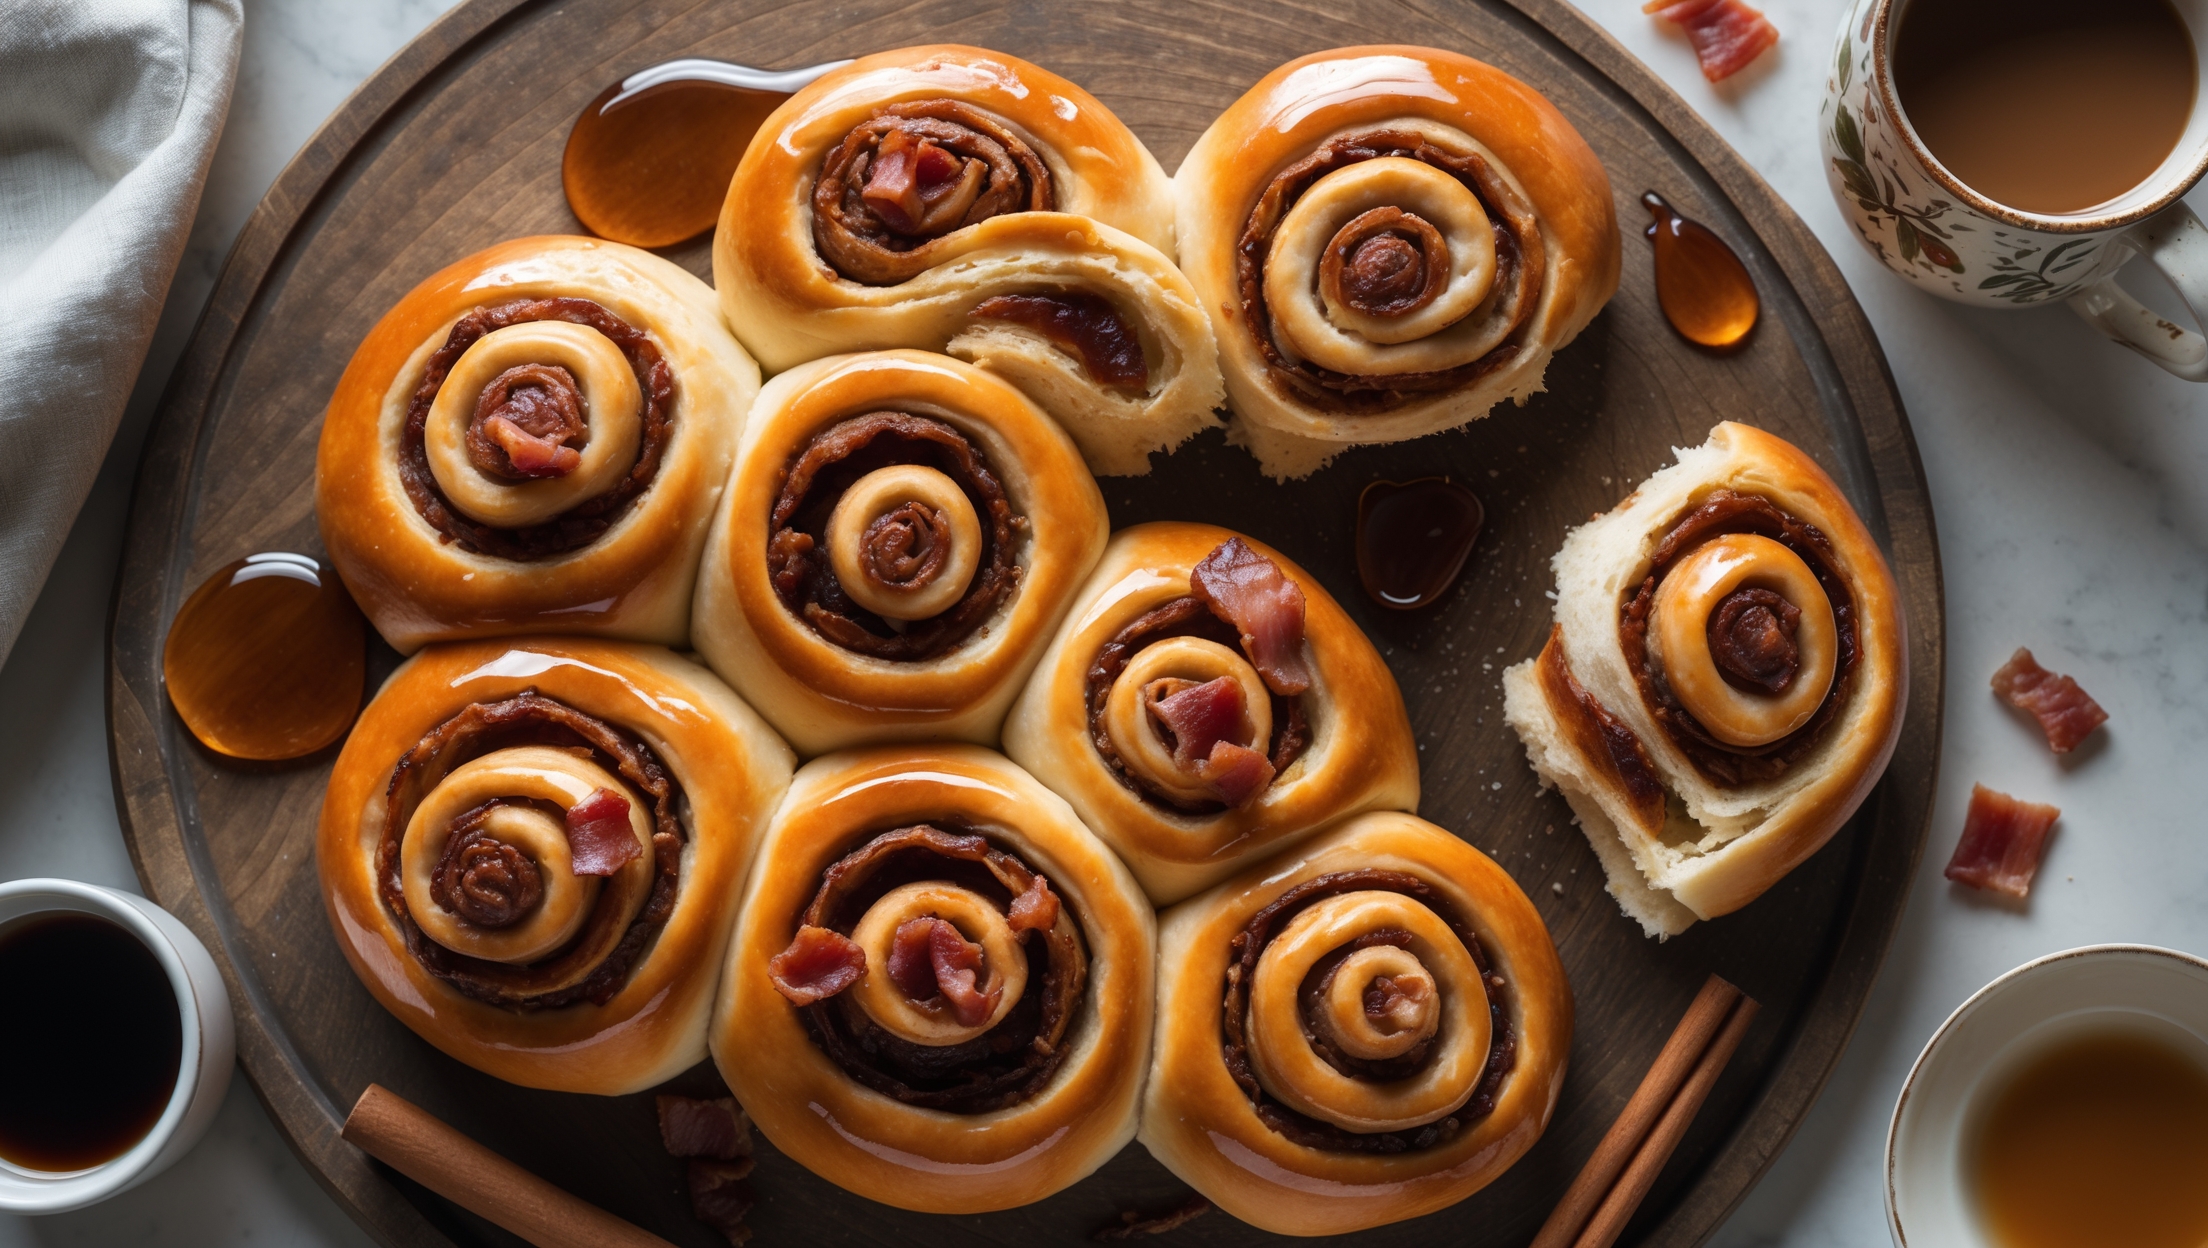
Rolls and Buns
Try following recommended recipes