Roasted Garlic Sandwich Bread Recipe
Ingredients
Equipment
Directions
FAQs
Find answers to your most pressing questions about this delicious recipe right here.
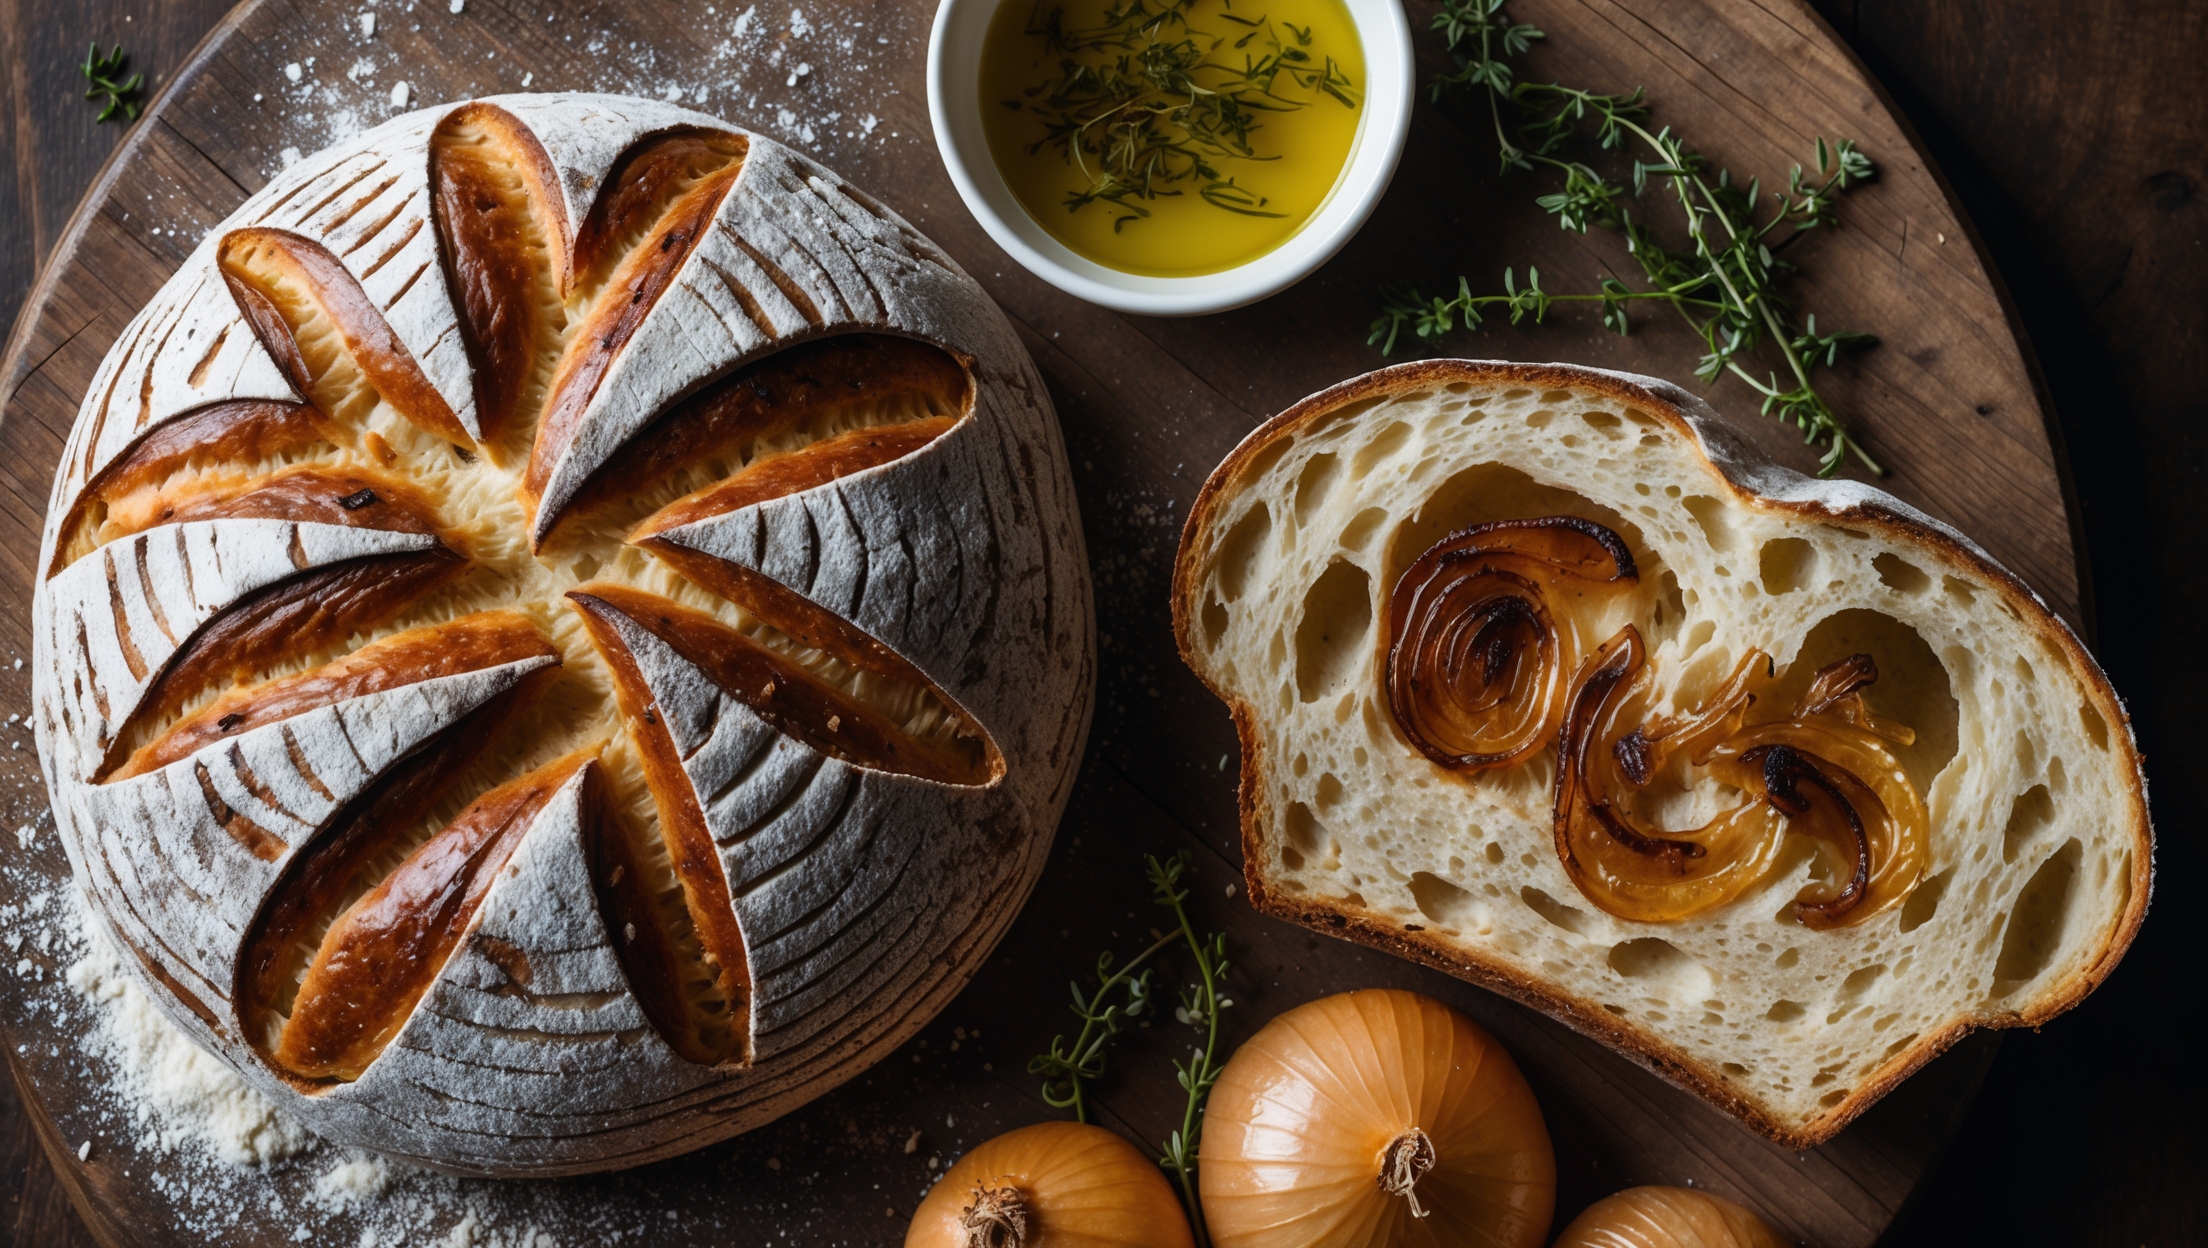
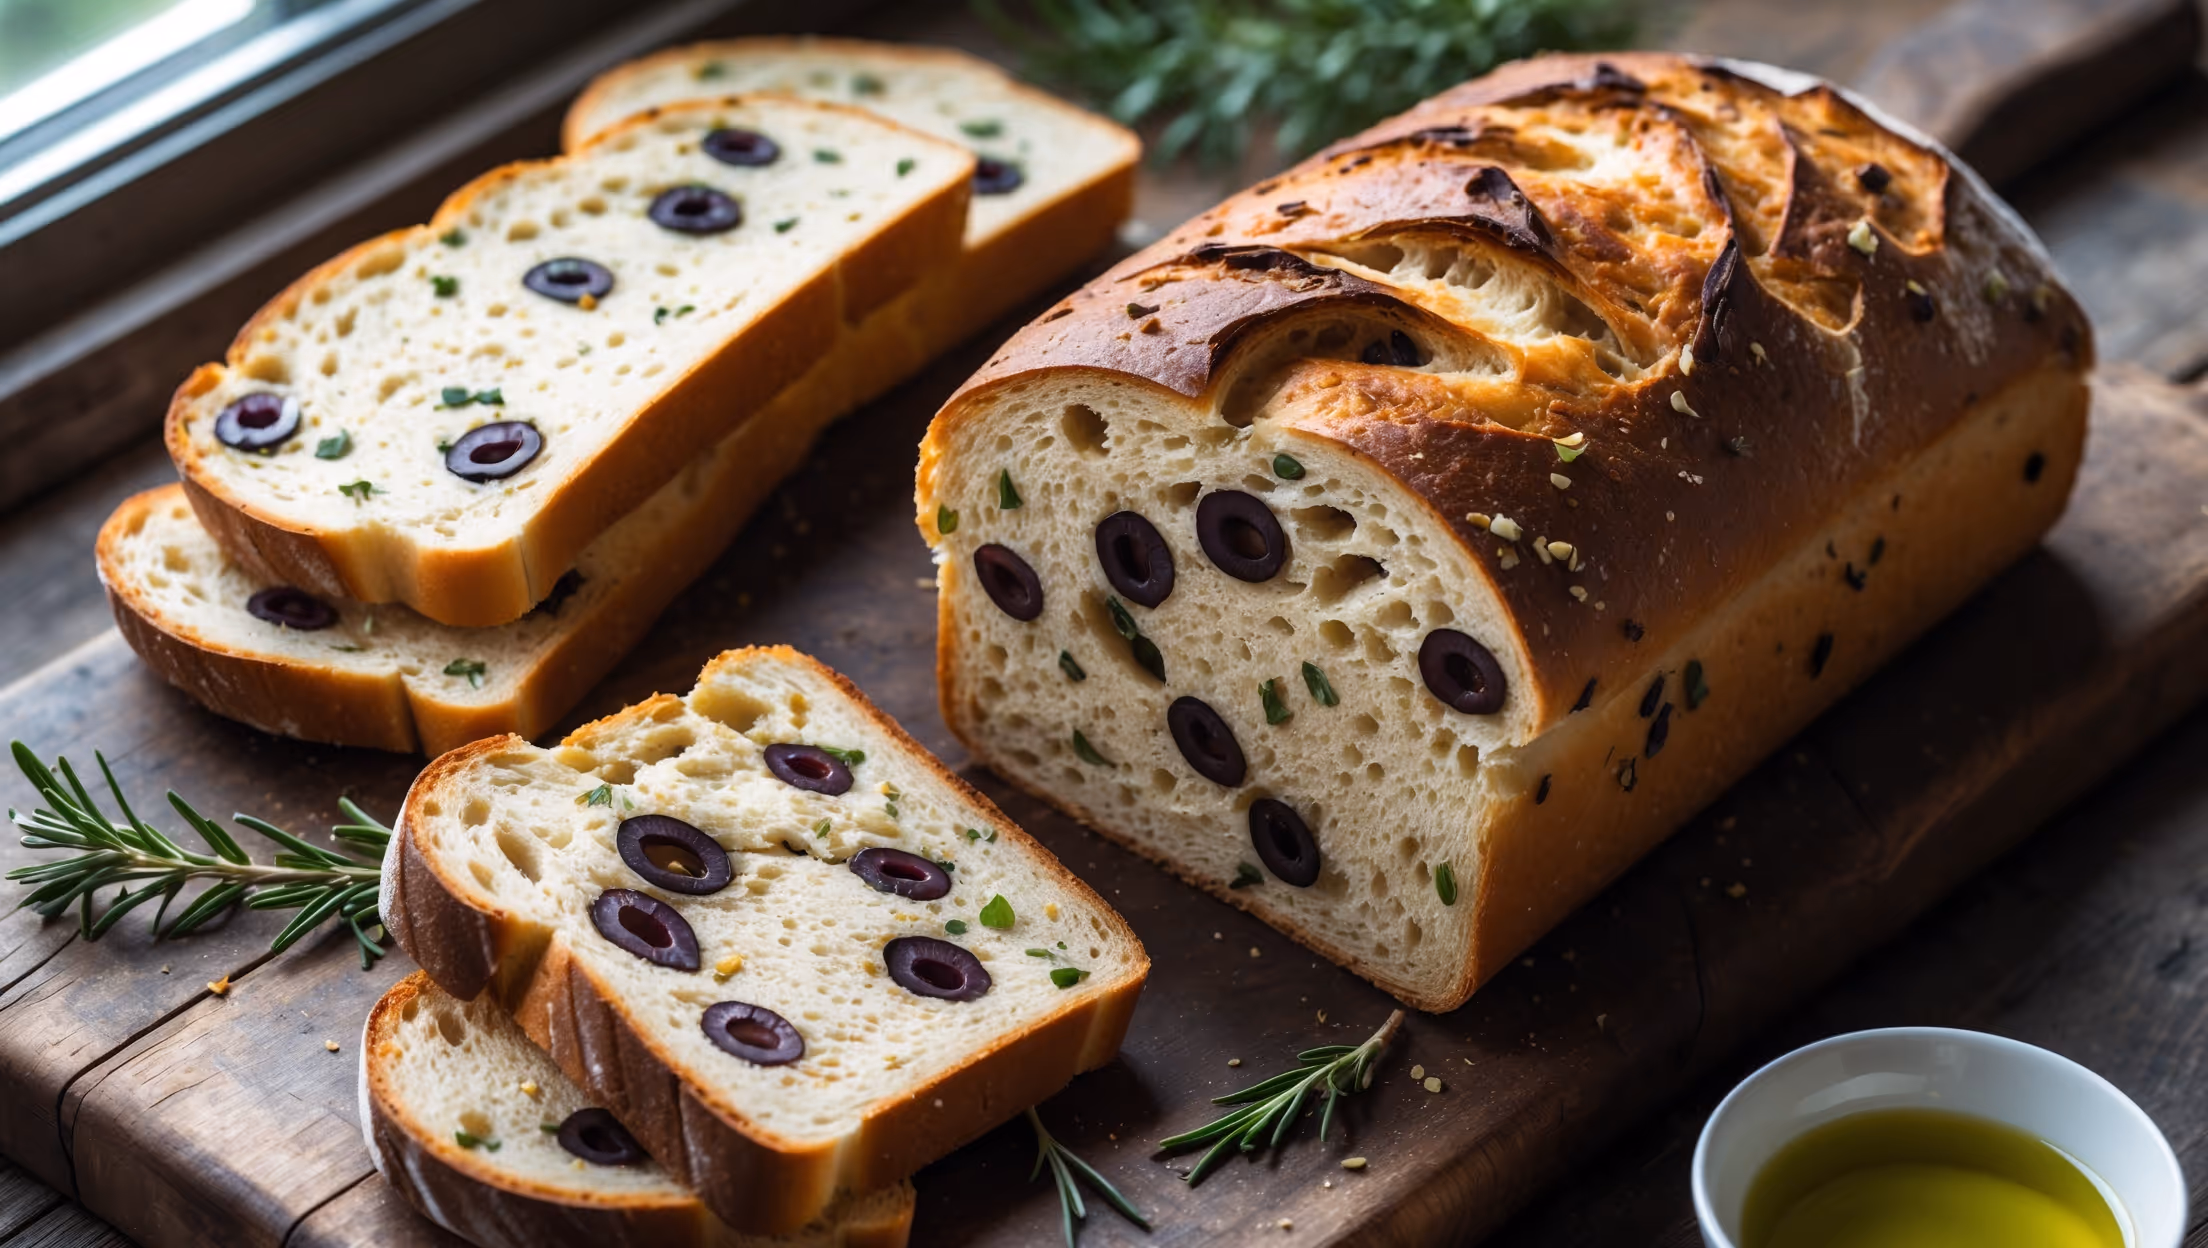
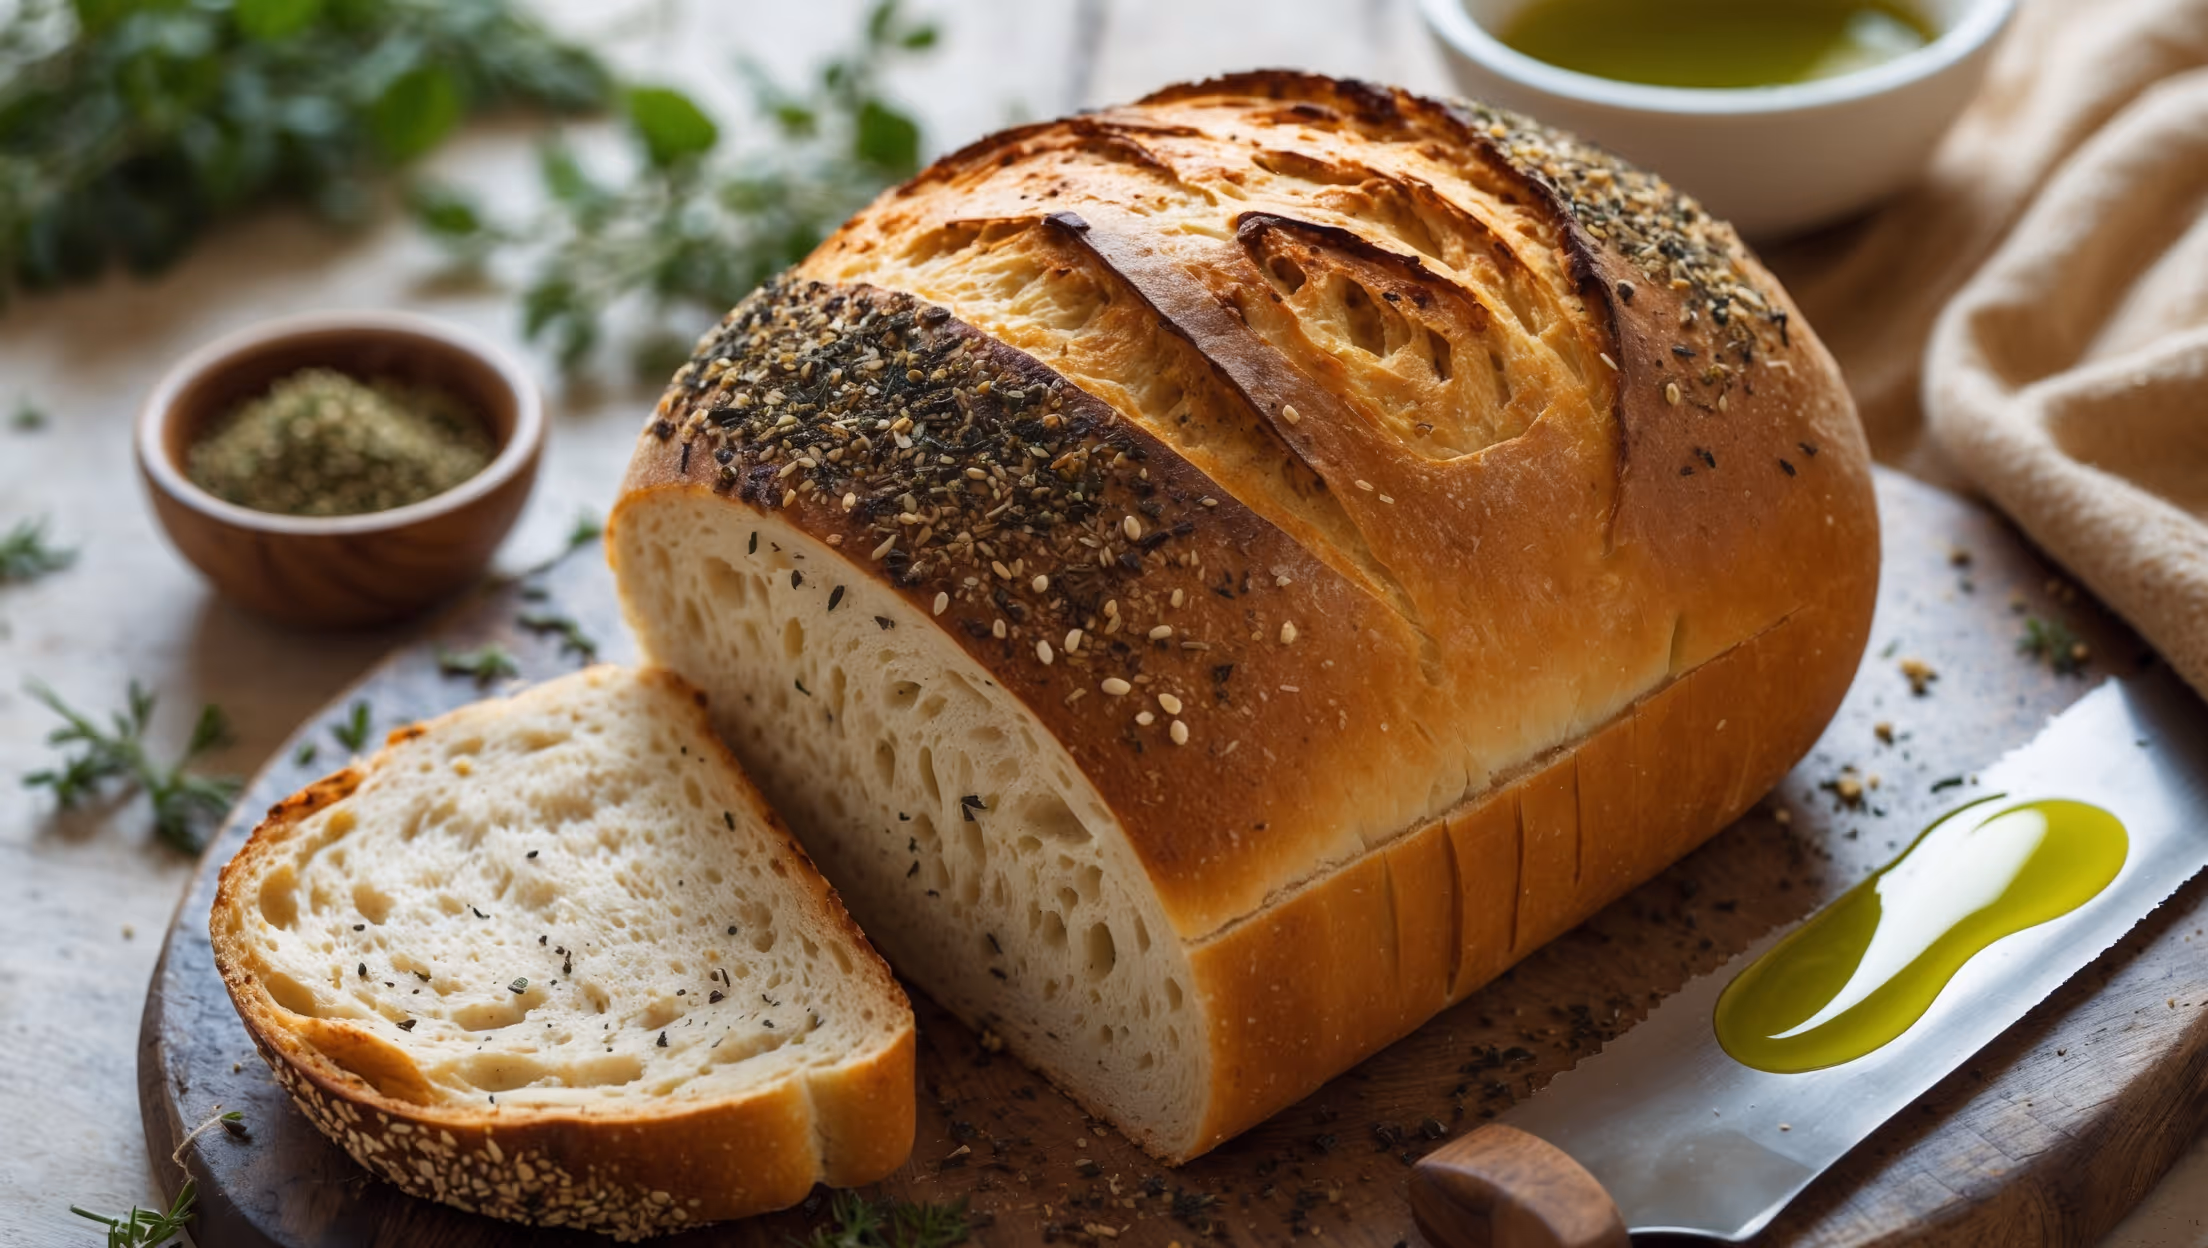
This bread requires garlic bulbs, olive oil, strong bread flour, instant dried yeast, salt, sugar, unsalted butter, water, and fresh herbs like rosemary, thyme or oregano. The roasted garlic provides sweet, mellow flavour while herbs add aromatic depth.
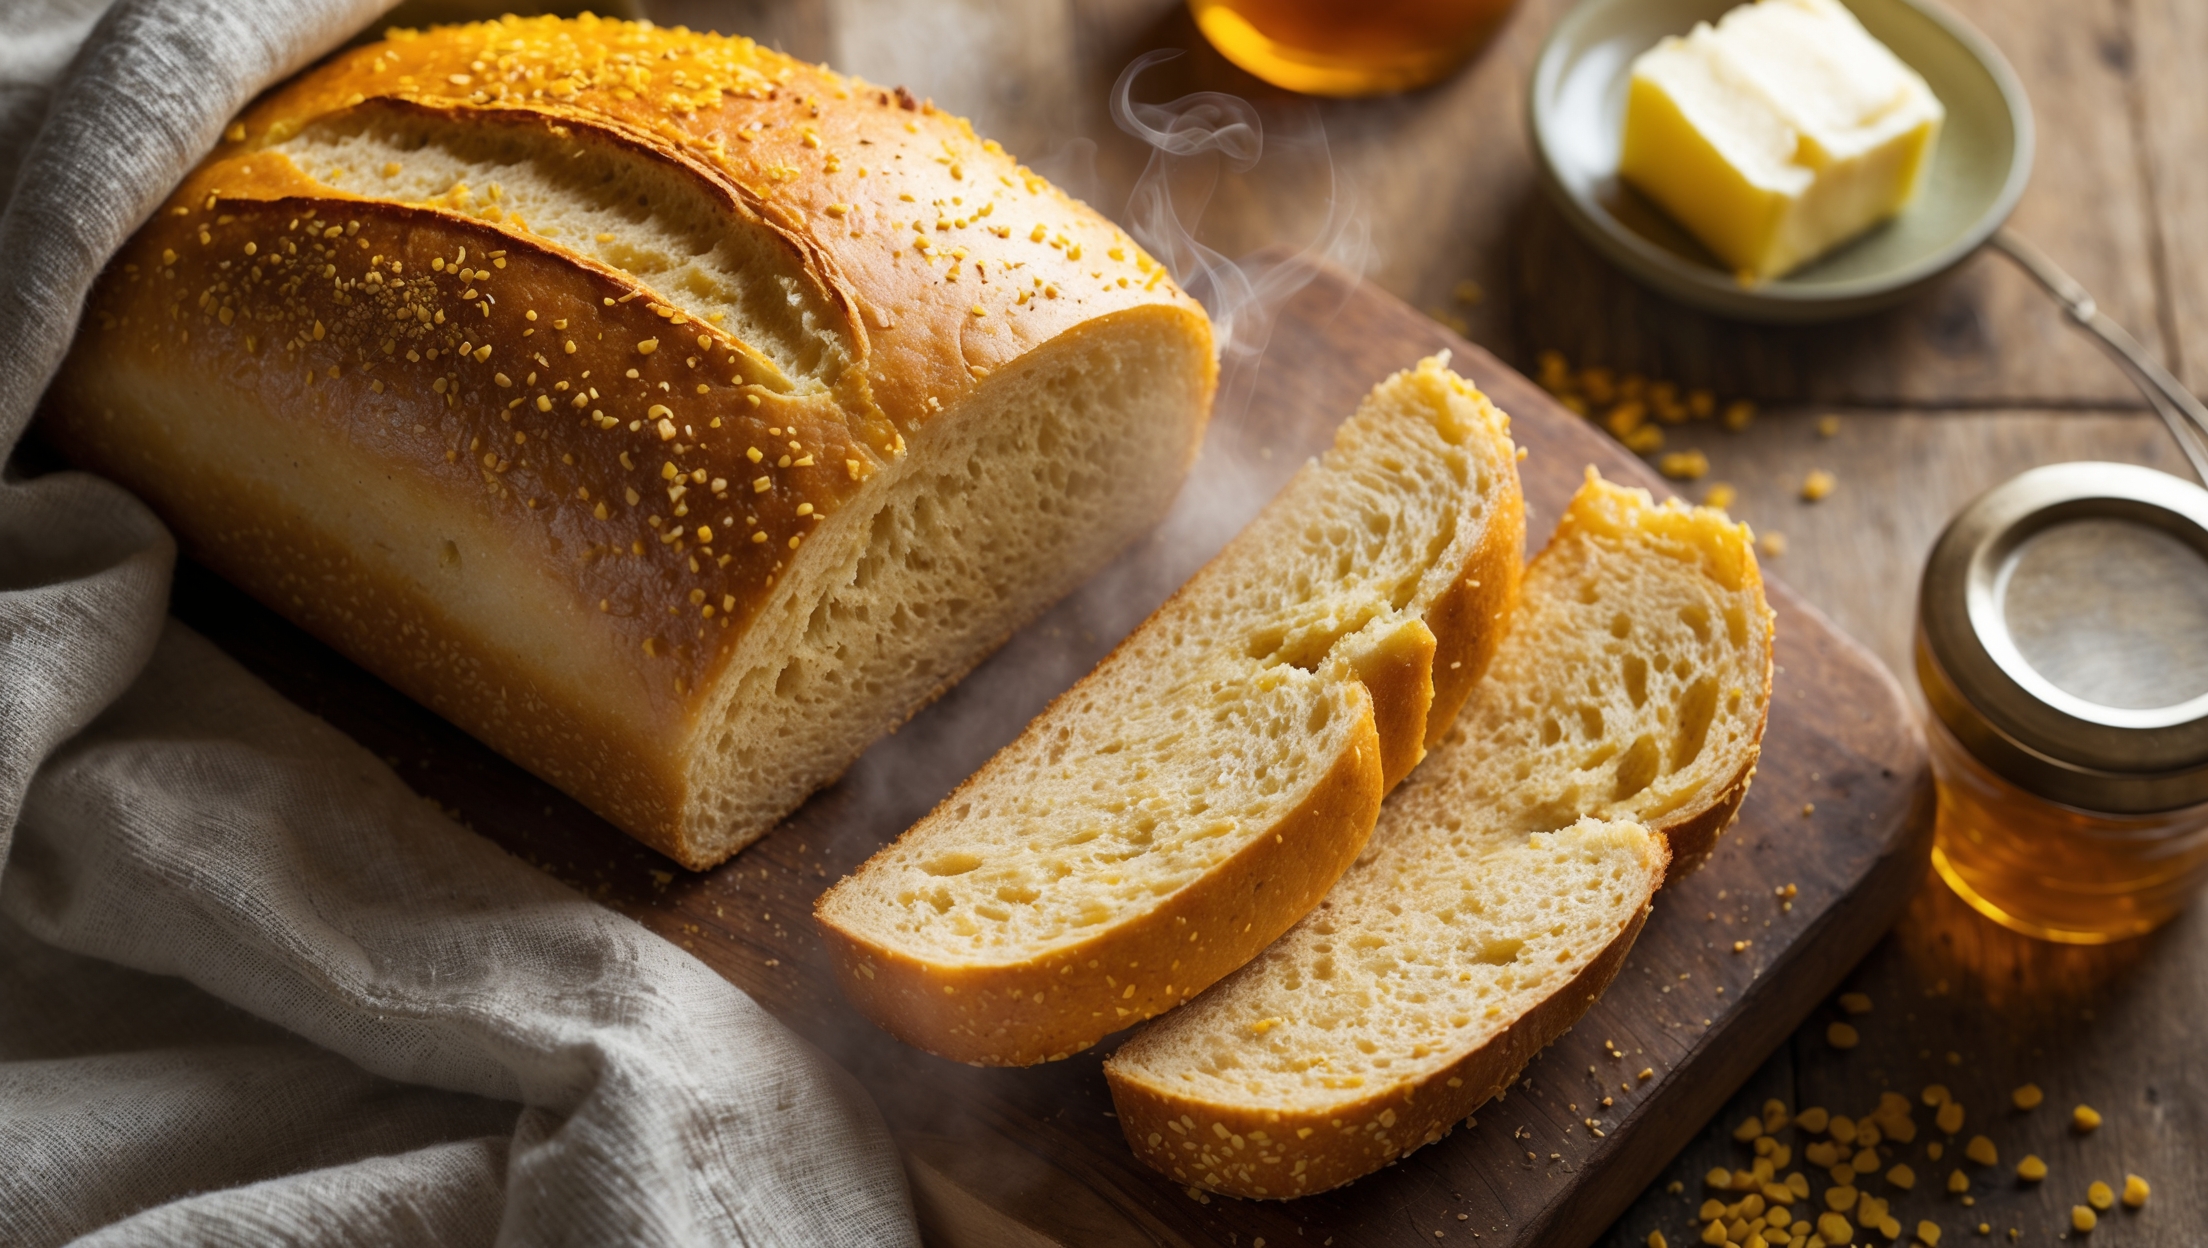
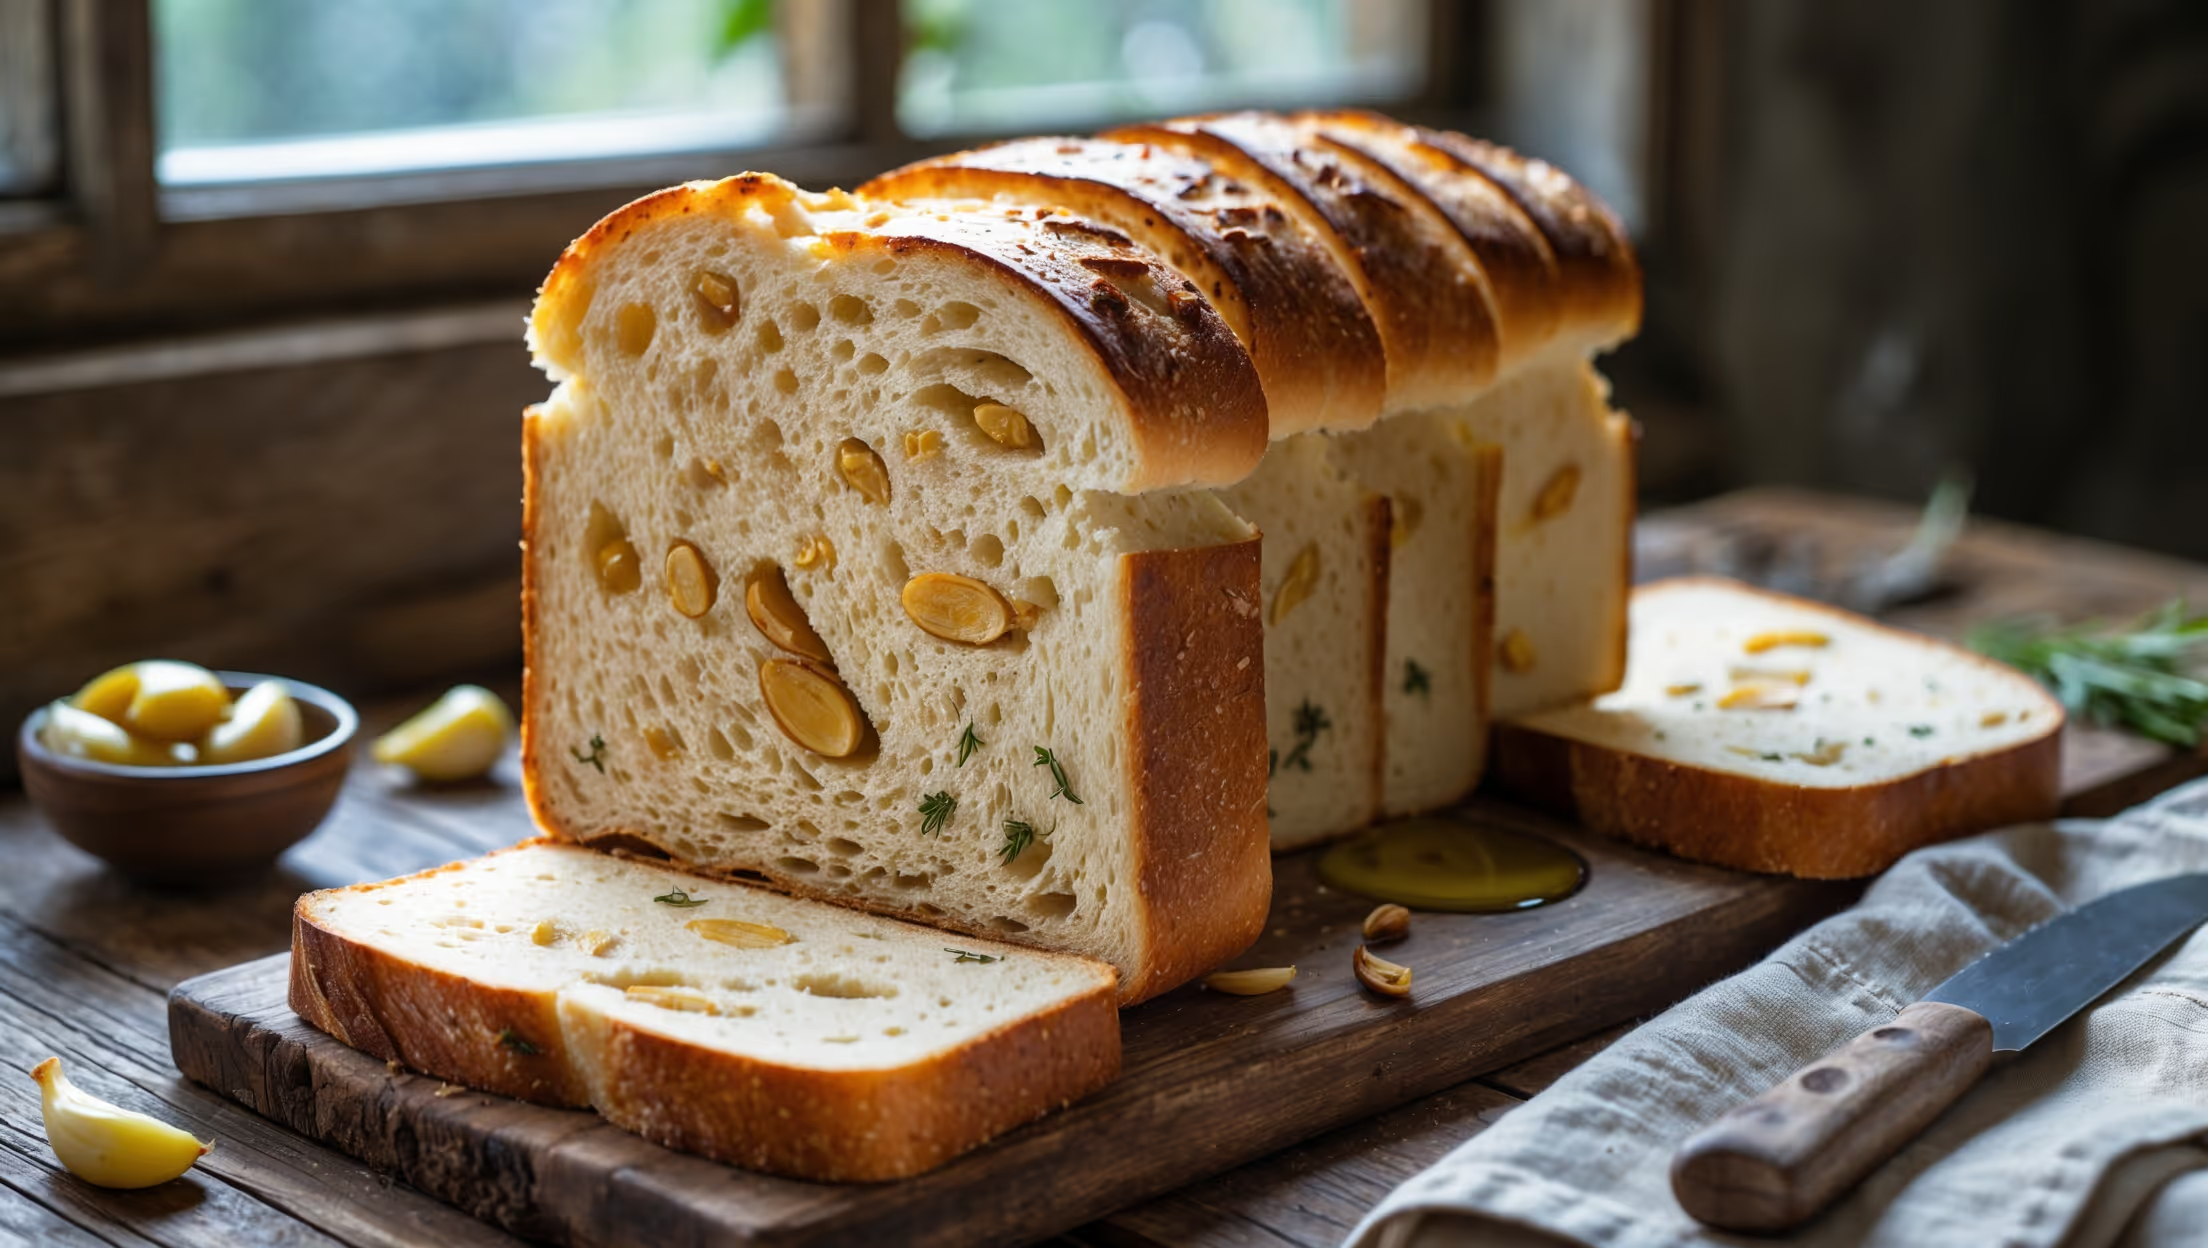
Learn how to cook Roasted Garlic Sandwich Bread by first roasting whole garlic bulbs until caramelised, then incorporating them into a yeasted dough with herbs. After two rises, bake in a loaf tin at 220°C for 15 minutes, then reduce to 190°C for 20-25 minutes until golden and hollow-sounding when tapped. The result is a fragrant, tender bread perfect for sandwiches.
Absolutely! While a stand mixer makes the process easier, you can knead this dough entirely by hand. Simply mix ingredients in a large bowl, then knead on a floured surface for 8-10 minutes until smooth and elastic. Hand-kneading actually helps develop a feel for perfect dough consistency.
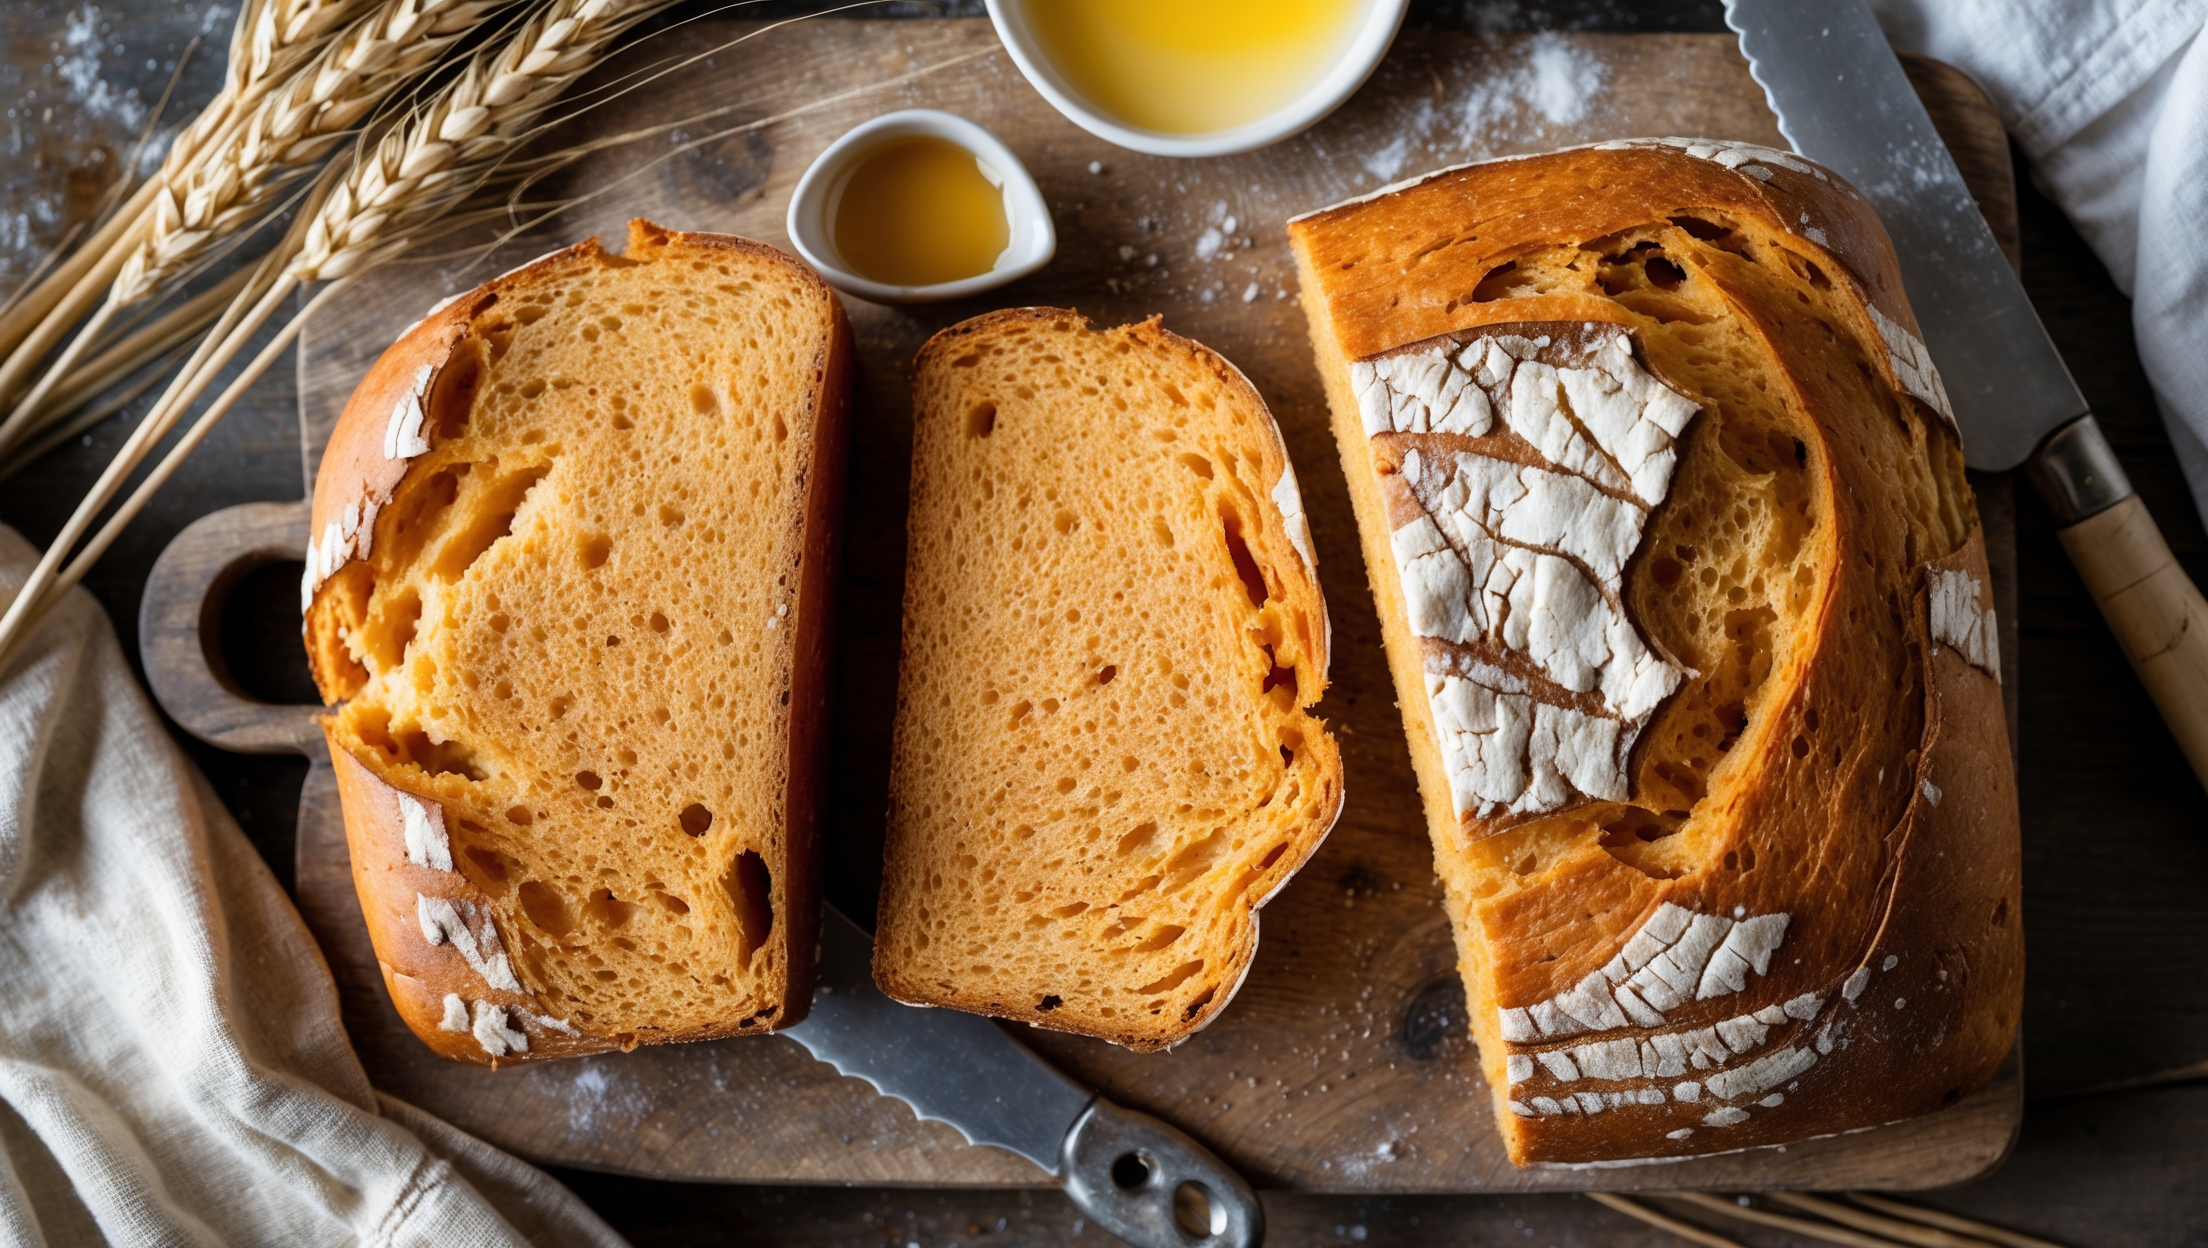
Dense bread typically results from insufficient rising time, under-kneading, or inactive yeast. Ensure your yeast is fresh, knead thoroughly to develop gluten, and allow proper rising time in a warm environment. Don't rush the process—proper proofing is essential for developing that light, airy texture.
For maximum freshness, cool your bread completely before storing in an airtight container or bread bin at room temperature for up to 3 days. For longer storage, slice the cooled loaf and freeze in freezer bags for up to 3 months, defrosting slices as needed.
Sandwich Bread
Try following recommended recipes