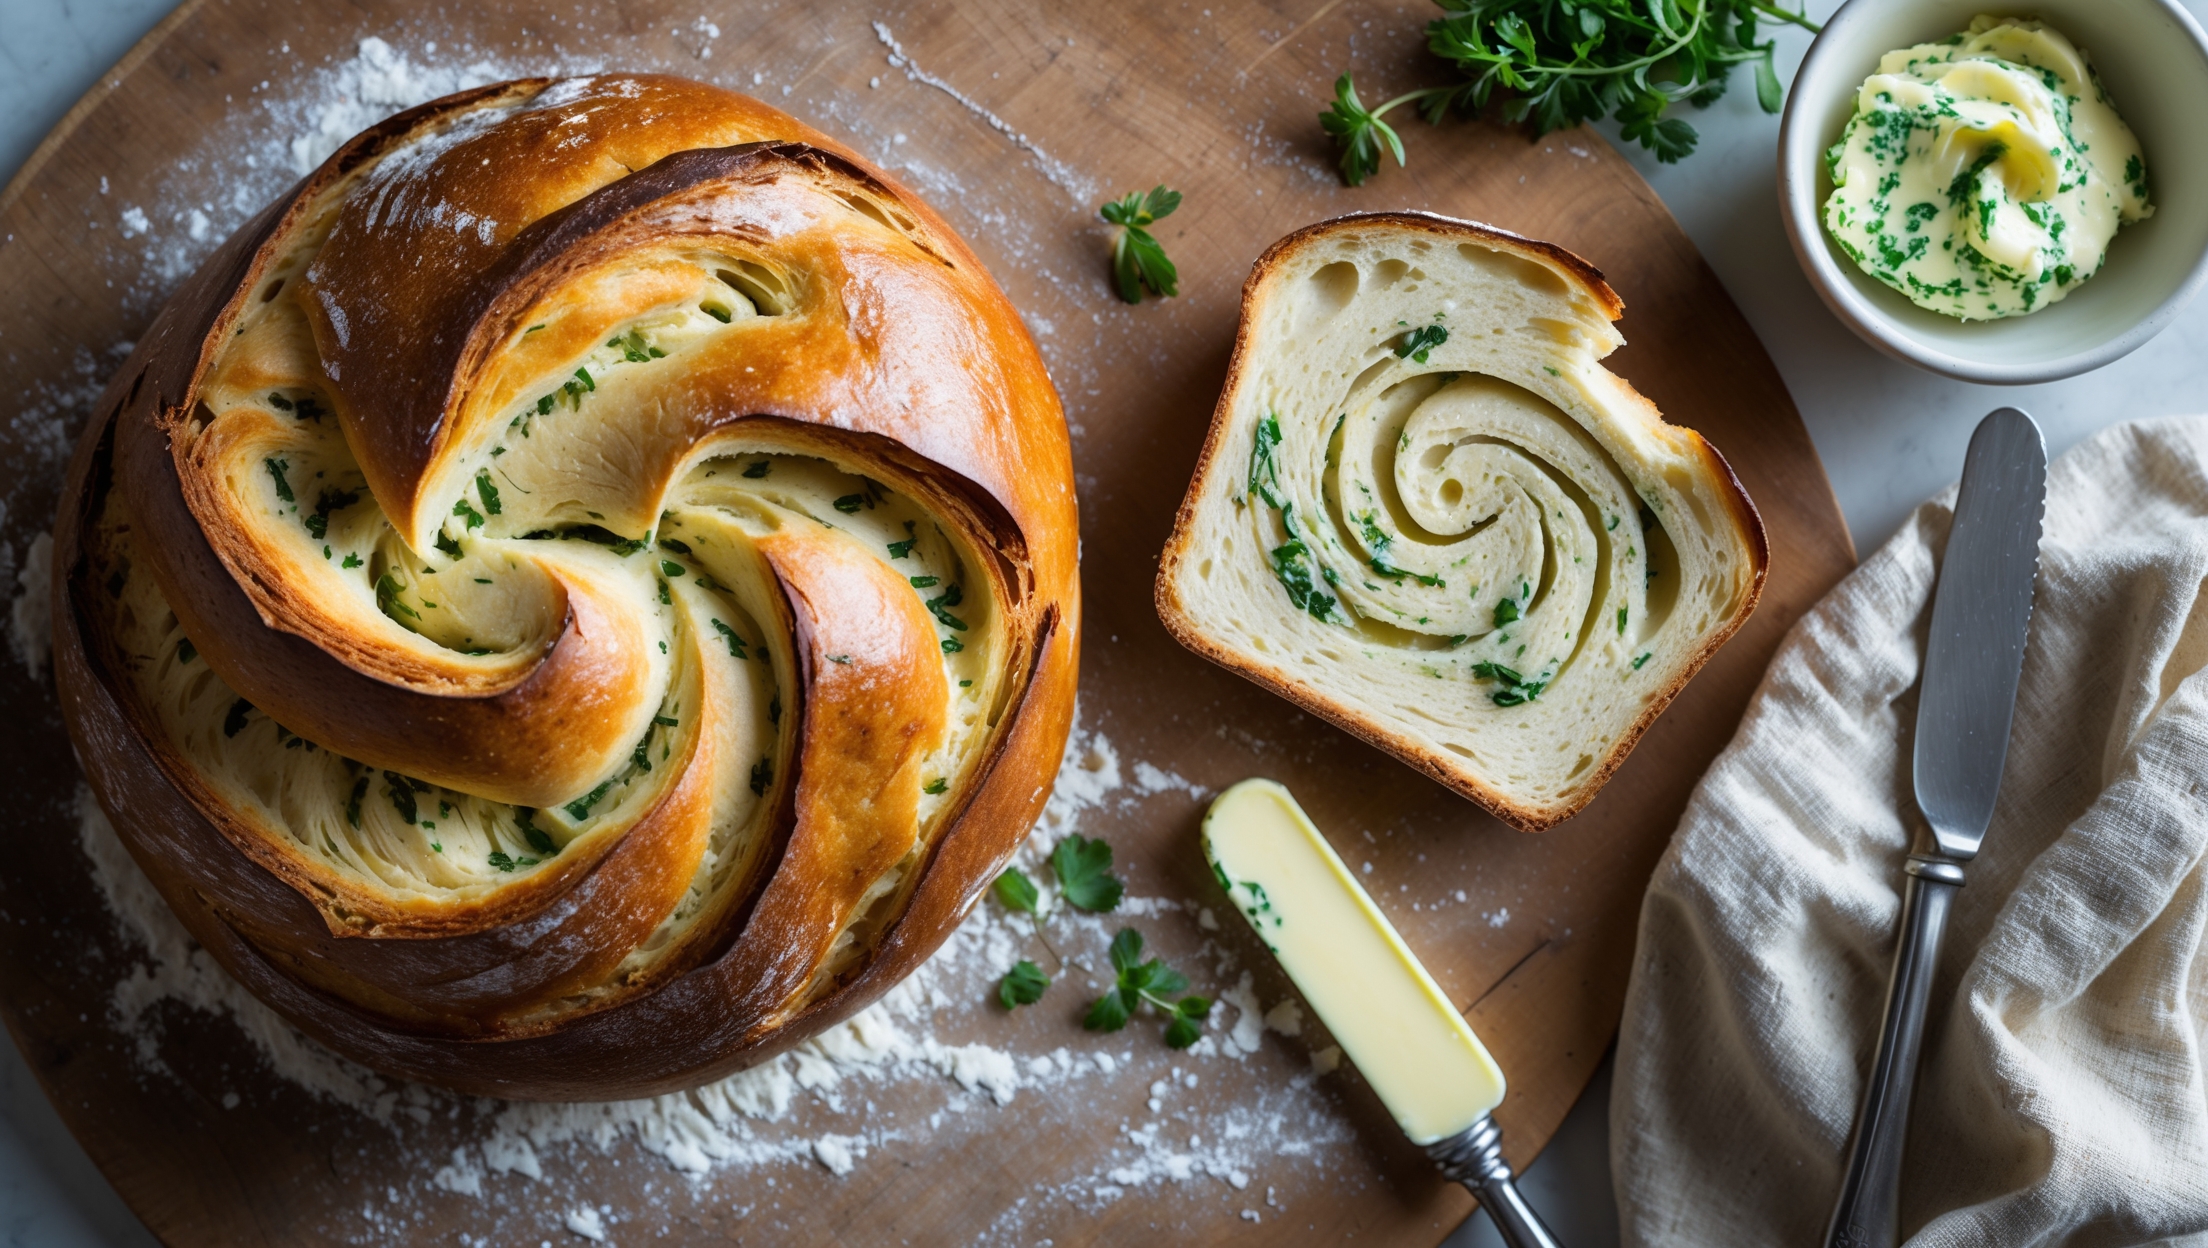
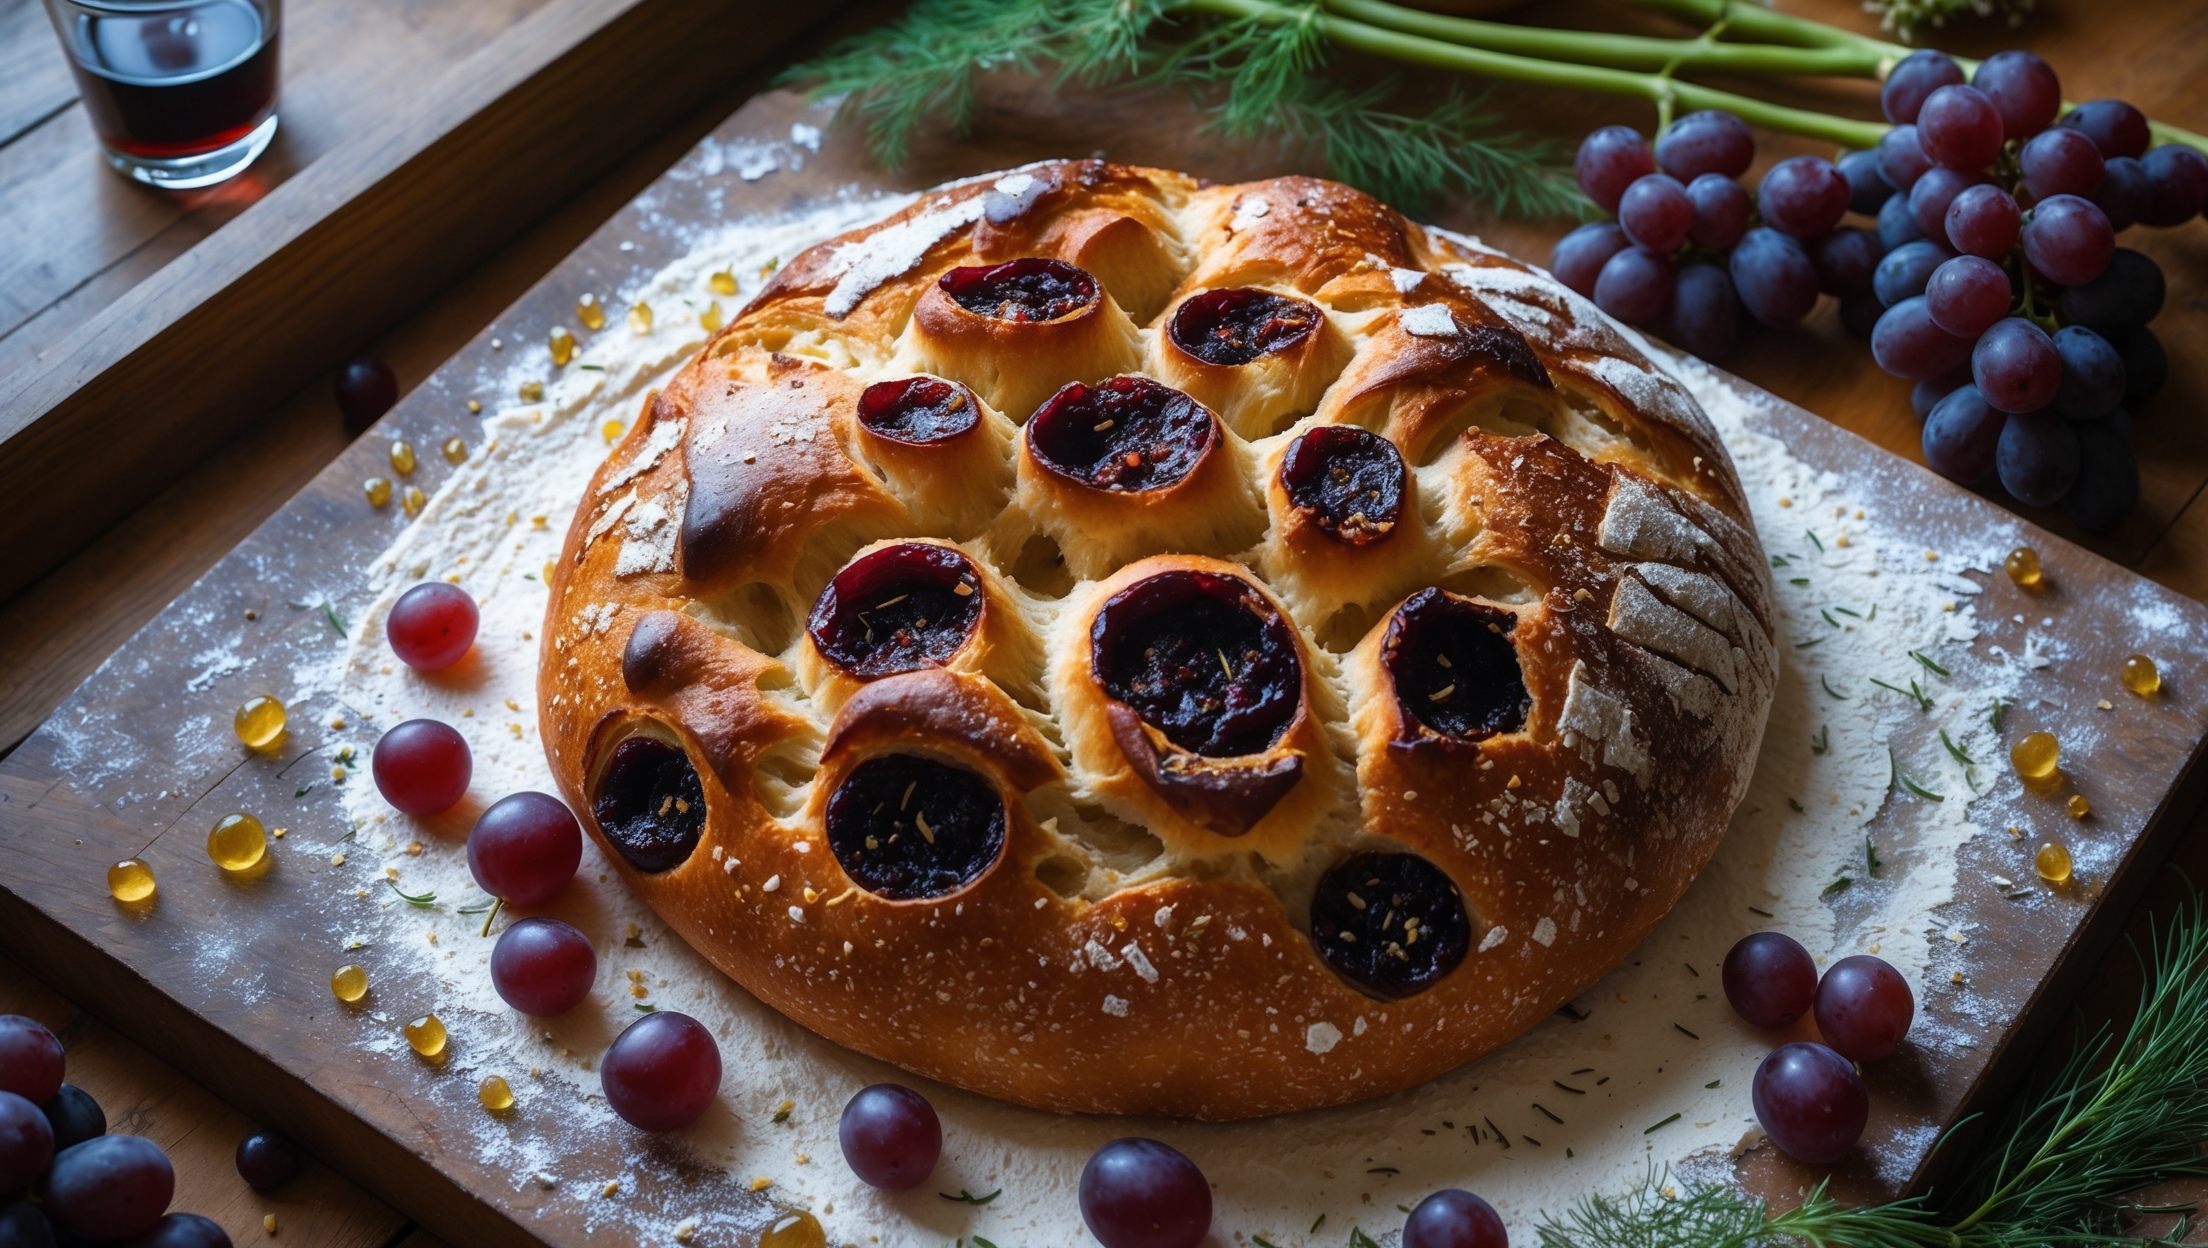
Roasted Garlic Bread Recipe
Ingredients
Equipment
Directions
FAQs
Find answers to your most pressing questions about this delicious recipe right here.
This aromatic bread requires strong bread flour, fast-action dried yeast, salt, lukewarm water, olive oil, whole garlic bulbs, fresh rosemary and thyme, and a touch of honey. The honey enhances the natural sweetness of the roasted garlic.
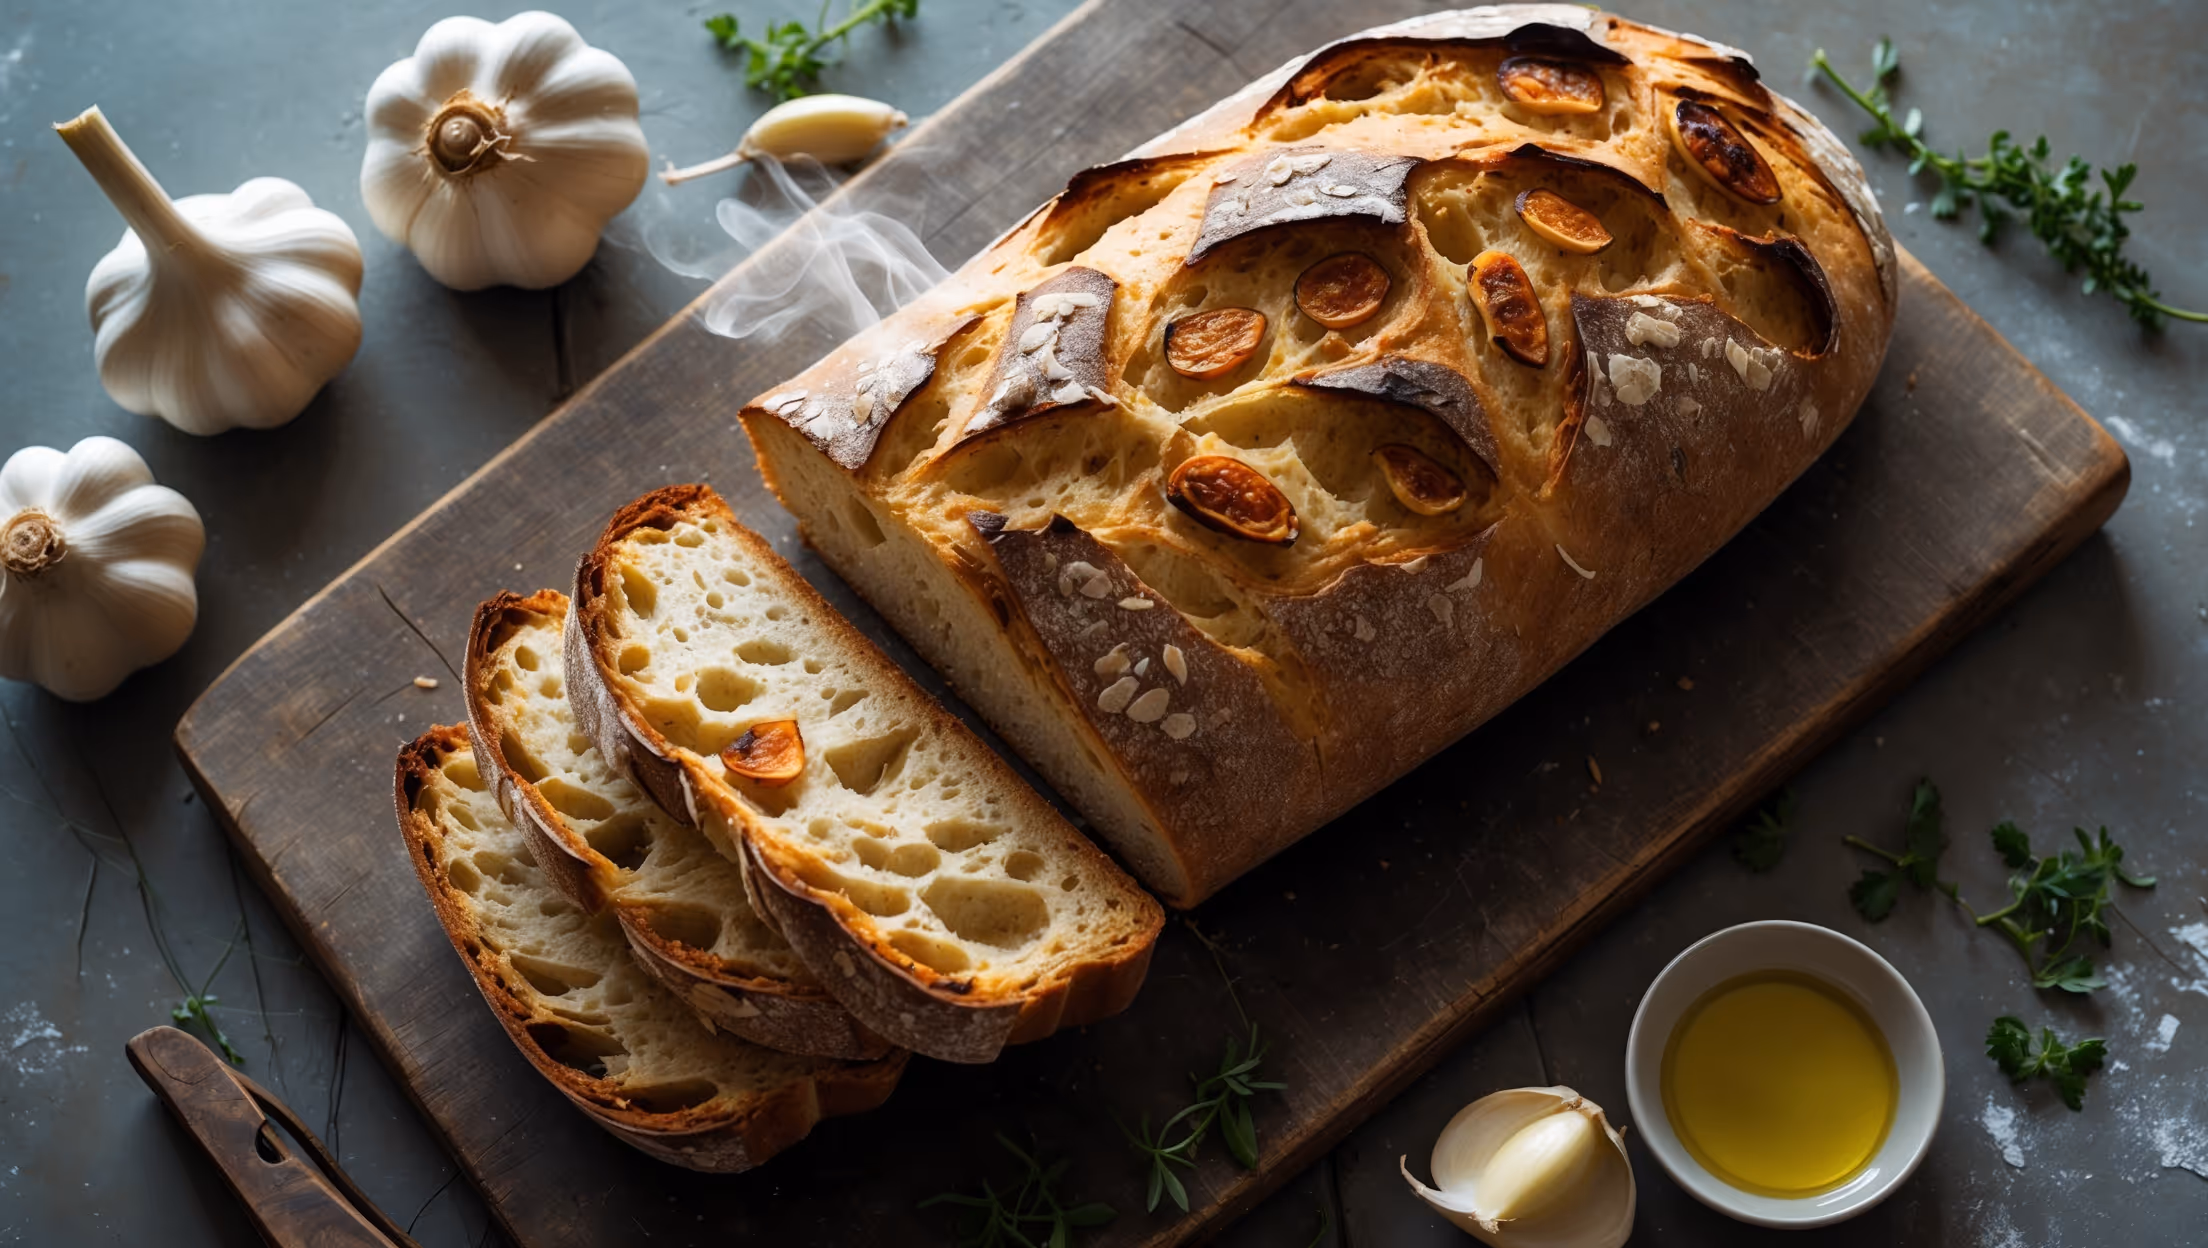
Learn how to cook Roasted Garlic Bread by first roasting whole garlic bulbs until caramelised, then incorporating this sweet garlic paste into a simple bread dough with fresh herbs. After two rises for flavour development, bake in a preheated Dutch oven to achieve that perfect combination of crisp crust and soft, aromatic interior.
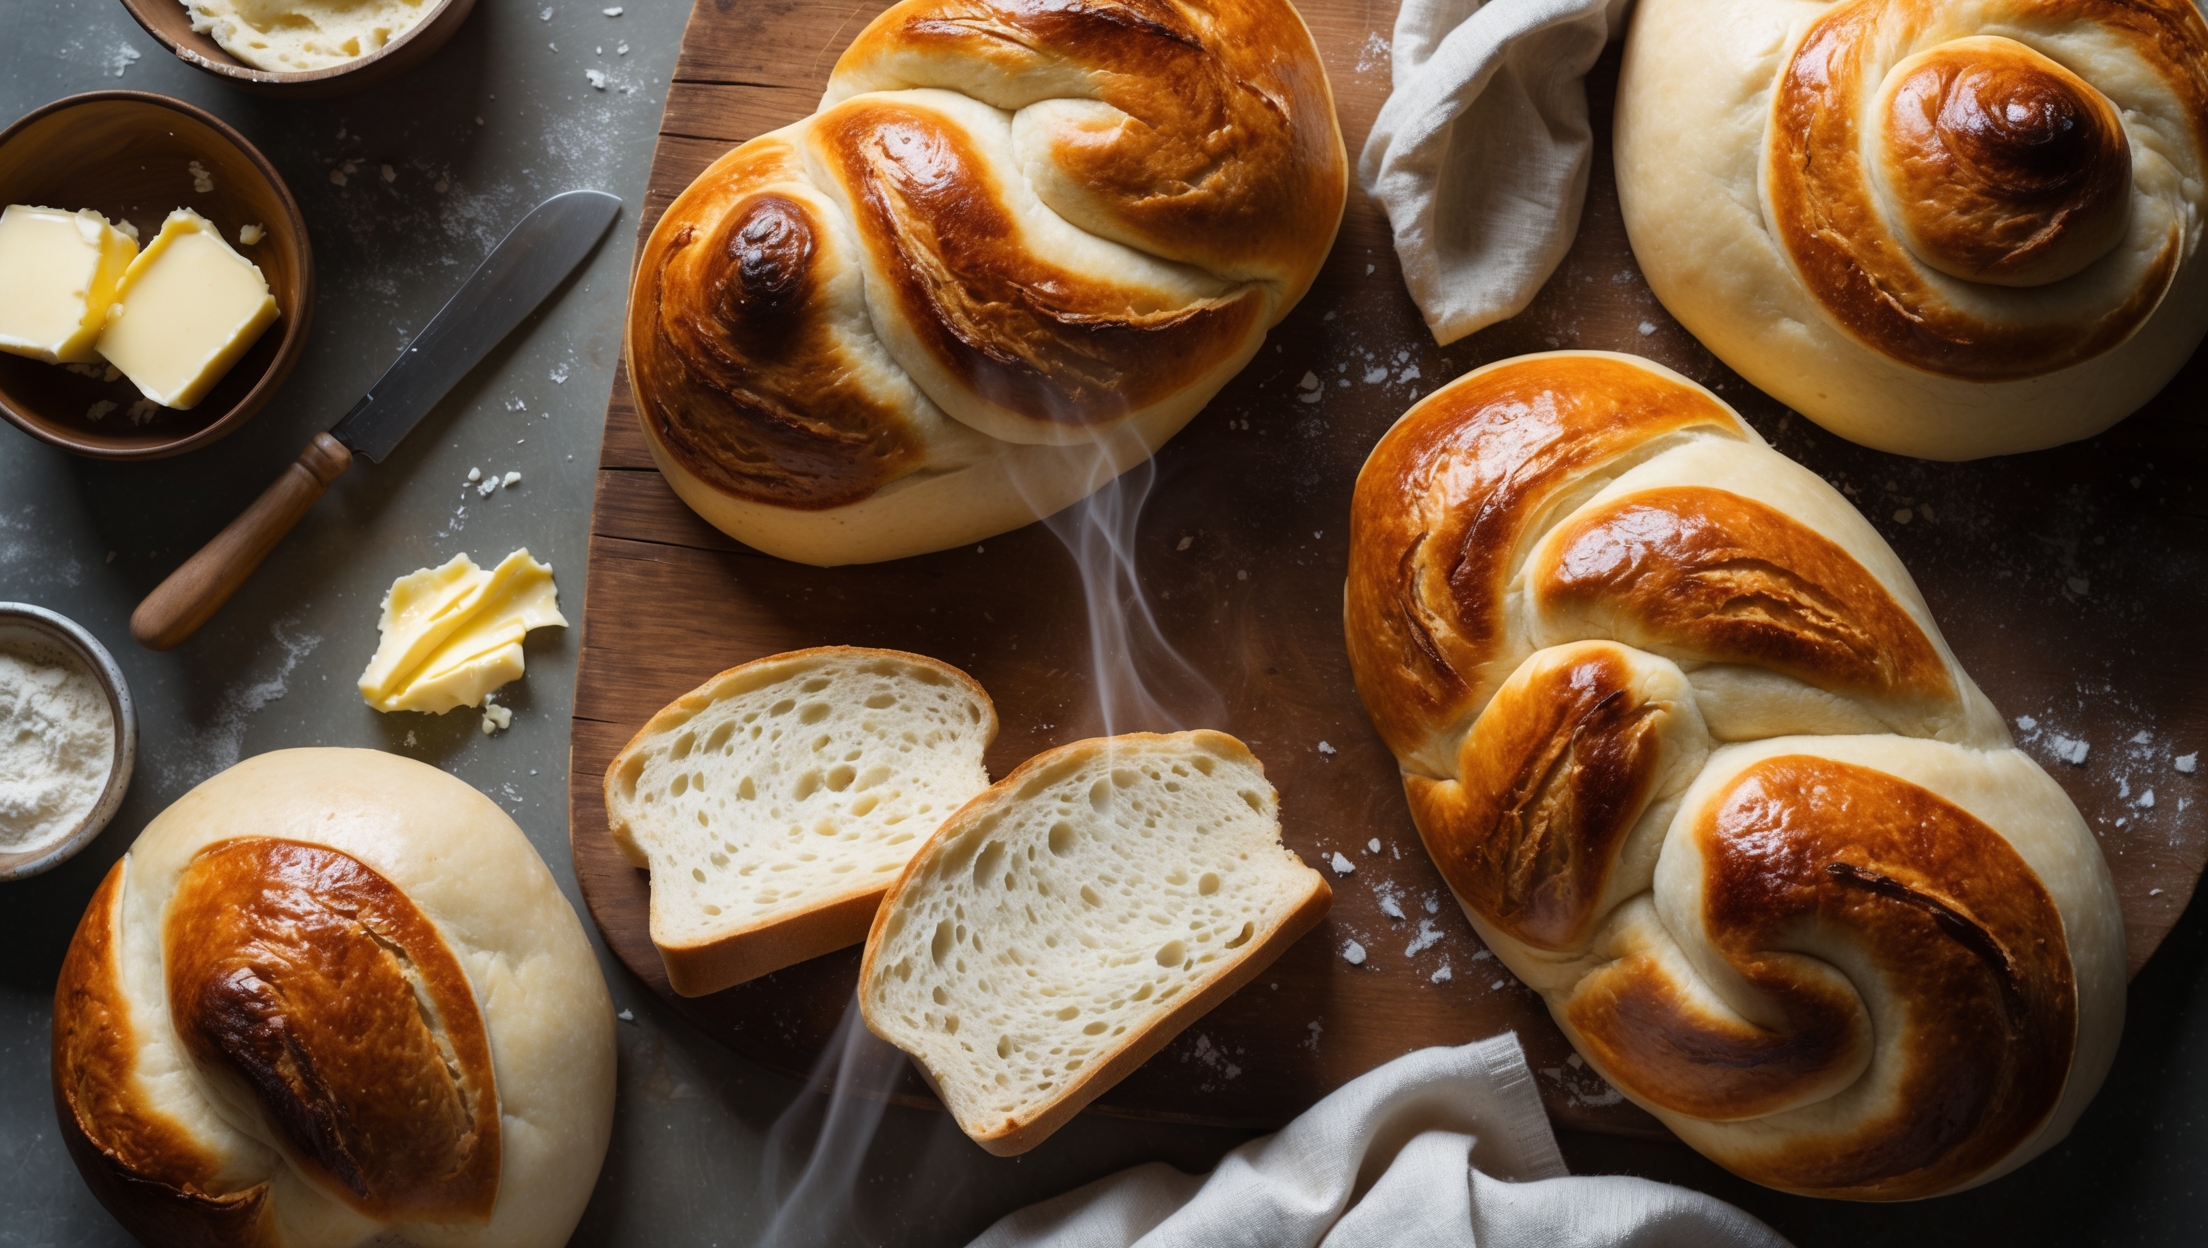
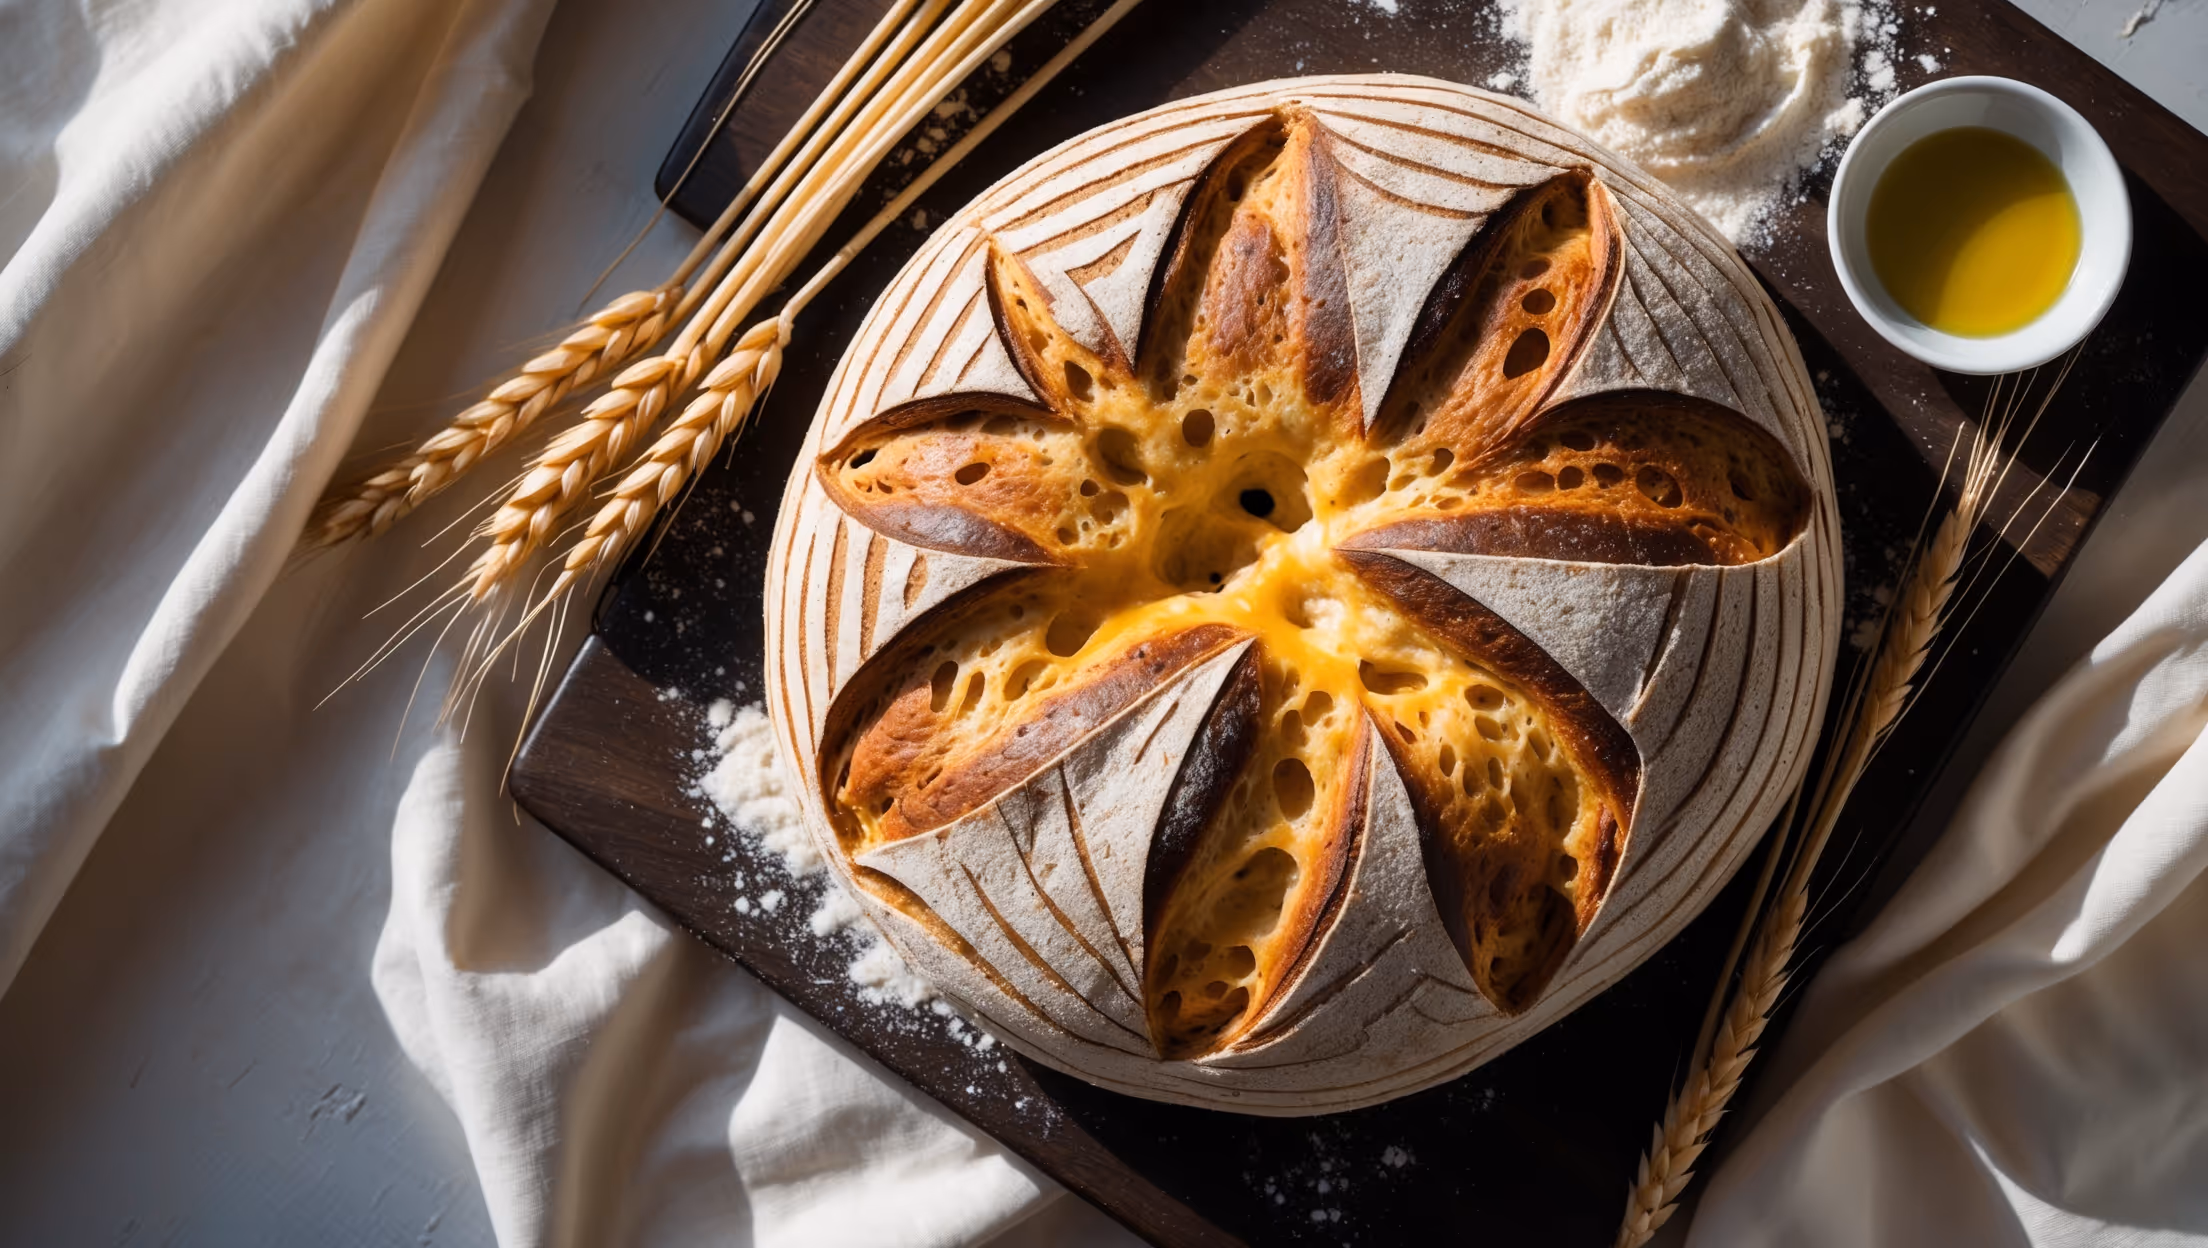
A Dutch oven creates the perfect baking environment by trapping steam released from the dough, which creates a crispy, crackling crust. The even heat distribution and enclosed space mimic professional bread ovens, resulting in superior texture and that authentic artisan quality.
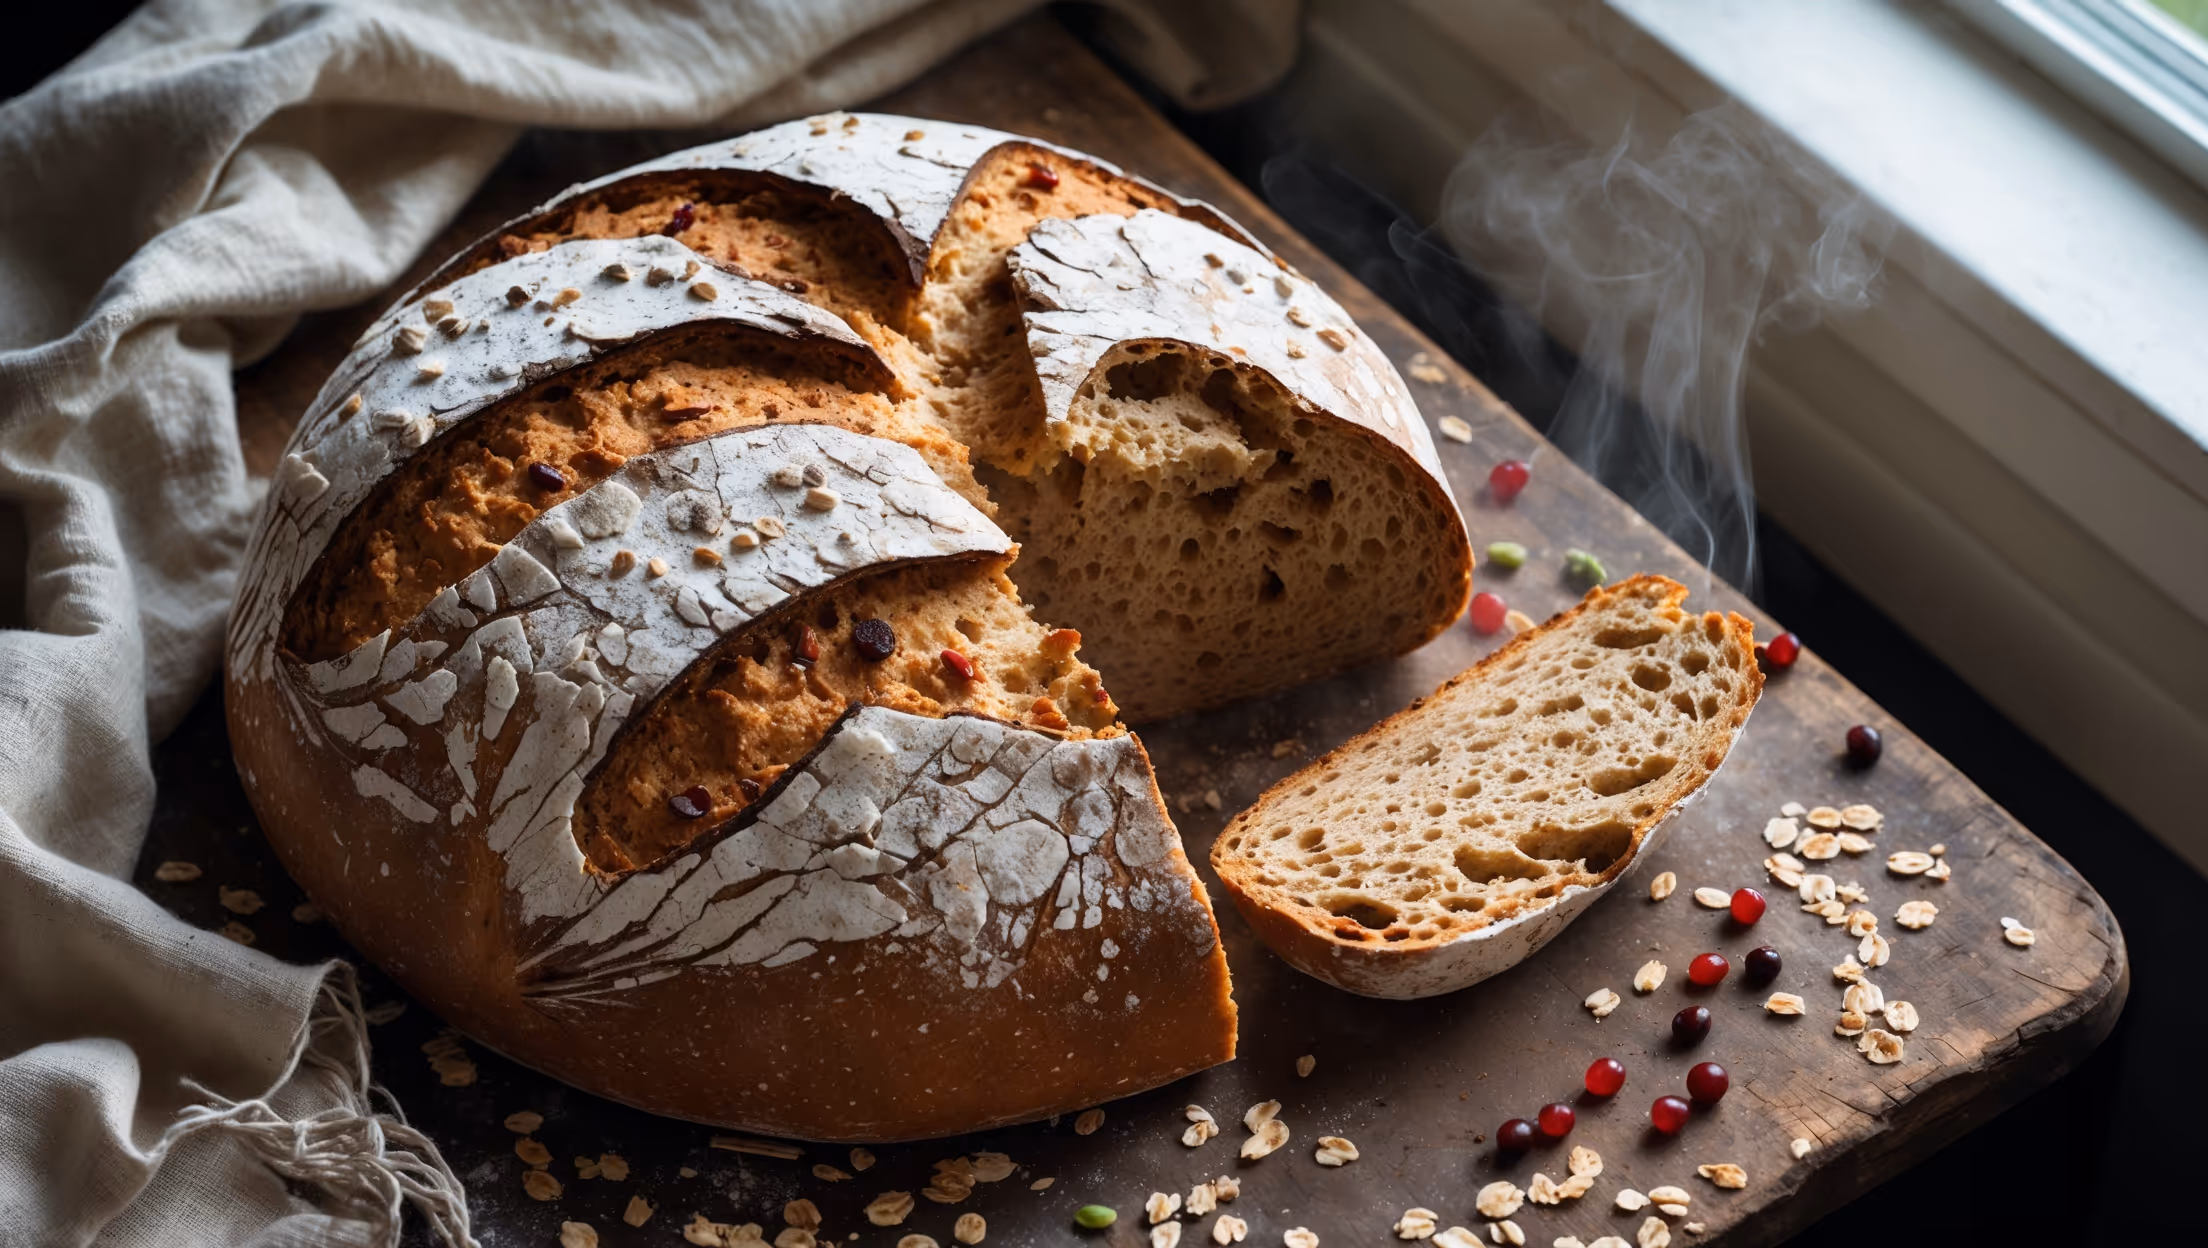
Yes! Once completely cooled, wrap the loaf tightly in cling film, then foil, and freeze for up to 3 months. Alternatively, pre-slice before freezing for easy toasting. To serve, thaw at room temperature and refresh in a hot oven for 5-10 minutes to restore the crisp crust.
Well-kneaded dough should feel smooth and elastic, springing back when poked gently with a finger. The "windowpane test" is definitive - stretch a small piece thinly between your fingers until translucent without tearing, indicating properly developed gluten structure.
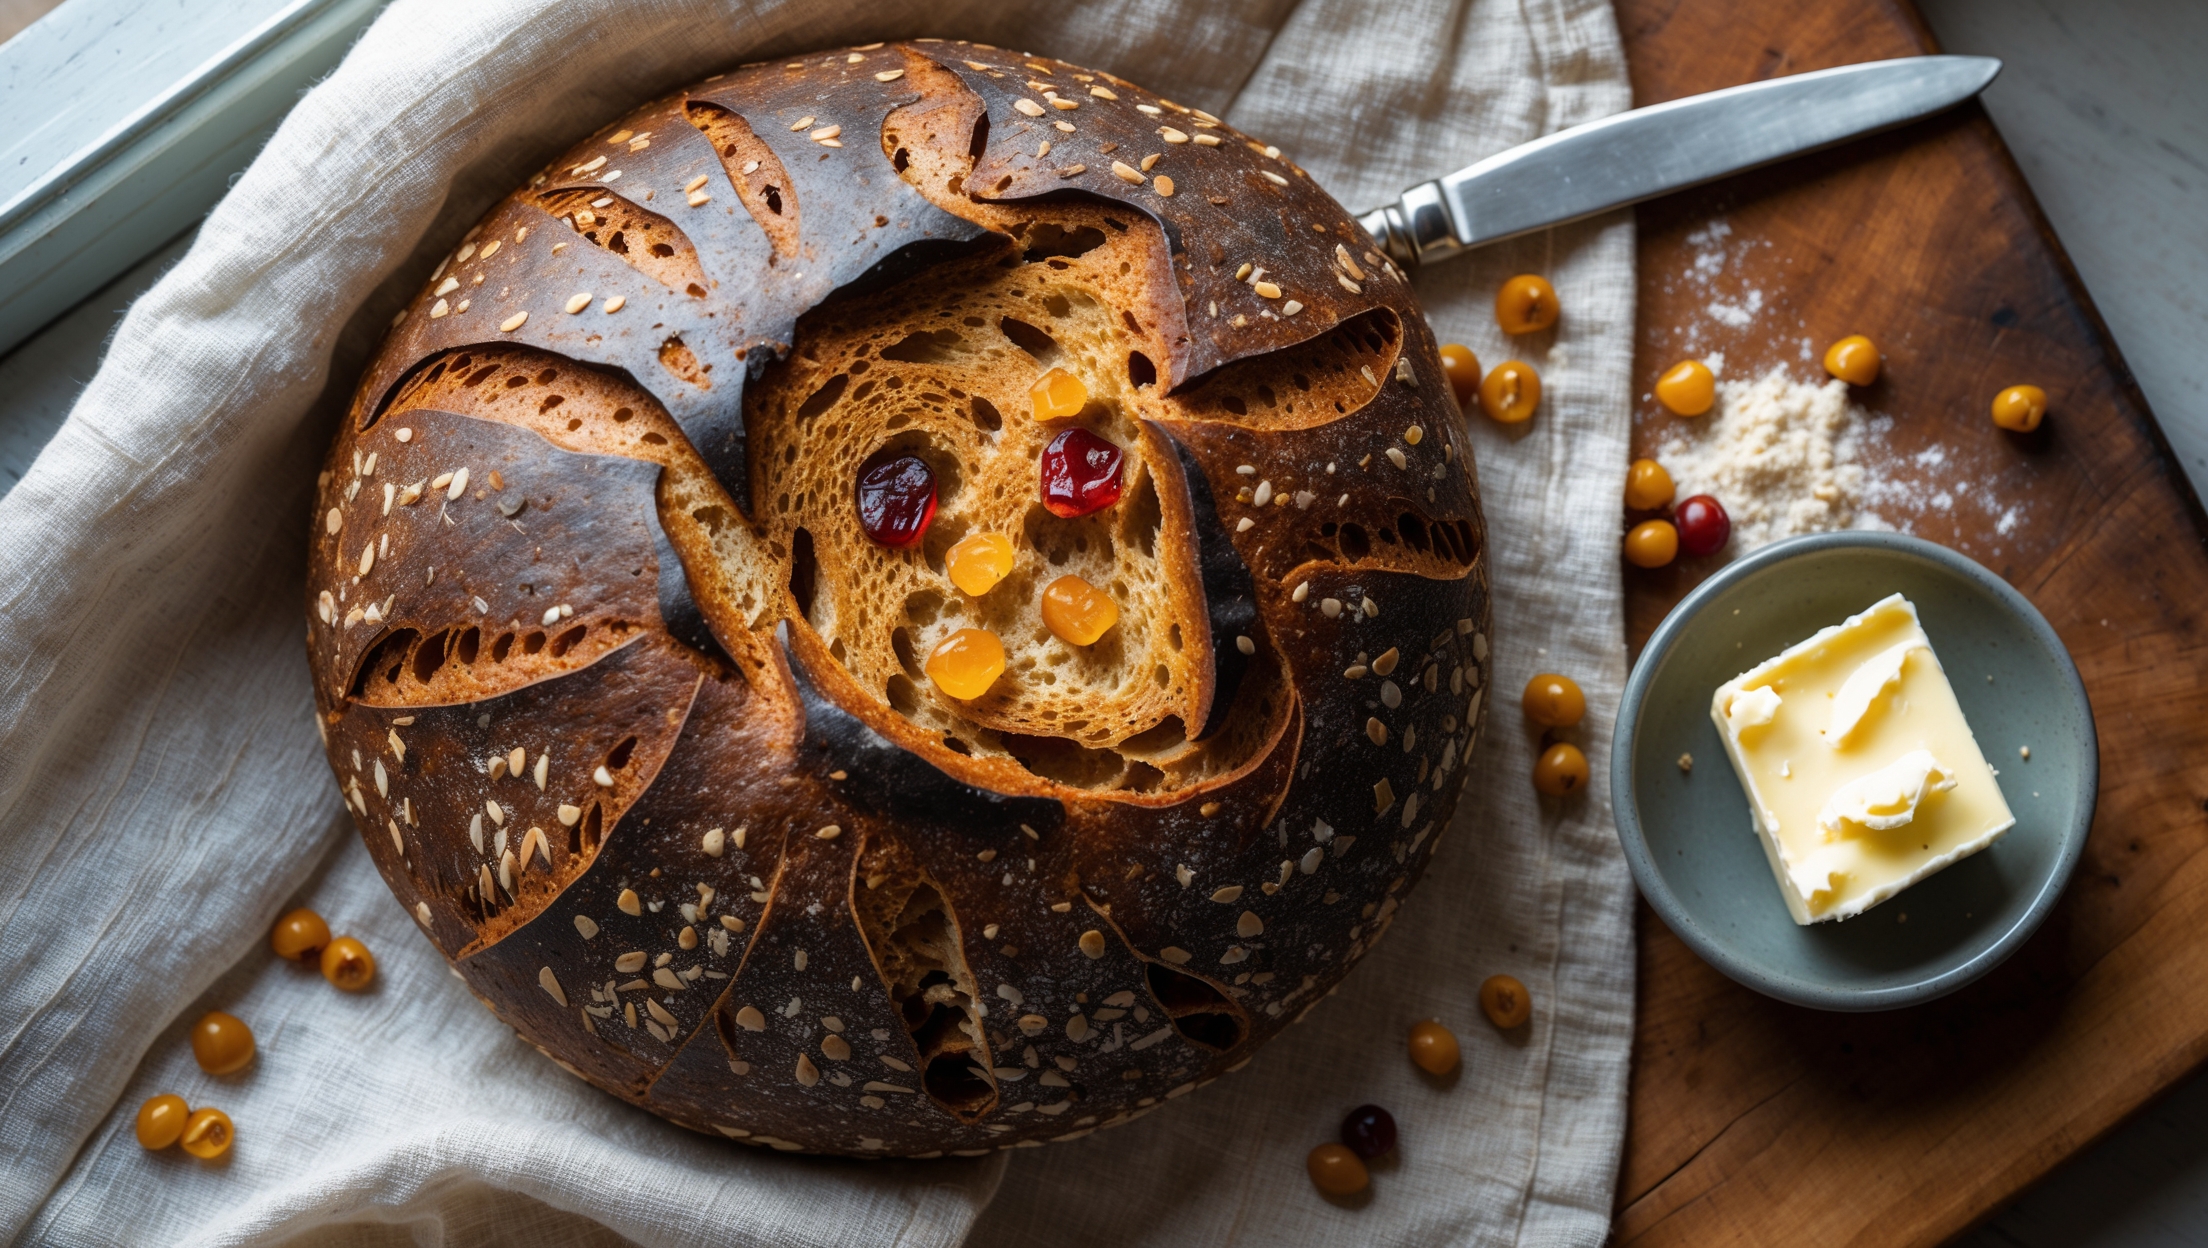
Artisan Bread
Try following recommended recipes