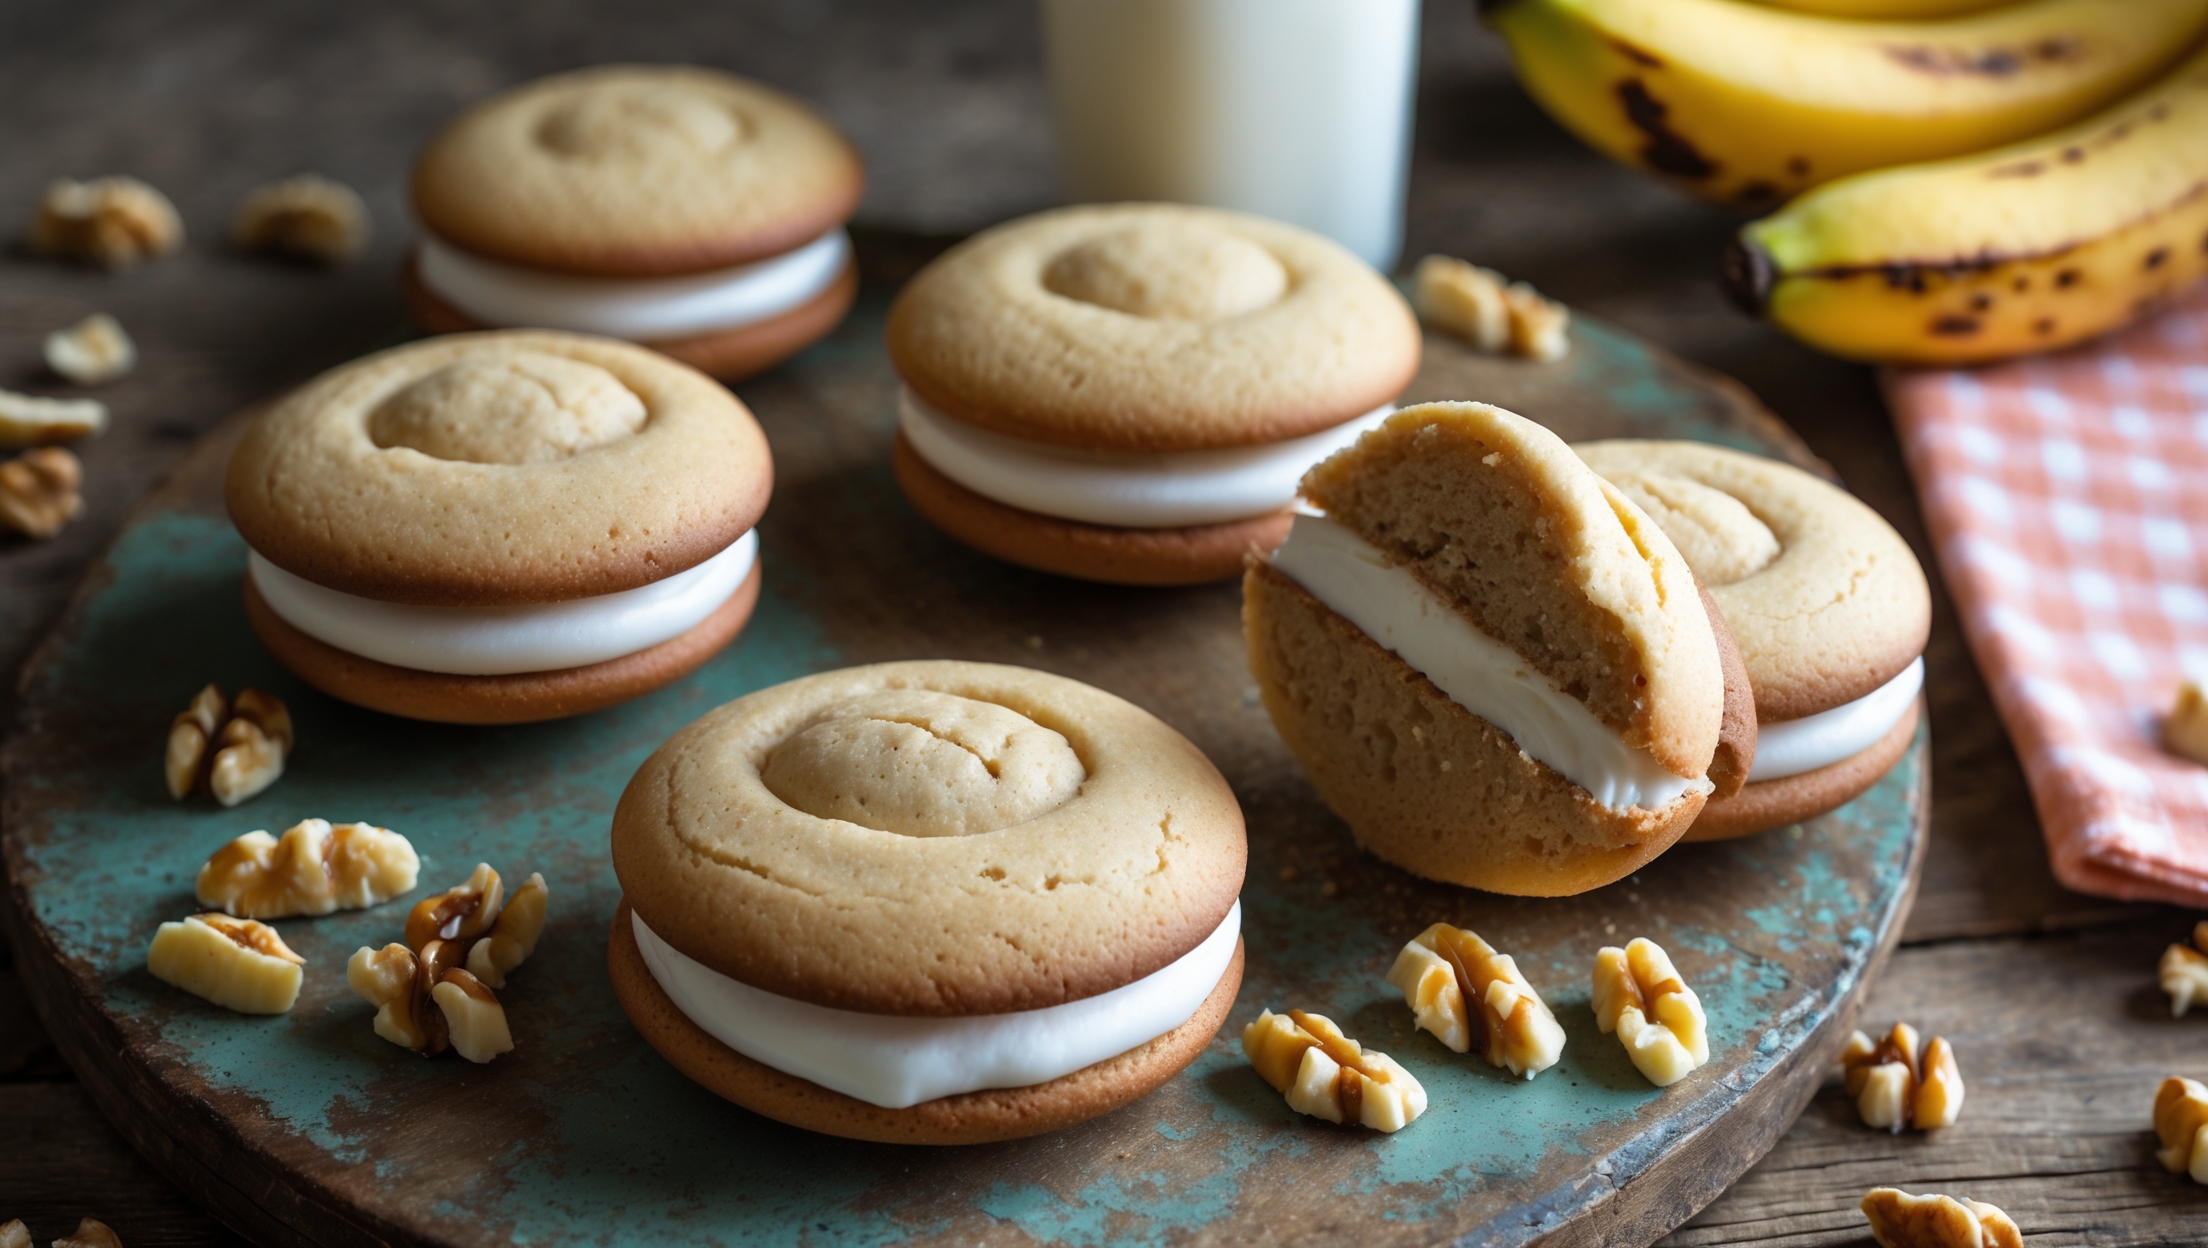
Red Velvet Whoopie Pie Sandwich Cookies Recipe

Ingredients
Equipment
Directions
FAQs
Find answers to your most pressing questions about this delicious recipe right here.
These cookies require all-purpose flour, cocoa powder, baking soda, salt, butter, sugar, egg, vanilla, buttermilk, red food colouring, and vinegar. The cream cheese filling needs cream cheese, butter, vanilla, powdered sugar, and salt.
Learn how to cook Red Velvet Whoopie Pie Sandwich Cookies by making a red cocoa batter, dropping rounded tablespoons onto baking sheets, and baking at 170°C (fan) for 10-12 minutes until they spring back when touched. Once cooled, sandwich two cookies with homemade cream cheese filling for the perfect treat.
Vinegar reacts with buttermilk and baking soda to enhance the red colour and create a tender, moist texture. Skipping it may result in a duller colour and slightly denser cookies. The vinegar also helps activate the baking soda for proper rise.
Homemade whoopie pies stay fresh for 3-4 days when stored in an airtight container in the refrigerator. For the best texture, bring them to room temperature for about 15 minutes before serving. They can also be frozen for up to 2 months.
Yes, substitute with natural alternatives like beetroot powder (2-3 tablespoons), pomegranate juice concentrate, or natural food colouring made from vegetable extracts. The colour may be less vibrant but will provide a naturally-derived reddish hue.
Sandwich Cookies
Try following recommended recipes