Red Velvet Cheesecake Recipe
Ingredients
Equipment
Directions
FAQs
Find answers to your most pressing questions about this delicious recipe right here.
This dessert requires ingredients for two distinct layers. The red velvet base needs flour, cocoa powder, butter, sugar, eggs, red food colouring, buttermilk and vinegar. The cheesecake layer requires cream cheese, sugar, eggs, sour cream, vanilla and a touch of flour.
Learn how to cook Red Velvet Cheesecake by first baking a red velvet cake base, then topping it with a cream cheese mixture and baking in a water bath. The key techniques include properly wrapping your springform pan with foil, ensuring all ingredients are at room temperature, and allowing the cheesecake to cool gradually to prevent cracks.
A water bath provides gentle, even heat and adds humidity to the oven environment. This prevents the cheesecake from drying out, helps it bake evenly from edge to centre, and significantly reduces the risk of cracks forming on the surface—essential for that professional, smooth finish.
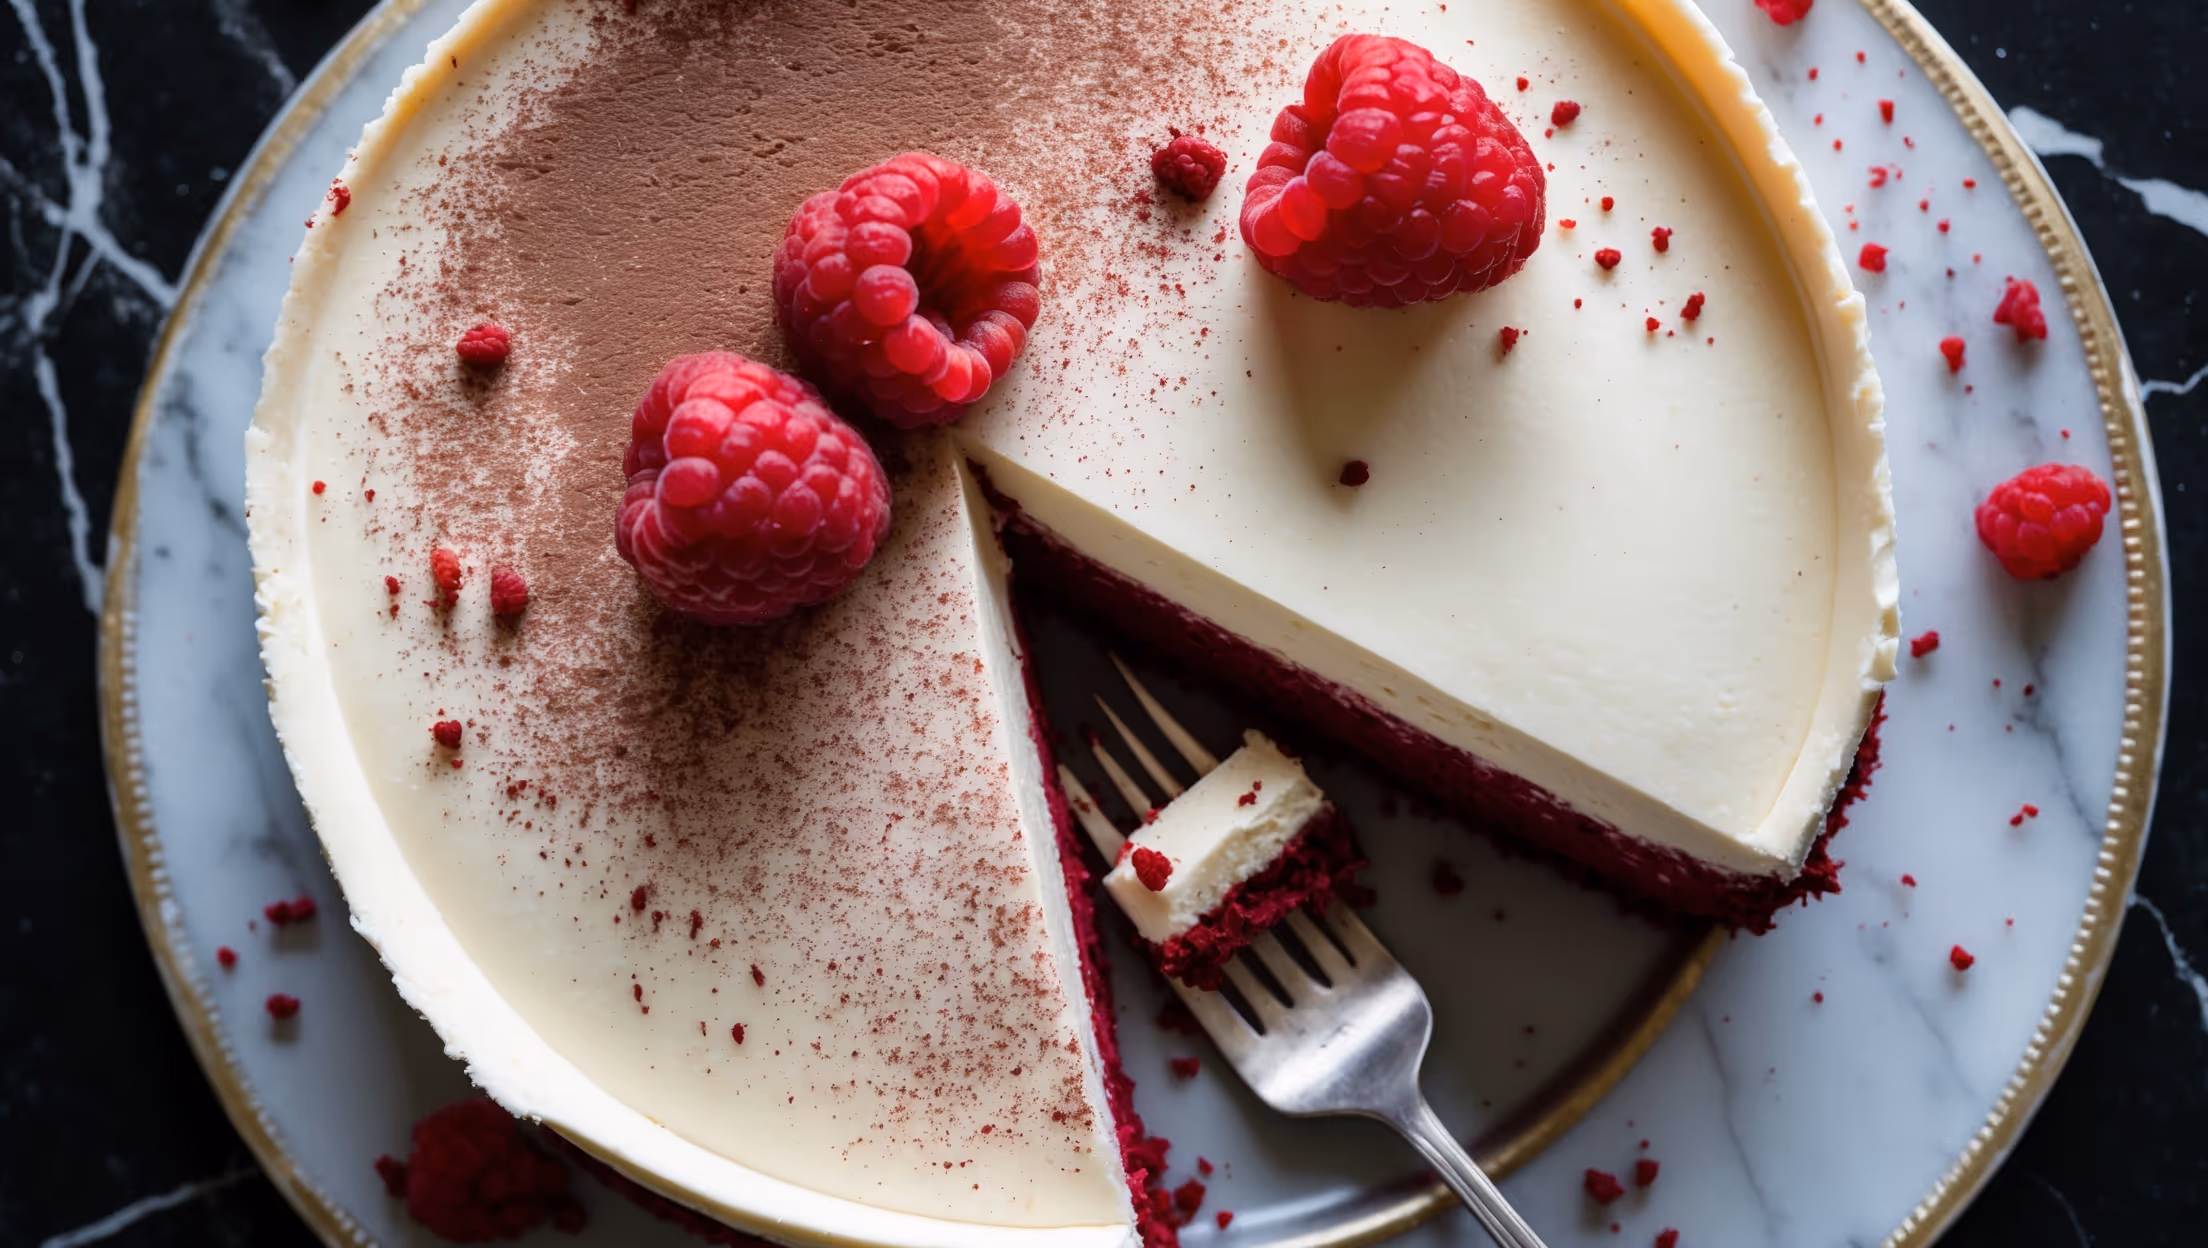
The vibrant red colour comes from a combination of red food colouring (gel is more concentrated than liquid), cocoa powder which deepens the shade, and vinegar which helps preserve the colour during baking. Using these in the right proportions ensures the colour doesn't overpower the delicate chocolate flavour.
To prevent cracks, avoid overmixing after adding eggs (which incorporates air), always use a water bath for gentle heat, don't overbake (the centre should still jiggle slightly), and cool gradually in the turned-off oven with the door cracked open before refrigerating. Room temperature ingredients are also crucial.
Cheesecakes
Try following recommended recipes